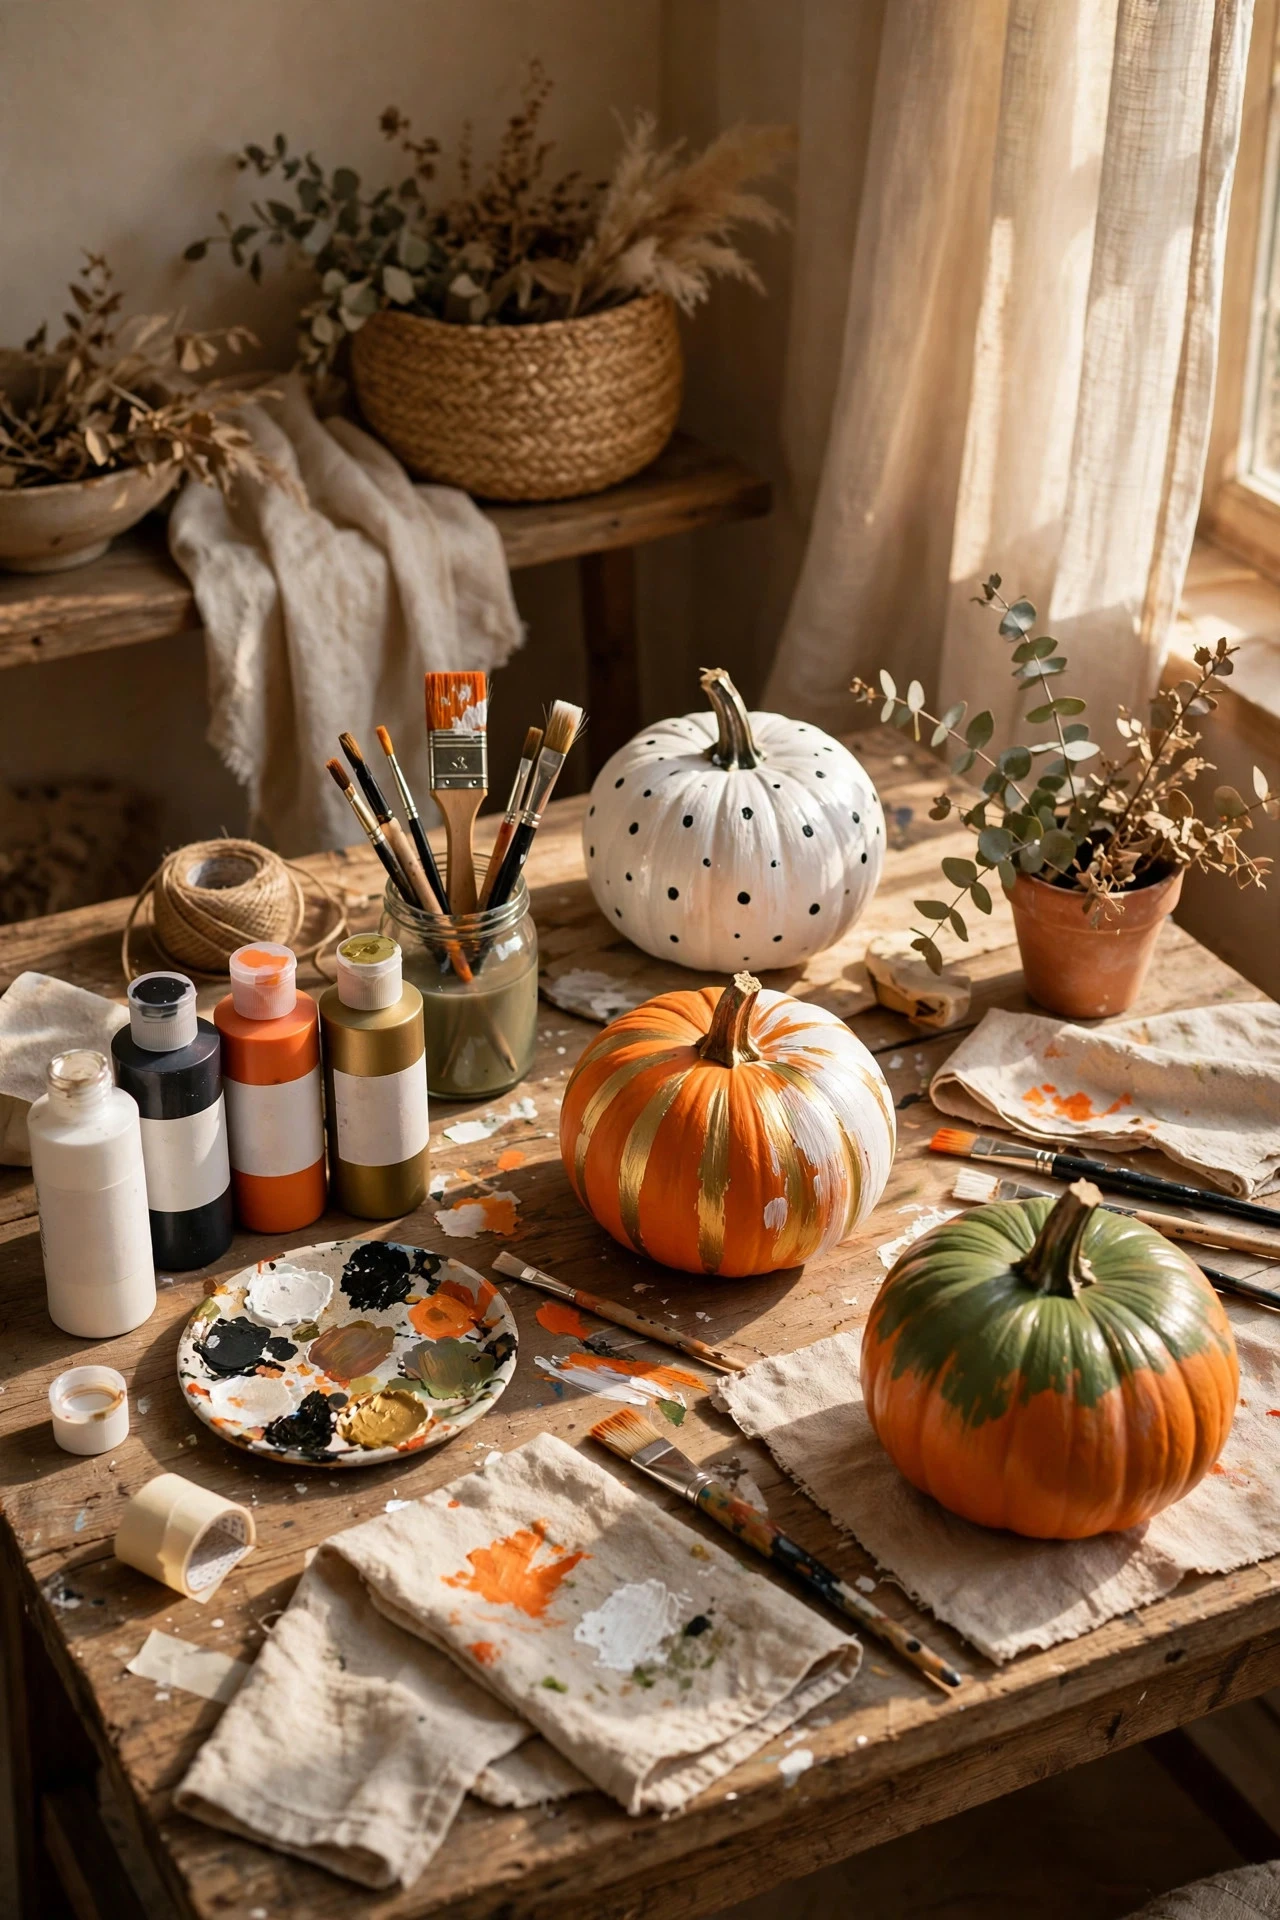
22 Paint Pumpkins Ideas: How to Paint Pumpkins That Last
To paint pumpkins well, you need far less skill than you think and far more patience than most tutorials admit. The paint itself is simple — acrylic craft paint does almost everything — but the result depends on the order of operations: clean the pumpkin, choose the right paint for the surface, apply thin coats, let each coat dry, and seal the finished design. Skip any one of those steps and the paint peels, bleeds, or fades; follow them and a painted pumpkin can look polished, last for weeks indoors, and survive a whole season if it is made from foam.
Looking for more inspiration? Our Nest Decorz homepage gathers the latest home decor ideas, seasonal decorating guides and room-by-room styling tips in one place — start there and explore.
Below are 22 paint pumpkins ideas organised as a complete how-to: the first ideas cover choosing pumpkins, paints, and tools, the middle ideas cover base coats, techniques, and finishes, and the last ideas cover fixing mistakes, sealing, displaying, and storing your work. Each idea includes practical detail and one mistake to avoid, so whether you are painting your first pumpkin or your fiftieth, you can find the exact step you need.
1. Choose the Right Pumpkin: Real or Foam
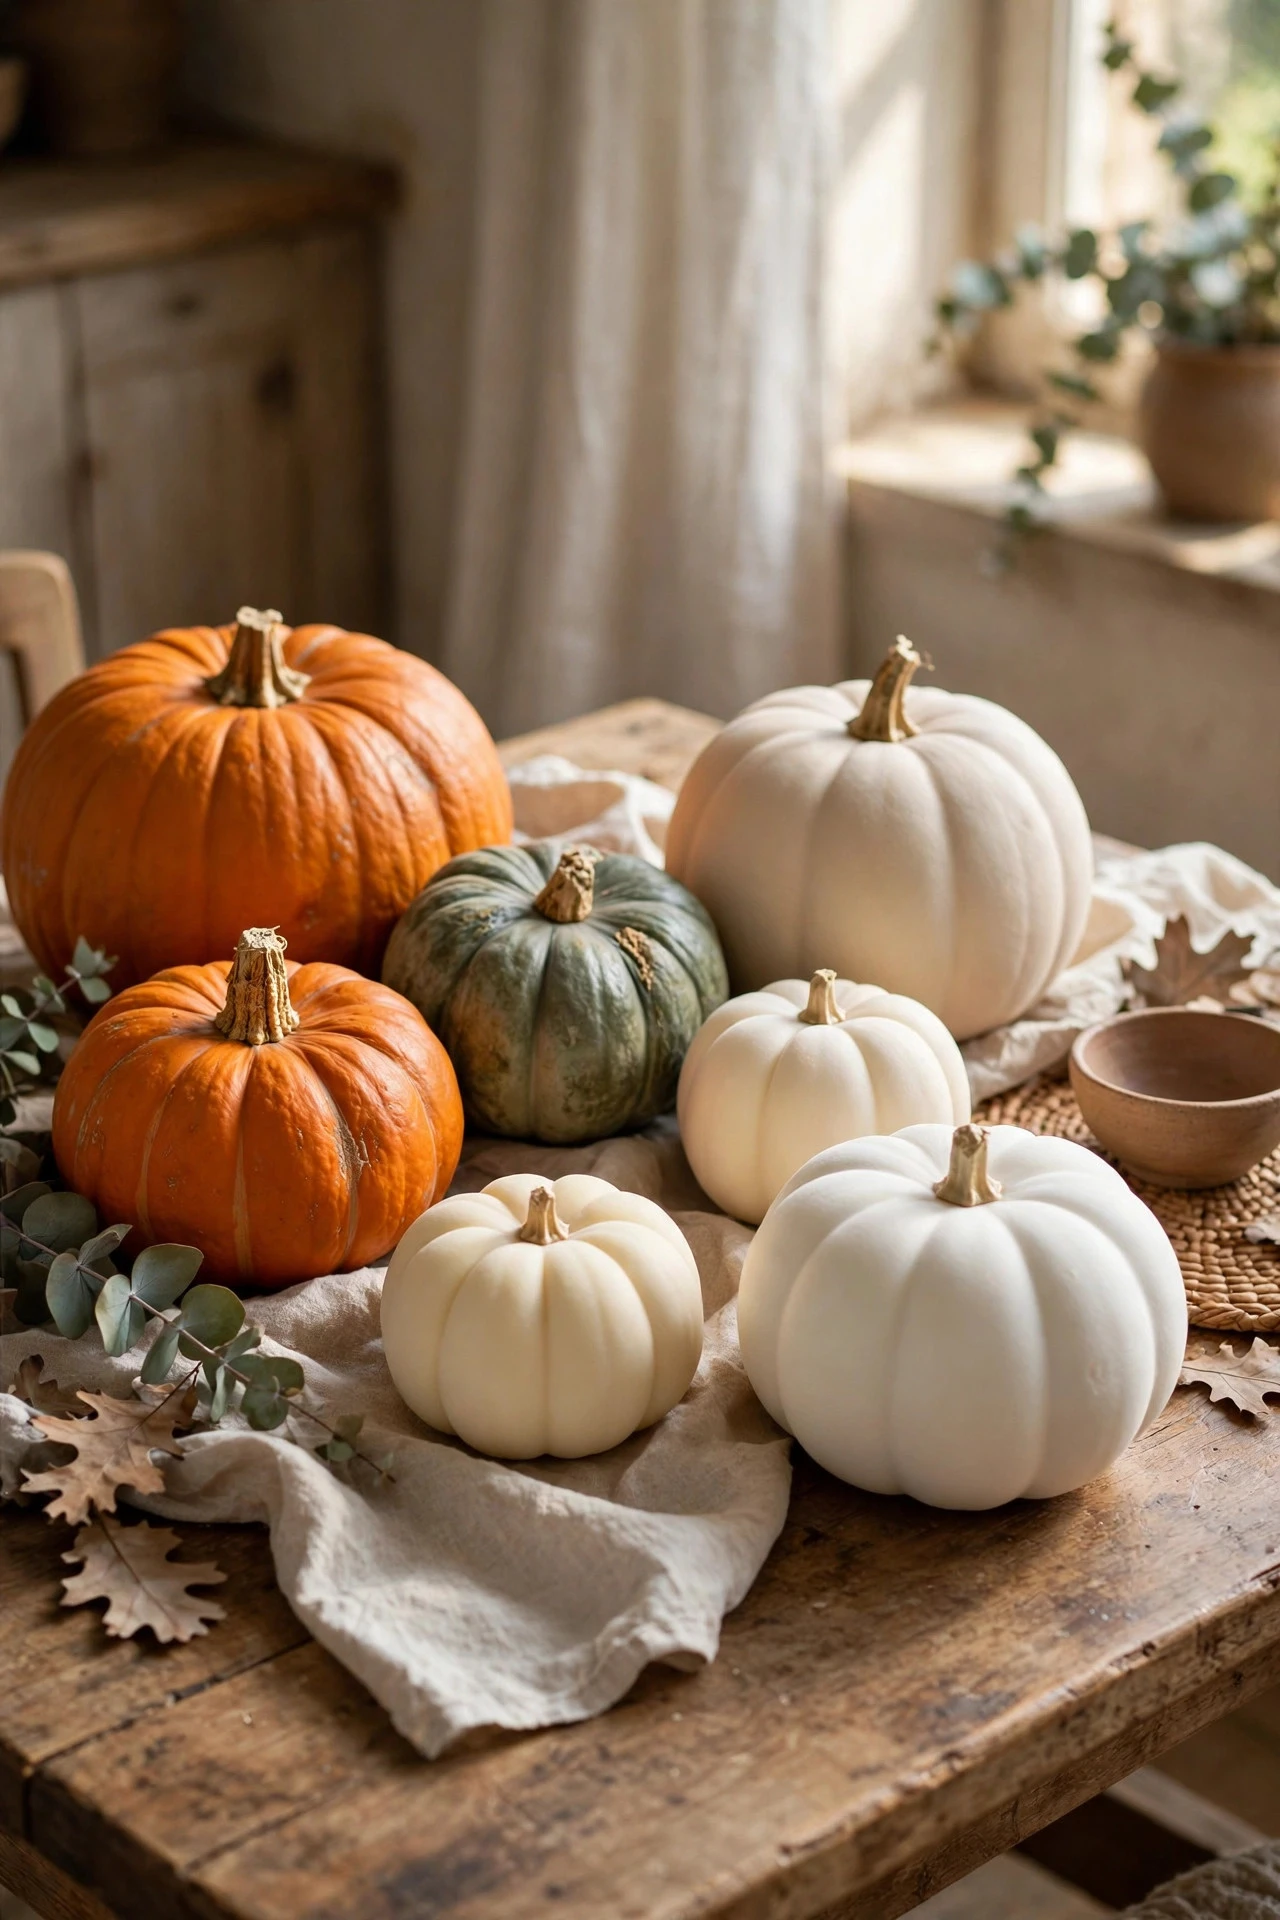
The first decision shapes everything else: real pumpkins look and feel authentic, but foam craft pumpkins are smoother, lighter, reusable, and immune to rotting. Choose real pumpkins that are firm, unbruised, and free of soft spots or mould around the stem, with a shape that suits your design — tall pumpkins suit faces and lettering, round pumpkins suit patterns. Foam pumpkins cost $3 to $12 each depending on size and are worth the price if you want to keep the design for years. The mistake to avoid is choosing a bruised bargain pumpkin, because bruises soften under paint, the skin breaks down, and the design collapses within days no matter how well you seal it.
2. Wash, Dry and Prepare the Surface
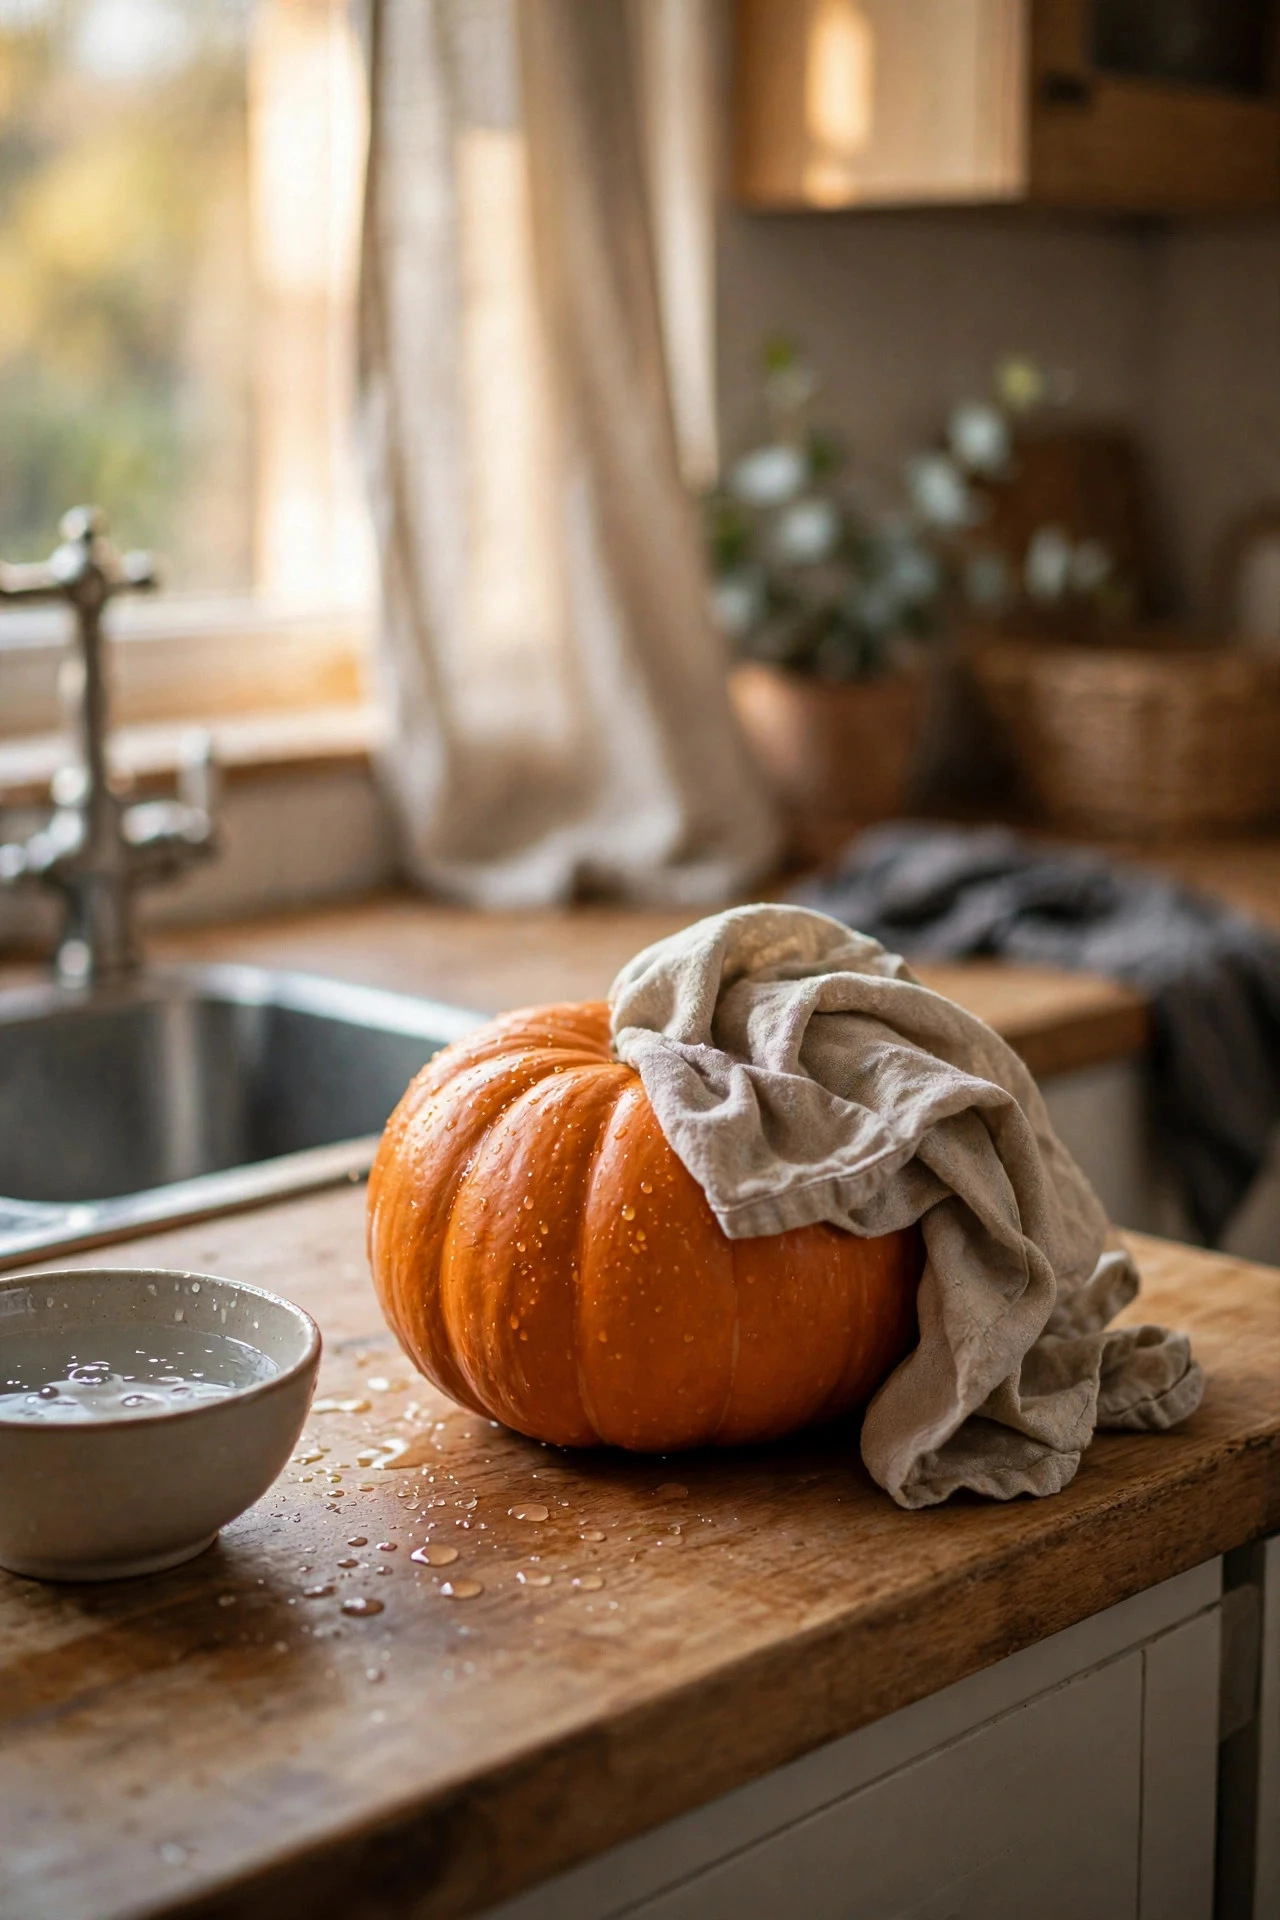
Paint only sticks to a clean, dry pumpkin, so preparation is not optional. Wash a real pumpkin with mild soapy water, rinse it, and dry it thoroughly with a towel, paying attention to the crevices around the stem where dirt and moisture hide. Let it air-dry for an hour before painting, and wipe it once more with a dry cloth just before the first coat. Foam pumpkins need only a wipe with a damp cloth and a light sanding of rough seams. Washing supplies cost almost nothing. The mistake to avoid is painting over a damp or dusty pumpkin, because the paint lifts in patches as the moisture escapes and the finish peels the first time the pumpkin is handled.
3. Acrylic Paint: The All-Round Best Choice
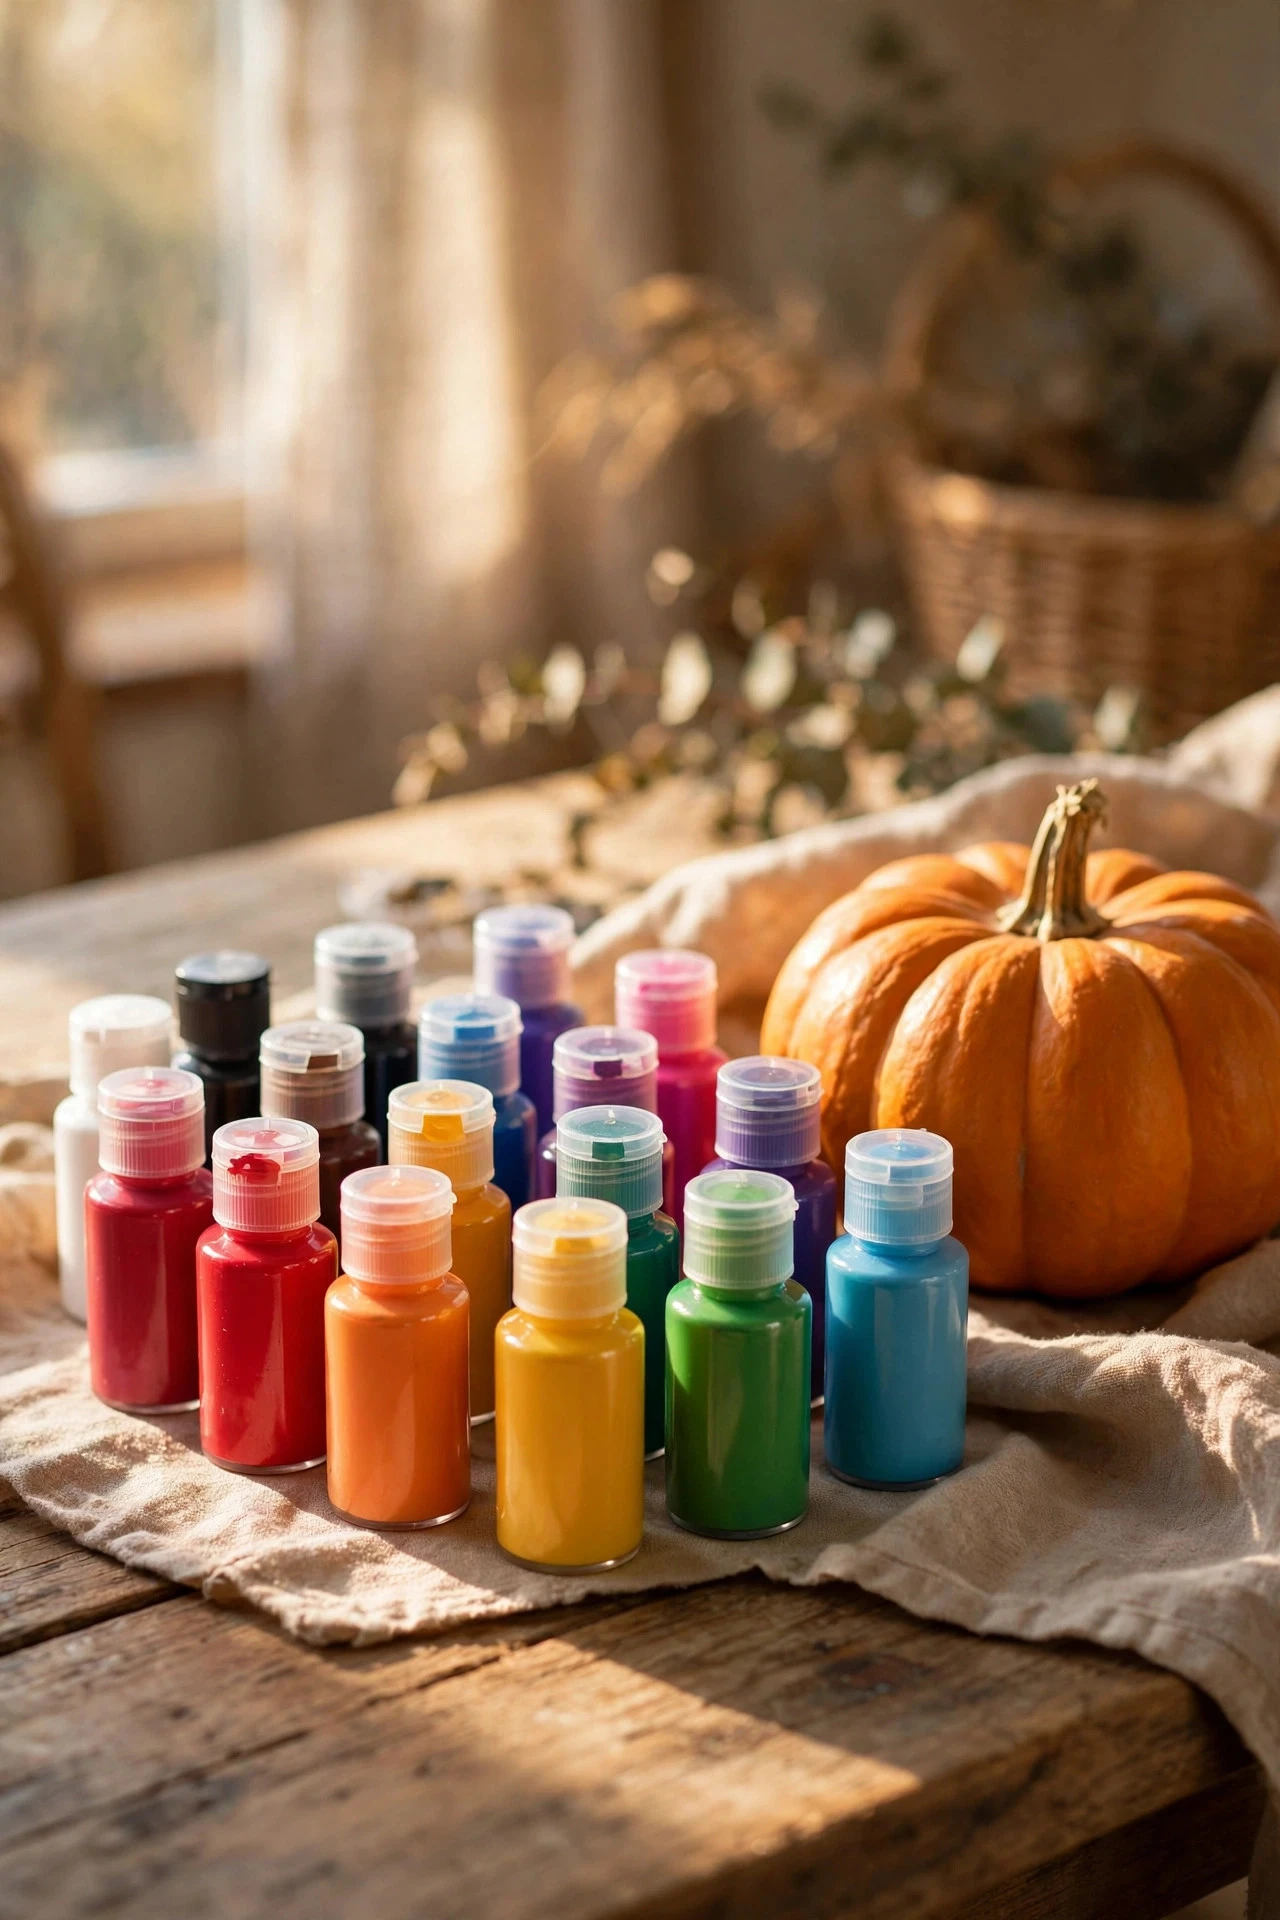
Acrylic craft paint is the default for pumpkin painting because it is cheap, water-based, fast-drying, and available in every colour and finish, from matte to metallic to glow-in-the-dark. It sticks well to real and foam pumpkins, cleans up with water, and layers cleanly when each coat is allowed to dry. Small bottles cost $1 to $3 each, and three or four bottles cover a group of pumpkins. For a deeper explanation of how acrylic finishes behave on different surfaces, the paint guides at The Spruce compare matte, satin, and gloss options clearly. The mistake to avoid is using oil-based paint on a real pumpkin, because it seals the skin, traps gases as the pumpkin decomposes, and can cause the pumpkin to split or smell.
4. Chalk Paint for a Soft, Matte Look
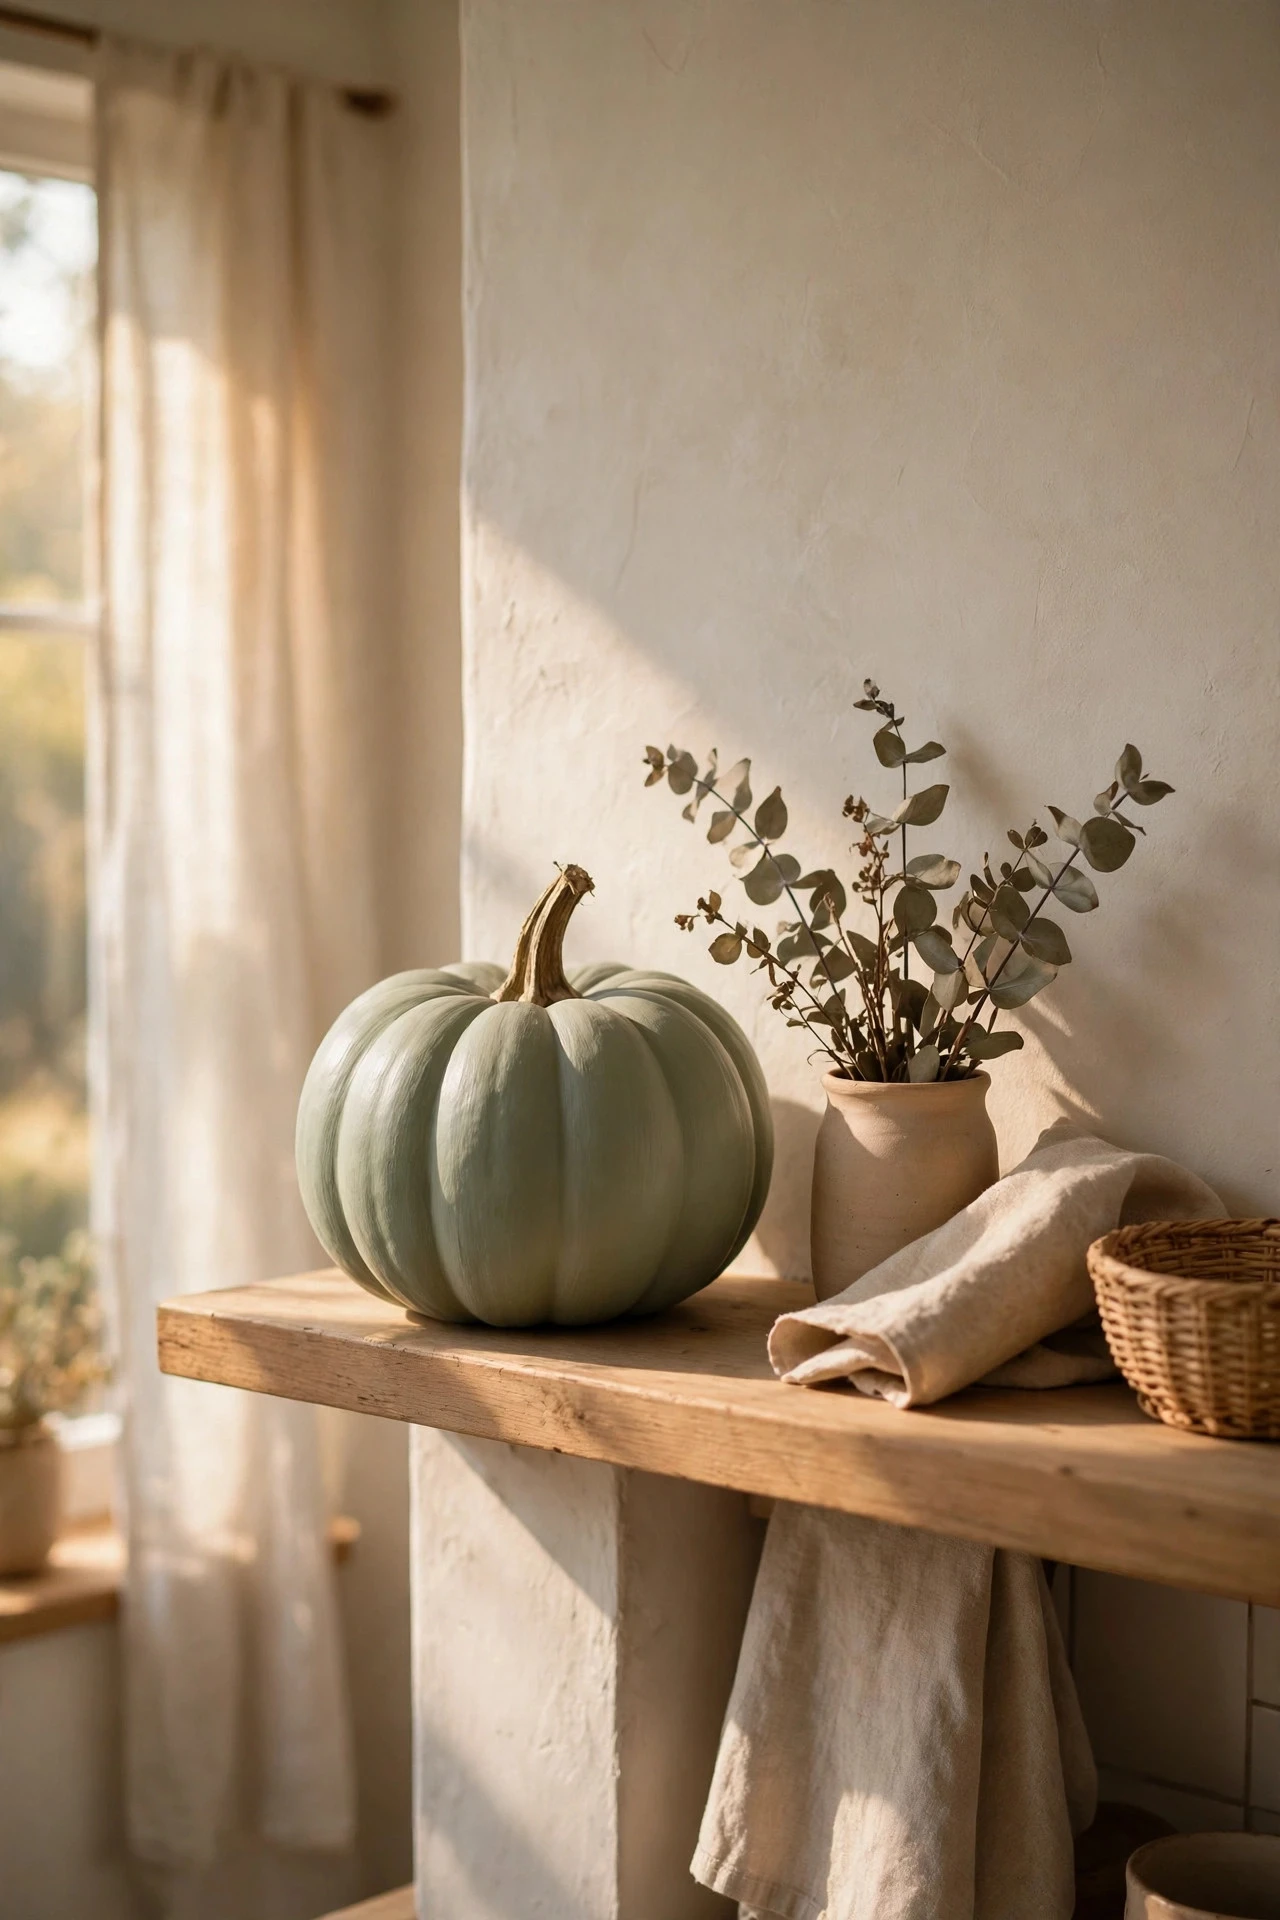
Chalk paint gives pumpkins a soft, velvety, vintage finish that acrylic cannot quite match, and it grips foam and real pumpkin skin with almost no preparation. It is ideal for farmhouse, cottage, and French-country looks in linen white, sage, dusty rose, and pale grey, and it distresses beautifully with a light sanding once dry. A small pot costs $8 to $15 and covers several pumpkins. The mistake to avoid is leaving chalk paint unsealed outdoors, because it is porous and absorbs damp air, rain, and stains, so always finish with a clear sealer if the pumpkin will leave a dry room.
5. Spray Paint for Smooth, Even Coverage
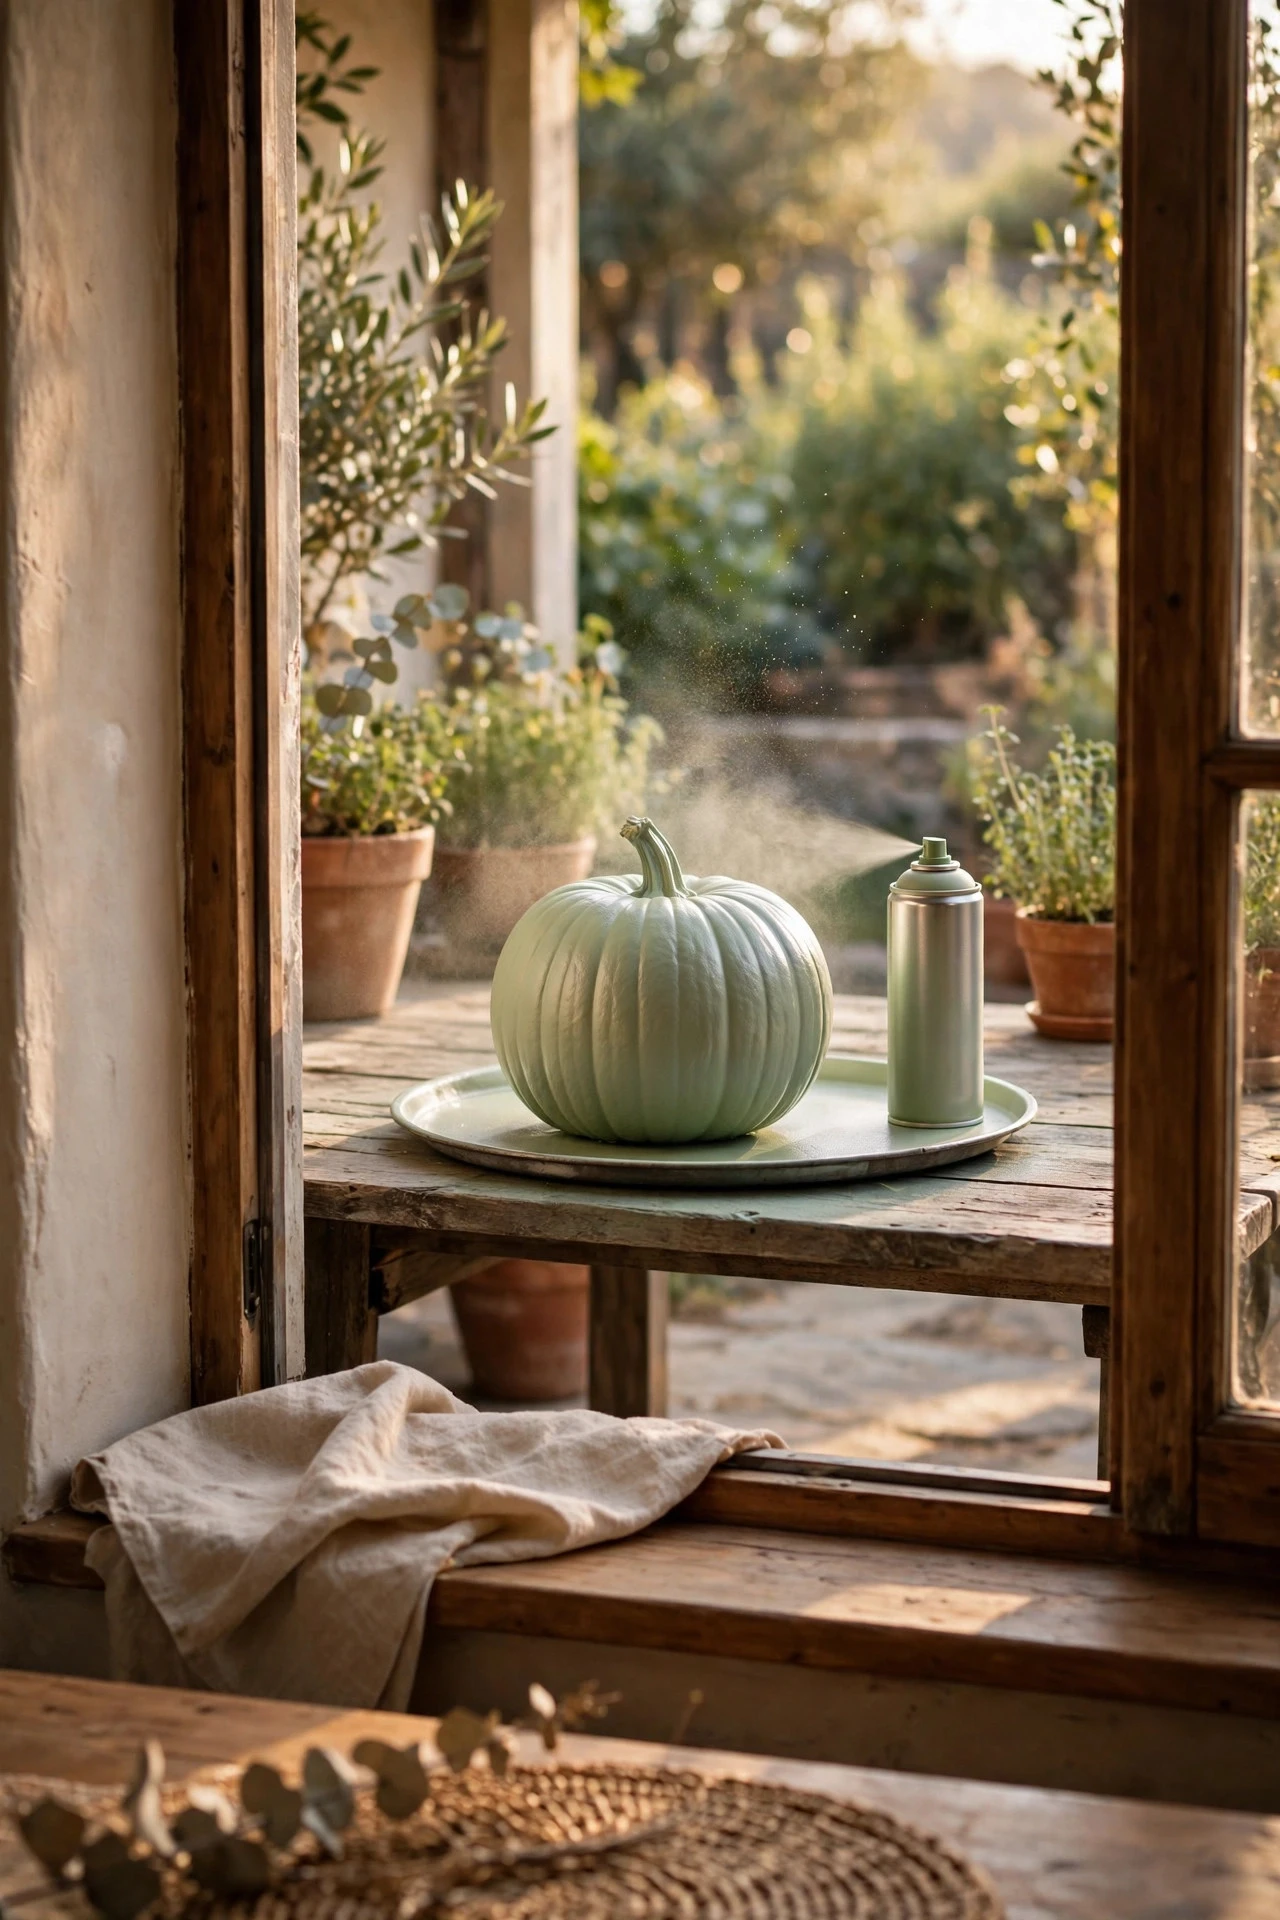
Spray paint gives the smoothest, most even base coat of any method, especially for metallics, and it is the fastest way to paint a large group of pumpkins in one colour. Work outdoors or in a ventilated garage, hold the can 10 to 12 inches away, and use light, even passes rather than one heavy coat, turning the pumpkin slowly on a tray or a lazy Susan. Craft spray paint costs $5 to $8 per can. The mistake to avoid is spraying oil-based paint onto a foam pumpkin, because the solvents can dissolve the foam surface and leave pitting that no amount of repainting will hide — check the can says safe for foam or craft use.
6. Paint Pens and Markers for Detail Work
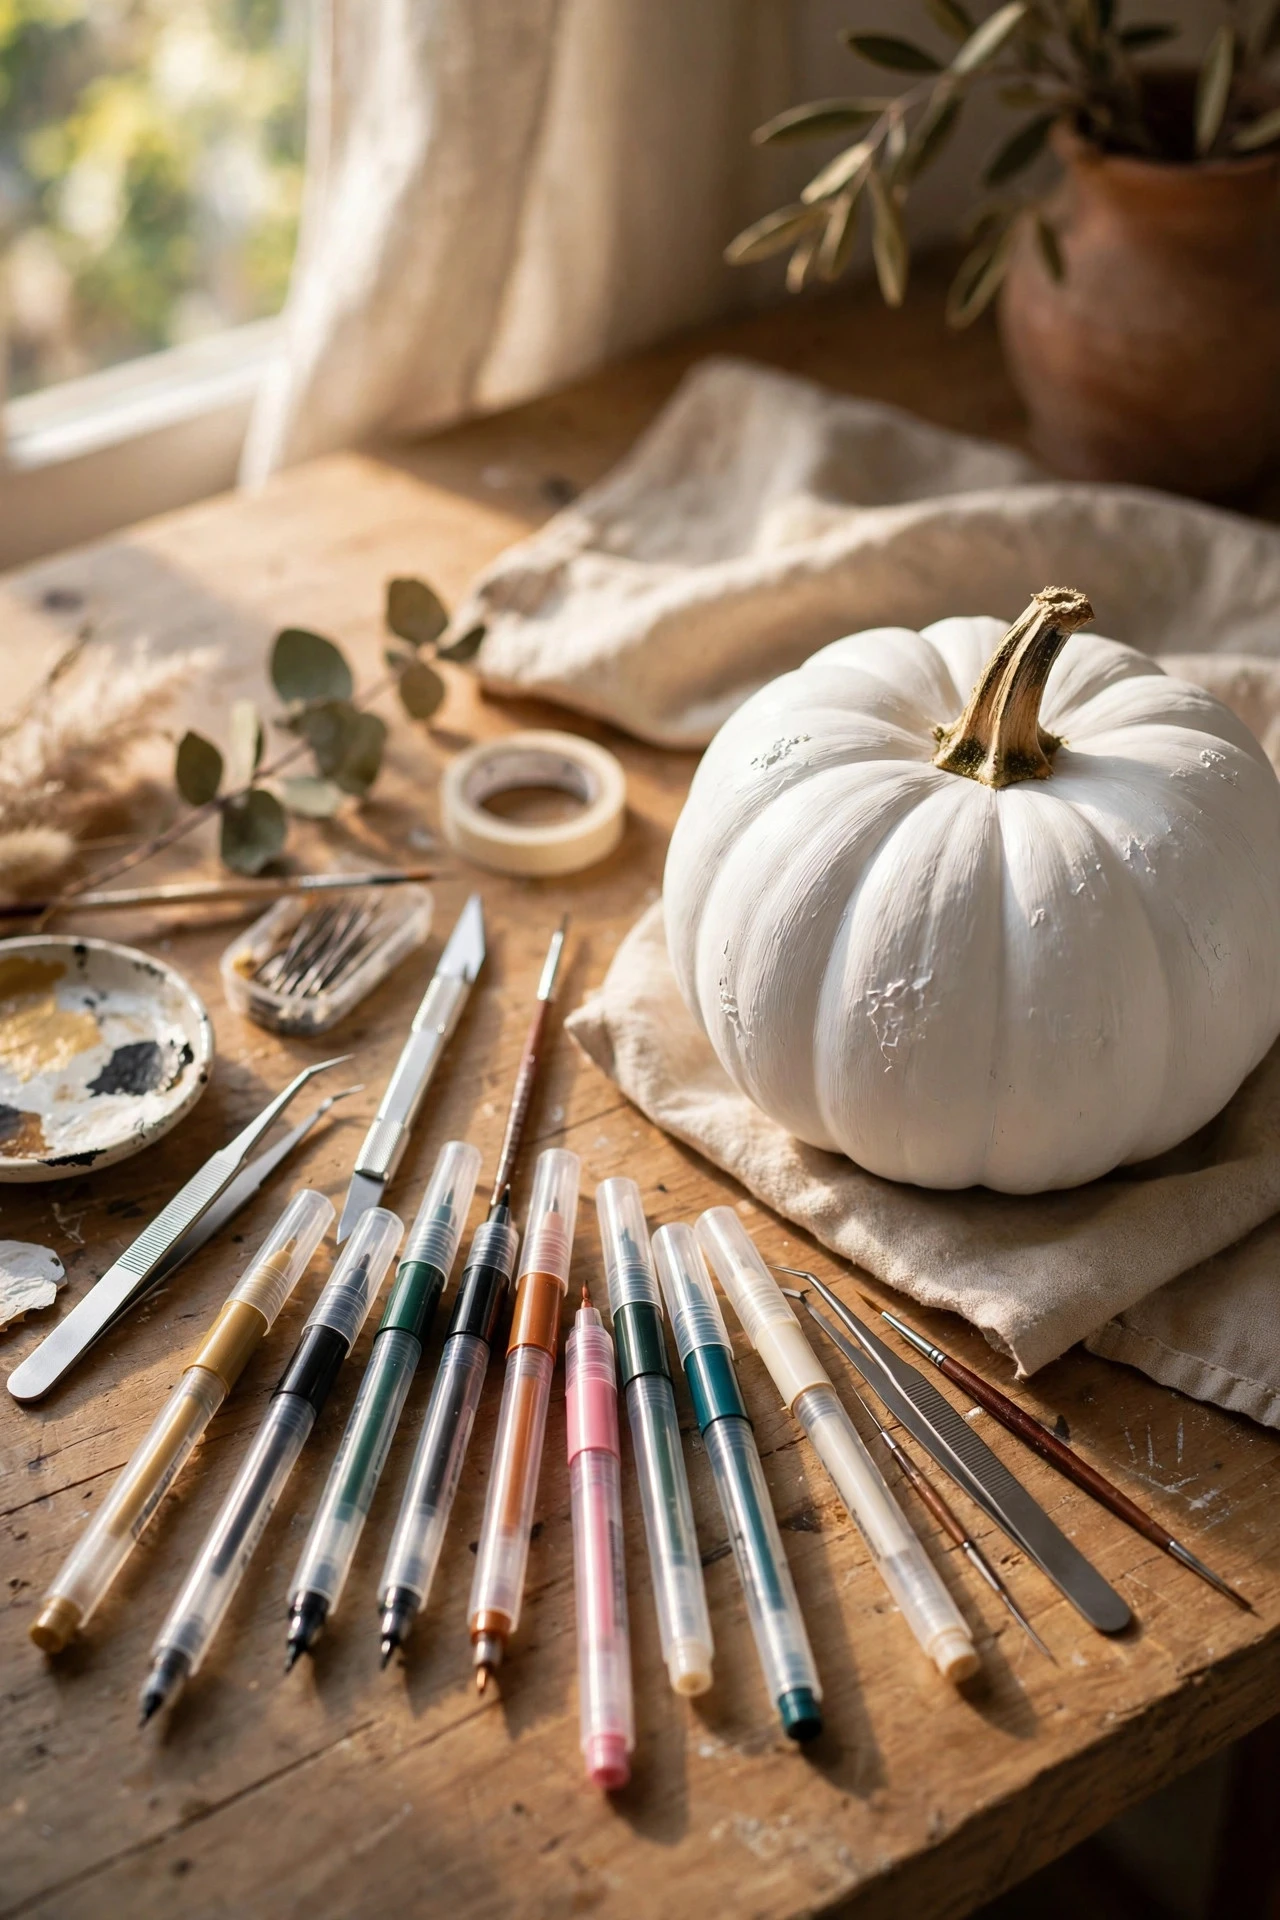
Paint pens are the tool for the details that brushes cannot manage: fine lines, dots, lettering, faces, and small motifs. Acrylic paint pens come in fine and medium tips, dry quickly, and layer over a dry base coat without bleeding, while the same pen can outline a design, add stars, or write a word. A set of pens costs $8 to $15. The mistake to avoid is using a permanent marker for detail work, because marker ink bleeds into pumpkin skin, fades to brown-purple, and cannot be covered cleanly with acrylic paint afterwards.
7. Brushes: Flat, Round and Foam
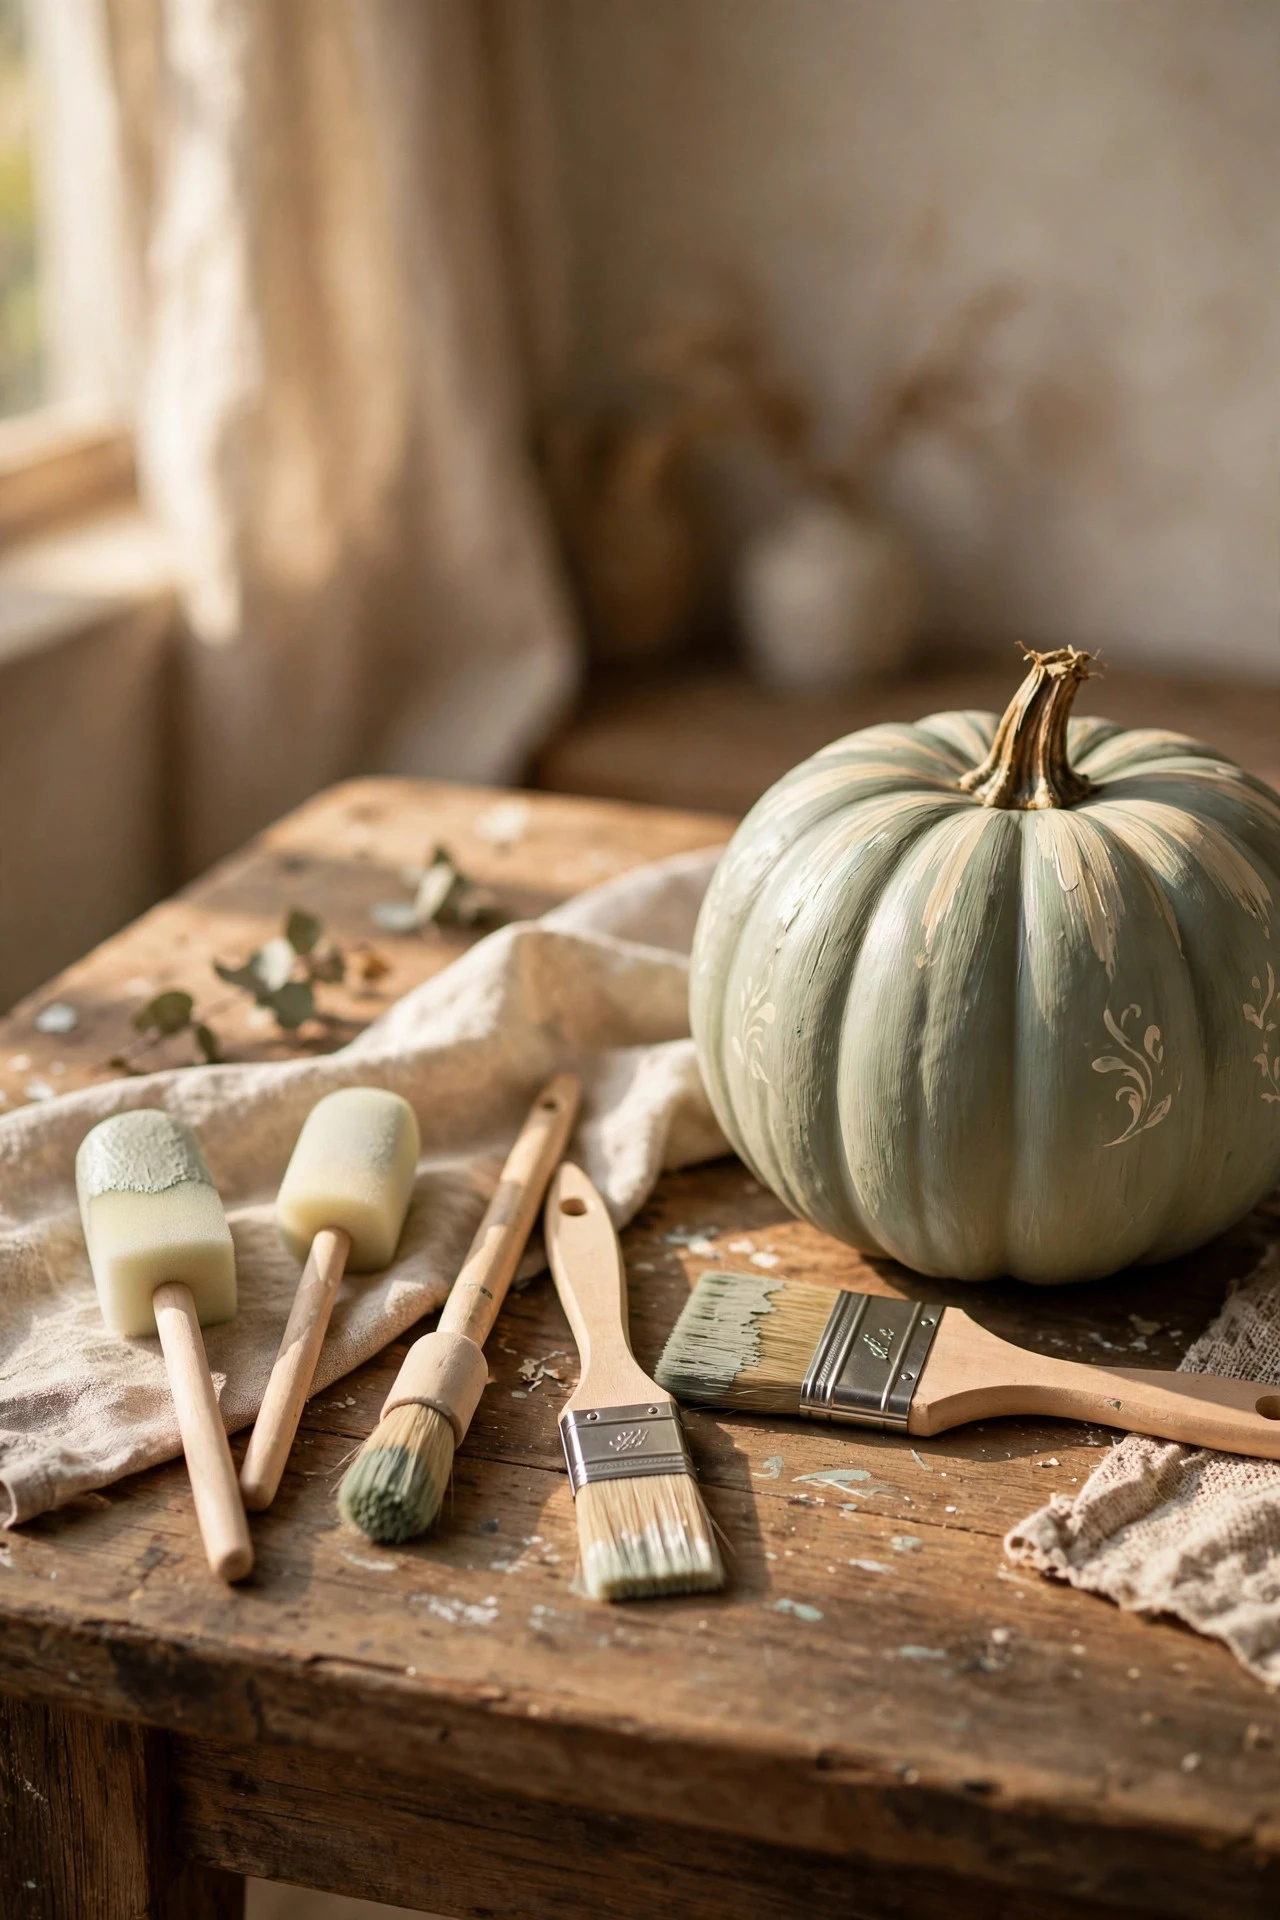
Three brushes cover almost every pumpkin design: a flat brush for base coats and stripes, a round brush for flowers and curves, and a foam brush or sponge for blending and stippling. Cheap brushes shed bristles into wet paint, so spend a little more on brushes with firmly set bristles, wash them in warm soapy water after each session, and dry them flat. A basic set costs $8 to $15. The mistake to avoid is using one large brush for everything, because detail work with a big brush produces wobbly lines and blobs, while a base coat with a tiny brush takes forever and dries in visible streaks.
8. Prime First for Light and Metallic Colours
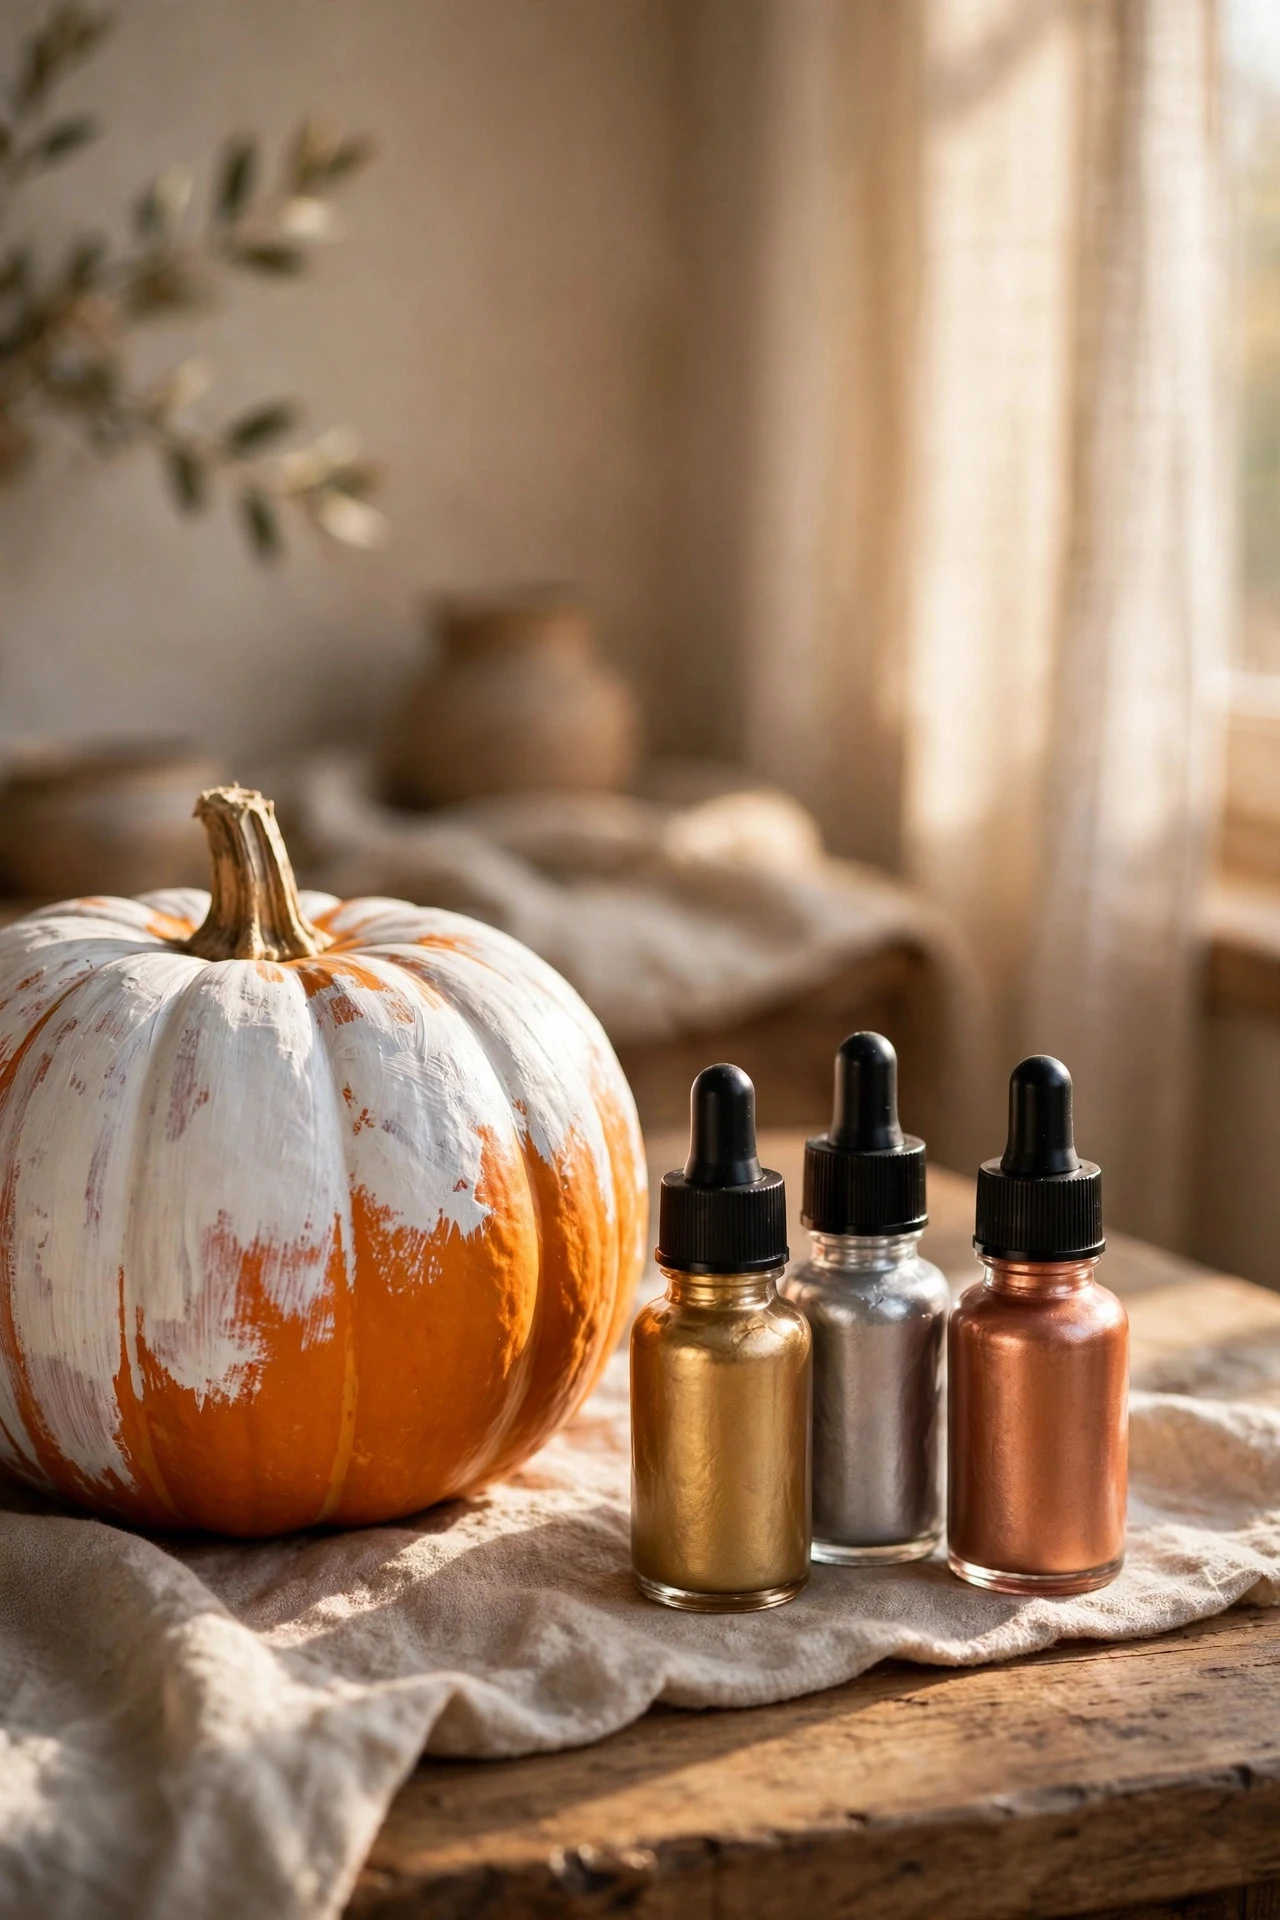
Primer is the step that separates muddy paint from clean colour. When painting a light colour — white, blush, pale blue — or a metallic over an orange pumpkin, apply a coat of white primer or white acrylic paint first and let it dry, so the orange does not show through and dull the top colour. Dark colours and chalk paint often cover without primer, but metallics almost always need it. Primer costs $5 to $10. The mistake to avoid is painting rose gold or champagne metallic directly onto orange skin, because the result is a muddy bronze that looks nothing like the colour on the bottle.
9. The Two Thin Coats Rule
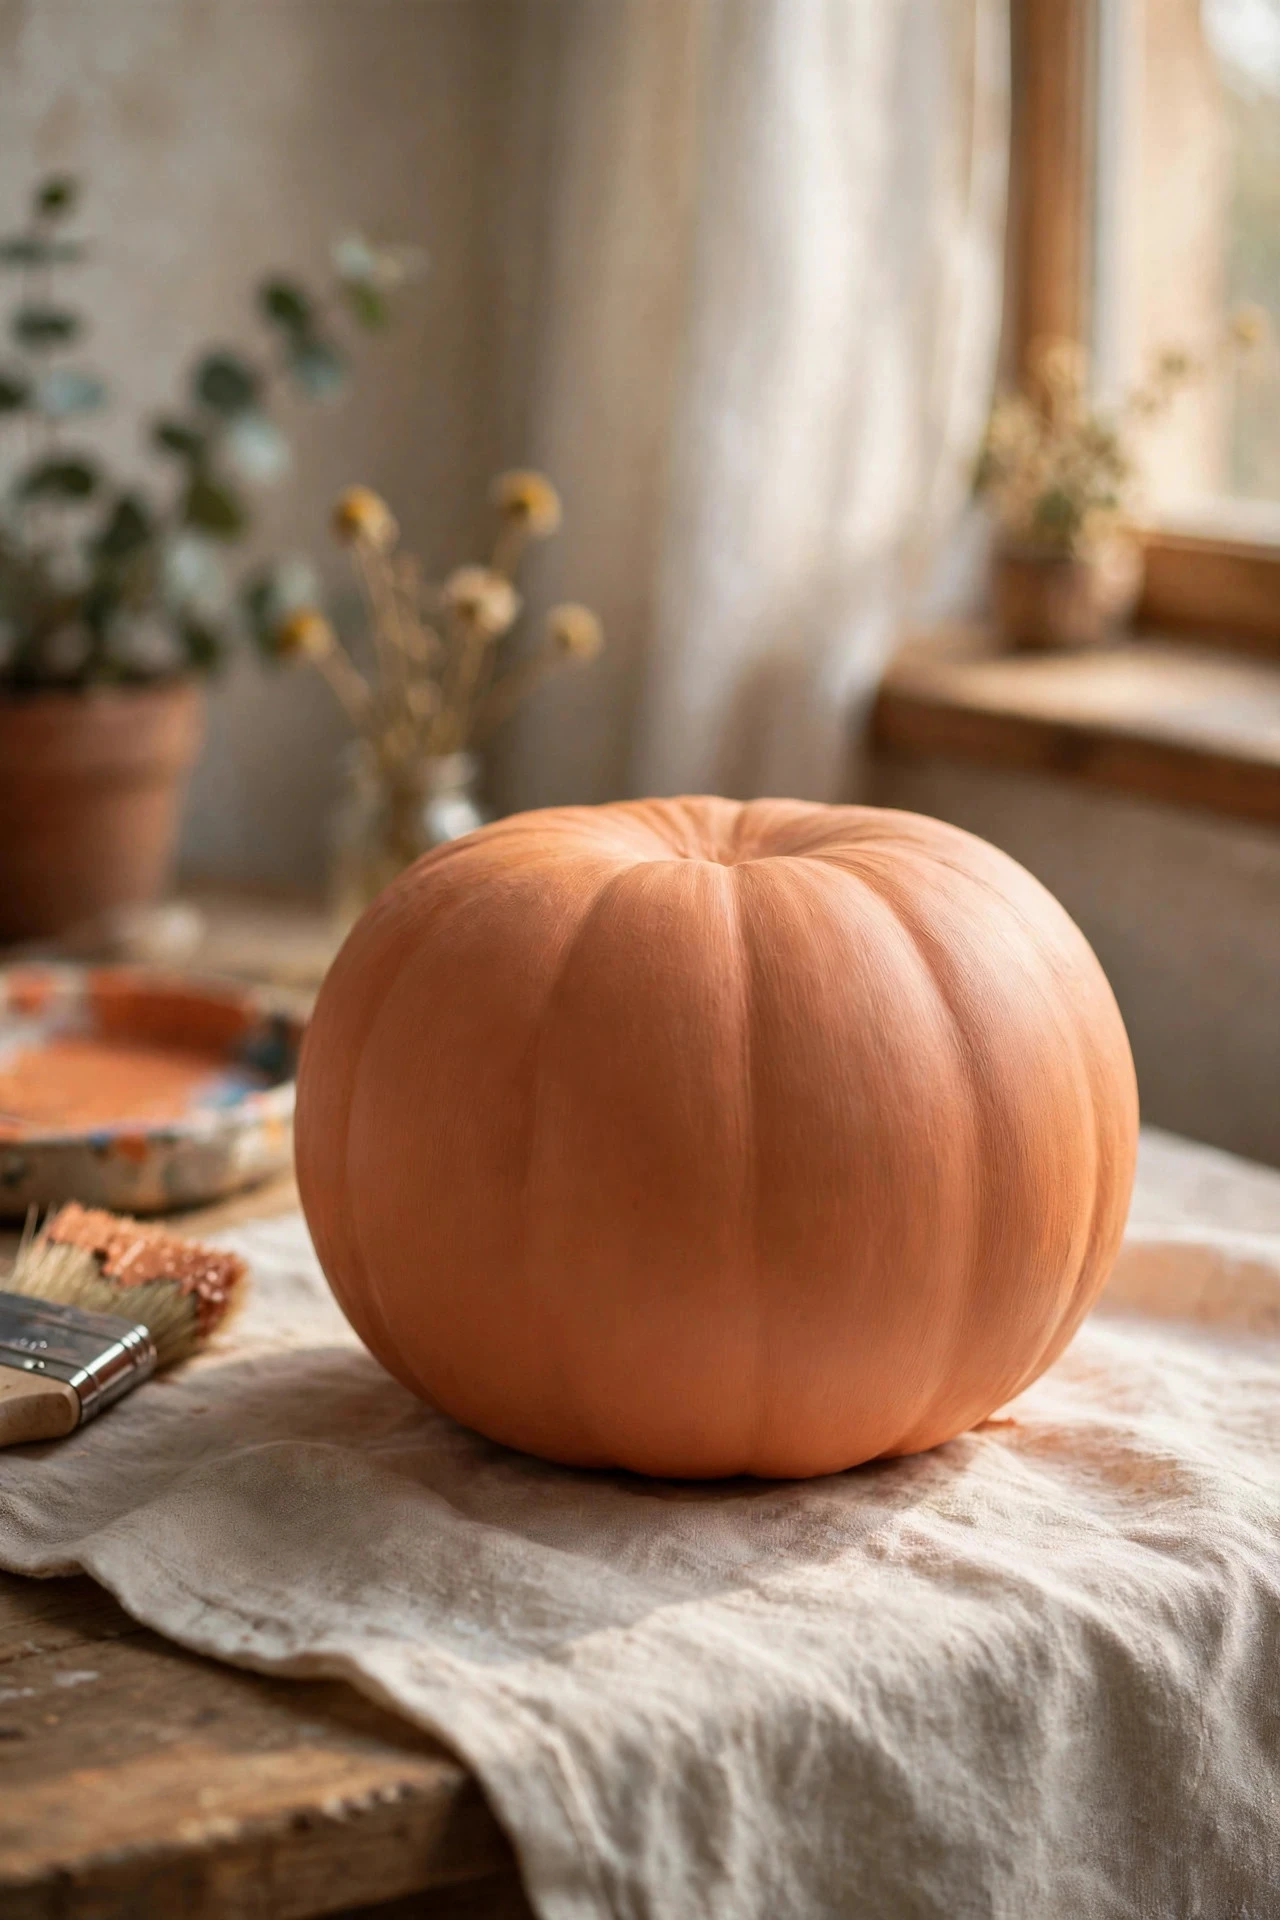
Every pumpkin painting problem — peeling, pooling, streaks, uneven colour — traces back to coats that are too thick. Apply two thin coats instead of one heavy coat, letting the first dry for at least an hour, and watch for the paint pooling in the ribs, which is the sign to use less paint on the brush. Thin coats dry faster, grip better, and give a smoother finish on both real and foam pumpkins. The cost is only patience. The mistake to avoid is recoating while the first coat is still tacky, because the brush lifts the wet paint, creates bald patches, and leaves a rough, torn surface that needs sanding to fix.
10. Painting the Base Coat Evenly
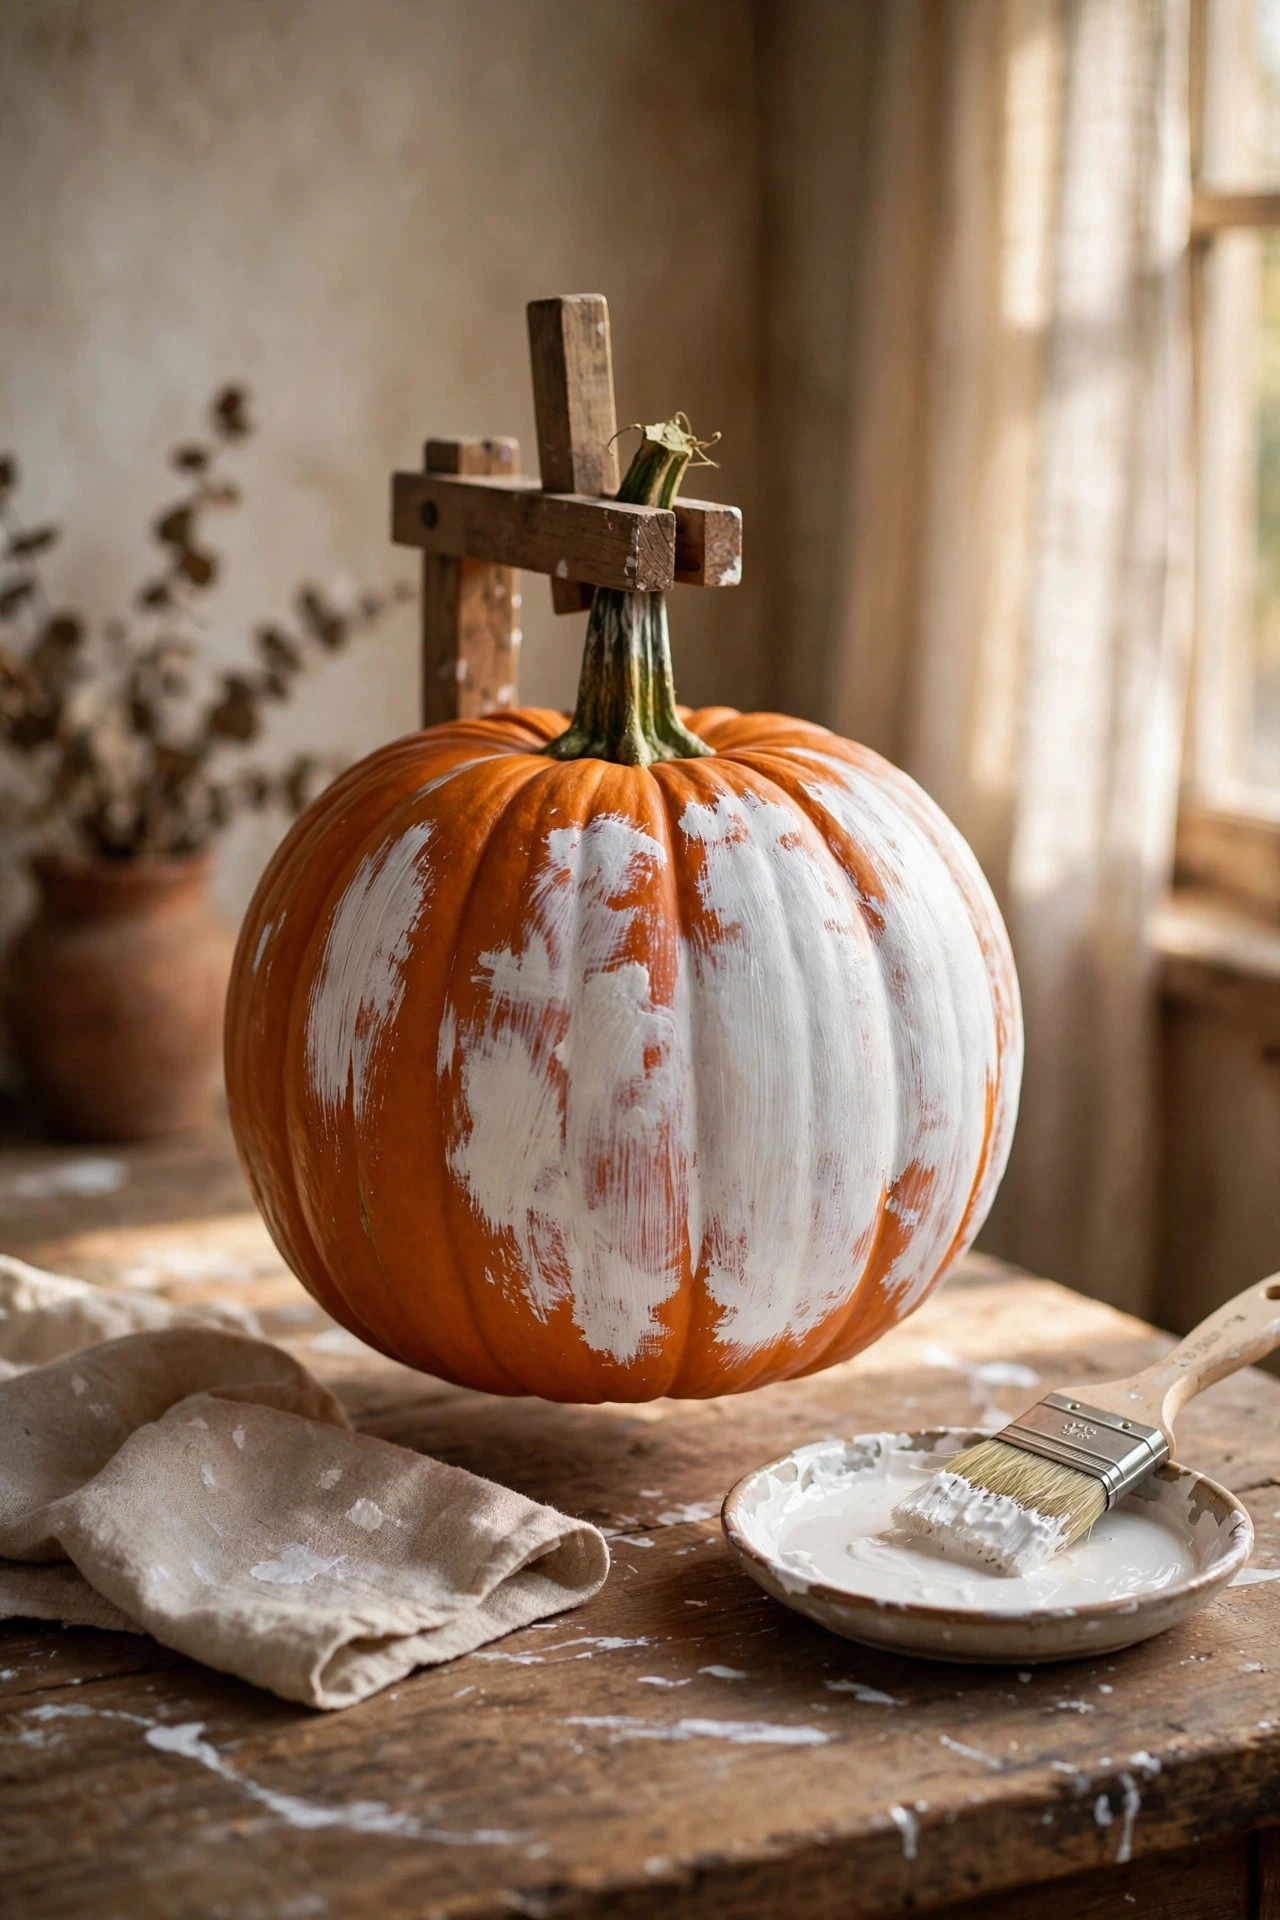
A good base coat is painted in sections, not in one continuous sweep around the pumpkin. Start at the stem, paint downward along one section of ribs, and work around the pumpkin in overlapping sections, holding the pumpkin by the stem and resting it on a cardboard tube or a cup while each section dries. Turn the pumpkin slowly, keep the brush loaded lightly, and check the ribs from the side for missed spots before moving on. This method costs nothing extra and saves a repaint. The mistake to avoid is painting the whole pumpkin while holding it in your hand, because your fingers smudge the wet paint, leave fingerprints in the finish, and transfer paint to the next surface you touch.
11. Drying Pumpkins Without Smudges
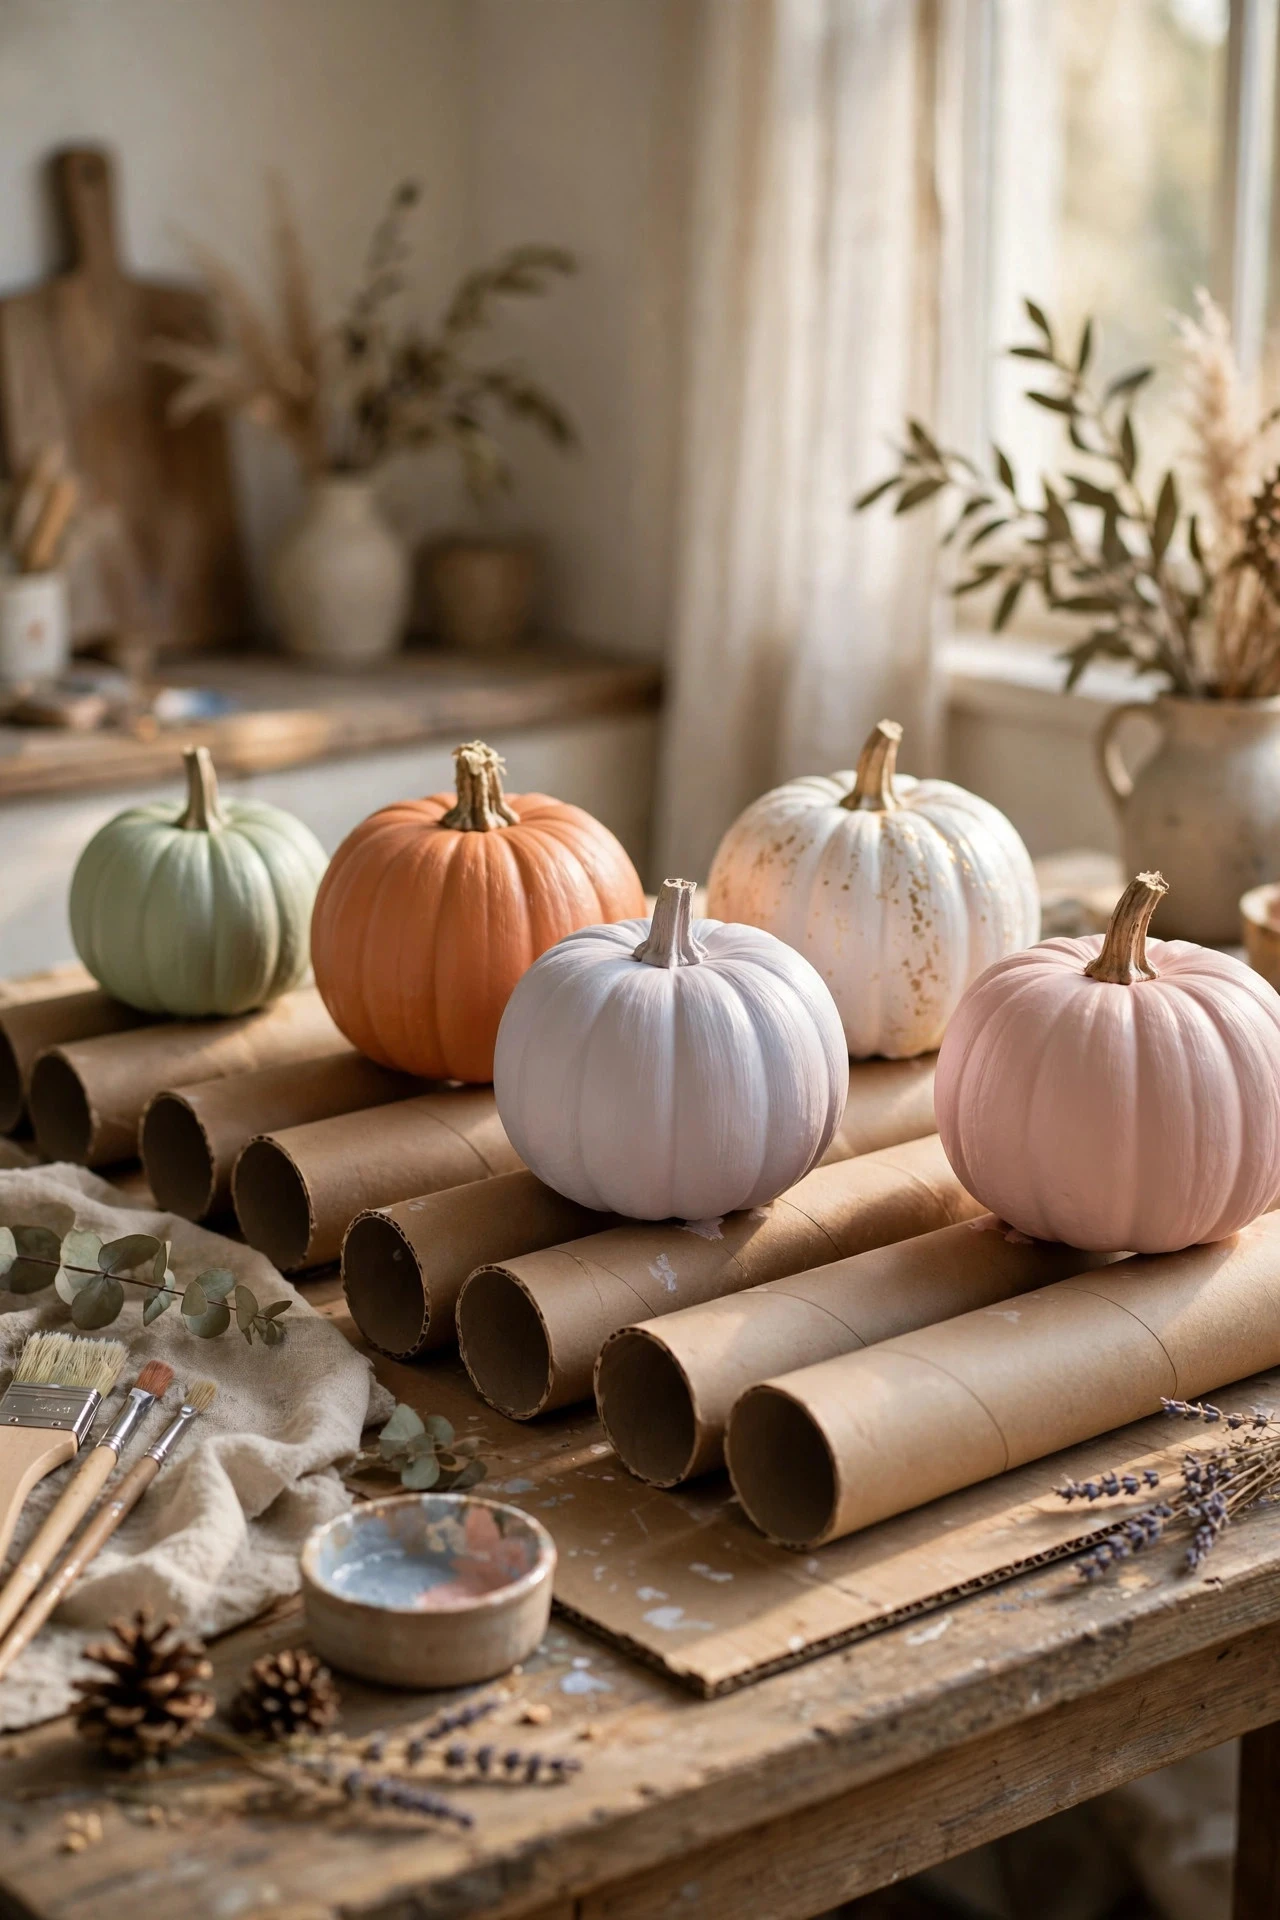
Drying is where most painted pumpkins are ruined, because a wet pumpkin rolled onto its side smears the design. Rest each pumpkin on a cut cardboard tube, a ring of tape, or a cup, so the painted surface touches nothing, and leave at least an hour between coats and overnight before sealing. Work in a dust-free, ventilated spot, and keep pets and children away from the drying area. Tubes and cups cost nothing. For more no-carve projects that reward the same patience, these no-carve pumpkin decorating ideas use the same prep-and-dry discipline. The mistake to avoid is drying pumpkins on newspaper, because wet paint sticks to the paper, tears when lifted, and leaves printed fibres embedded in the finish.
12. Blending and Ombre With a Sponge
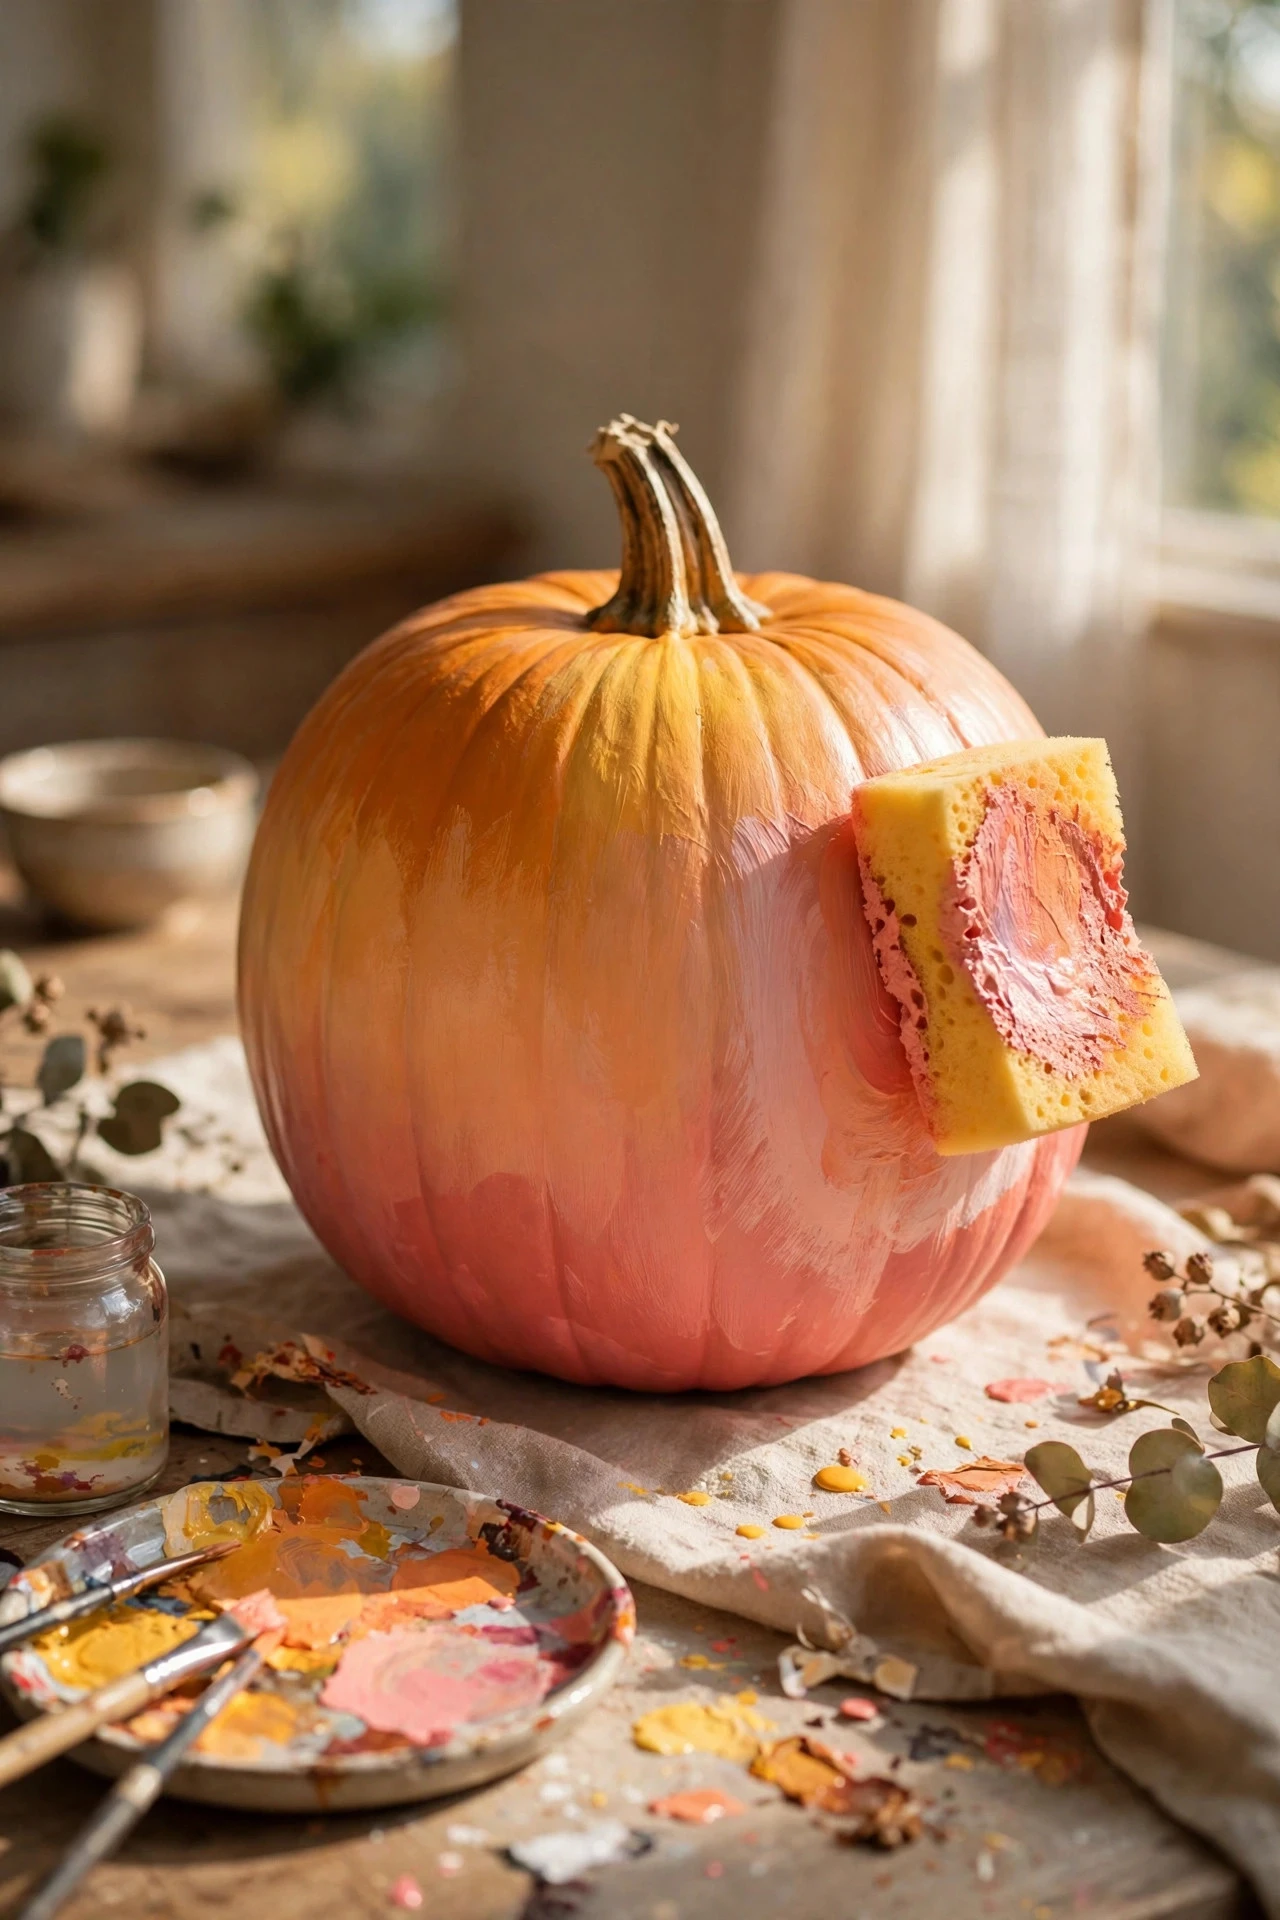
Ombre and blended finishes are easiest with a sponge, not a brush. Paint the lightest colour as the base, then dab the darkest colour onto the bottom third with a dry sponge, blending upward in small, tapping motions while the paint is still slightly damp. Work in sections, reload the sponge sparingly, and step back often to check the fade, because the blend looks stronger up close than from across a room. Sponges cost $3 to $6. The mistake to avoid is blending with a wet sponge, which thins the paint, creates watery streaks, and washes the darker colour down into the lighter base in muddy drips.
13. Stencils, Tape and Clean Edges
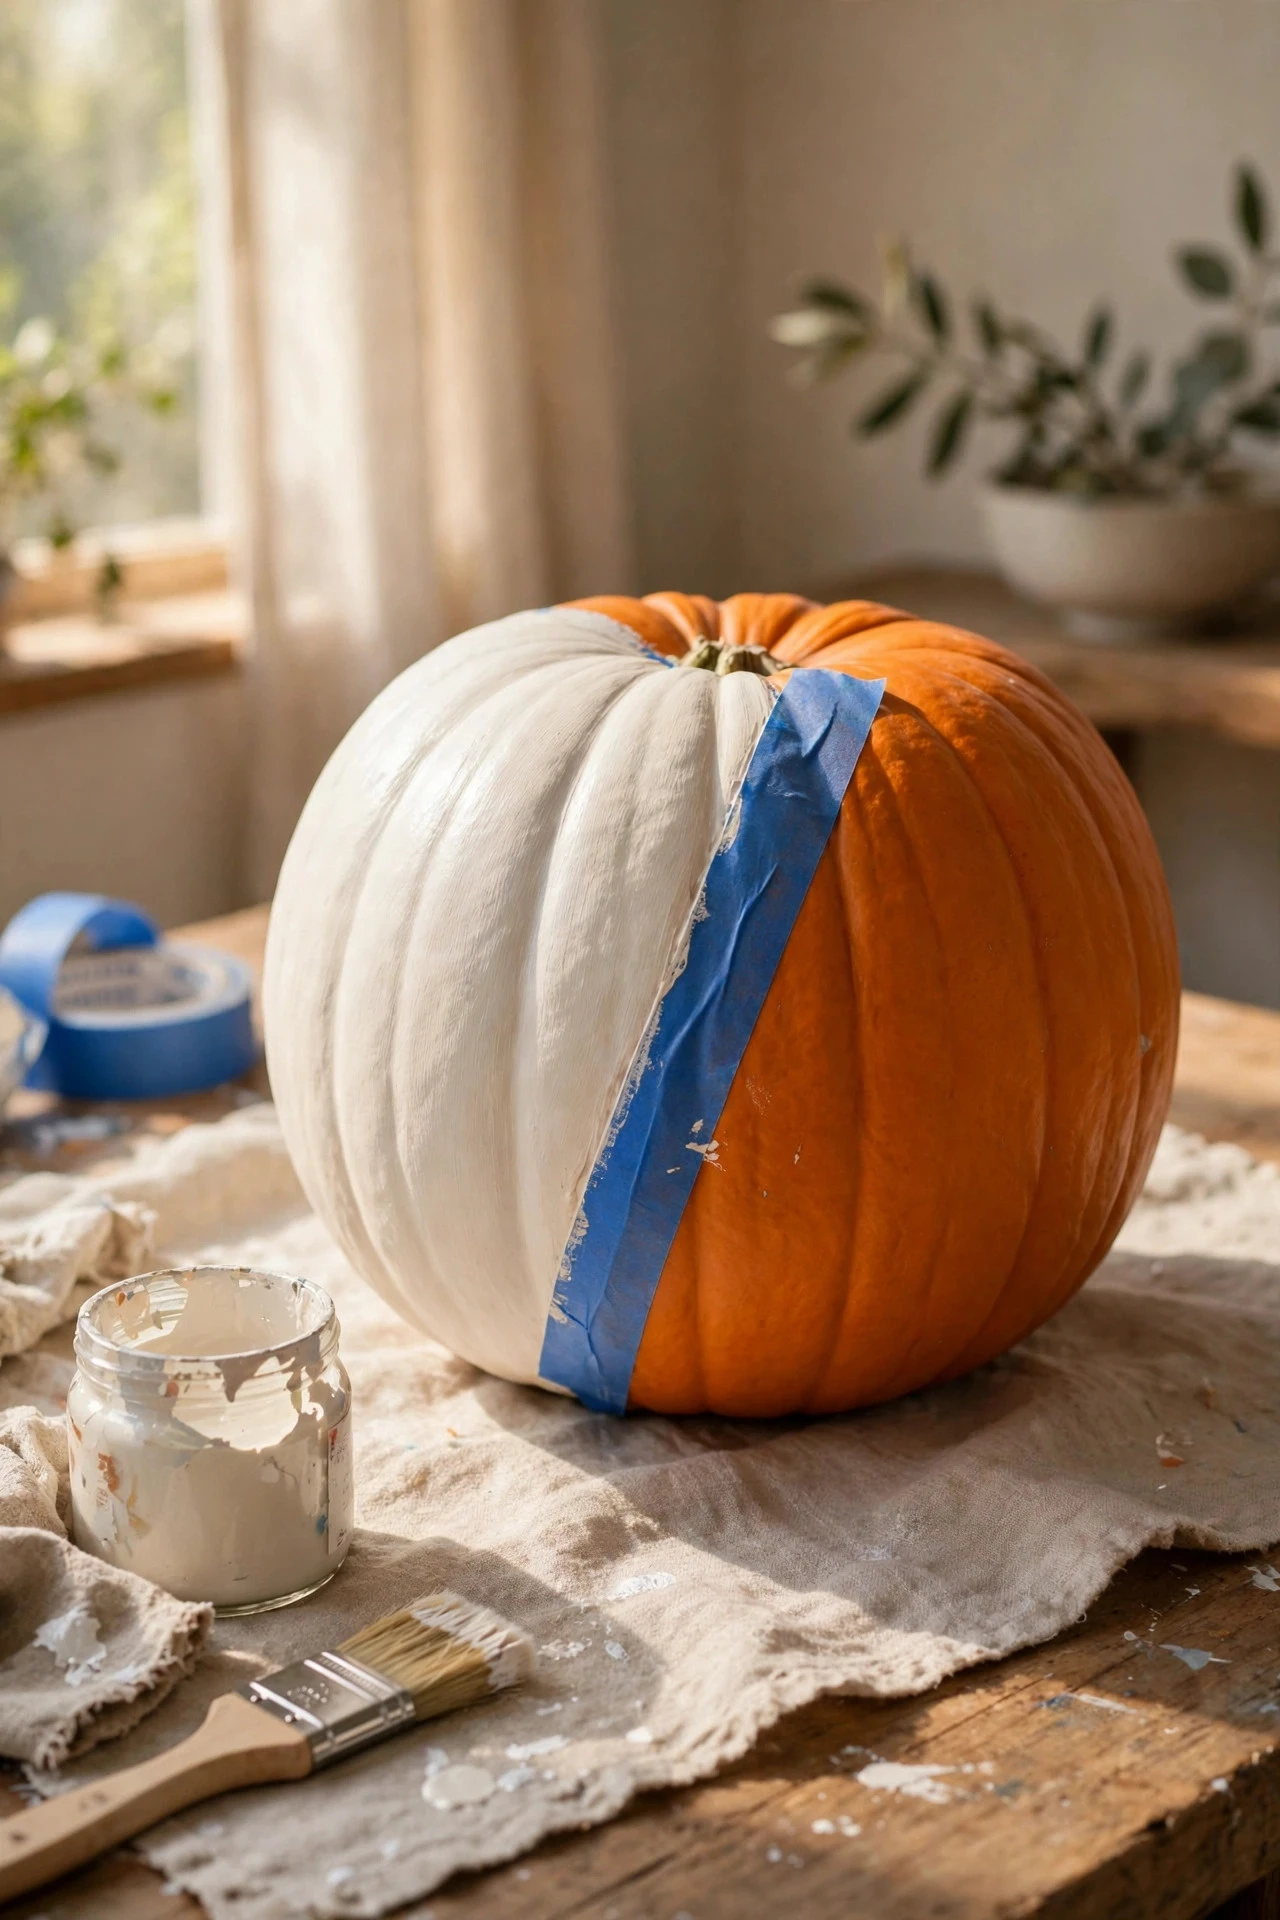
Stencils and painter's tape are how beginners get professional-looking edges. Press tape firmly into the pumpkin's ribs, paint over it in thin coats, and peel it away while the paint is still slightly tacky for the sharpest line; for stencils, use a nearly dry brush and a dabbing motion so paint does not seep under the edges. Tape and stencils cost $6 to $15. The mistake to avoid is using loose tape on a deeply ribbed pumpkin, because paint seeps under the gaps, the edge comes out wavy, and the clean geometric look that tape is meant to create disappears entirely.
14. Freehand Designs: Start Small, Build Up
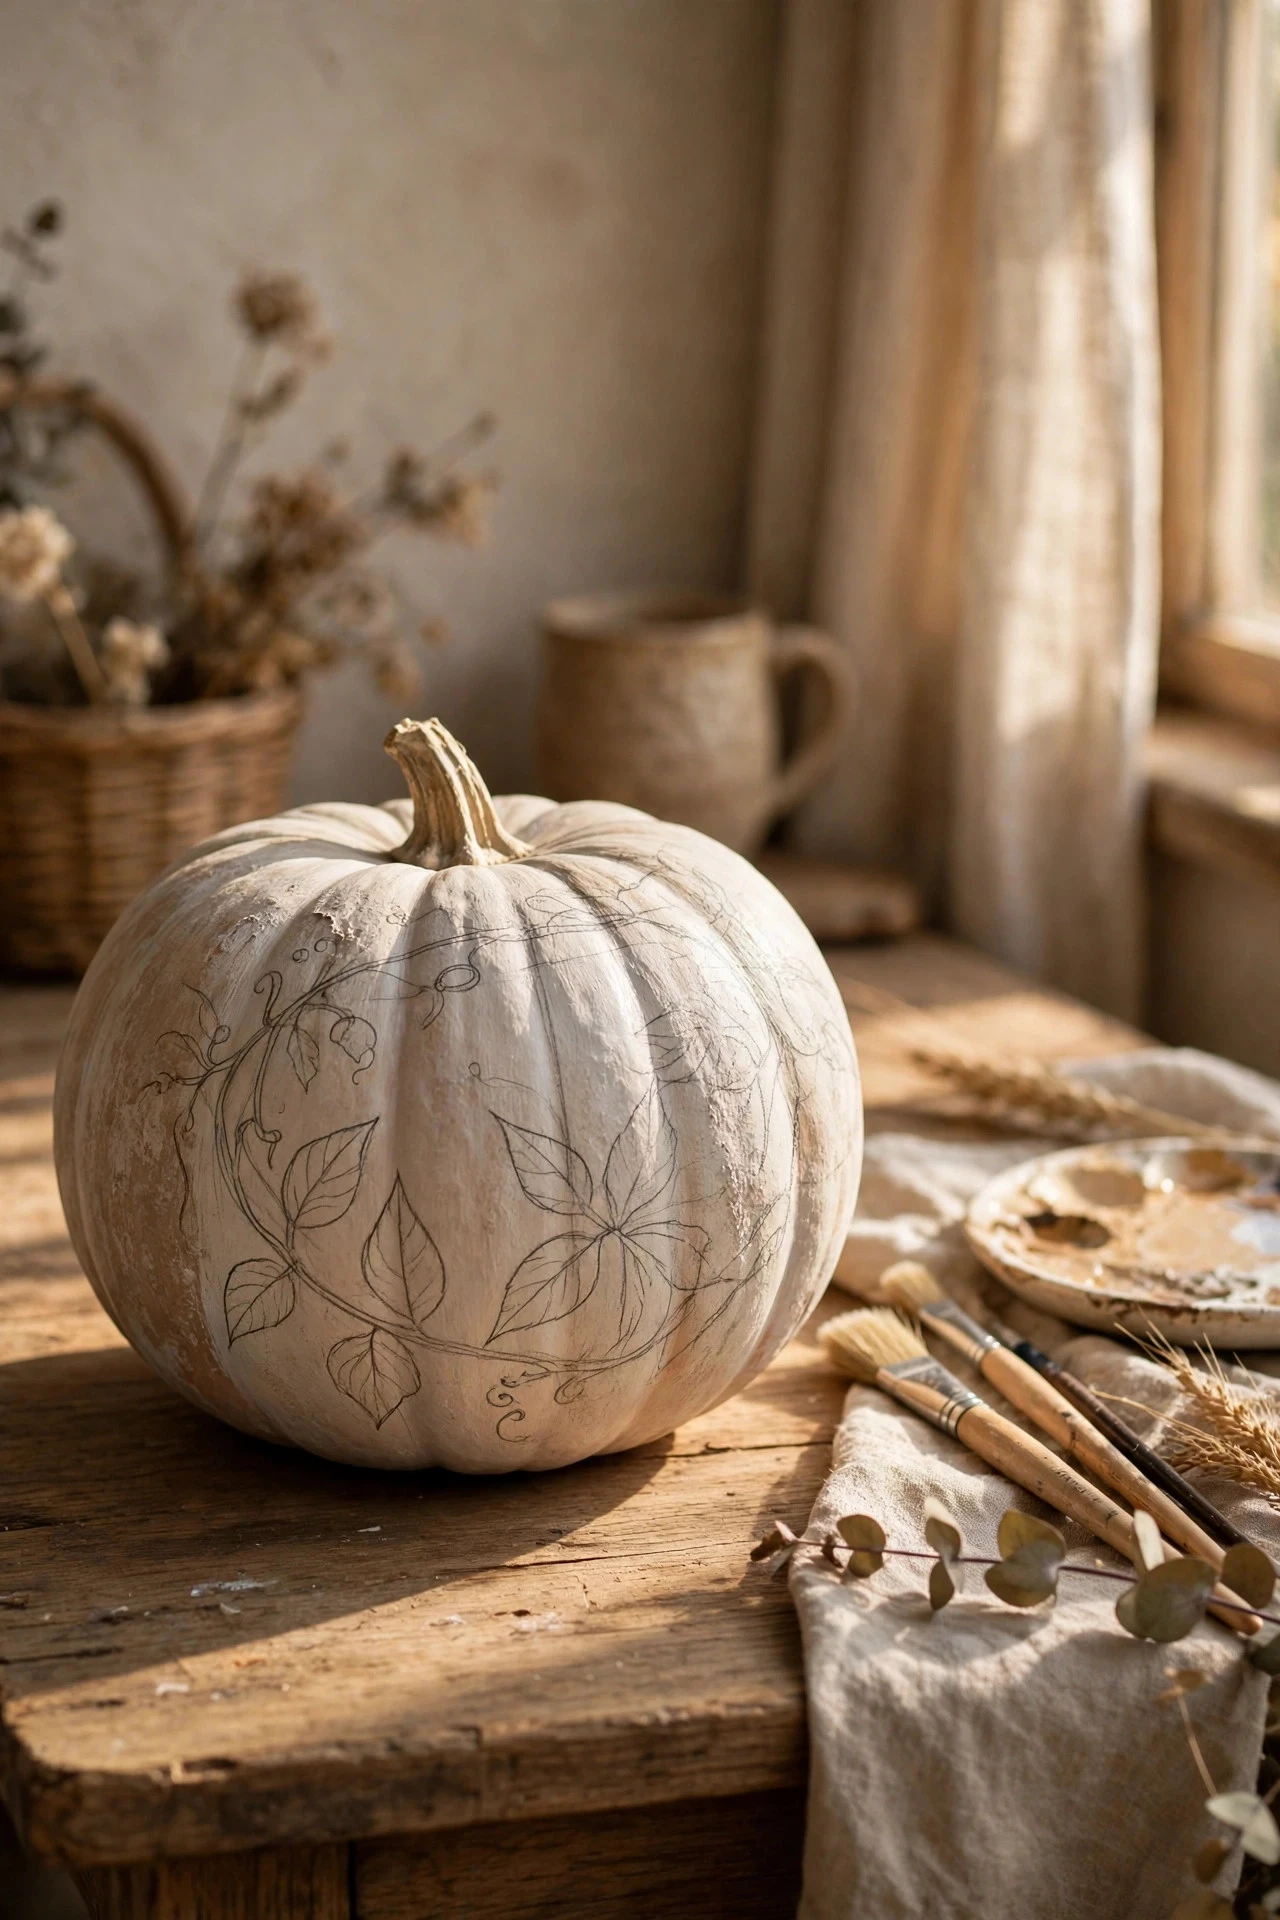
Freehand painting works best when you start with the largest, simplest shapes and add detail last. Sketch the design lightly in pencil on the dry base coat, paint the big shapes first, let them dry, and then add outlines, dots, and small motifs with a fine brush or paint pen. Practice each motif once on paper, keep the design to one side of the pumpkin so you can rest it safely while it dries, and accept slight unevenness as hand-painted charm. Pencils and paper cost almost nothing. The mistake to avoid is painting the finest details first, because a slip while painting the large shapes afterwards ruins the detail work and forces a full repaint of that section.
15. Patterns That Work on Curves: Dots, Stripes and Checks
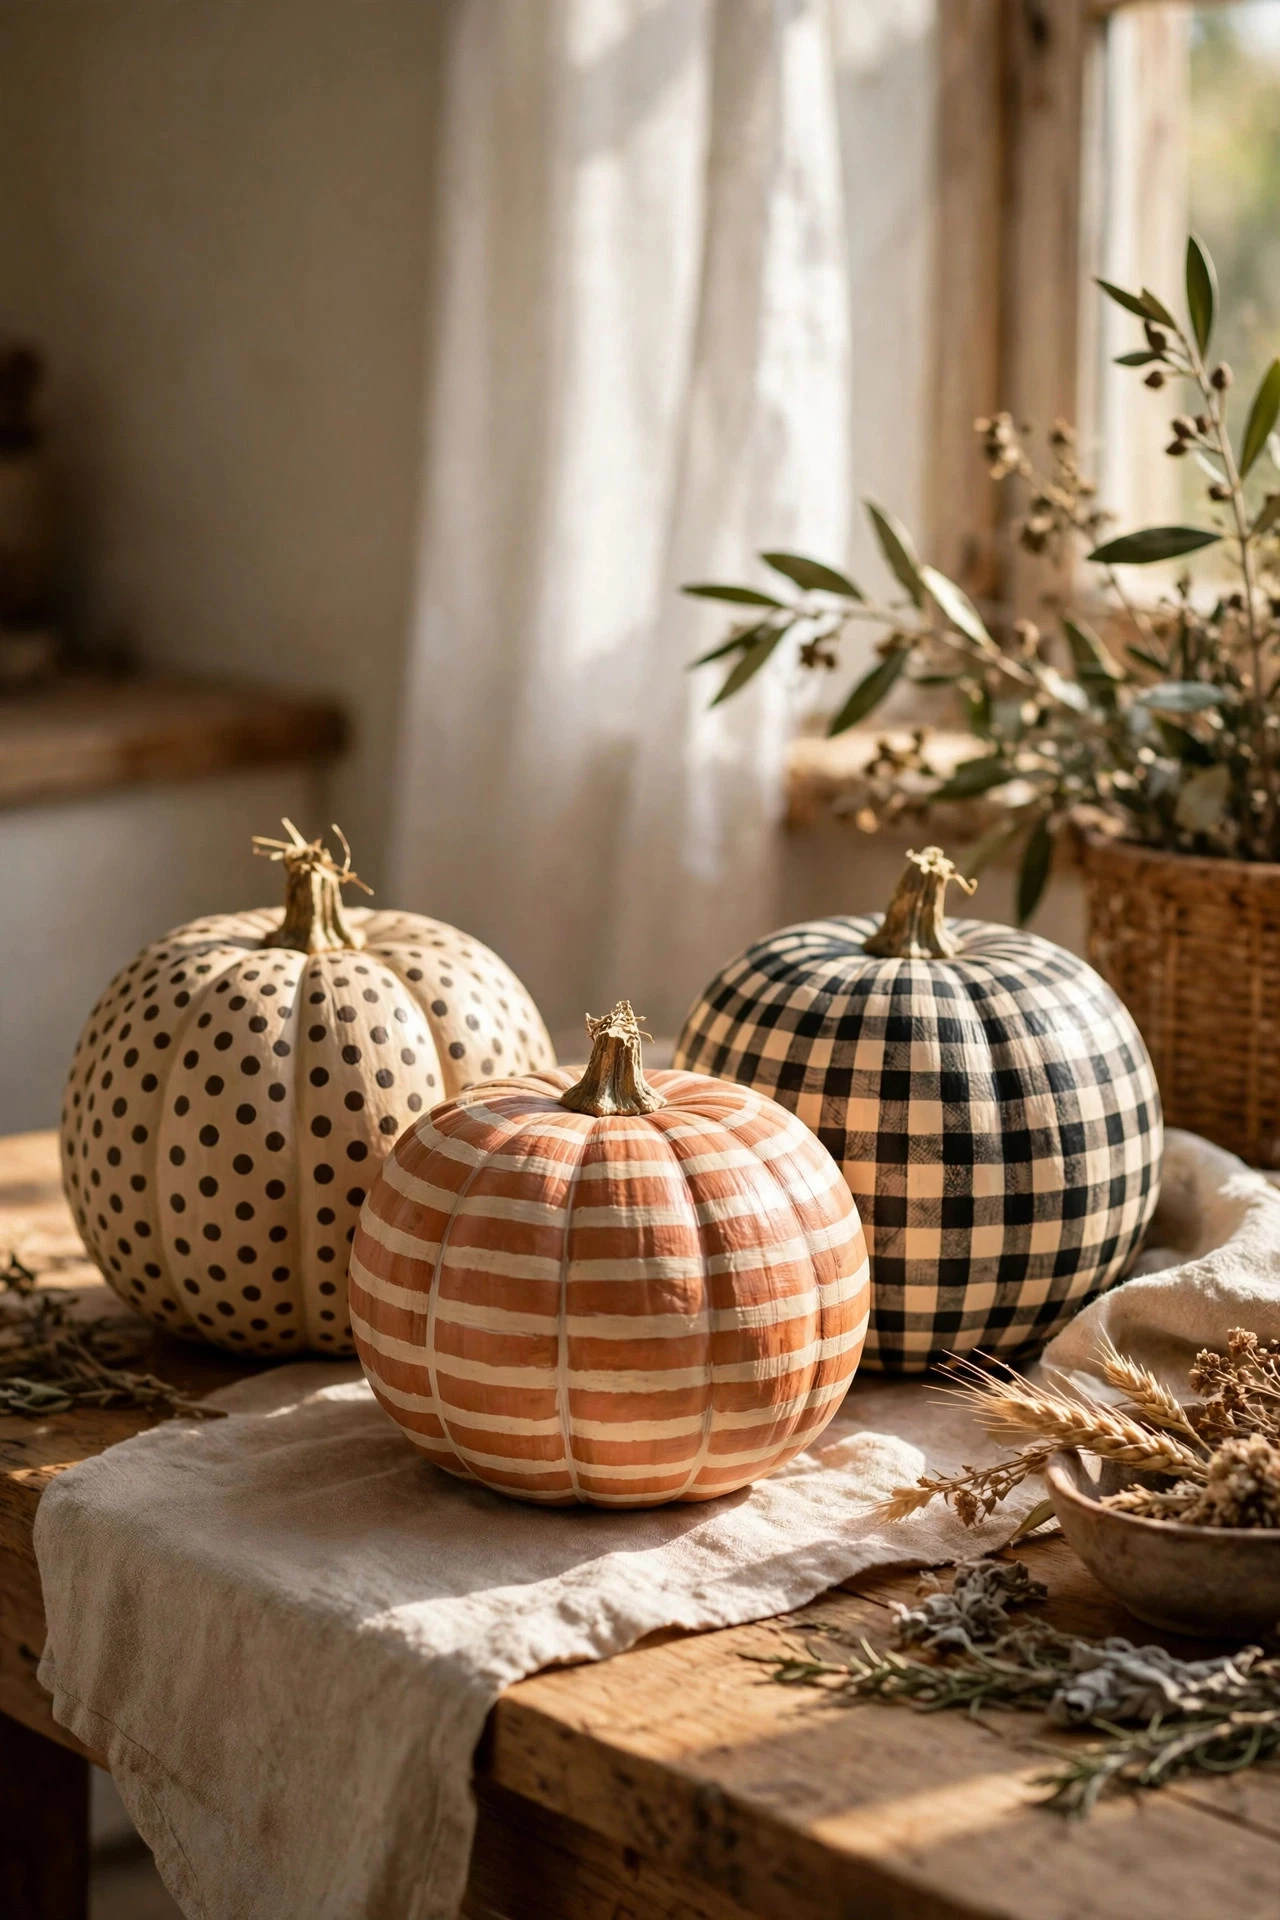
Curved surfaces favour simple, repeating patterns. Dots made with a cork or sponge, stripes that follow the ribs, and checks built from overlapping stripes all stay readable on a round pumpkin, while large, complex pictures distort and disappear around the curve. Keep patterns large, space them evenly, and let the pumpkin's shape do half the work. Pattern tools cost $5 to $10. The mistake to avoid is painting a detailed scene that wraps around the pumpkin, because no single viewpoint shows the whole picture and the design reads as a jumble from every angle.
16. Glitter, Gold Leaf and Embellishments
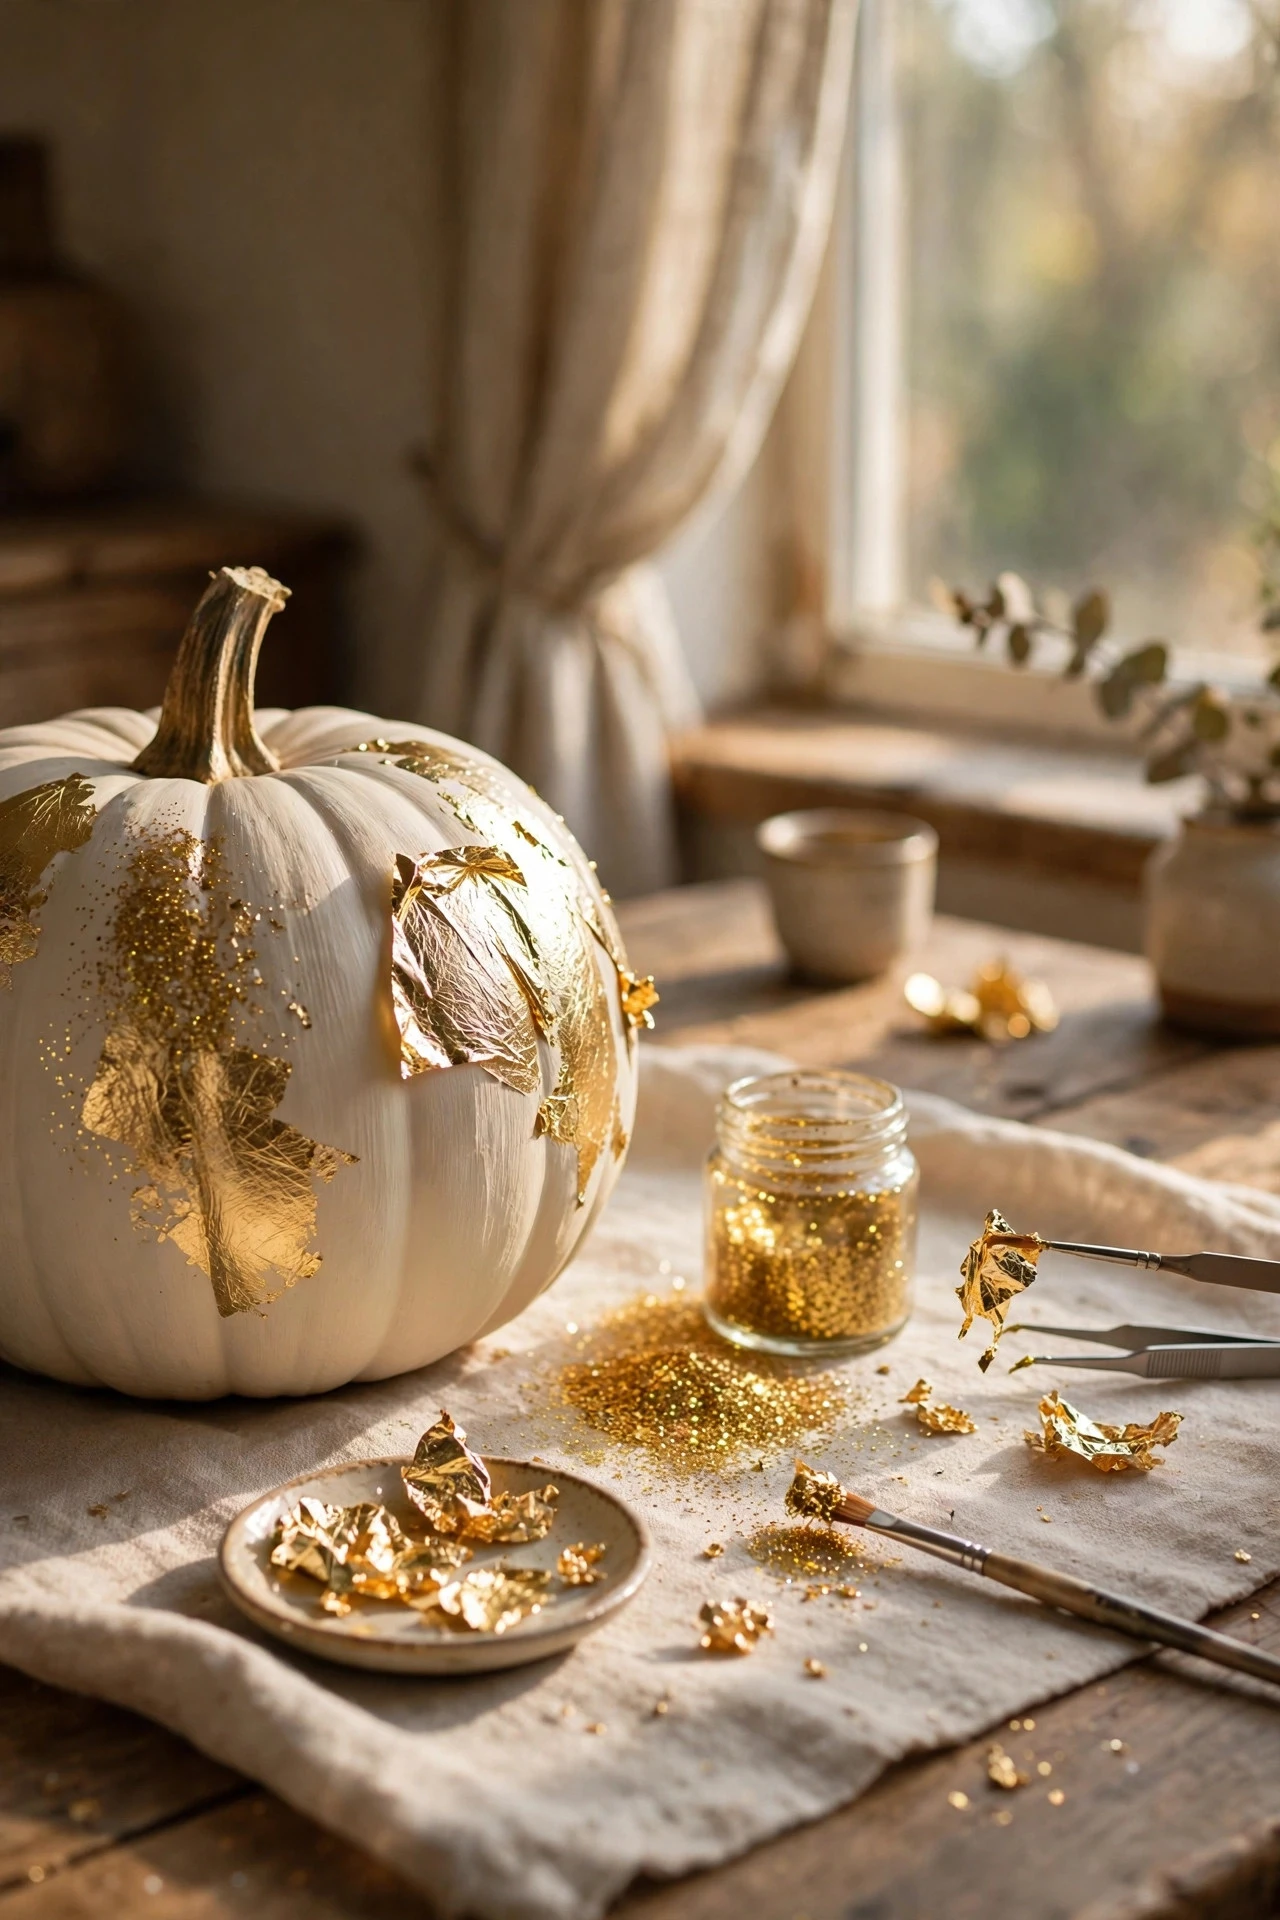
Embellishments — glitter, gold leaf, ribbon, pearls, felt — turn a painted pumpkin into a finished object, but they must be applied in the right order. Paint and seal the base first, then add glitter with adhesive while the glue is tacky, press gold leaf onto adhesive size once it turns tacky, and glue ribbon and felt last with hot glue on a fully dry surface. Glitter, leaf, and glue cost $10 to $20. The mistake to avoid is sprinkling glitter onto wet paint, because most of it falls off when the pumpkin is moved, leaving bare patches and glitter across the whole room instead of on the pumpkin.
17. Painting Pumpkins With Kids Safely
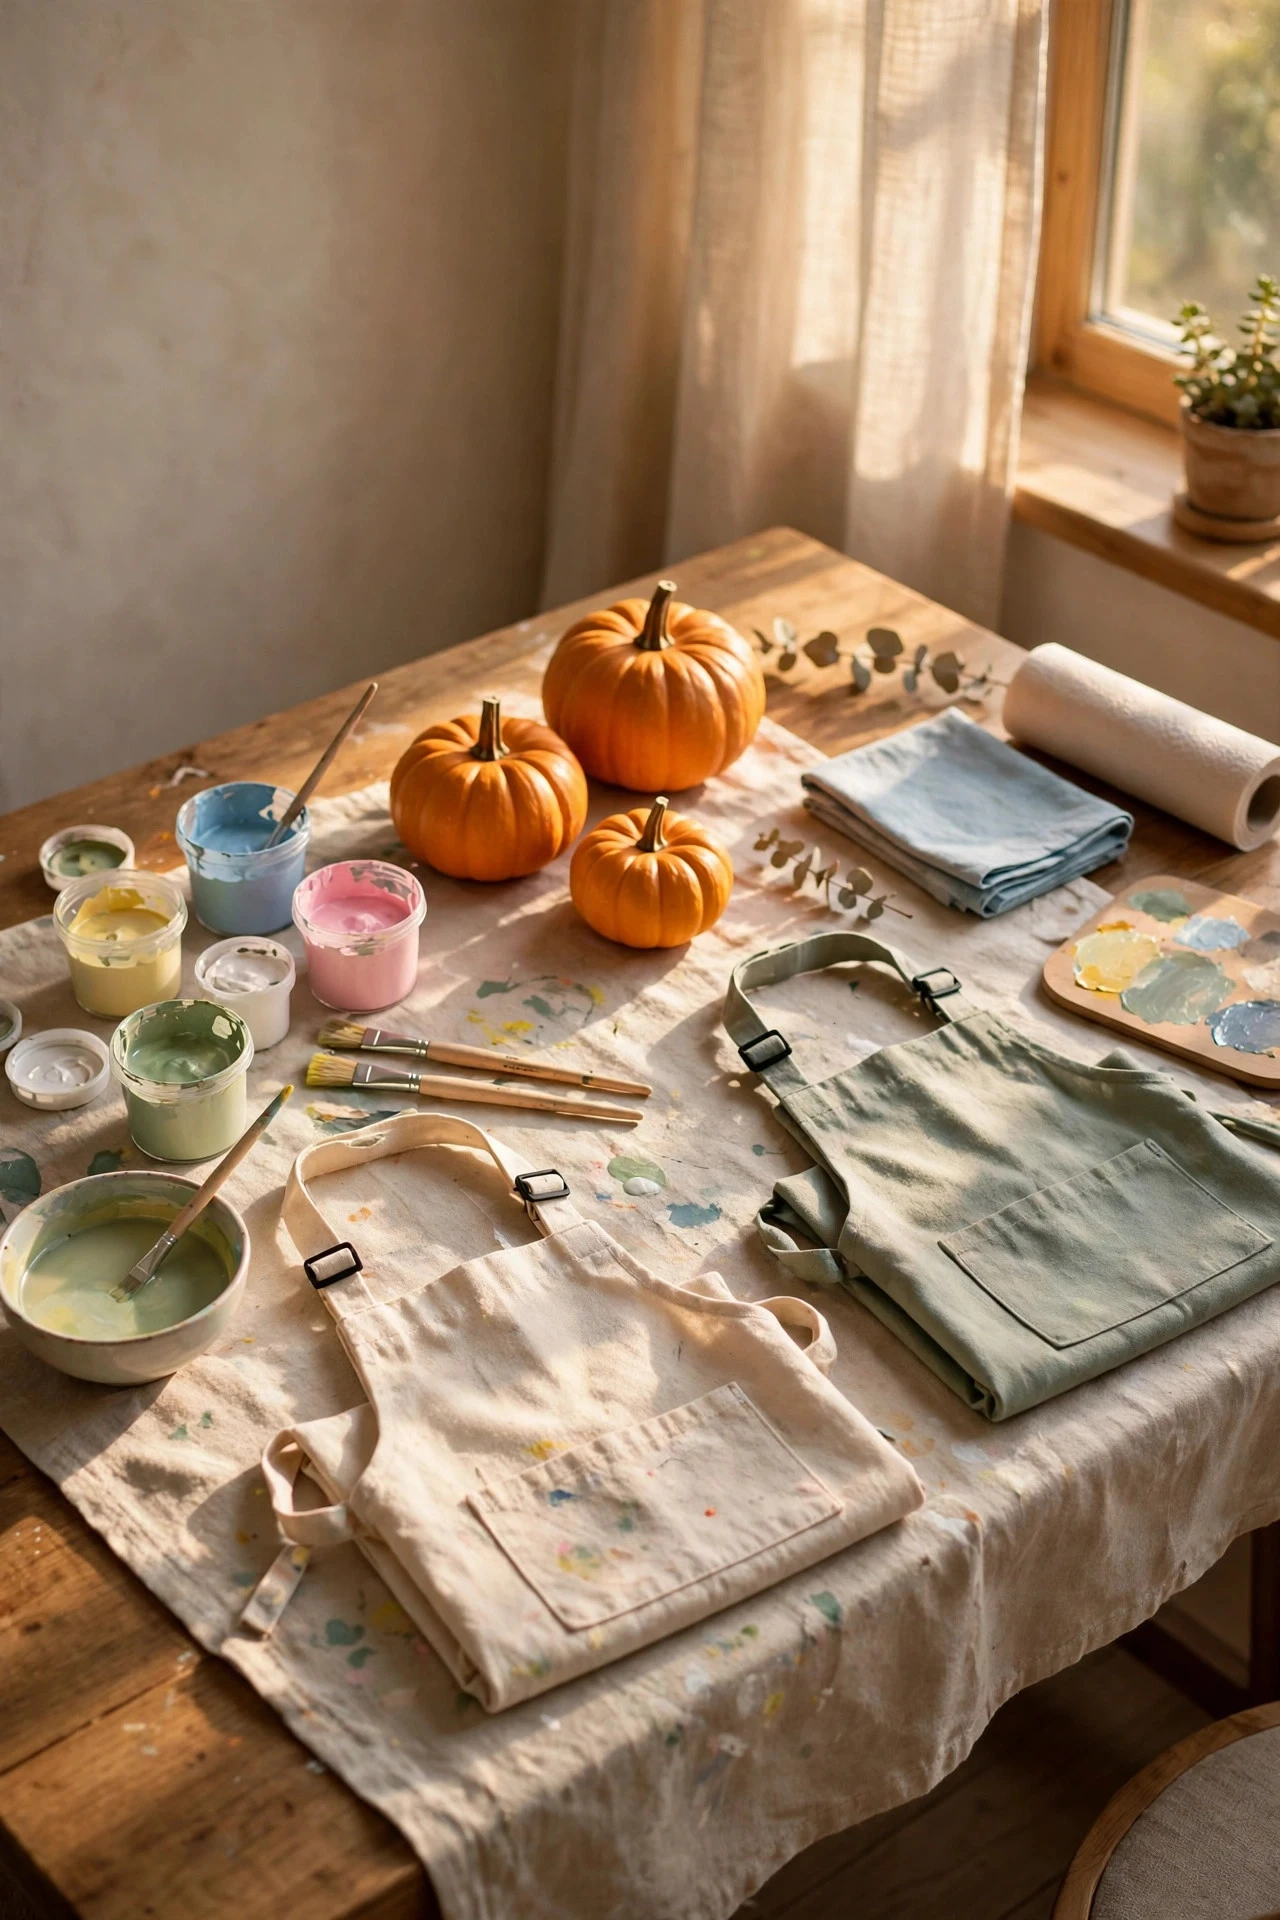
Painting pumpkins with children is safest when the adult handles the messy steps and the child handles the creative ones. Let children paint base coats, stamp dots, and sponge blends with washable acrylic paint, while adults handle spray sealer, hot glue, and sharp tools, and cover tables and clothes before anyone opens a paint bottle. Choose short sessions, one pumpkin per child, and a design with a forgiving finish such as polka dots or drip paint. Washable paint and aprons cost $8 to $15. For more character-led projects children love, these easy pumpkin carving ideas include faces and figures that translate well into paint. The mistake to avoid is giving young children glitter, rhinestones, or small pearls unsupervised, because they are choking hazards and end up glued to fingers, clothes, and furniture rather than to pumpkins.
18. Sealing: Matte, Satin or Gloss
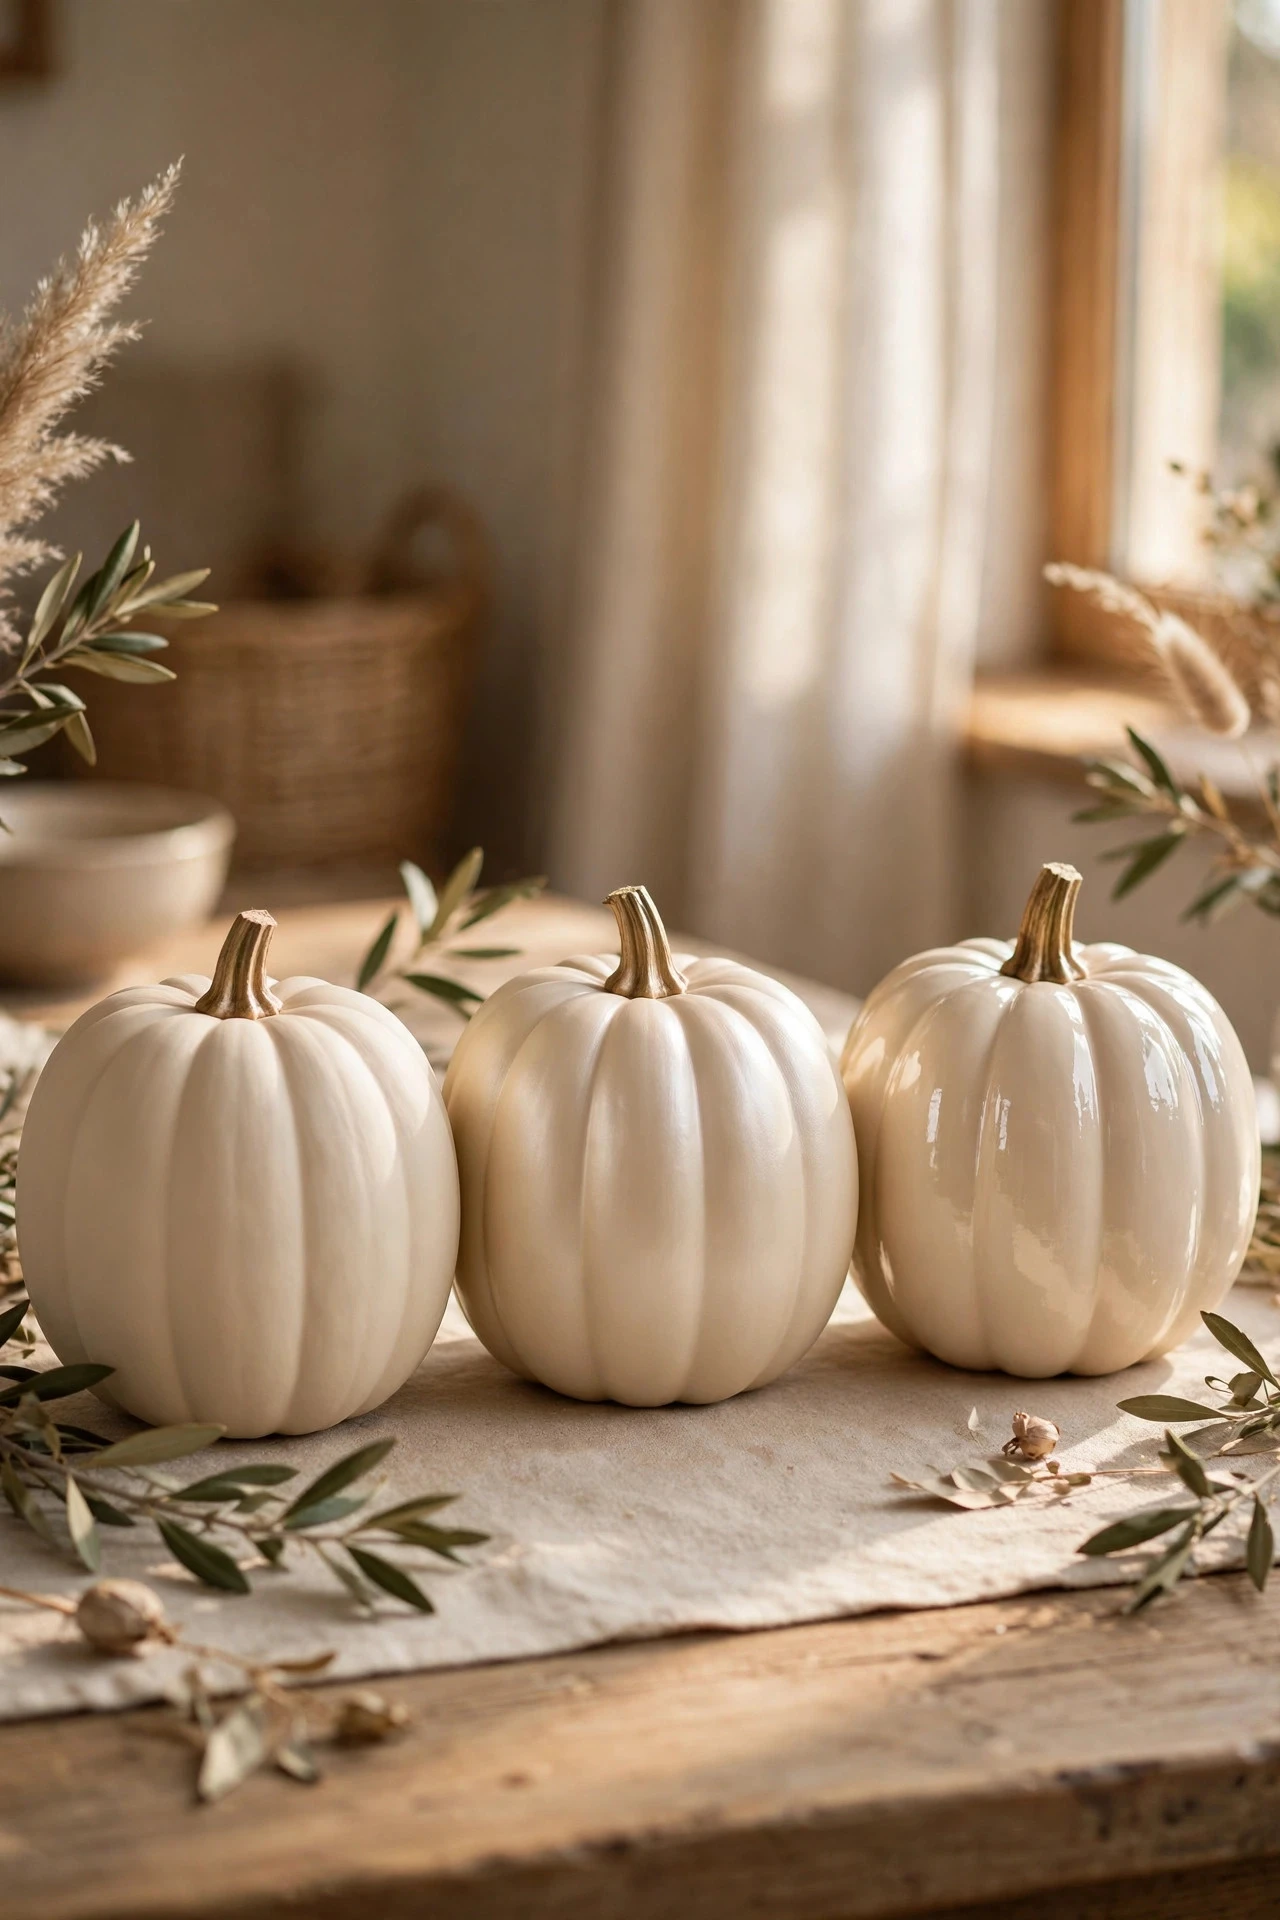
Sealer protects the paint and decides the final look, so match it to the design: matte sealer for chalk, clay, and watercolour finishes; satin for most acrylic designs; gloss for metallics, galaxy, and marble effects, where shine deepens the colour. Apply two thin coats of clear sealer, letting each dry fully, and spray outdoors or in a ventilated space if using a spray sealer. A can of clear sealer costs $6 to $10. The mistake to avoid is sealing with a gloss coat over a chalk-painted pumpkin, because the shine destroys the soft, matte, vintage finish that made the chalk paint worth using in the first place.
19. Fixing Mistakes Without Repainting Everything
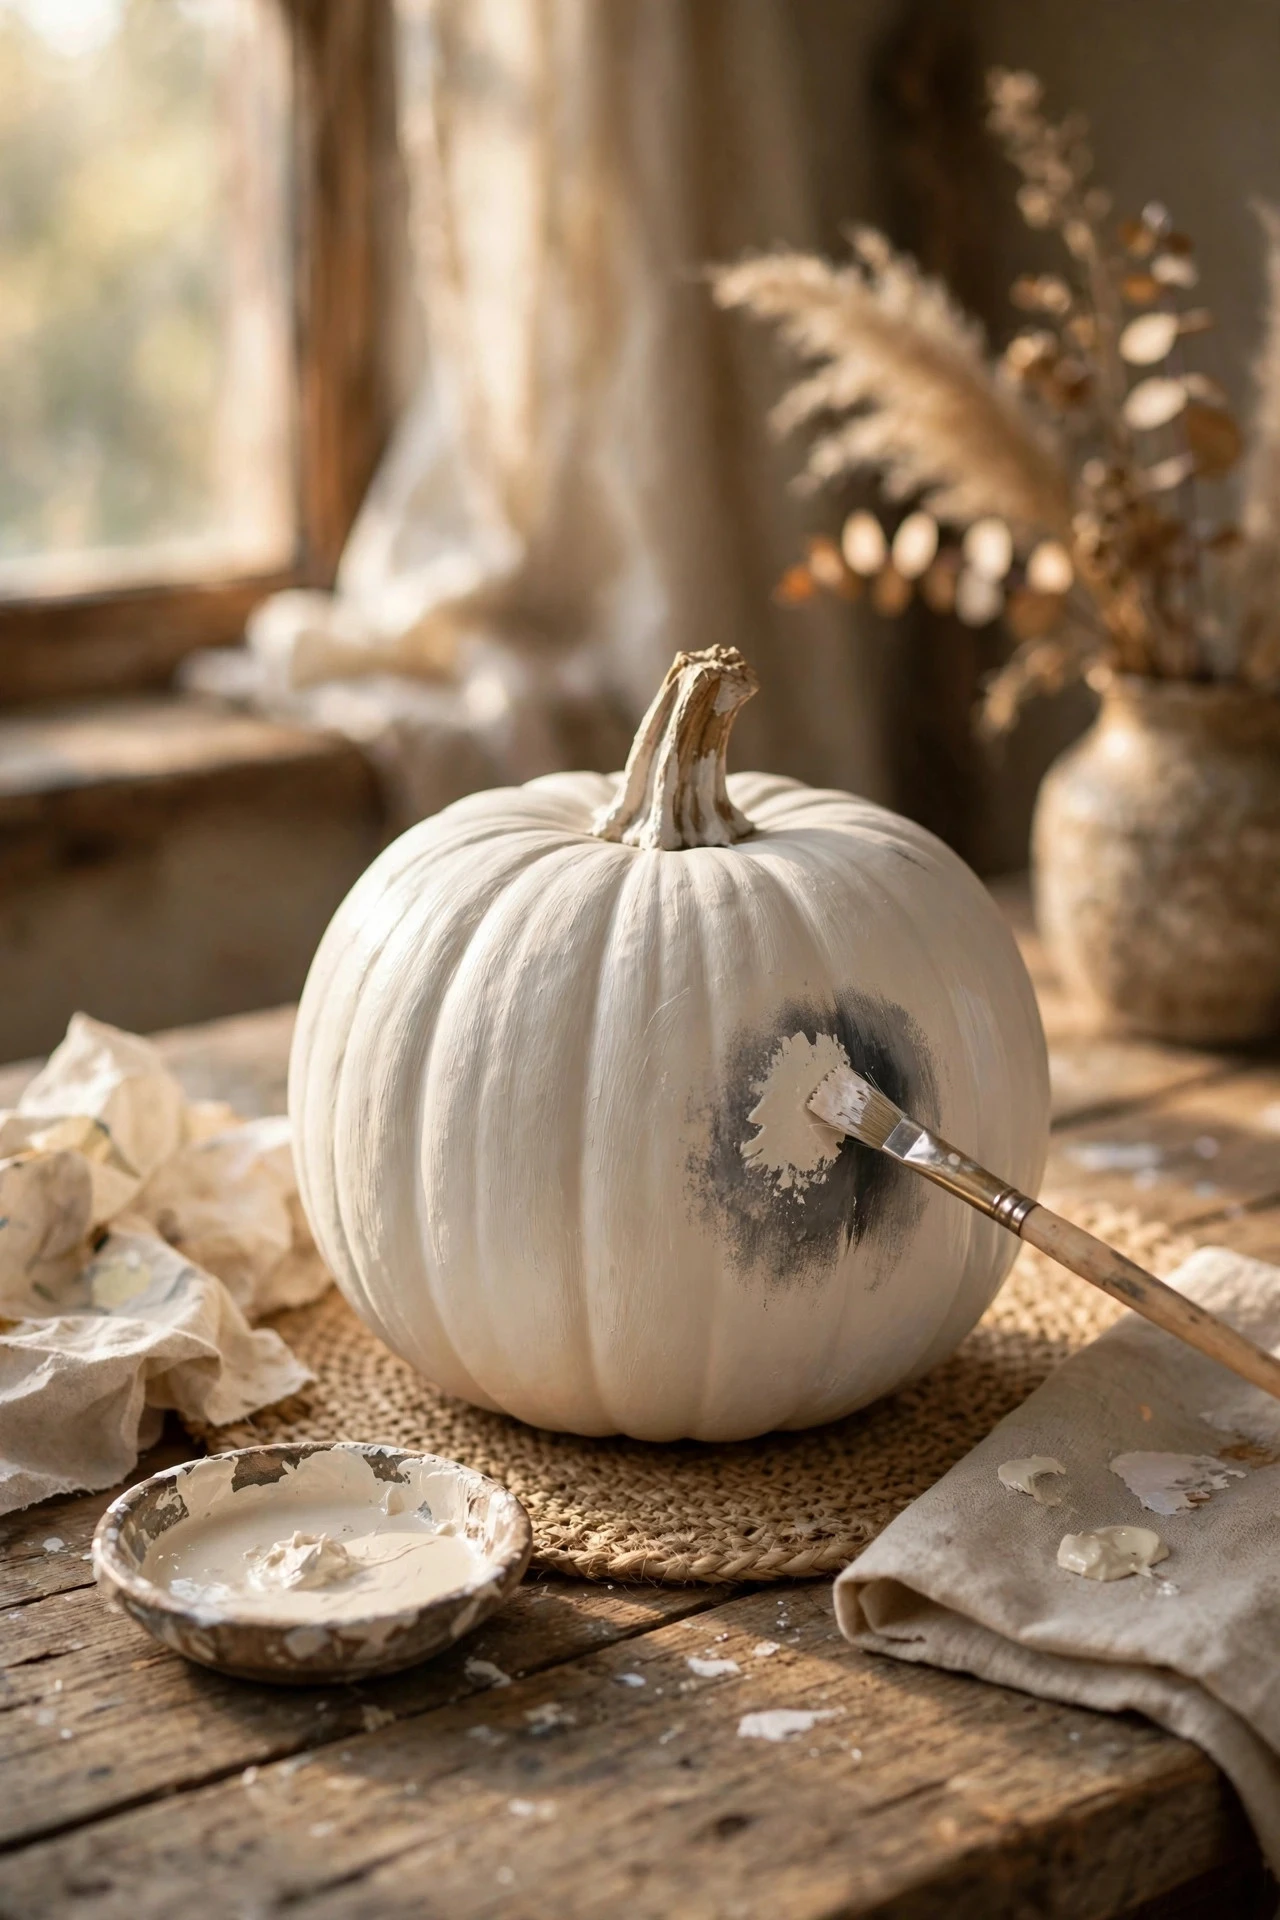
Almost every pumpkin painting mistake is fixable without starting over. A smudge can be covered with the original base colour once dry; a wobbly line can be softened with a damp brush while the paint is wet or covered with a dot, a leaf, or a ribbon once dry; a peeling patch can be sanded lightly, touched up, and resealed. Keep a small pot of each base colour aside for touch-ups, and photograph the finished design before sealing so you can match colours later. Touch-up paint costs nothing extra. The mistake to avoid is trying to fix wet paint by scrubbing it, because scrubbing lifts the base coat, spreads the colour, and turns a small error into a large patch that needs repainting.
20. How Long Painted Pumpkins Last, and Why
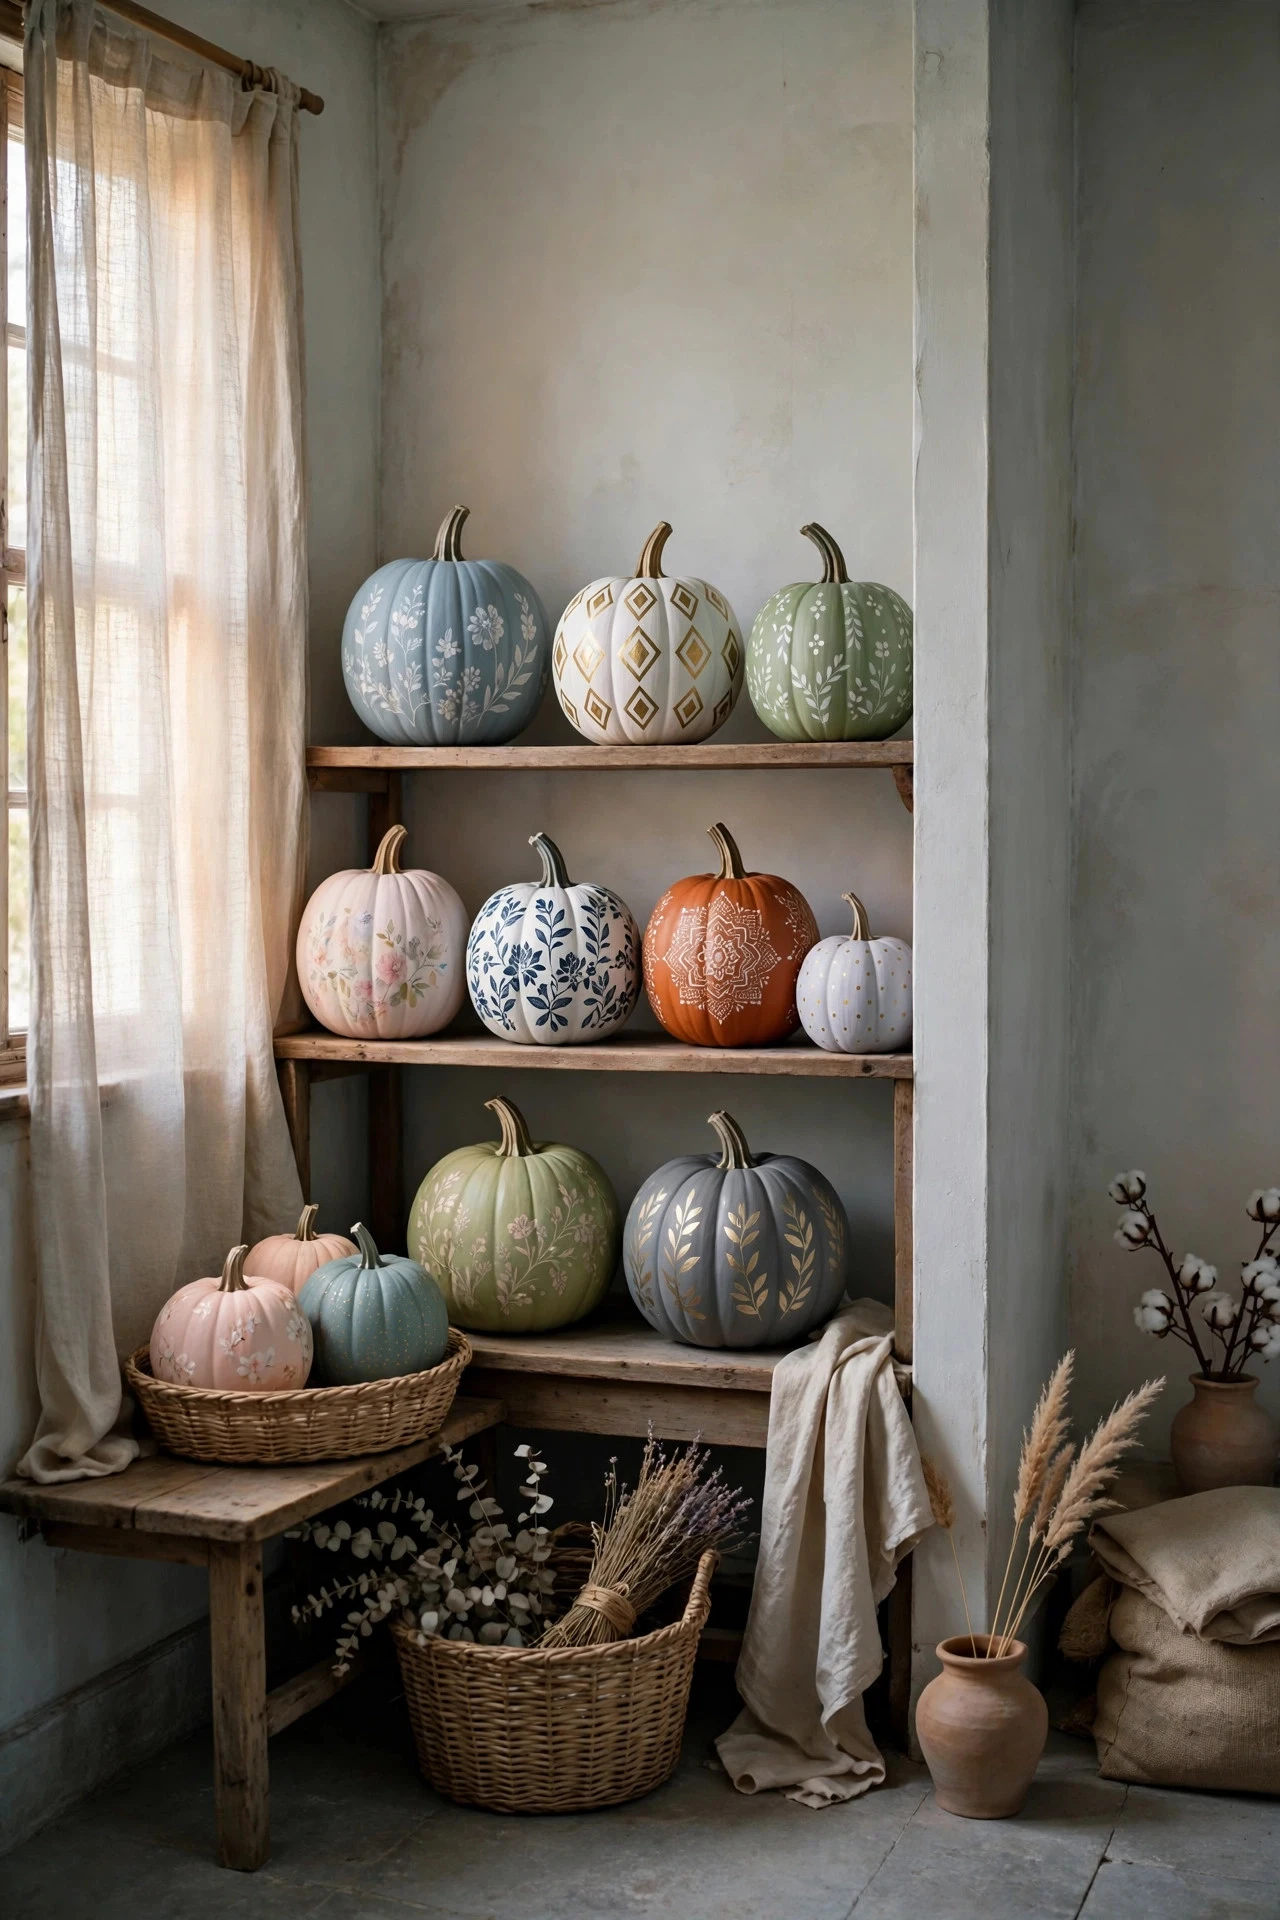
A painted real pumpkin lasts two to four weeks indoors when it starts firm, is kept cool and dry, and is sealed properly, because paint slows moisture loss but does not stop the pumpkin ageing. Heat, direct sun, and damp air shorten that life dramatically, while a cool, dry room extends it, and foam pumpkins last indefinitely because there is nothing to rot. Check real pumpkins every few days for soft spots, smell, or leaking, and discard any that soften rather than trying to save them. The cost of longevity is simply choosing the right pumpkin and the right room. The mistake to avoid is leaving a painted real pumpkin on a sunny windowsill, where heat softens the skin, the paint blisters, and the pumpkin collapses in days instead of weeks.
21. Displaying Painted Pumpkins Indoors and Out
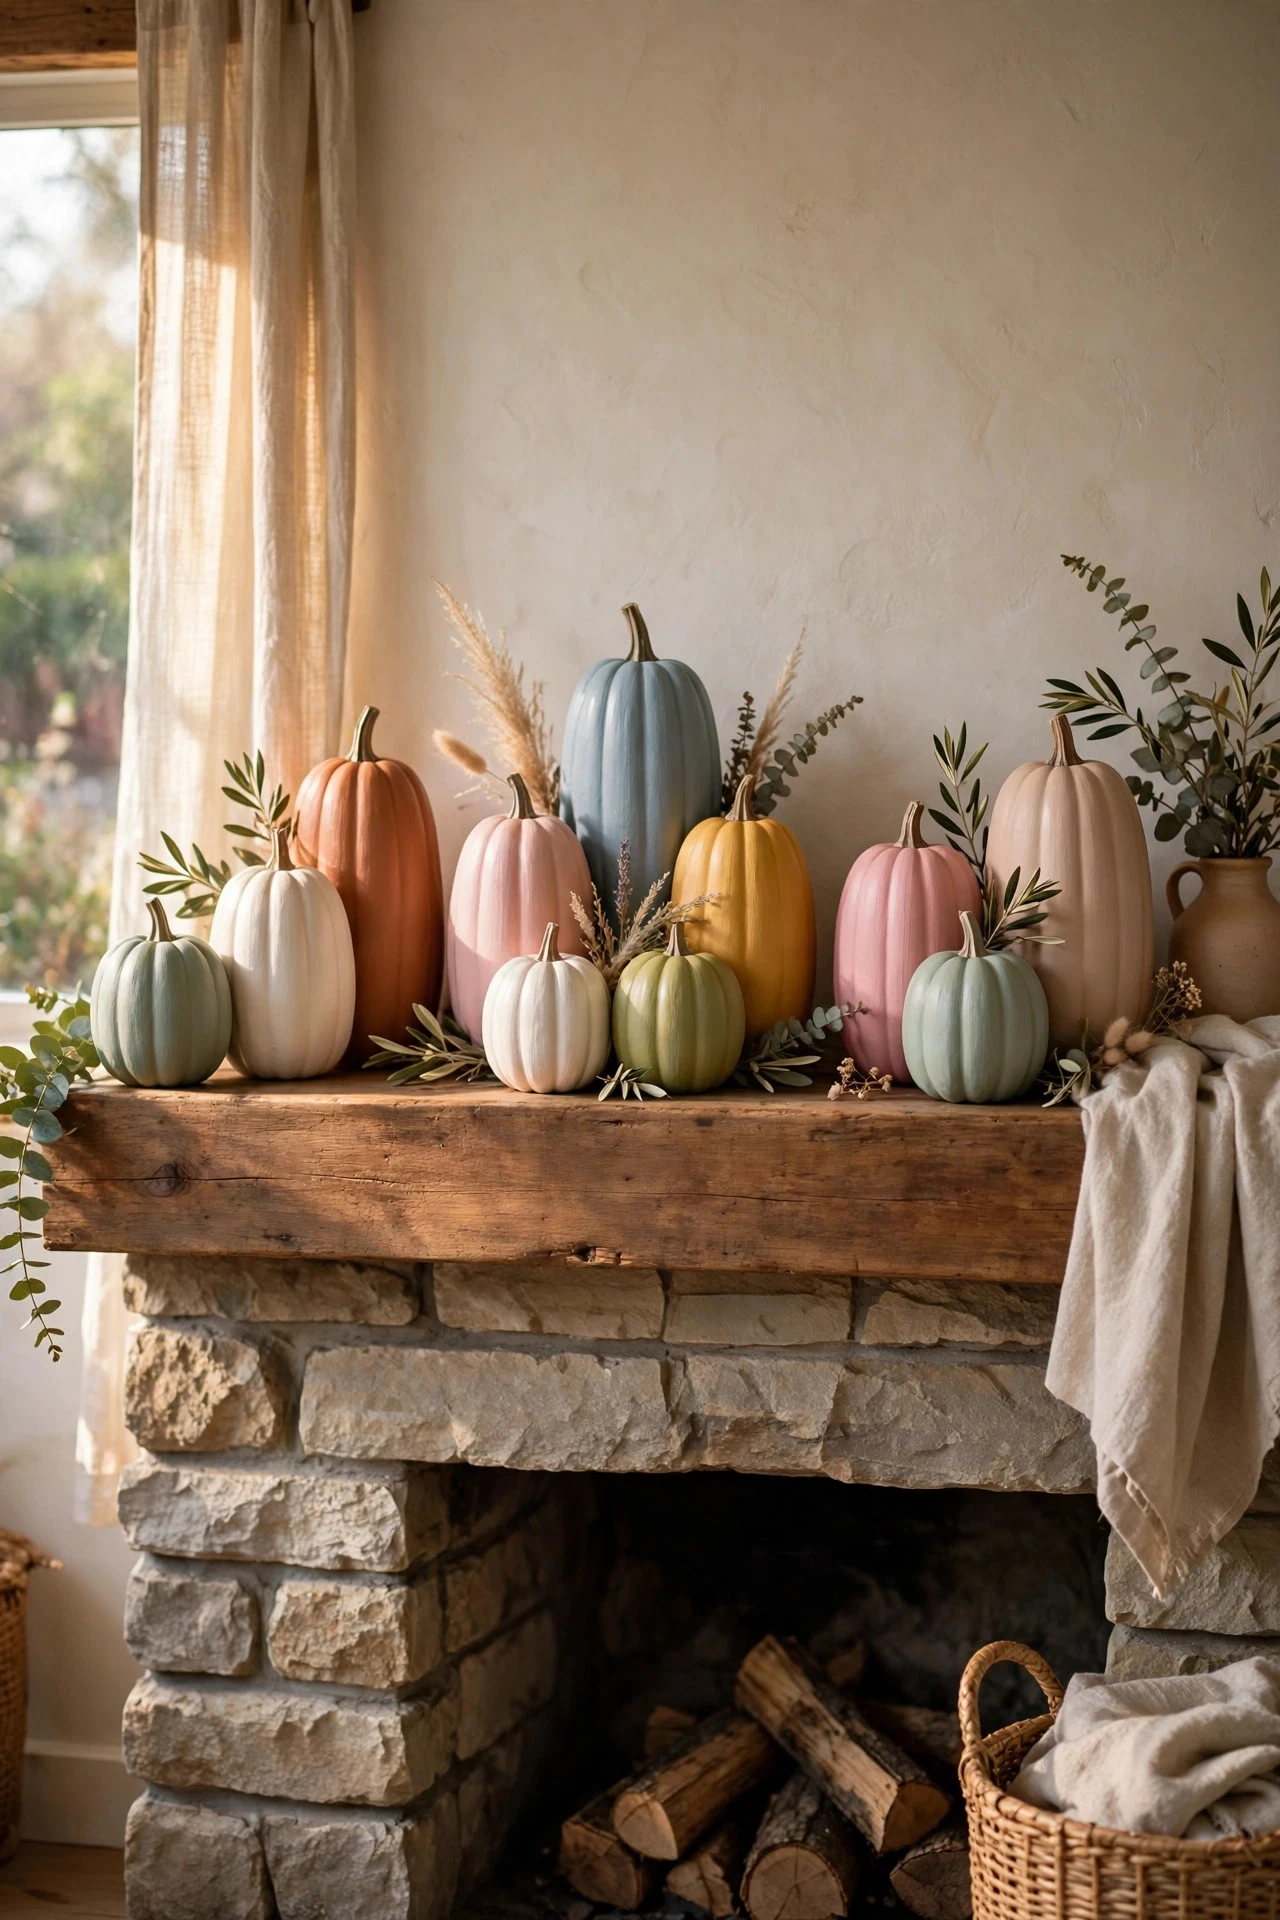
Display painted pumpkins where the light is soft and the surface is stable: a mantel, an entry table, a windowsill out of direct sun, or a covered porch step for foam pumpkins. Group them in odd numbers, vary the heights with books or cake stands, and repeat one colour or material across the group so the display feels collected rather than random. Keep real pumpkins indoors, bring foam pumpkins in during rain, and rotate the display so one side does not fade. Display stands and risers cost $0 to $15 using items already at home. For styling ideas that place painted pumpkins within a whole room, House Beautiful shows how colour and texture carry a seasonal display. The mistake to avoid is placing painted pumpkins beside a radiator or a fireplace, because the heat dries and cracks the paint and softens a real pumpkin from the inside.
22. Storing Foam Pumpkins for Next Year
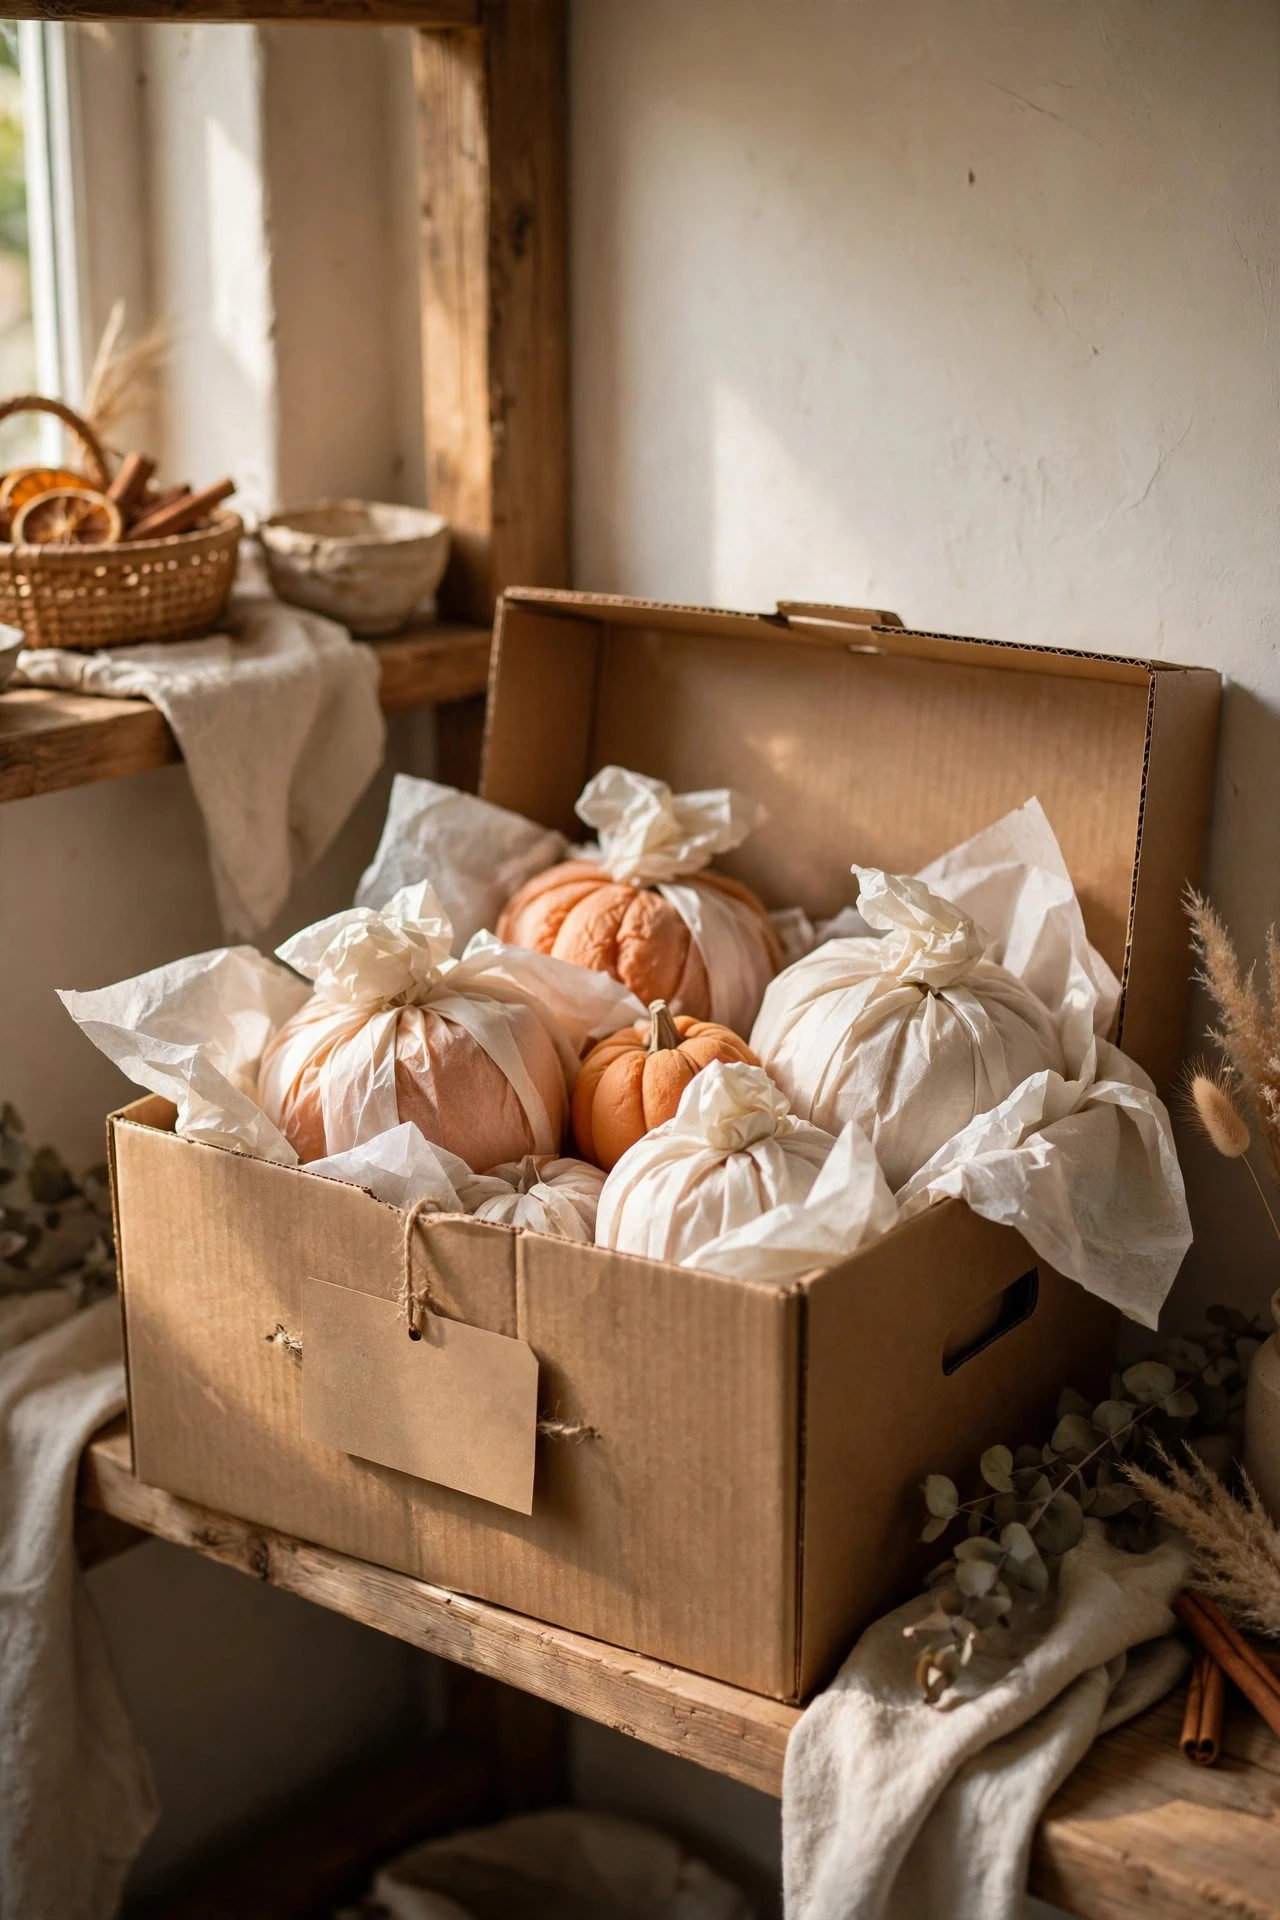
Foam pumpkins are an investment worth storing properly. Wait until the sealer is fully dry, wrap each pumpkin individually in tissue paper, and store them in a labelled box in a cool, dry place away from heat and direct sun, with the heaviest pumpkins at the bottom and embellished ones protected from crushing. Photograph each design before packing so you remember the colour story next year, and keep touch-up paint in the same box. Tissue paper and a box cost $5 to $10. The mistake to avoid is stacking unsealed or barely dry painted pumpkins together, because the paint sticks, peels, and transfers colour from one pumpkin to another over the winter.
Practical Tips
Gather every supply before you open a paint bottle, because hunting for a brush with wet paint on your hands wastes time and smudges work. A complete kit — acrylic paint in three or four colours, a flat brush, a round brush, a sponge, painter's tape, a paint pen, and a clear sealer — costs roughly $25 to $45 and covers several pumpkins, and buying small bottles lets you test colours cheaply. Test each colour on the bottom of a pumpkin or on paper before committing, because paint dries darker or lighter than it looks wet, and metallics in particular shift as they dry. For broader guidance on choosing between acrylic, chalk, and spray finishes, the paint and craft guides at The Spruce explain how each behaves on porous, curved surfaces.
Work in thin coats, in sections, and in good light. Natural daylight shows the true colour and reveals missed spots in the ribs, while a single overhead bulb hides them until the pumpkin is moved. Keep a damp cloth nearby for wiping brushes and hands, a dry cloth for dusting the pumpkin before each coat, and a cardboard tube for drying, so the workflow never stalls. If you are painting with children, set a clear finish time, keep sessions short, and let each coat dry before the next activity, because bored children handle wet pumpkins and smudge designs that were nearly finished.
Seal, display, and store with the same care you painted with. Two thin coats of sealer, a cool dry display spot, and individual tissue wrapping for foam pumpkins turn one afternoon of painting into decor that lasts a season or, for foam, for years. Touch up scuffs with the original paint and reseal just that spot, rather than repainting the whole pumpkin and risking a mismatched finish.
Final Thoughts
Learning how to paint pumpkins is mostly learning to slow down: clean the surface, prime when the colour needs it, paint thin coats, let each one dry, and seal the result. Once those habits are in place, the designs take care of themselves, whether you choose dots, stripes, florals, or a full galaxy. Start with one pumpkin, one colour story, and one technique you have not tried before, and let the second pumpkin be braver than the first. The pumpkins that last — and the ones visitors remember — are the ones that were painted patiently, sealed properly, and placed where their colour and finish can be seen clearly.
You May Also Like: – 22 No-Carve Pumpkin Decorating Ideas That Skip the Mess – 22 Easy Pumpkin Carving Ideas: Cute, Funny and Creative – 22 Halloween Kitchen Decor Ideas for a Spooky-Chic Kitchen
Frequently Asked Questions
What is the best paint for painting pumpkins?
Acrylic craft paint is the best all-round paint for pumpkins because it sticks to real and foam pumpkins, dries quickly, and comes in every colour and finish. Chalk paint suits a soft matte look, spray paint gives the smoothest base coat, and acrylic paint pens handle fine detail and lettering.
Do you need to seal painted pumpkins?
Yes, a clear sealer protects the paint from scuffs, moisture, and fading, and it locks down glitter and gold leaf. Apply two thin coats matched to the finish you want — matte for chalk paint, gloss for metallics — and let each coat dry fully before handling or displaying the pumpkin.
How do you paint a pumpkin without the paint peeling?
Paint peels when it is applied too thickly, over a dirty or damp surface, or without a sealer. Wash and dry the pumpkin, use two thin coats, let each coat dry completely, and seal with two thin coats of clear sealer. Priming light colours over orange skin also prevents peeling and muddy colour.
Can you paint a real pumpkin and put it outside?
A real painted pumpkin can go outside briefly under cover, but rain, sun, and temperature changes shorten its life and soften the skin. Foam pumpkins sealed with an outdoor sealer are the safer porch choice, while real painted pumpkins last longest indoors in a cool, dry room.
How long does it take to paint a pumpkin?
A simple painted pumpkin takes 30 to 60 minutes of active painting plus drying time between coats, while a detailed design takes two to three hours spread across an afternoon. Most of the elapsed time is drying — at least an hour between coats and overnight before sealing — so plan the painting around the drying, not the other way round.
What paint is safe for kids to use on pumpkins?
Washable, water-based acrylic craft paint is safe for children with adult supervision, and sponge painting, dot stamping, and base coats are ideal kid-friendly jobs. Adults should handle spray paint, spray sealer, hot glue, and scissors, and small embellishments such as glitter and rhinestones should be kept away from very young children.