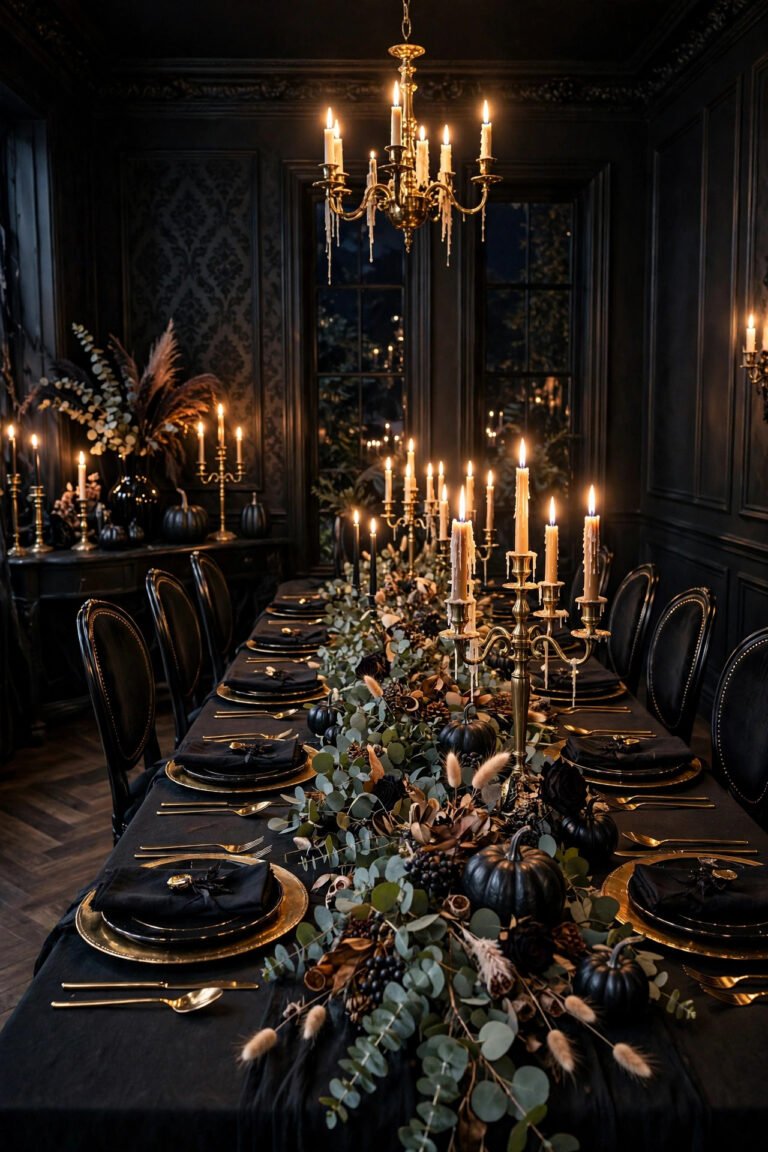

22 Halloween Tiered Tray Decor Ideas for Tiny Spaces
# 22 Halloween Tiered Tray Decor Ideas for Tiny Spaces
A tiered tray is a two- or three-level serving stand — usually galvanized metal, distressed wood, or whitewashed farmhouse style — and it might be the smartest small-space decorating tool you own. It packs a full seasonal vignette into a single square foot of countertop, console, or side table. For Halloween, that means pumpkins, potion bottles, and fairy lights without giving up your coffee bar or prep space.
This guide is for renters, apartment dwellers, and anyone decorating a kitchen counter, entryway table, or living room nook where every inch counts. You will get 22 field-tested styling ideas, each with the exact materials, measurements, and mistakes to avoid — the practical detail most roundups skip.
Looking for more inspiration? Our Nest Decorz homepage gathers the latest home decor ideas, seasonal decorating guides and room-by-room styling tips in one place — start there and explore.
Quick answers — the whole post in 30 seconds:
– The 3-item rule: one tall anchor piece, two medium pieces, and small fillers per tier keeps a tray styled, not cluttered. – Best footprint for tiny counters: a 12-inch diameter two-tier tray; give it one square foot and keep everything else clear. – Skip real candles: battery LED pillars and fairy-light strands give the glow with zero fire risk around wood and fabric minis. – Information gain shortcut: swap the top two or three Halloween-only pieces after October 31 and your tray becomes Thanksgiving-ready in ten minutes.
1. How Do You Style the Top Tier Without Cluttering It?
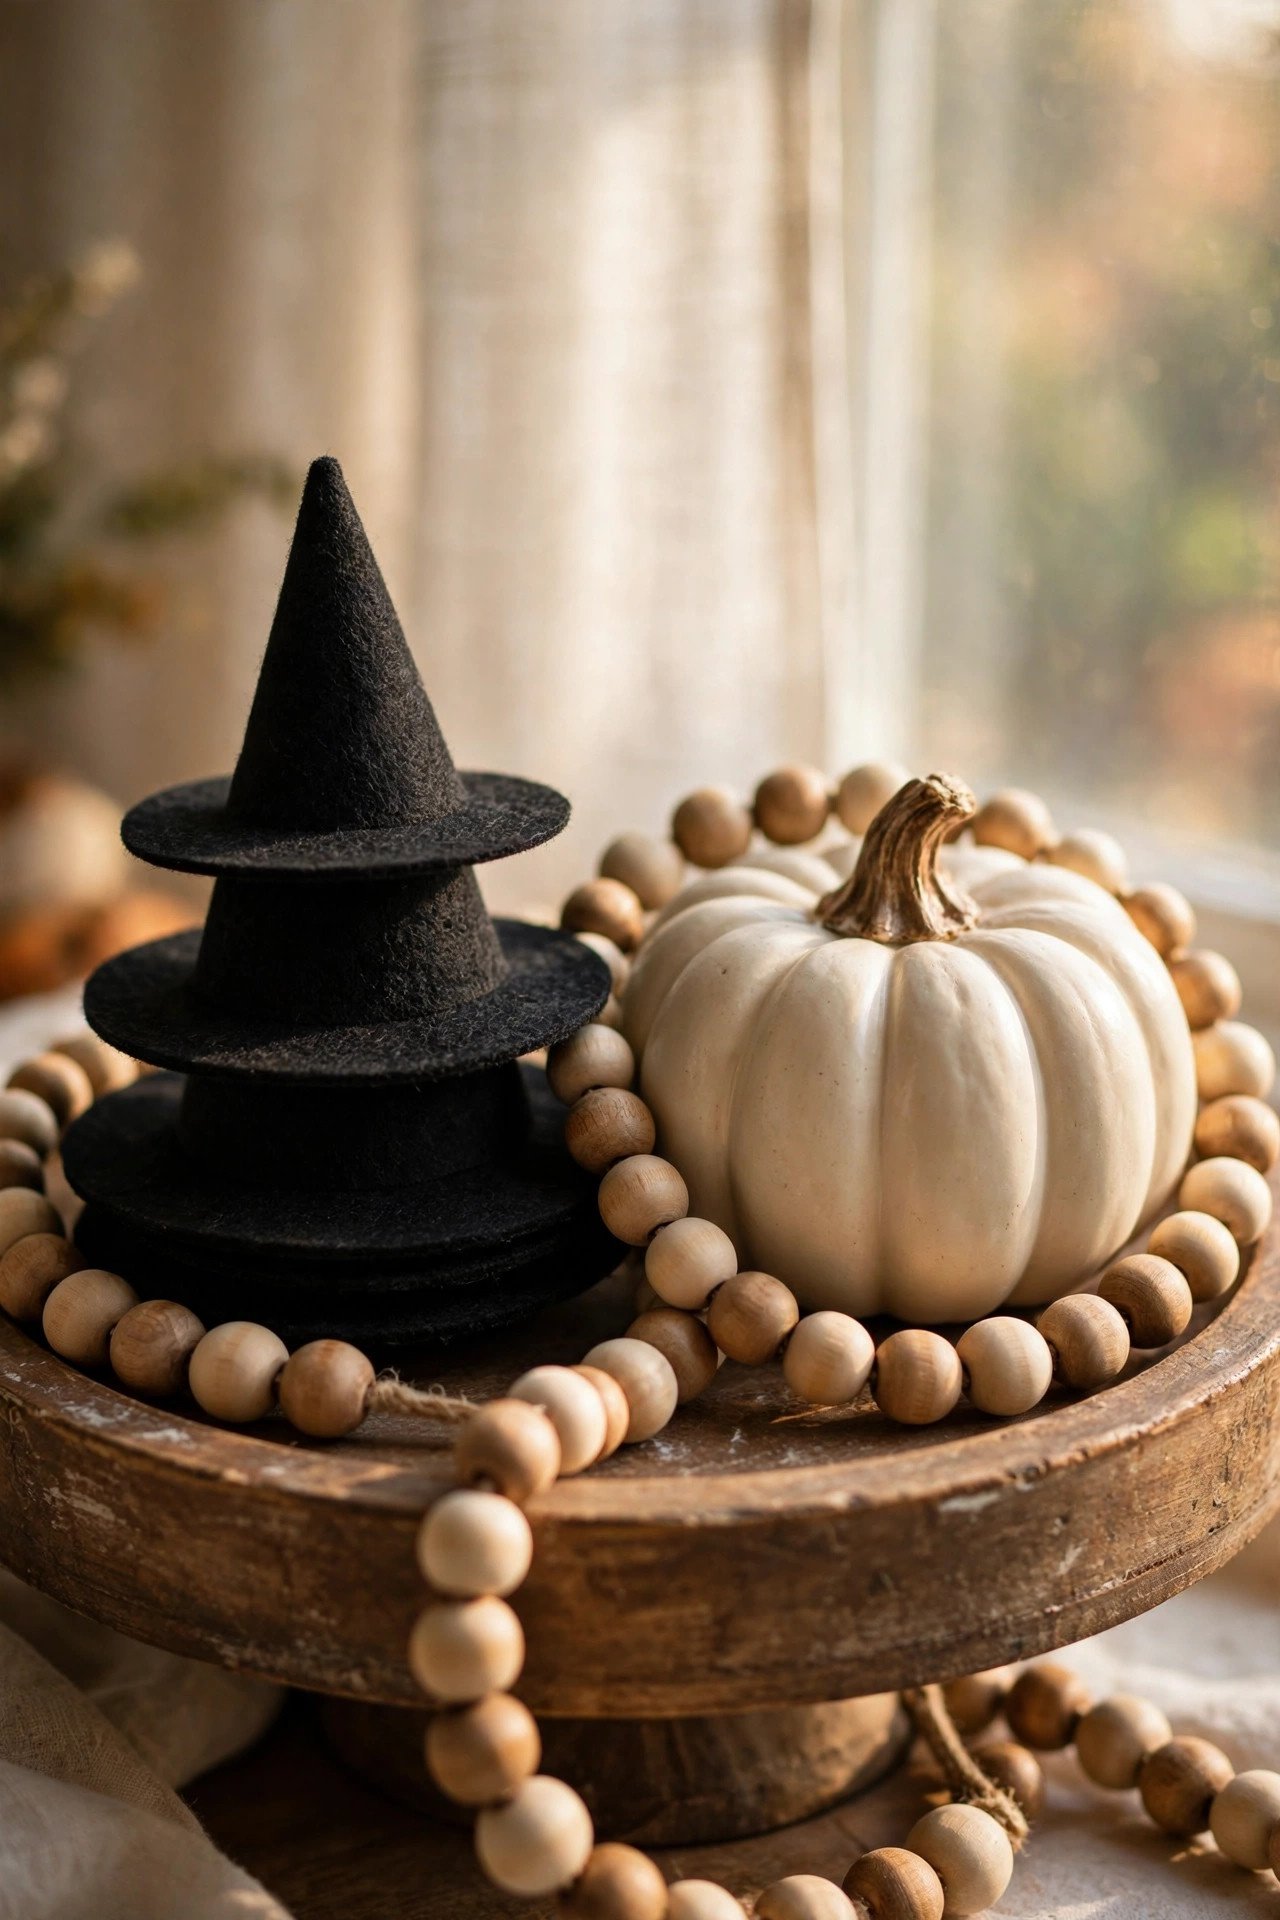
Style the top tier with exactly three items: one tall anchor (8–10 inches, like a mini witch-hat stack or "Boo" sign), one medium piece (a 4-inch ceramic pumpkin), and one small filler (a short bead strand). Three graduated heights read as intentional; four or more items read as clutter.
The top tier is the first thing the eye lands on, so it carries the tray's message. Work back to front: place the tallest item slightly behind center, then the medium piece in front-left, then the filler tucking into the gap. Keep the total height under 12 inches so the center post still shows — once the post disappears, the tray looks like a single blob. If your tray sits against a wall, push the tall item to the back; if it is viewed from all sides, center it. Photograph the tier from your normal standing height and zoom out on your phone — anything you cannot identify in the photo is filler you can cut.
2. What Is the Right Way to Drape a Bead Garland on a Tiered Tray?
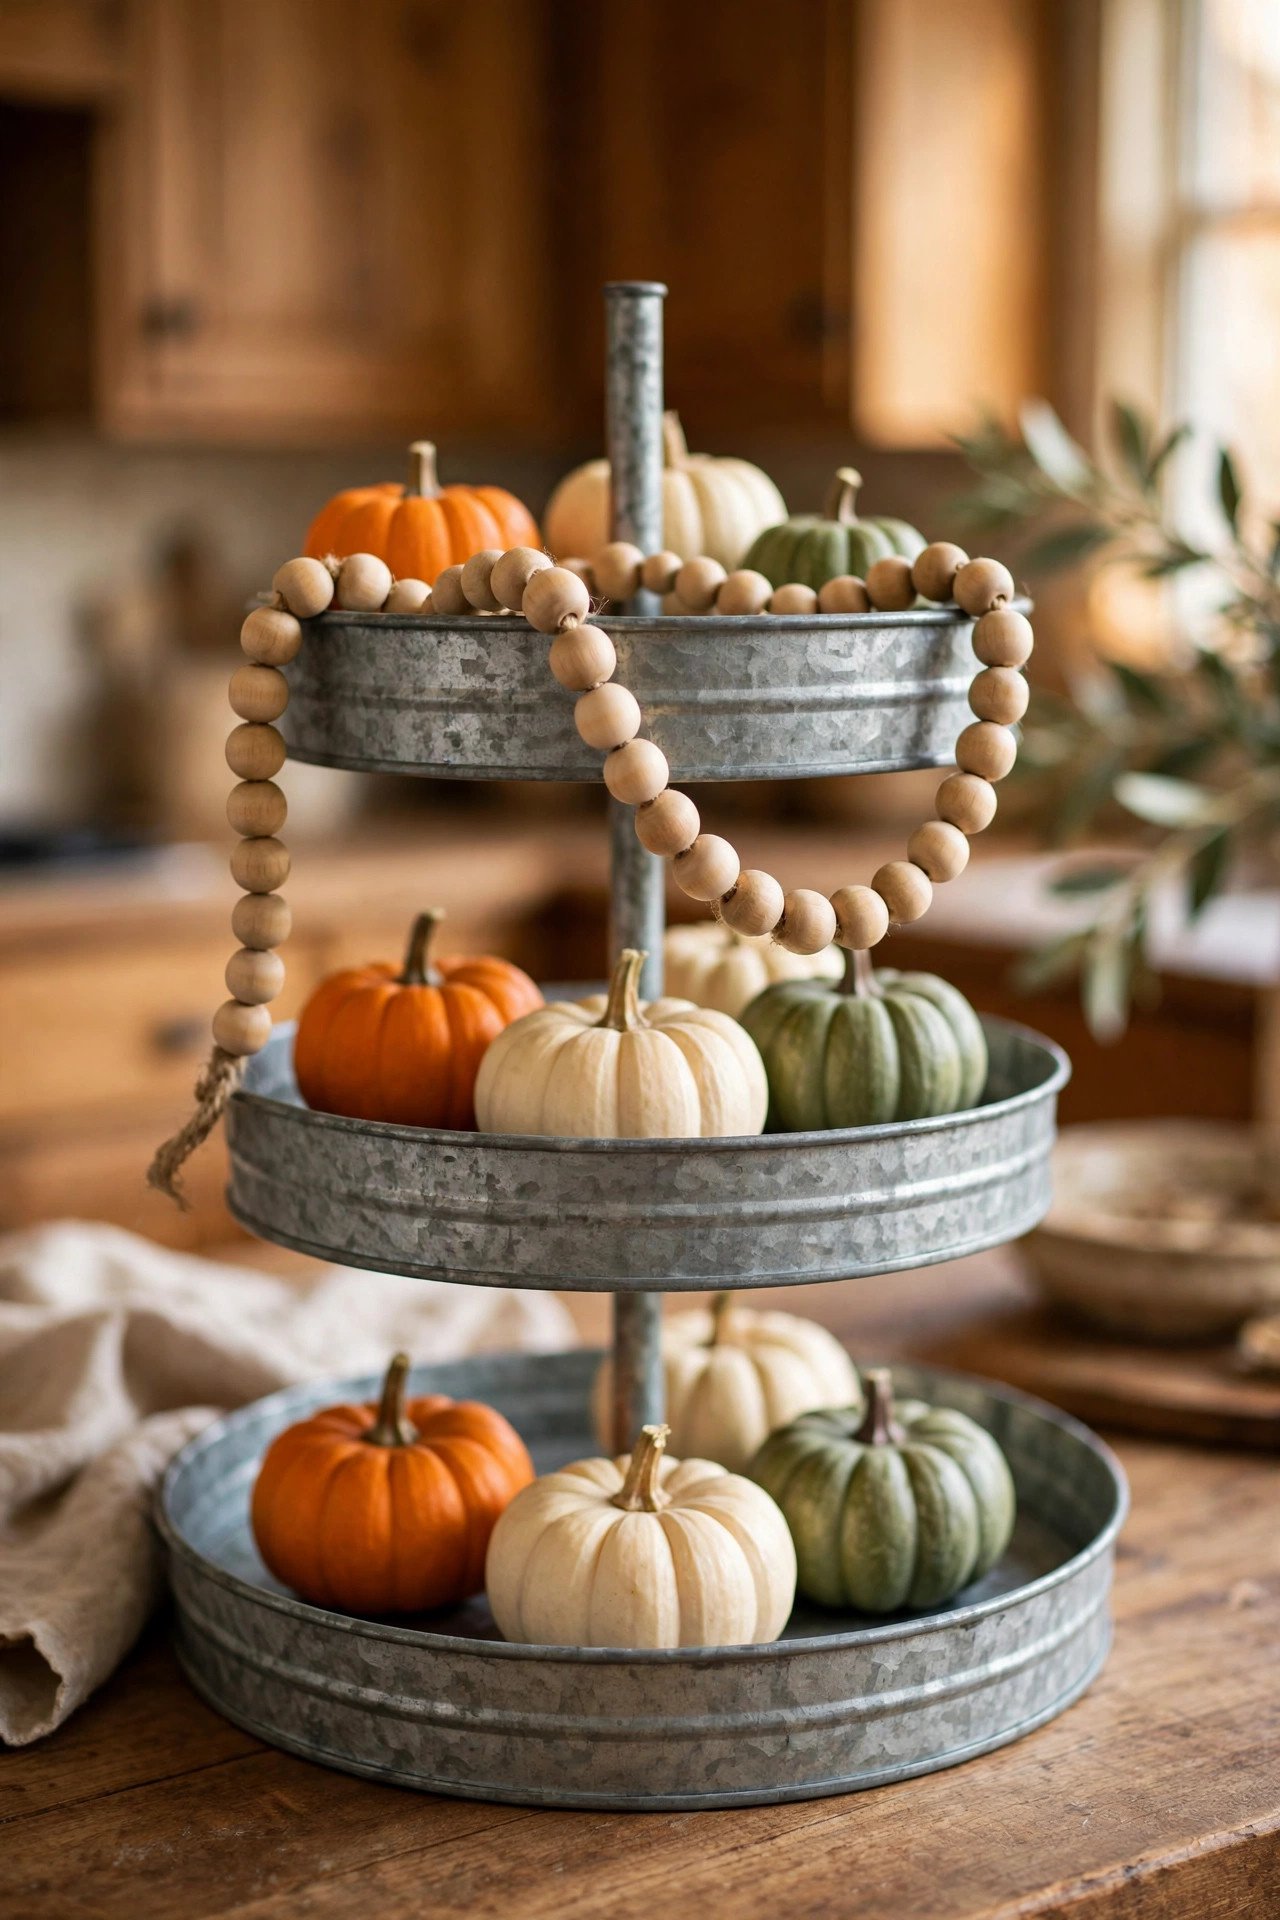
Drape the garland in a loose S-curve across the front edge of one tier, letting 3–4 inches spill over the rim on one side only. A 36-inch strand fits most two-tier trays; 48 inches suits three tiers. Tuck the curve's center under a medium item so the drape looks anchored, not tossed.
Choose unfinished wood beads for farmhouse trays and matte black or cream-painted beads for modern trays. Avoid glossy plastic beads — they reflect overhead light harshly and cheapen the look. The mistake to skip: wrapping the garland around the center post. It hides the post, eats visual height, and reads as filler panic. Instead, let the beads echo the tray's curve by following the rim. Wooden beads with larger 1-inch rounds photograph better than small uniform ones because they cast tiny shadows that add depth.
3. Should You Use Real or Faux Mini Pumpkins on a Tray?

Use faux mini pumpkins for the tray and real ones for the porch. Faux foam or resin minis hold their shape all month, will not weep moisture onto a metal or wood tray, and weigh almost nothing — important on an upper tier. Real minis last two to three weeks indoors and can stain unfinished wood with juice.
Scale matters more than material. Mix three sizes — roughly 2, 3, and 4 inches — in odd-numbered groupings of three or five. Heirloom varieties like Cinderella (blue-gray), Lumina (white), and Baby Boo (white, real) add color interest beyond standard orange. The jack-o'-lantern tradition traces back to carved turnips before pumpkins, which is why mixing gourd shapes reads as authentic rather than random. Avoid placing all the pumpkins together; scatter them so each tier gets at least one.
4. How Do You Style Apothecary Potion Bottles on a Small Tray?

Cluster three apothecary bottles of different heights (4, 6, and 8 inches) on the bottom tier, angled slightly toward the viewer. Fill them with water tinted by two drops of food coloring — deep purple, toxic green, blood red — and add a cork top. Vintage-style labels reading "Witch's Brew" or "Poison" finish the look without any crafting skill.
For sparkle instead of liquid, drop a 20-count warm-white fairy-light strand into each bottle — the glass diffuses it into a glowing potion effect. Keep bottles at the back of the tier since glass near the edge risks a knock-over. Small bottles (under 3 inches) vanish next to the center post, so use them only as gap fillers beside taller bottles. Do not use real essential oils or anything scented in open bottles near a kitchen tray; the aroma migrates into food. Labels printed on matte sticker paper look aged; glossy labels look like party-store props.
5. How Do You Hide Fairy-Light Battery Packs on a Tiered Tray?
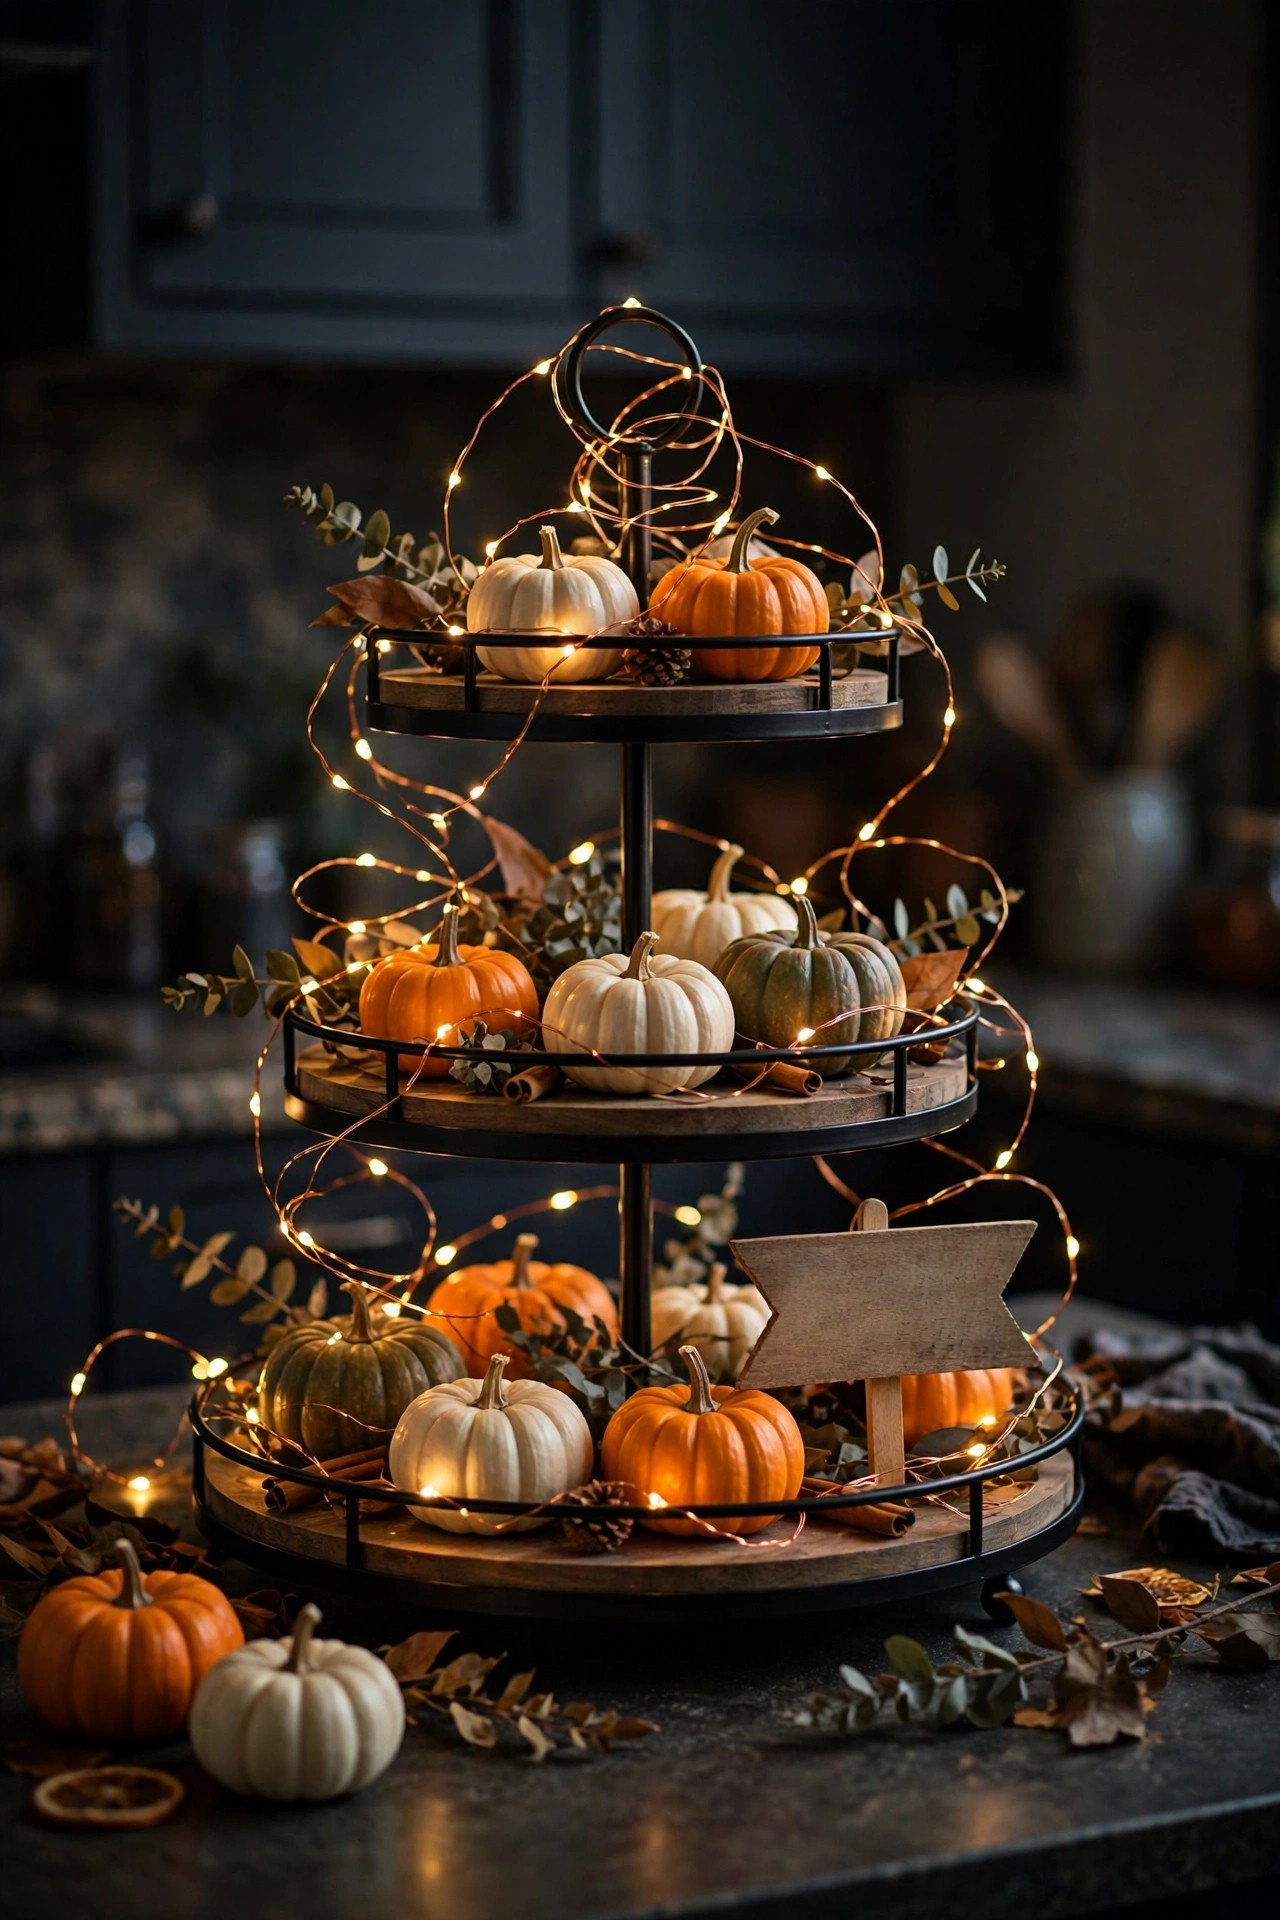
Hide the battery pack behind the tallest item on the bottom tier and run the strand up through the center, spiraling outward. Space strands roughly 2 inches apart so the glow reads as scattered stars, not a tangled web. A 66-count warm-white (2700K) strand covers two tiers; use 100-count for three.
Use copper-wire fairy lights rather than thick green Christmas wire — copper wire nearly disappears against wood and metal in daylight. Tape the battery pack to the tray's underside with removable mounting strips if there is clearance, or nestle it inside a small lidded box styled as a spell-book prop. Set the timer function to 6 hours so the tray glows every evening without you remembering. Cool-white LEDs (5000K+) make orange pumpkins look flat and gray; warm white keeps them rich.
6. Can You Do a Halloween Tray Without Any Orange?

Yes — a black, white, and metallic palette looks more expensive than the standard orange-and-black. Use matte black mini pumpkins, cream pillar candles, mercury-glass votives, and one metallic accent like brass bats or gold skulls. Limit yourself to three colors plus the tray's own finish; a fourth color is where the look starts to feel scattered.
This palette works especially well in modern and Scandinavian rooms where orange fights the existing decor. White pumpkins in varying textures — velvet, ceramic, wicker — create depth without color. Add one natural element, like dried eucalyptus or wheat stalks, to stop the monochrome from feeling cold. Text in this scheme should stay minimal: a single "Boo" or "Spooky" sign, nothing more. Guests consistently read black-and-white Halloween as "grown-up spooky" rather than "party aisle," which is the whole point.
7. How Do You Get the Farmhouse Look on a Halloween Tray?

Build on the tray's finish: distressed white or natural wood is the farmhouse base. Add a Rae Dunn-style mug (cream ceramic with simple black lettering), a small burlap banner, and a galvanized mini pitcher. Keep lettering to one or two pieces — farmhouse turns to clutter fast when every item has words.
Layer a 4-inch square of burlap or ticking-stripe fabric under the bottom tier as a base mat; it grounds the tray and defines its footprint on the counter. Wooden bead garlands and small cotton-stem picks soften the hard metal and ceramic. The classic farmhouse mistake is adding too many signs. Pick one: either the lettered mug or the "Hello Fall" sign, never both. A tiny bundle of wheat tied with twine leaning against the center post adds height without another purchased item.
8. How Do You Build a Witch-Themed Tray That Isn't Cheesy?

Commit to one witch archetype — vintage apothecary, not cartoon. Use a small black cauldron (4–5 inches) as the anchor, mini glass potion bottles, a tiny broom across the middle tier, and one pointed witch hat (6–8 inches) as the vertical element. Deep purple and antique gold read mystical; lime green reads costume-shop.
Texture is what separates chic from cheesy: velvet, aged brass, dark stained wood, and smoked glass. Skip anything with a printed cartoon face. A single dramatic element beats five small ones — one tall black taper candle (flameless) beside the cauldron creates more atmosphere than a scatter of plastic spiders. If you add a spell book, prop a real vintage-looking hardcover open to a random page and lay a small magnifying glass on it. One joke item is the limit; more than that and the tray becomes a gag display.
9. What Makes a Halloween Tray Kid-Friendly Instead of Scary?

Swap skeletons and spiders for smiling ghosts, friendly pumpkins, and candy corn colors. Use soft felt or plush minis (3–4 inches) that kids can touch without breaking, and keep everything on the bottom tier or a low table where little hands can reach safely. Bright orange, cheerful purple, and white keep the mood playful.
Make it interactive: a small chalkboard sign they can rewrite, a candy dish they are allowed to raid, or a "count the ghosts" game with five felt ghosts hidden among the decor. Avoid LED candles with realistic flicker for very young kids — they may try to blow them out and knock the tray. Secure the tray itself with museum putty on the base if toddlers roam; a two-tier tray tips more easily than it looks. Let kids place two or three items themselves; ownership makes them prouder of the display than perfection does.
10. How Do You Style a Gothic-Elegant Halloween Tray?

Go dark and deliberate: matte black tray, black velvet runner draped under it, black taper candles (flameless), a single raven or crow figurine, and deep red or oxblood accents. Gothic styling succeeds on restraint — five to seven pieces total across all tiers, each one earning its place. Every item should look like it belongs in a Victorian parlor.
Metallics matter here: aged brass and antique gold warm up the black so it reads as rich rather than flat. A small ornate frame (3×4 inches) holding a vintage-style raven print becomes the focal point. Dried black roses or dark-dyed eucalyptus add organic shape without bright color. Avoid plastic anything — in a minimal scheme, cheap materials have nowhere to hide. This tray pairs beautifully with dimmed overhead lights and the fairy lights off; let the candles carry the mood.
11. How Do You Turn a Tiered Tray Into a Halloween Coffee Bar?

Make the bottom tier the functional station and the top tier the decor. Bottom: two mugs, a small jar of coffee beans, cinnamon sticks in a mini crock, and a syrup bottle with a Halloween tag. Top: mini pumpkins, a "Boo" sign, and a short bead garland. The tray becomes the whole coffee bar — about one square foot.
Keep the mug count to two; more mugs eat the decor space. A 12-ounce syrup bottle is the right scale — full-size bottles overwhelm the tray. Use a lidded sugar bowl instead of an open one near the decor to avoid spills on fabric items. For the full effect, pair the tray with our Halloween bar cart ideas if you have the floor space for a cart beside the counter. Replace the beans monthly; coffee beans go stale and lose their scent in about four weeks at room temperature.
12. Can a Tiered Tray Hold Real Halloween Candy Safely?

Yes, if you separate food from decor. Use a lidded glass jar or lidded ceramic bowl for unwrapped candy, and keep wrapped candy in its own dish — never mix candy among porous decor like burlap or dried florals. Chocolate near a warm LED strand is fine; chocolate near a real candle is not.
The food-safe rule: only items labeled food-safe should touch unwrapped treats. Most decorative trays are not food-safe, so use liners — a square of parchment paper or a small plate under the candy dish solves it. Refresh candy weekly; Halloween candy on display goes stale faster than you think, especially chocolate in a warm kitchen. A "take one" mini sign makes the tray interactive for guests. After the season, wash any dish that held candy before storing it; sugar residue attracts pests in storage.
13. How Do You Style a Tray for an Entryway Console?

Treat the tray as one element of a wider vignette, not the whole show. Place it off-center on the console, flanked by a tall lantern or vase on one side and a small stack of books on the other. Total height should stay under two-thirds of the mirror or art above — measure, don't eyeball.
Entryway trays get viewed from the front only, so style the back of each tier with greenery or a simple riser and put all detail work facing forward. Add one welcoming element: a small "Welcome, Witches" sign or a dish for keys disguised as a mini cauldron. Since entryways get bumped by bags and coats, keep the tray at least 6 inches from the table edge and use museum putty under the base. Warm fairy lights on a timer make the entryway glow when you come home after dark — set them for your actual arrival time.
14. What Changes When the Tray Sits on a Living Room Side Table?

Style for 360-degree viewing. With no "back" to hide, every tier needs interest from all angles: center the tallest item, ring medium pieces around it, and tuck fillers into every gap. A side-table tray is viewed up close while seated, so small details — tiny labels, bead textures, mini book spines — get noticed and appreciated.
Scale down the height: anything over 14 inches total blocks sightlines across the seating area and annoys conversation. Skip signs with text facing one direction; they look wrong from the other side. Round trays suit round side tables better than square ones — matching shapes looks settled. If the table also holds a lamp, keep the tray on the opposite side and let the lamplight do the illuminating; separate fairy lights become redundant. This is the one placement where fewer, larger pieces beat many small ones.
15. What Is the Smallest Counter That Can Hold a Halloween Tray?
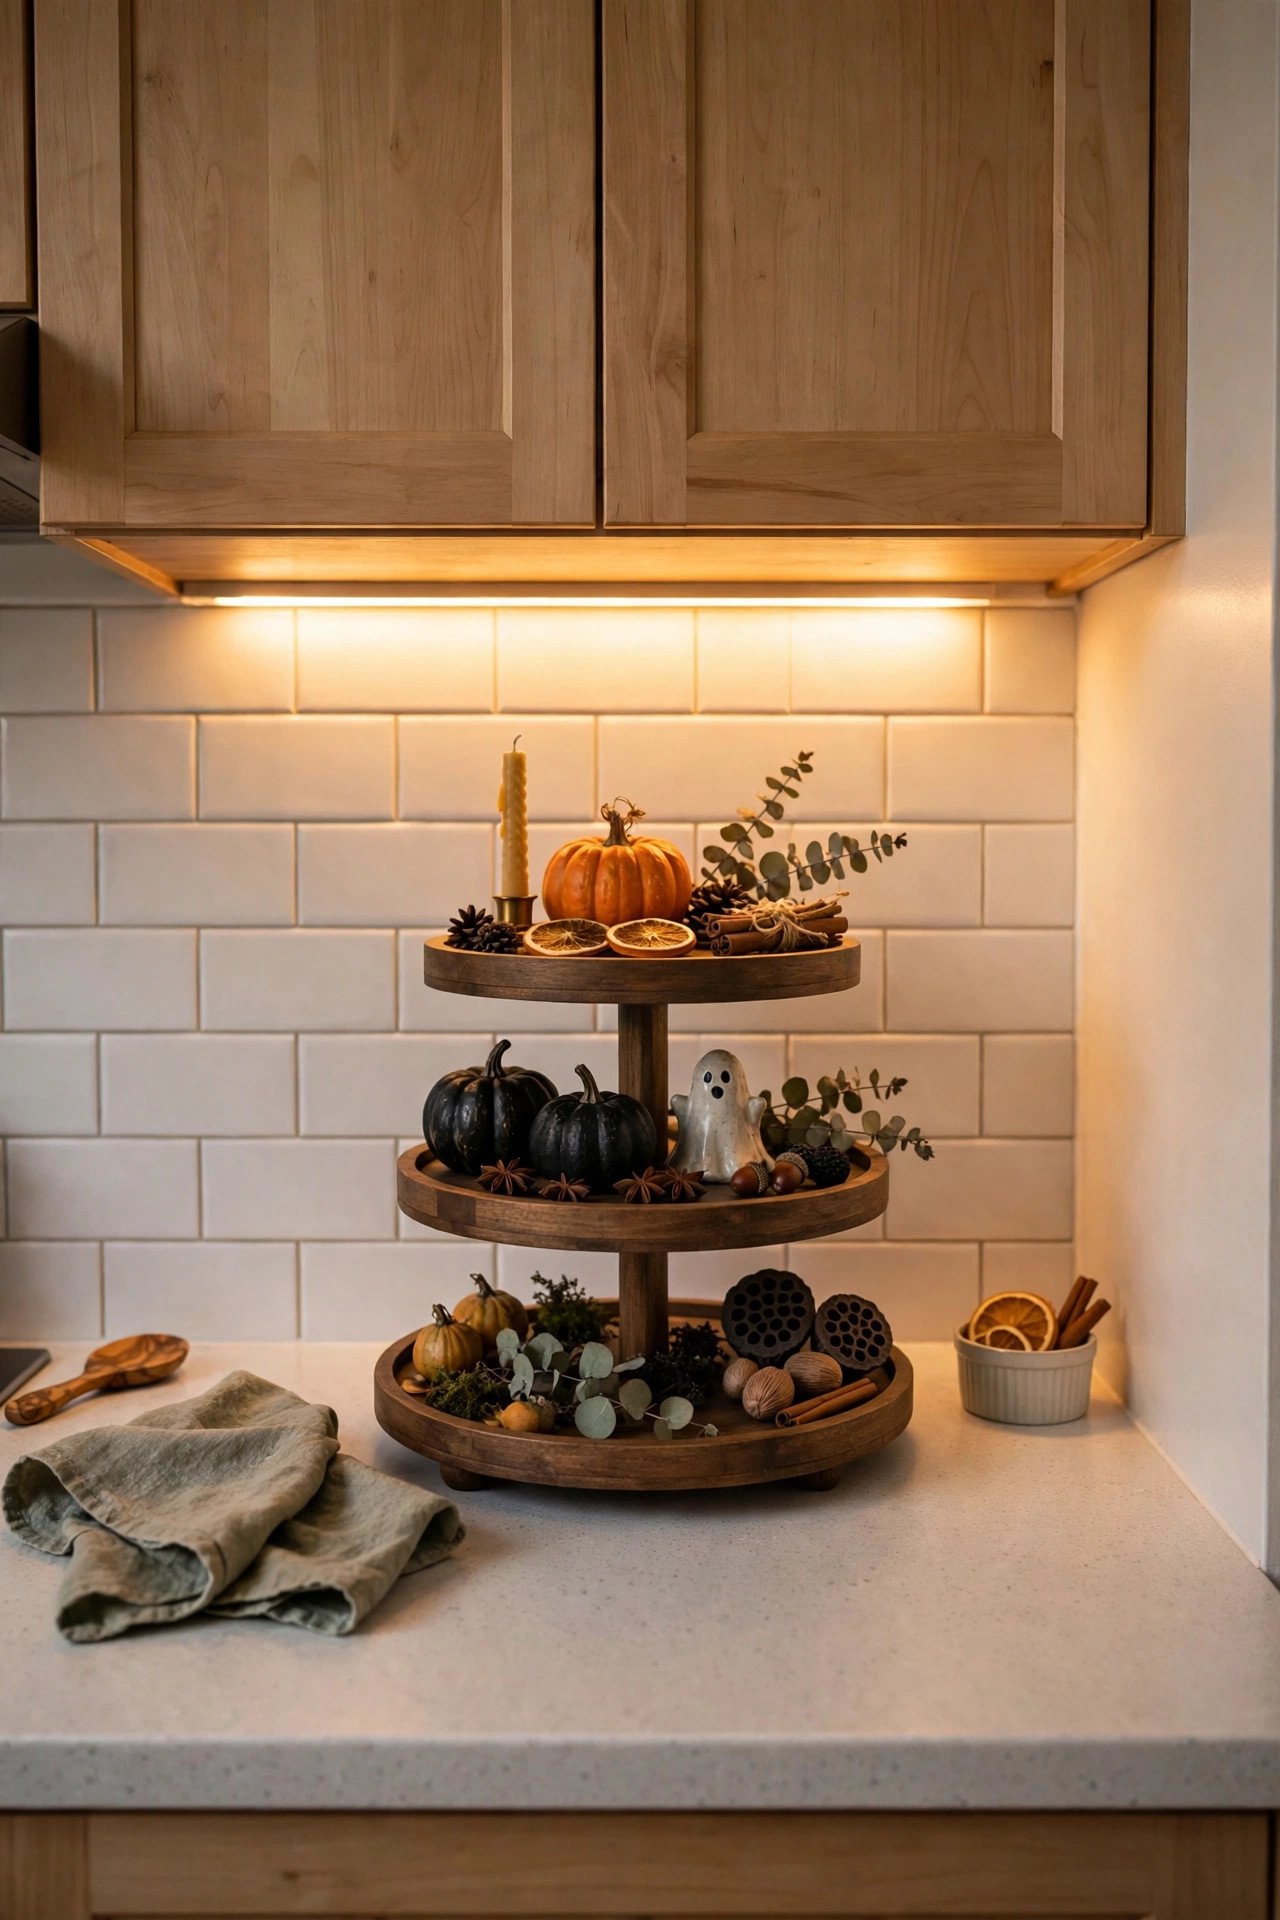
A 12-inch deep counter holds a 10-inch diameter two-tier tray with one inch of clearance front and back — the practical minimum. Measure your actual counter depth before buying; many apartment counters are only 11 inches deep once the backsplash is counted. The full footprint, garland included, must stay inside the counter edge.
The one-footprint rule: the tray plus its base mat defines one square foot, and nothing else seasonal goes on that counter. One strong moment beats three crowded ones. Push the tray against the backsplash to free the front work zone, and style the front of the tiers only. Avoid tall items over 10 inches on shallow counters; they loom over the workspace and get knocked by cabinet doors. A wall-mounted mini shelf above the tray adds display space without using counter depth.
16. How Do Risers and Stands Improve a Tiered Tray?

Risers create the height variation that makes a tray look styled, not flat. Place a 2-inch wooden block, a small upside-down bowl, or two stacked vintage books under a short item to lift it into the middle height zone. Each tier should show three heights: low (tray surface), medium (4–6 inches), tall (8–10 inches).
The cheapest riser is a small cardboard box wrapped in burlap or black fabric — invisible once items sit on it. Do not use more than one riser per tier; multiple risers create a staircase effect that fights the tray's own tiers. Risers also solve the "everything is the same height" problem common with mini pumpkin collections. Test stability: press the riser gently from the side. If it wobbles, it will fall when someone bumps the table. For a kitchen tray that gets daily use nearby, keep risers low and wide rather than tall and narrow.
17. How Do You Layer Textures Without Making a Mess?

Pick three textures and repeat them: for example, rough wood, smooth ceramic, and soft fabric. Repetition is what makes texture layering look deliberate — one velvet pumpkin among all-ceramic items looks like a mistake, but three velvet pieces look like a choice. Distribute the textures so each tier contains at least two of the three.
The texture formula that rarely fails: something hard (metal tray, ceramic pumpkin), something soft (velvet, burlap, felt), and something natural (wood beads, dried florals, wheat). Avoid mixing more than one pattern — stripes plus polka dots plus damask on a small tray is visual noise. Matte finishes photograph better than glossy ones under warm fairy lights; gloss creates hot spots. If your tray is galvanized metal (cool, industrial), warm it with wood and fabric; if it is wood (warm, rustic), sharpen it with glass and metal.
18. What Kind of Signage Works Best on a Small Tray?

One small sign, 4–6 inches wide, with three words or fewer. "Boo," "Spooky Season," "Witch Way," and "Eat, Drink & Be Scary" all work at tray scale. Lettering should be readable from 6 feet — test by stepping back. Hand-lettered or serif fonts suit farmhouse and vintage trays; clean sans-serif suits modern black-and-white schemes.
Placement: lean the sign against the center post or the tallest item at a slight angle; never lay it flat, where it disappears. The one-sign rule is firm — two signs compete and neither gets read. Chalkboard-style mini signs are reusable across seasons; just wipe and rewrite. Avoid signs with long quotes; nobody reads a paragraph on a tiered tray. If the sign has a stand, check that the stand's feet fit on the tier without hanging over the edge — overhanging feet are the top cause of tray-topples.
19. Which Natural Elements Suit a Halloween Tray?
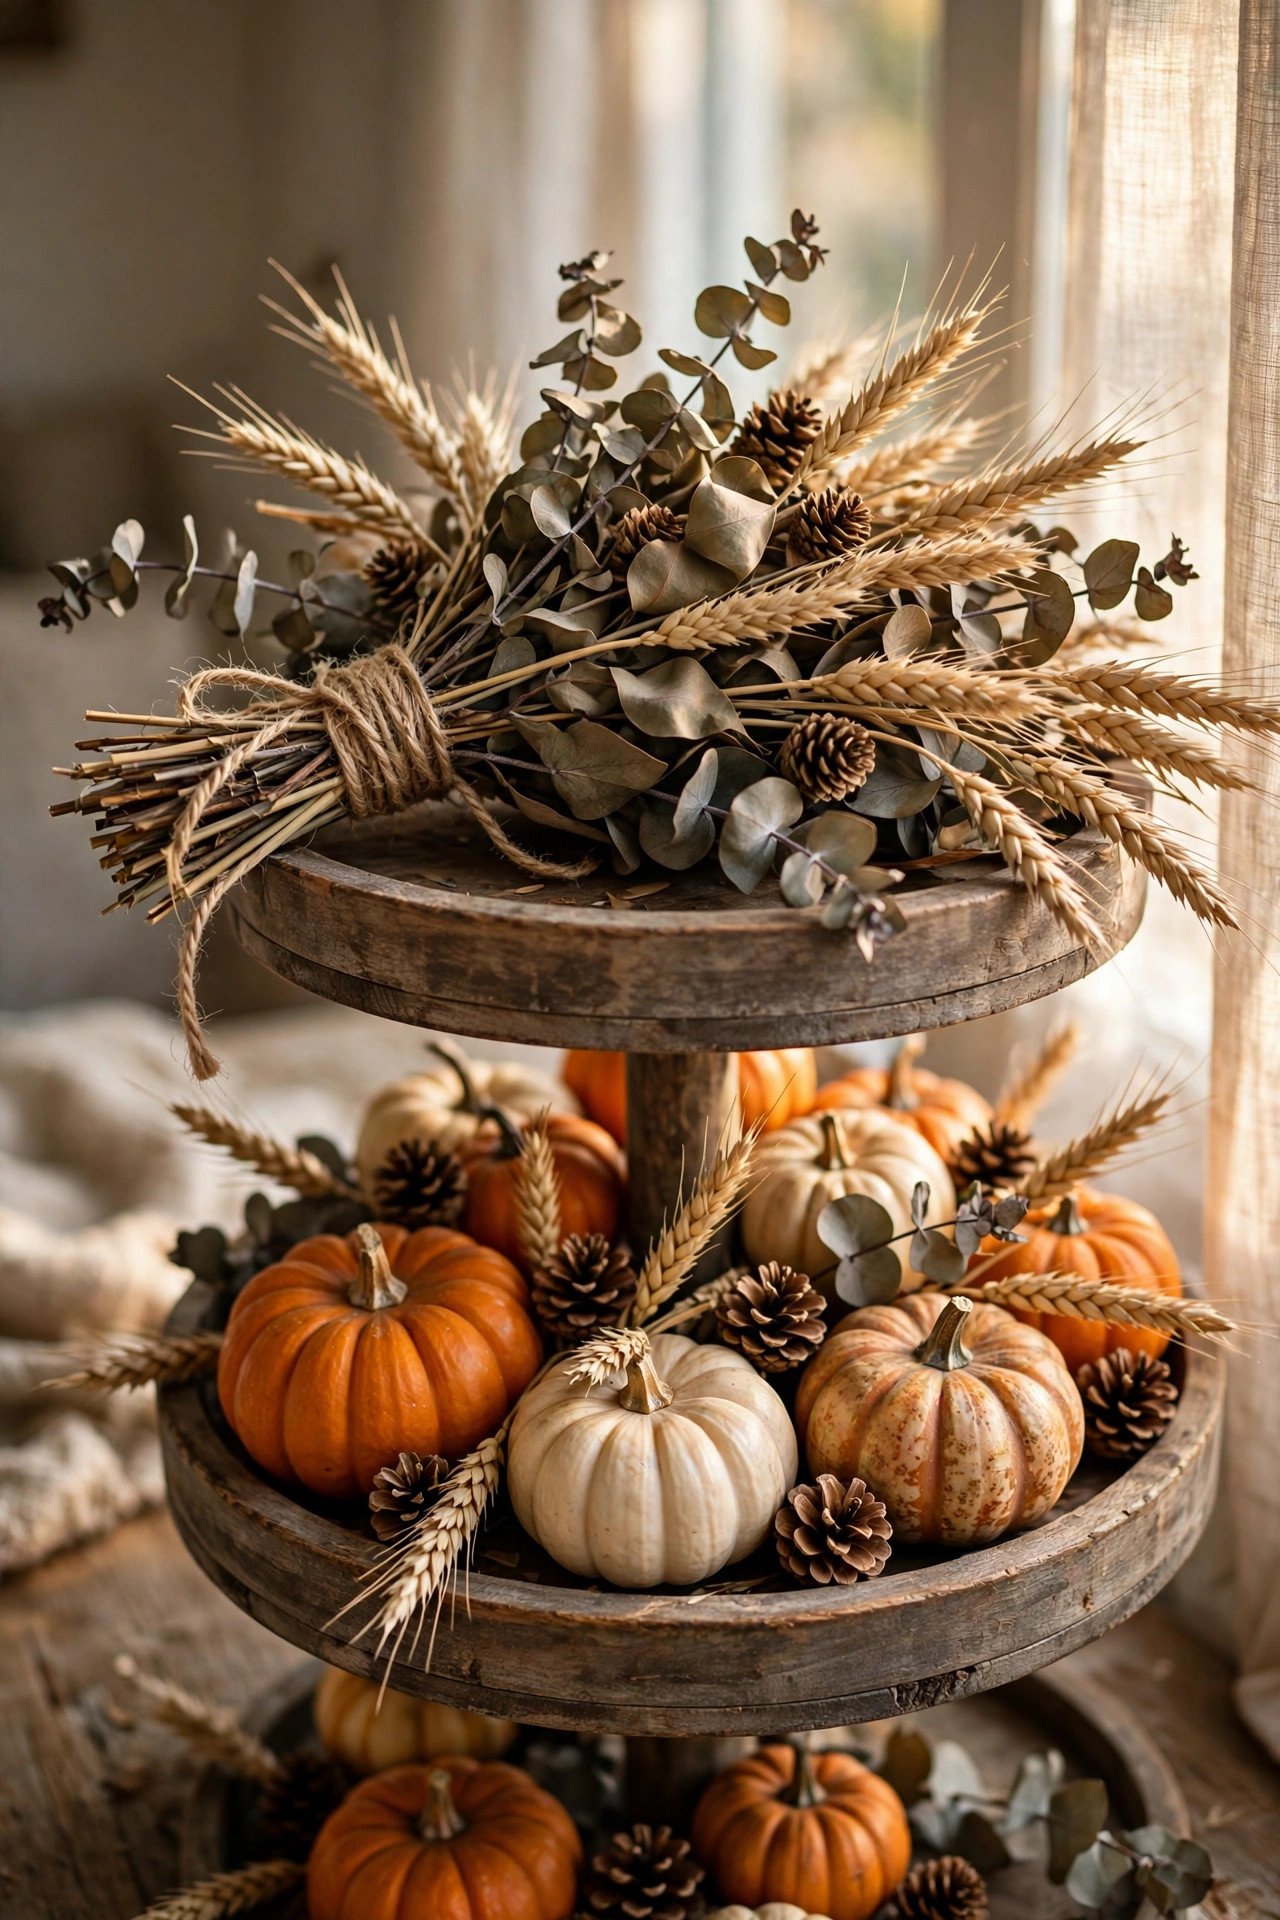
Dried eucalyptus, wheat stalks, mini pinecones, dried orange slices, and preserved moss. These add organic shape and muted color that balance the manufactured look of resin pumpkins and plastic signs. A 6-inch bundle of dried lavender or eucalyptus tucked behind the anchor piece softens hard edges instantly.
Keep natural elements dry and away from any real flame — dried botanicals are highly flammable. Replace wheat and dried florals each season; they collect dust and shed. Preserved moss (the bagged kind from craft stores) makes an excellent tray-surface cover: spread a thin layer on the bottom tier and nestle pumpkins into it for a "forest floor" effect. Do not use fresh greenery on a tray; it wilts within days and leaks moisture. One caution: dried items near a kitchen tray absorb cooking odors, so refresh them if the tray lives by the stove.
20. How Do You Use Bats, Skeletons, and Spiders Without Overdoing It?

Use silhouettes, not figures. Flat black bat cutouts on the tray rim or wall behind it, one 6-inch skeleton lounging against the center post, or three small spiders on the tray edge give the Halloween signal without the toy-box look. One creature type per tray — bats plus spiders plus skeletons reads as a party store exploded.
Scale creatures to the tray: nothing taller than the center post, nothing wider than one tier's radius. Pose skeletons doing something — holding a mini pumpkin, leaning on a sign — instead of standing stiffly; a casual pose reads as styled, a stiff one reads as unpacked. Flat bat cutouts on the wall behind the tray extend the vignette upward for free, doubling the visual impact without using tray space. Remove one creature before you call it done; restraint is the difference between spooky and cluttered.
21. Are Flameless Candles Really Better for Tiered Trays?

Yes — a tiered tray packs wood beads, dried florals, fabric banners, and paper signs into one square foot: all flammable, all inches apart. Battery LED pillars give the same warm glow with zero fire risk and still flicker convincingly today.
Choose warm-white (2700K) LED pillars in 3, 4, and 6-inch heights for realistic variation. Set them on the timer function so they light every evening automatically. Keep even flameless candles 2 inches from dried botanicals so nothing gets knocked over in the dark. The one real-candle exception: a single real taper in a tall, stable holder placed beside the tray — never on it — and only while you are in the room. Never leave any open flame unattended, and keep matches out of children's reach. The roots of Halloween include lighting fires against the dark — the glow matters, not the flame.
22. How Do You Transition the Tray From Halloween to Thanksgiving?

Keep the base, swap the theme. Remove only the Halloween-specific pieces — skeletons, bats, witch hats, "Boo" signs — and keep the pumpkins (swap black ones for white or orange), bead garlands, fairy lights, and natural elements. Add wheat bundles, pinecones, and a "Grateful" sign. The whole swap takes under 15 minutes because the tray's structure never changes.
The swap-box method makes this painless: when you pack Halloween decor, put the tray's Halloween pieces in one labeled box and the Thanksgiving pieces in another, stored together. Photograph the Halloween arrangement before dismantling so you can rebuild it next year in minutes. Clean the tray tiers with a damp cloth during the swap — a month of dust hides under the decor. This transition is why neutral tray finishes (white, natural wood, galvanized) beat Halloween-printed trays; a pumpkin-print tray cannot become Thanksgiving.
Practical Tips: Budget, Safety, Storage, and Placement
Budget: A full Halloween tray costs $15–$30. Dollar stores carry mini pumpkins, bead garlands, and signs for $1–$3 each; craft stores discount fall decor 40–50% in late September. The tray is the investment — a sturdy two-tier metal tray ($20–$35) lasts every season. Buy it once, swap the $15 of fillers.
Candle and electrical safety: Use only battery LED candles and lights on the tray. Check battery packs monthly for corrosion and never mix old and new batteries. Keep the tray away from stove heat and at least 12 inches from any real flame.
Storage between seasons: Keep each season's fillers in a labeled 6-quart bin with tissue between ceramics. Wrap light strands around cardboard to prevent tangling, and tape a photo of the arrangement inside the bin lid for next year.
Room-by-room placement: Kitchen counters suit coffee-bar and candy trays; entryway consoles suit welcoming vignettes; side tables suit 360-degree trays. If you are styling the whole kitchen, our Halloween kitchen decor ideas cover counters, shelves, and tables. One tray per room — two in one sightline compete.
Halloween Tiered Tray FAQs
How do you clean dusty miniature decor without damaging it?
Dust minis with a soft makeup brush or compressed air held 8 inches away — never a damp cloth on painted resin, which lifts paint. For ceramic, use a barely damp microfiber cloth and dry immediately. Clean pieces when you pack them away so next year's setup starts fresh.
What stops pets from knocking over a tiered tray?
Put museum putty under the tray base and each top-tier item, keep the tray away from table edges cats patrol, and skip dangling garlands that invite batting. For determined cats, a heavier wood tray beats lightweight metal — the extra pound defeats most paw swipes.
Can the same tray work for Thanksgiving after Halloween?
Yes — keep the tray, garlands, lights, and neutral pumpkins; swap only Halloween-specific pieces for wheat, pinecones, and warm-toned signs. Neutral finishes (white, wood, galvanized) transition cleanly, and the swap takes about 15 minutes with labeled storage bins — a smooth seasonal change with zero redecorating.
What tray size fits a small apartment counter?
A 10–12 inch diameter two-tier tray fits counters as shallow as 12 inches deep. Measure your counter depth including the backsplash before buying. Three-tier trays need at least 15 inches of depth and 24 inches of clearance under cabinets — measure twice.
Which tray items must be food-safe?
Anything touching unwrapped candy must be food-safe or lined — most decorative trays are not, so use parchment paper or a small plate as a barrier. Wrapped candy only needs a clean dish. Keep porous decor like burlap away from food, and wash candy dishes before storing.
How do you light a tray with no outlet nearby?
Battery fairy lights and LED candles: a 66-count copper-wire strand runs 72+ hours on three AA batteries. Hide the pack behind the tallest item or tape it under the tray, use the built-in 6-hour timer, and keep spare batteries in the seasonal storage bin.
Final Thoughts
A Halloween tiered tray is proof that small spaces do not need small ideas — one square foot, styled with intention, can carry the whole season. Start with the three-item rule on the top tier, hide your battery packs, and let warm light do the heavy lifting. Photograph your arrangement before you pack it away; next October, you will rebuild it in twenty minutes.
You May Also Like:
– Halloween tablescape ideas for a spooky dinner party — scale the tray concept up to a full table – Halloween entryway decor ideas for a spooky welcome — pair your tray with a full foyer vignette – Halloween living room decor ideas for a spooky yet stylish space — extend the palette to the whole room
Frequently Asked Questions
How do you clean dusty miniature decor without damaging it?
Dust minis with a soft makeup brush or compressed air held 8 inches away — never a damp cloth on painted resin, which lifts paint. For ceramic, use a barely damp microfiber cloth and dry immediately. Clean pieces when you pack them away so next year's setup starts fresh.
What stops pets from knocking over a tiered tray?
Put museum putty under the tray base and each top-tier item, keep the tray away from table edges cats patrol, and skip dangling garlands that invite batting. For determined cats, a heavier wood tray beats lightweight metal — the extra pound defeats most paw swipes.
Can the same tray work for Thanksgiving after Halloween?
Yes — keep the tray, garlands, lights, and neutral pumpkins; swap only Halloween-specific pieces for wheat, pinecones, and warm-toned signs. Neutral finishes (white, wood, galvanized) transition cleanly, and the swap takes about 15 minutes with labeled storage bins — a smooth seasonal change with zero redecorating.
What tray size fits a small apartment counter?
A 10–12 inch diameter two-tier tray fits counters as shallow as 12 inches deep. Measure your counter depth including the backsplash before buying. Three-tier trays need at least 15 inches of depth and 24 inches of clearance under cabinets — measure twice.
Which tray items must be food-safe?
Anything touching unwrapped candy must be food-safe or lined — most decorative trays are not, so use parchment paper or a small plate as a barrier. Wrapped candy only needs a clean dish. Keep porous decor like burlap away from food, and wash candy dishes before storing.
How do you light a tray with no outlet nearby?
Battery fairy lights and LED candles: a 66-count copper-wire strand runs 72+ hours on three AA batteries. Hide the pack behind the tallest item or tape it under the tray, use the built-in 6-hour timer, and keep spare batteries in the seasonal storage bin.