22 Halloween Outdoor Lighting Ideas for a Haunted Yard After Dark
Halloween only really begins after dark, when the yard you barely notice in daylight turns into the first thing trick-or-treaters see. Good outdoor lighting does far more than make decorations visible: it guides visitors safely to your door, hides the ordinary parts of the garden, throws trees and fences into dramatic shadow, and lets a few well-placed colours do the work of a dozen props. The trick is to light with intent, layering low path lights, uplights, lanterns and one or two statement effects, rather than flooding the whole front garden with harsh white light that flattens every spooky detail you worked so hard to create.
Looking for more inspiration? Our Nest Decorz homepage gathers the latest home decor ideas, seasonal decorating guides and room-by-room styling tips in one place — start there and explore.
Across the 22 ideas below you will find pathway lights, tree uplighting, projectors, lanterns, string lights and timed whole-yard displays, each with realistic fixture types, lumen and colour guidance, spacing in feet and metres, a power source, an approximate cost and one mistake to avoid, plus outdoor electrical safety, IP ratings, timer advice and neighbour-friendly lighting etiquette, so you can build a haunted yard that glows beautifully, stays safe underfoot and switches itself off when the night is done.
1. Pathway Stake Lights Guiding Trick-or-Treaters to the Door

Pathway stake lights are the single most useful Halloween lights you can buy, because they show every visitor exactly where to walk while turning an ordinary path into a glowing trail through the dark. Push low-voltage or solar stakes into the soil along both edges of the path, spacing them 60–90 cm (2–3 feet) apart and setting each one back about 15 cm from the path edge so nobody kicks them over, and choose warm white light at around 2700K with 20–40 lumens per stake, bright enough to see by. Solar stakes cost roughly £15–£35 for a set of ten and need no cables at all, while mains low-voltage sets cost £25–£50 plus a transformer and glow steadily on cloudy evenings, and both work beautifully alongside other outdoor Halloween decor ideas such as pumpkins and fence displays. The mistake to avoid is lining the centre of the path or using cool, bluish-white stakes, which look like airport runway lights and ruin the warm, haunted mood you are trying to create.
2. Uplighting That Turns Trees into Towering Silhouettes
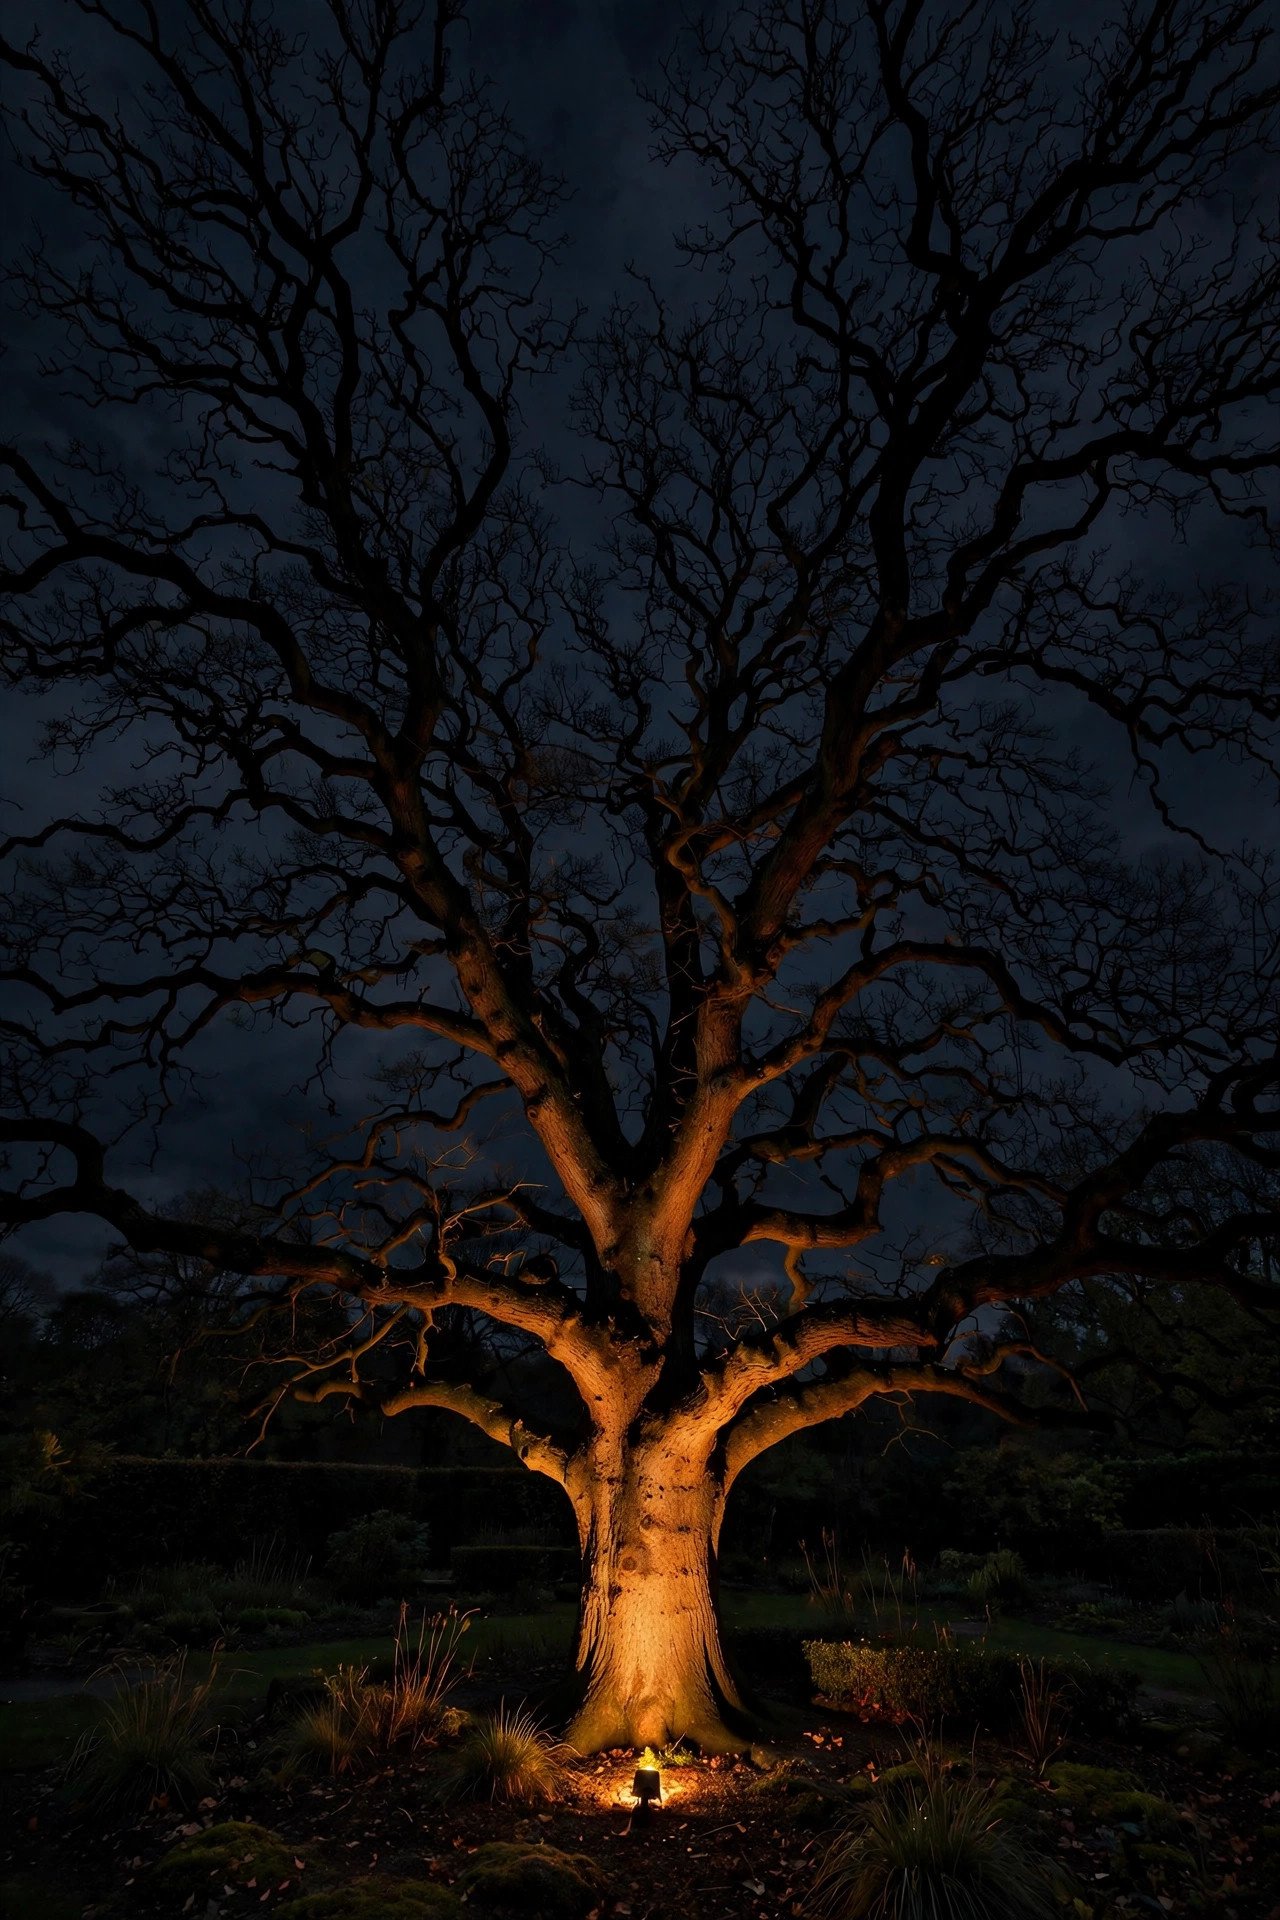
A single uplight at the base of a tree can make an ordinary garden tree look ten feet taller and a hundred years older, because upward light stretches every branch into a towering silhouette. Place a ground spike spotlight 30–60 cm (1–2 feet) from the trunk, angled up at about 30 degrees so the beam catches the lower branches without shining into bedroom windows, and choose a 300–500 lumen LED spotlight in amber, green or purple for a haunted glow, with an IP65 rating. Mains-powered low-voltage uplights cost £20–£45 each and run from a weatherproof transformer, while solar spotlights cost £15–£30 each but fade sooner on dull days, so use mains lights for your biggest tree and solar for smaller shrubs. For colour inspiration, browse the outdoor lighting guides at The Spruce. The mistake to avoid is aiming the beam straight up the trunk or across a boundary, which wastes light, blinds neighbours and makes the tree look flat instead of dramatic.
3. A Projector Casting Moving Ghosts on the Garage Door
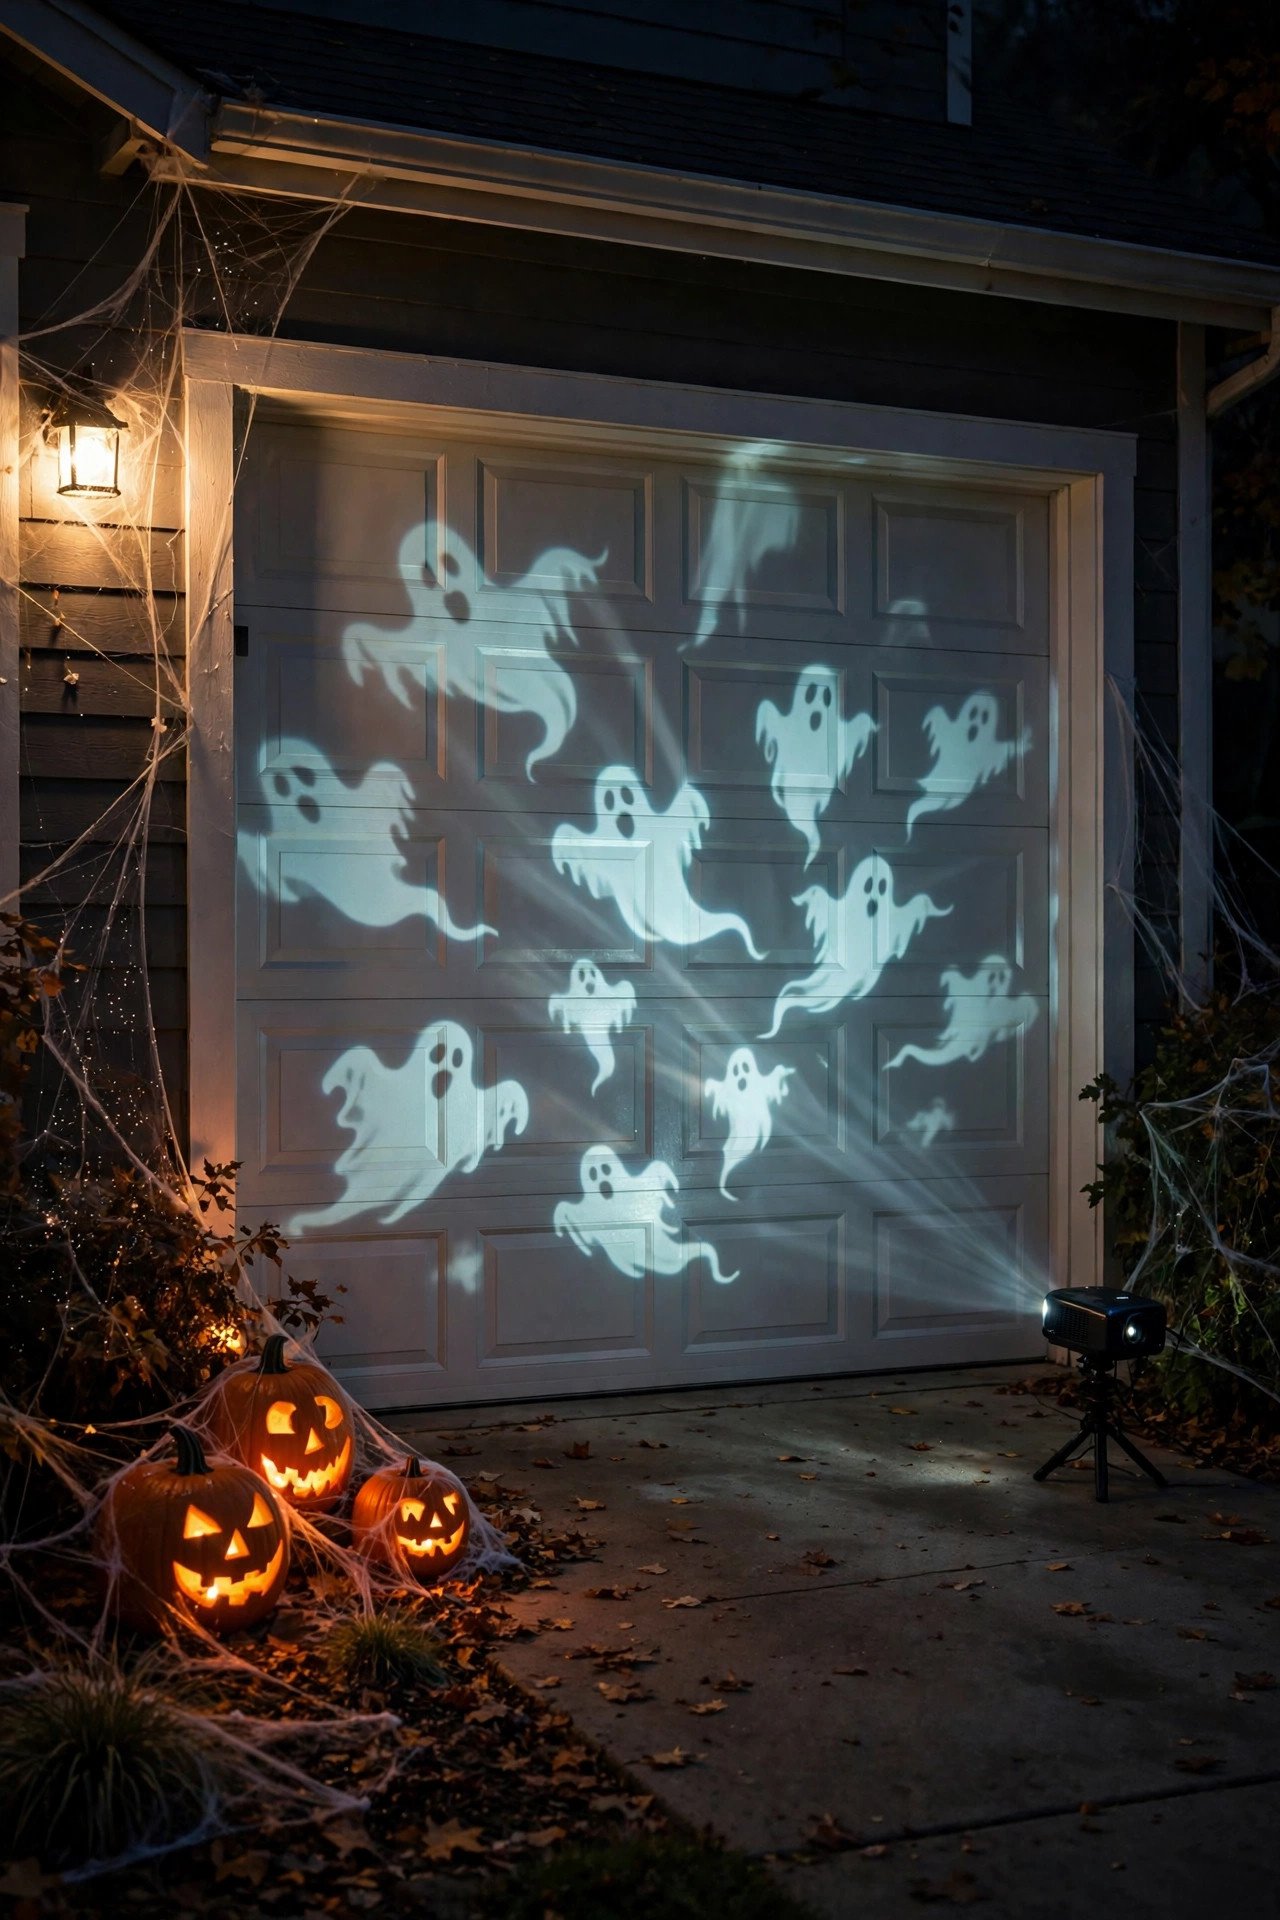
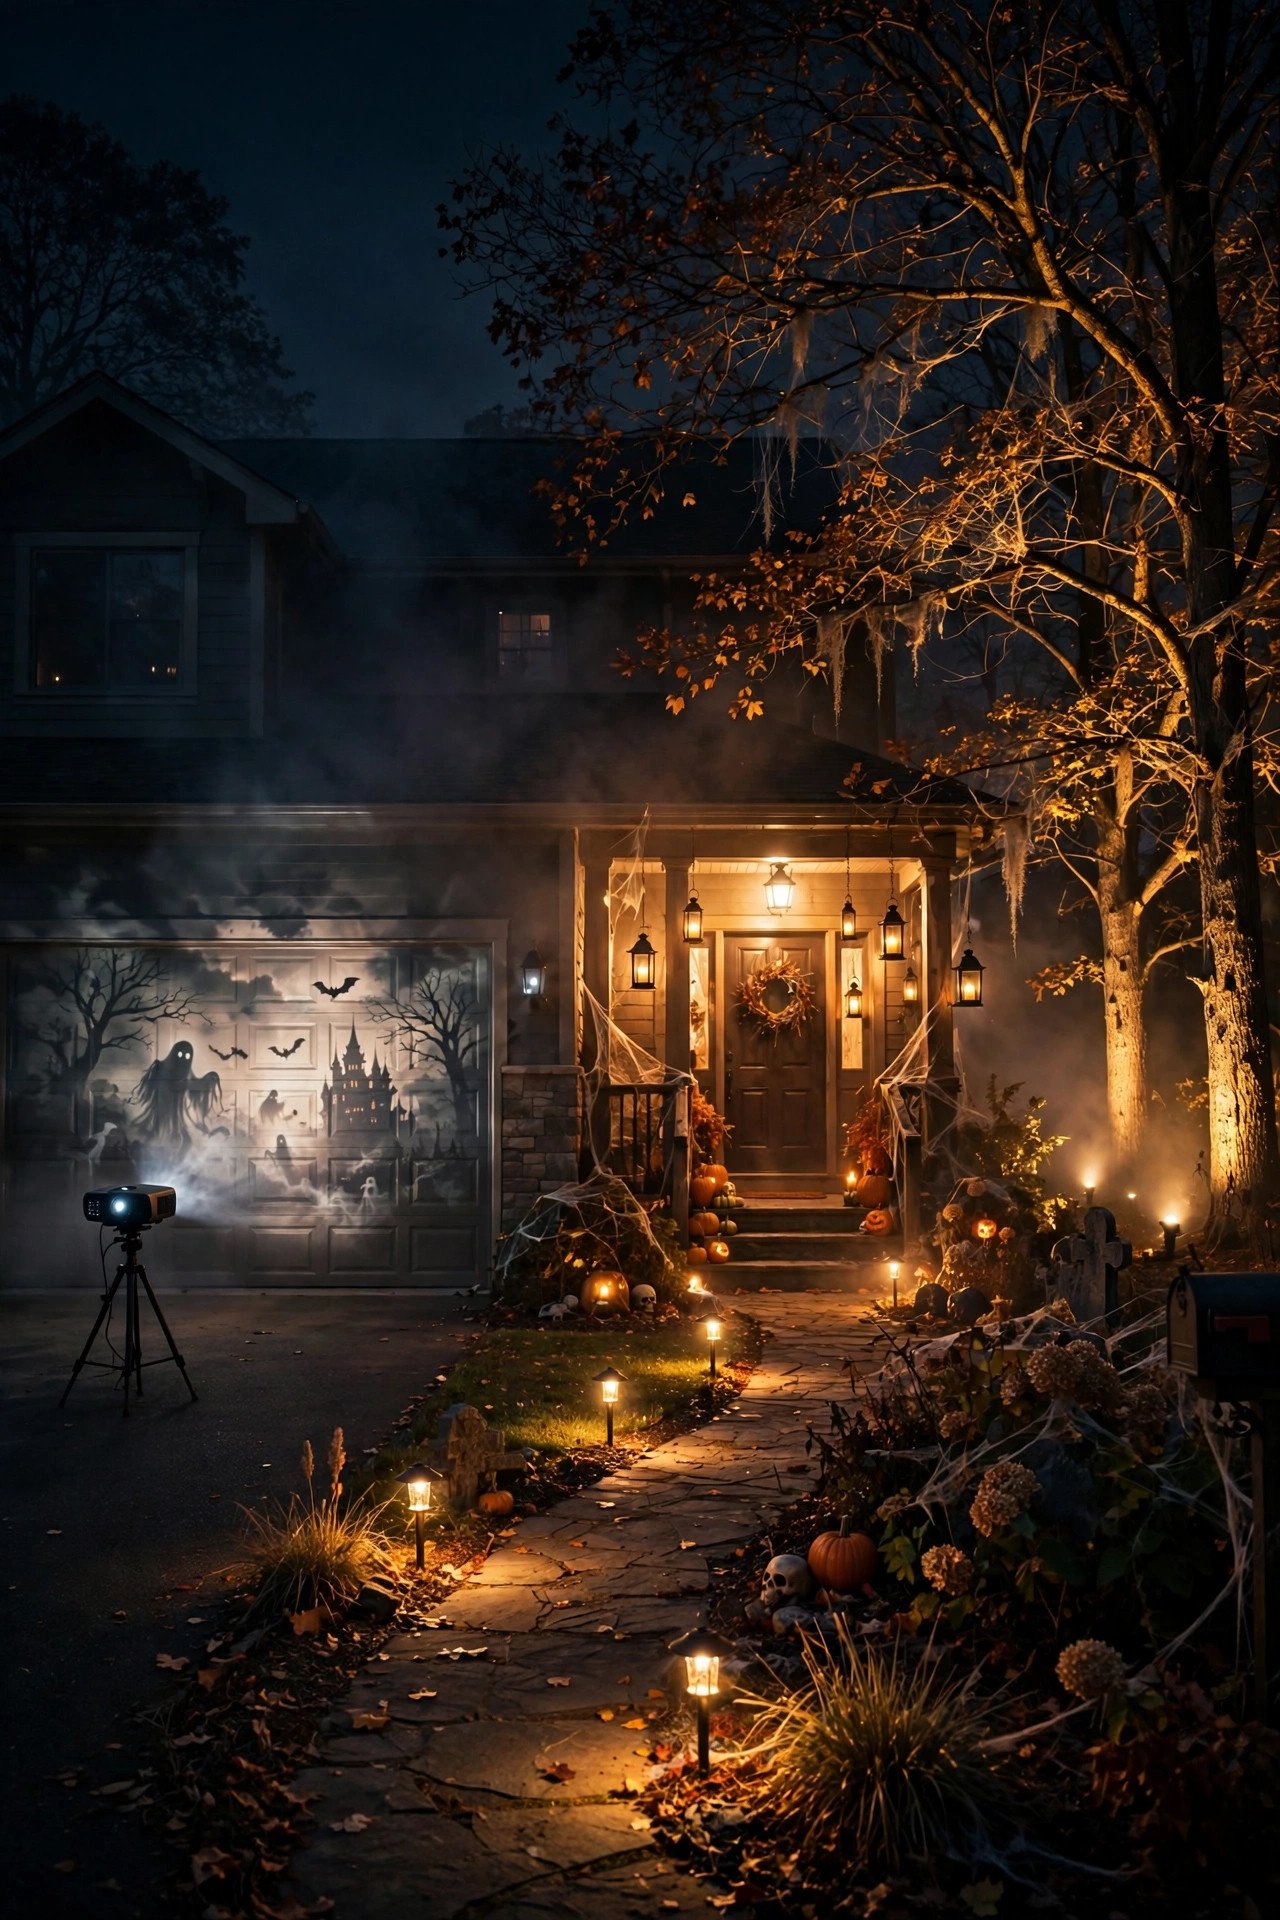
A Halloween projector turns a blank garage door into a cinema screen for moving ghosts, witches and swirling spirits, with a large, animated image visible from the street. Set the projector 3–5 metres (10–16 feet) back from the garage door on a tripod or a stable table, level it carefully so the picture fills the door without spilling onto windows, and choose a projector of 200–500 lumens with built-in Halloween loops, which is bright enough after dusk but will look washed out before sunset, so set it to start at full darkness. Projectors cost £25–£60, plug into a mains outdoor socket with an RCD, and pair naturally with other Halloween garage decor ideas such as fake cobwebs and tombstones around the driveway. The mistake to avoid is projecting onto a window or a glossy door in a way that creates glare for drivers, and never leave the projector unprotected in rain unless it is rated for outdoor use.
4. String Lights Draped Along the Porch Railing
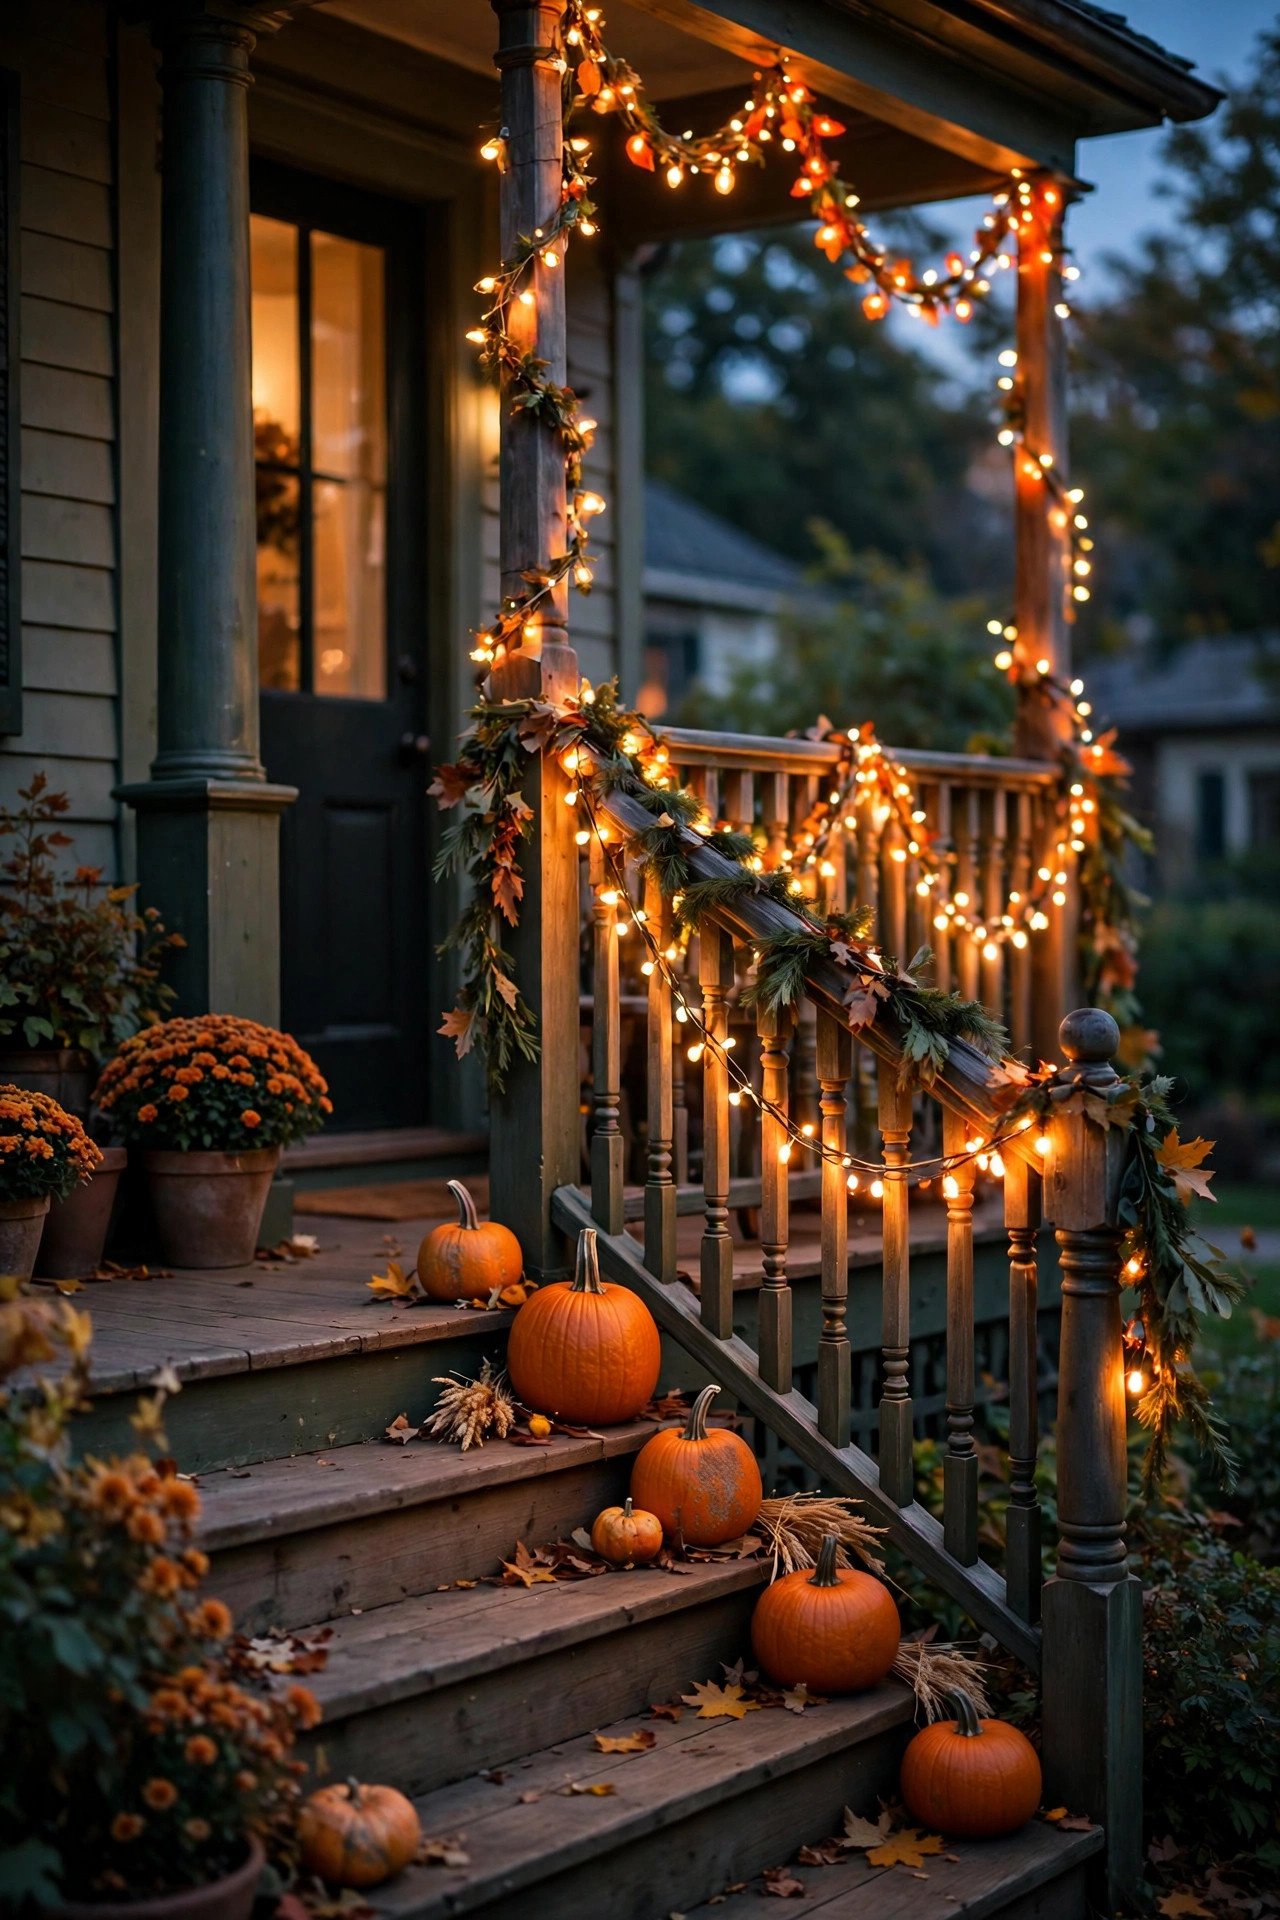
String lights draped along a porch railing frame the entrance with a soft, festive glow and make the whole front of the house feel welcoming rather than forbidding, . Drape a 5–10 metre string in gentle swags along the top rail, dipping 20–30 cm between fixing points spaced 45–60 cm apart, and choose warm white lights for a classic look or orange and purple for a bolder Halloween palette, with 100–200 LEDs for an even glow. Battery-operated strings cost £10–£20 and suit railings far from a socket, solar strings cost £12–£25 and need a sunny panel position, and mains strings cost £15–£30 and stay brightest all evening, so pick the power source that matches how far your railing sits from the house. The mistake to avoid is stapling through the cable or pulling the string drum-tight, because pierced cables are a shock and fire risk and a taut string snaps the moment someone leans on the railing.
5. Lantern Clusters Flanking the Front Steps
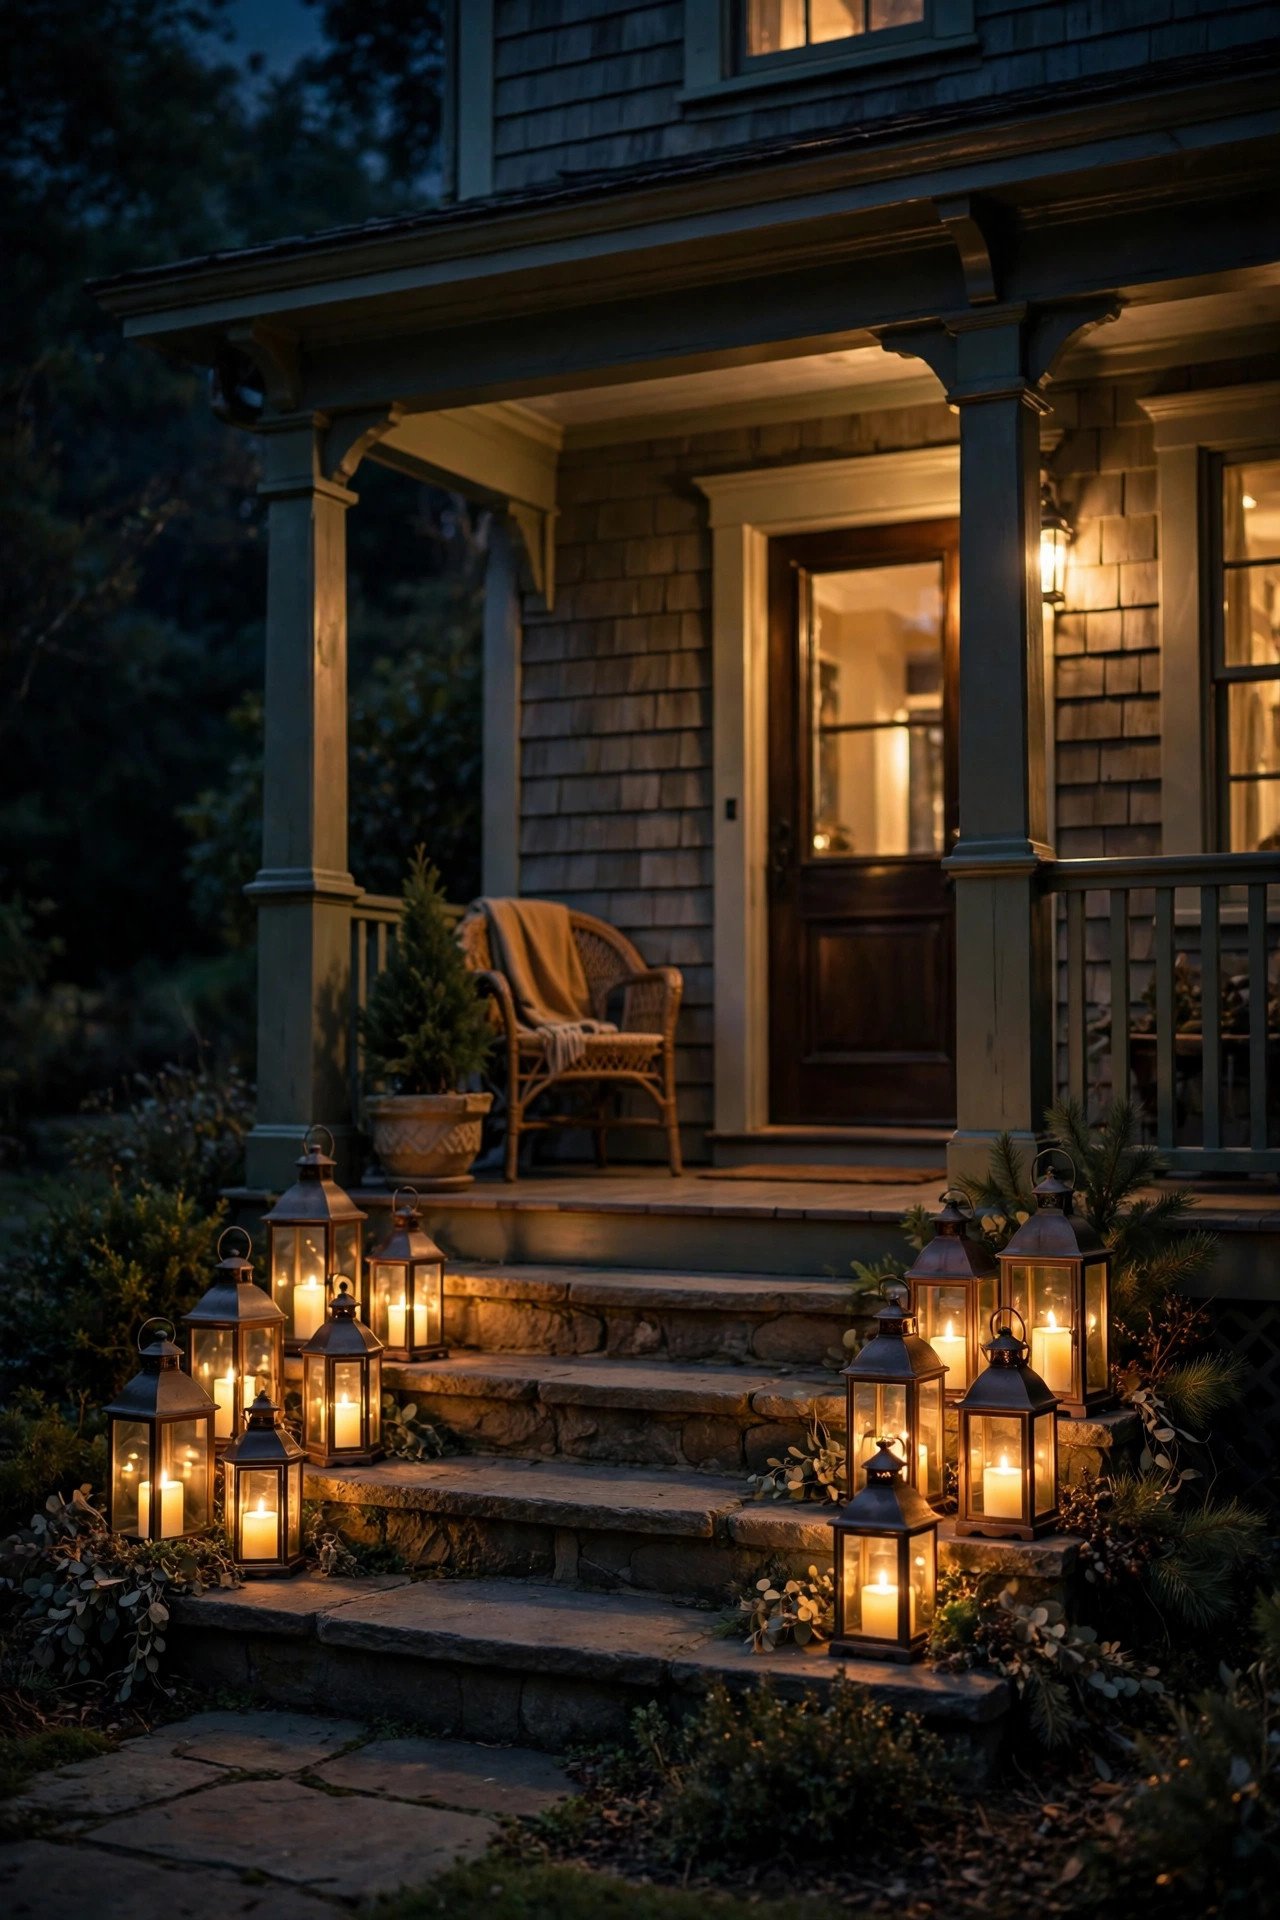
A cluster of lanterns flanking the front steps creates a grand, old-fashioned entrance that feels like the doorway to a haunted mansion, and the glow at ankle height keeps every step visible. Group three lanterns on each side of the steps in graduated heights of roughly 20 cm, 28 cm and 35 cm, placing the tallest at the back and keeping every lantern at least 30 cm from the step edge, then filling them with warm white LED pillar candles of 50–100 lumens each, which glow without any fire risk. Lanterns cost £8–£20 each, LED candles cost £3–£6 each and run for weeks on a timer, and battery power means you can move the clusters anywhere without trailing cables across the porch. The mistake to avoid is using real candles inside lanterns on a busy doorstep, where coats, costumes and excited children pass within centimetres of an open flame, and never let a lantern block any part of a step itself.
6. Colour-Changing Floodlights Washing the Facade
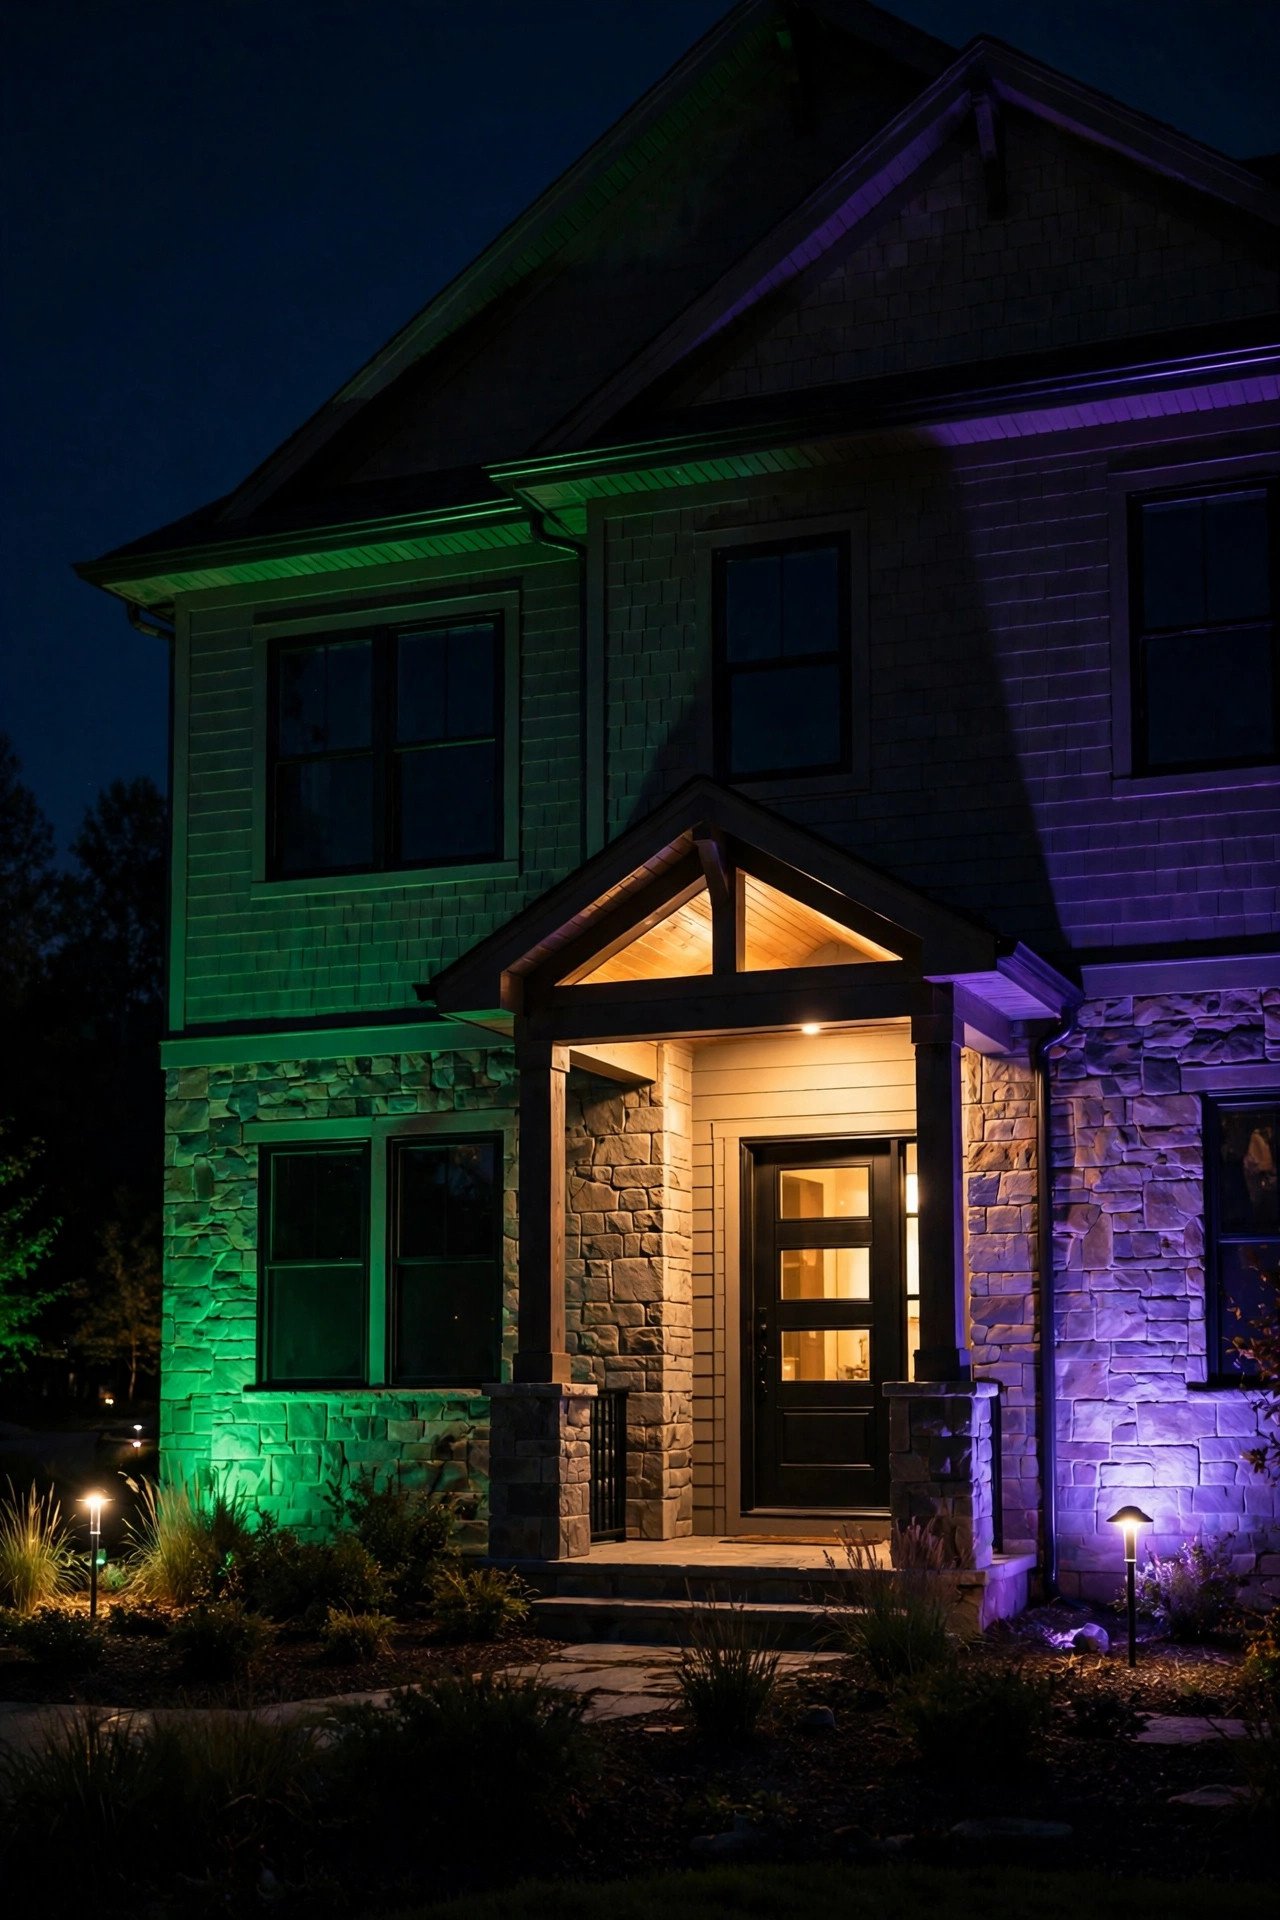
Colour-changing floodlights wash the whole front of the house in eerie green, blood red or deep purple, turning a plain facade into a haunted house with no props. Mount or stake two floodlights at the front corners of the yard, 3–4 metres (10–13 feet) from the house and angled up at about 25 degrees, and choose RGB LED floodlights of 1,000–2,000 lumens each with an app or remote control, so you can switch from green to red without a ladder. Floodlights cost £30–£70 each, plug into mains power through a weatherproof outdoor socket, and need an IP65 rating for exposed positions, while a timer or smart plug keeps them on a sensible schedule. The mistake to avoid is running them at full brightness with a flashing or strobe setting all night, which annoys neighbours, looks cheap rather than spooky and can genuinely disturb people who are sensitive to flashing light.
7. Glowing Eyes Hidden in the Hedges

Glowing eyes hidden in a hedge deliver a perfect double-take scare, because visitors glimpse two bright points staring from the dark foliage. Fix pairs of small LED eyes at 1–1.5 metres (3–5 feet) high inside the hedge, spacing each pair 1–2 metres apart so they read as separate creatures lurking along the boundary, and choose red or amber LEDs of 10–30 lumens per eye, which glow clearly without lighting up the whole hedge. Battery-operated eye pairs cost £8–£15, last for weeks on a timer setting and need no cables, while mains versions are brighter but far harder to hide, so battery power wins for this effect every time. The mistake to avoid is placing glowing eyes where they stare directly at the road or a neighbour's window, which can distract drivers and worry neighbours, and never leave them visible in daylight, when dangling wires and plastic eyes spoil the illusion completely.
8. A Fog Machine Lit from Below with Green Light
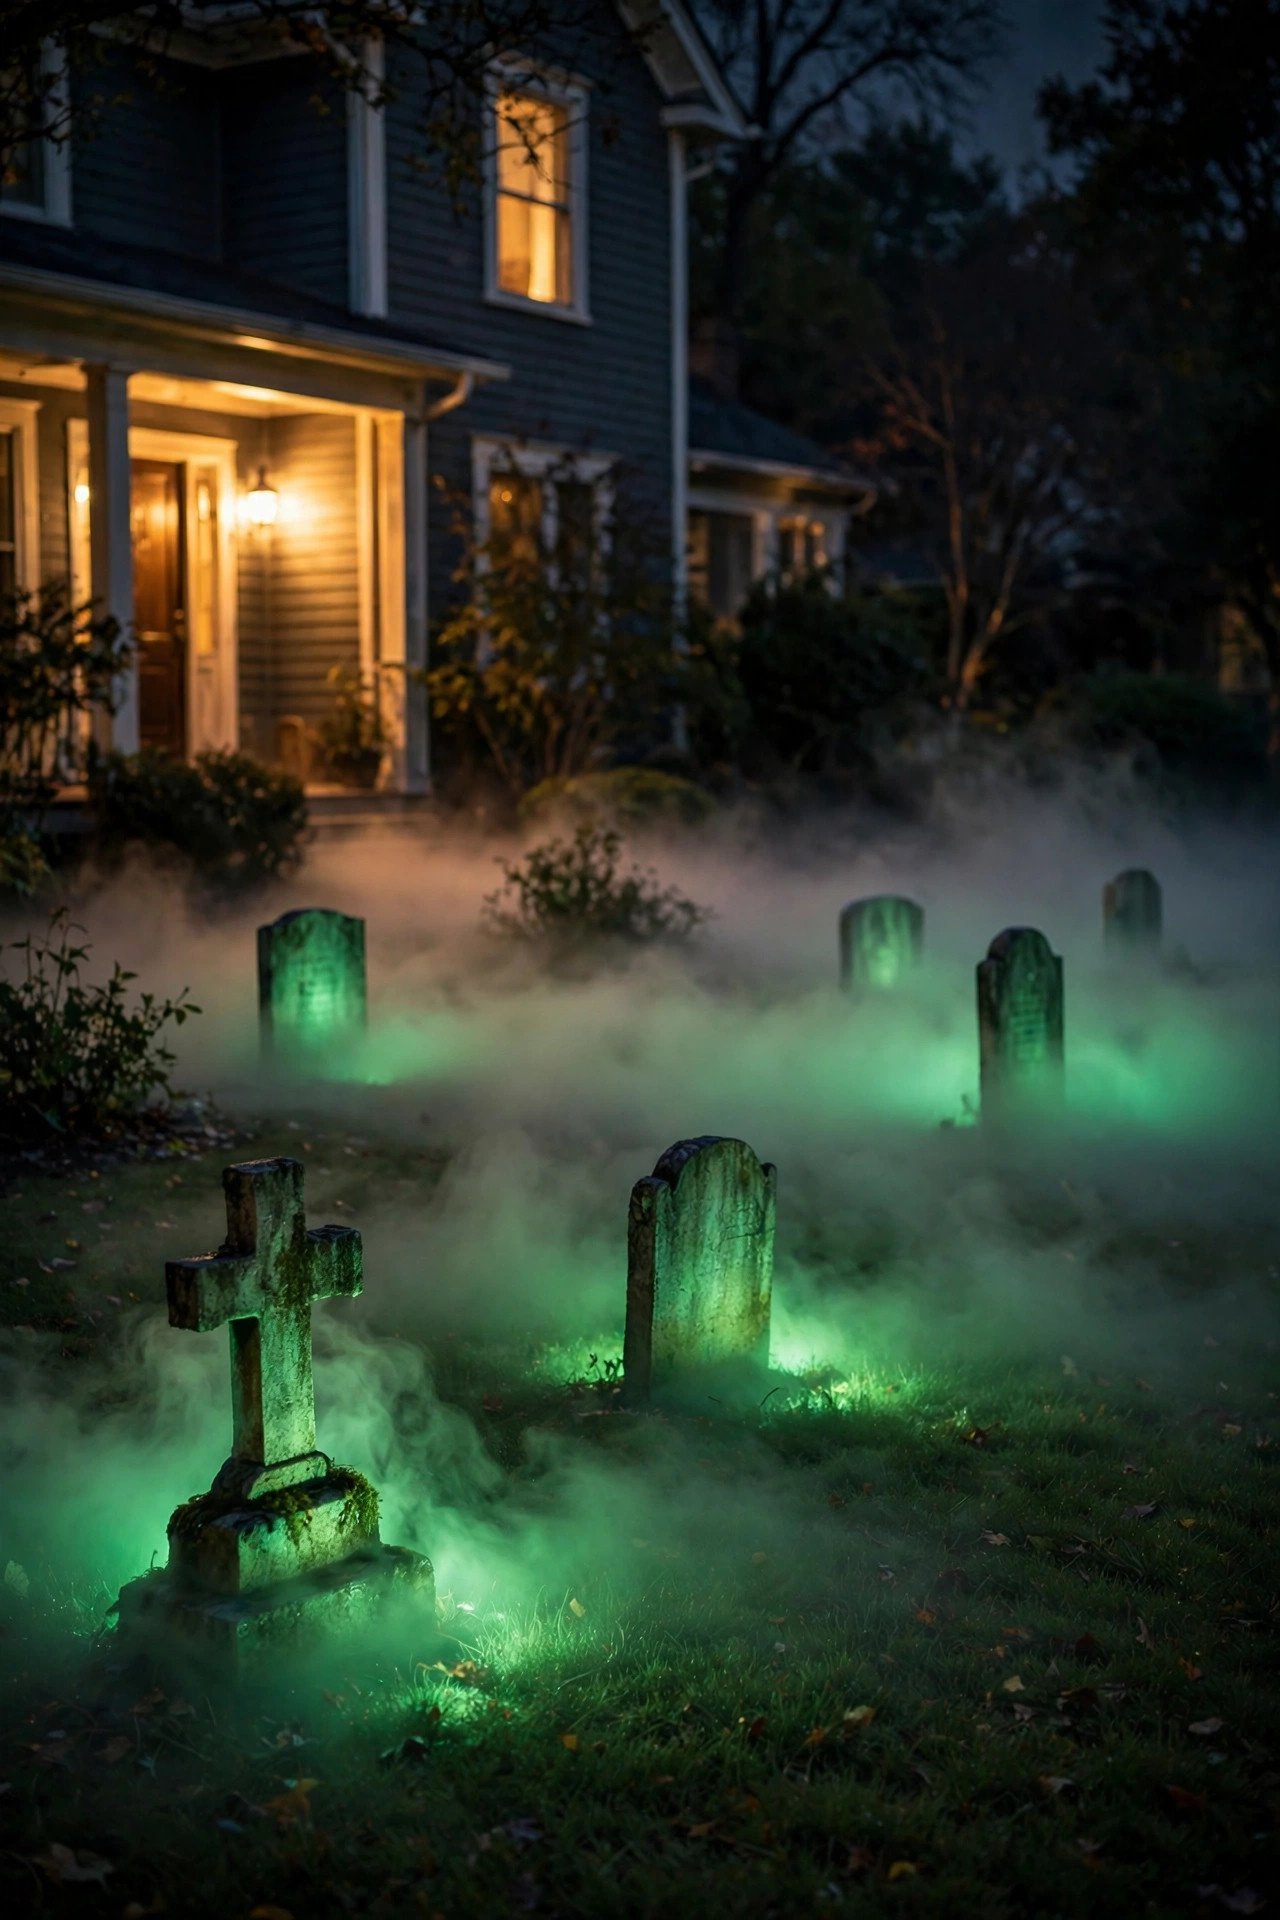
Low fog lit from below with green light is the closest a home yard can get to a Hollywood haunted graveyard, because fog hugs the ground and catches the light in drifting layers. Place a 400–800 watt ground fog machine 1–2 metres from the path on flat, dry ground, aim a green LED wash light of 300–500 lumens upwards through the fog from just behind it, and run the machine in short bursts rather than continuously, which uses less fluid and keeps the fog thick. A fog machine costs £30–£55, a litre of fluid costs about £8 and lasts several evenings of burst use, and mains power with an RCD-protected outdoor socket is essential, so keep the machine and its cable well away from puddles. The mistake to avoid is fogging the path itself, a driveway or an exit route, because visitors cannot see steps, cables or kerbs through thick fog, and always check the wind so your fog drifts across your own yard and not into the street.
9. Solar Stake Lights Shaped Like Pumpkins and Skulls

Solar stake lights shaped like pumpkins, skulls and ghosts are the easiest Halloween lighting of all, because you push them in by day and they switch on at dusk with no cables. Arrange six to ten stakes along a flower bed or lawn edge, spacing them 60–90 cm (2–3 feet) apart and mixing pumpkin, skull and ghost shapes so the row feels like a parade, not a repeated pattern, and choose warm white or orange LEDs of 15–30 lumens per stake, which glow softly without overpowering the bigger lights nearby. Sets cost £12–£30 for six to ten stakes, each panel needs four to six hours of direct daylight to charge, and a south-facing, unshaded spot gives the longest evening run time, often four to six hours after a sunny October day. The mistake to avoid is pushing stakes into shaded ground under a tree or a fence, where they charge poorly, glow dimly and switch off before the first trick-or-treaters arrive.
10. Window Silhouettes Backlit from Inside
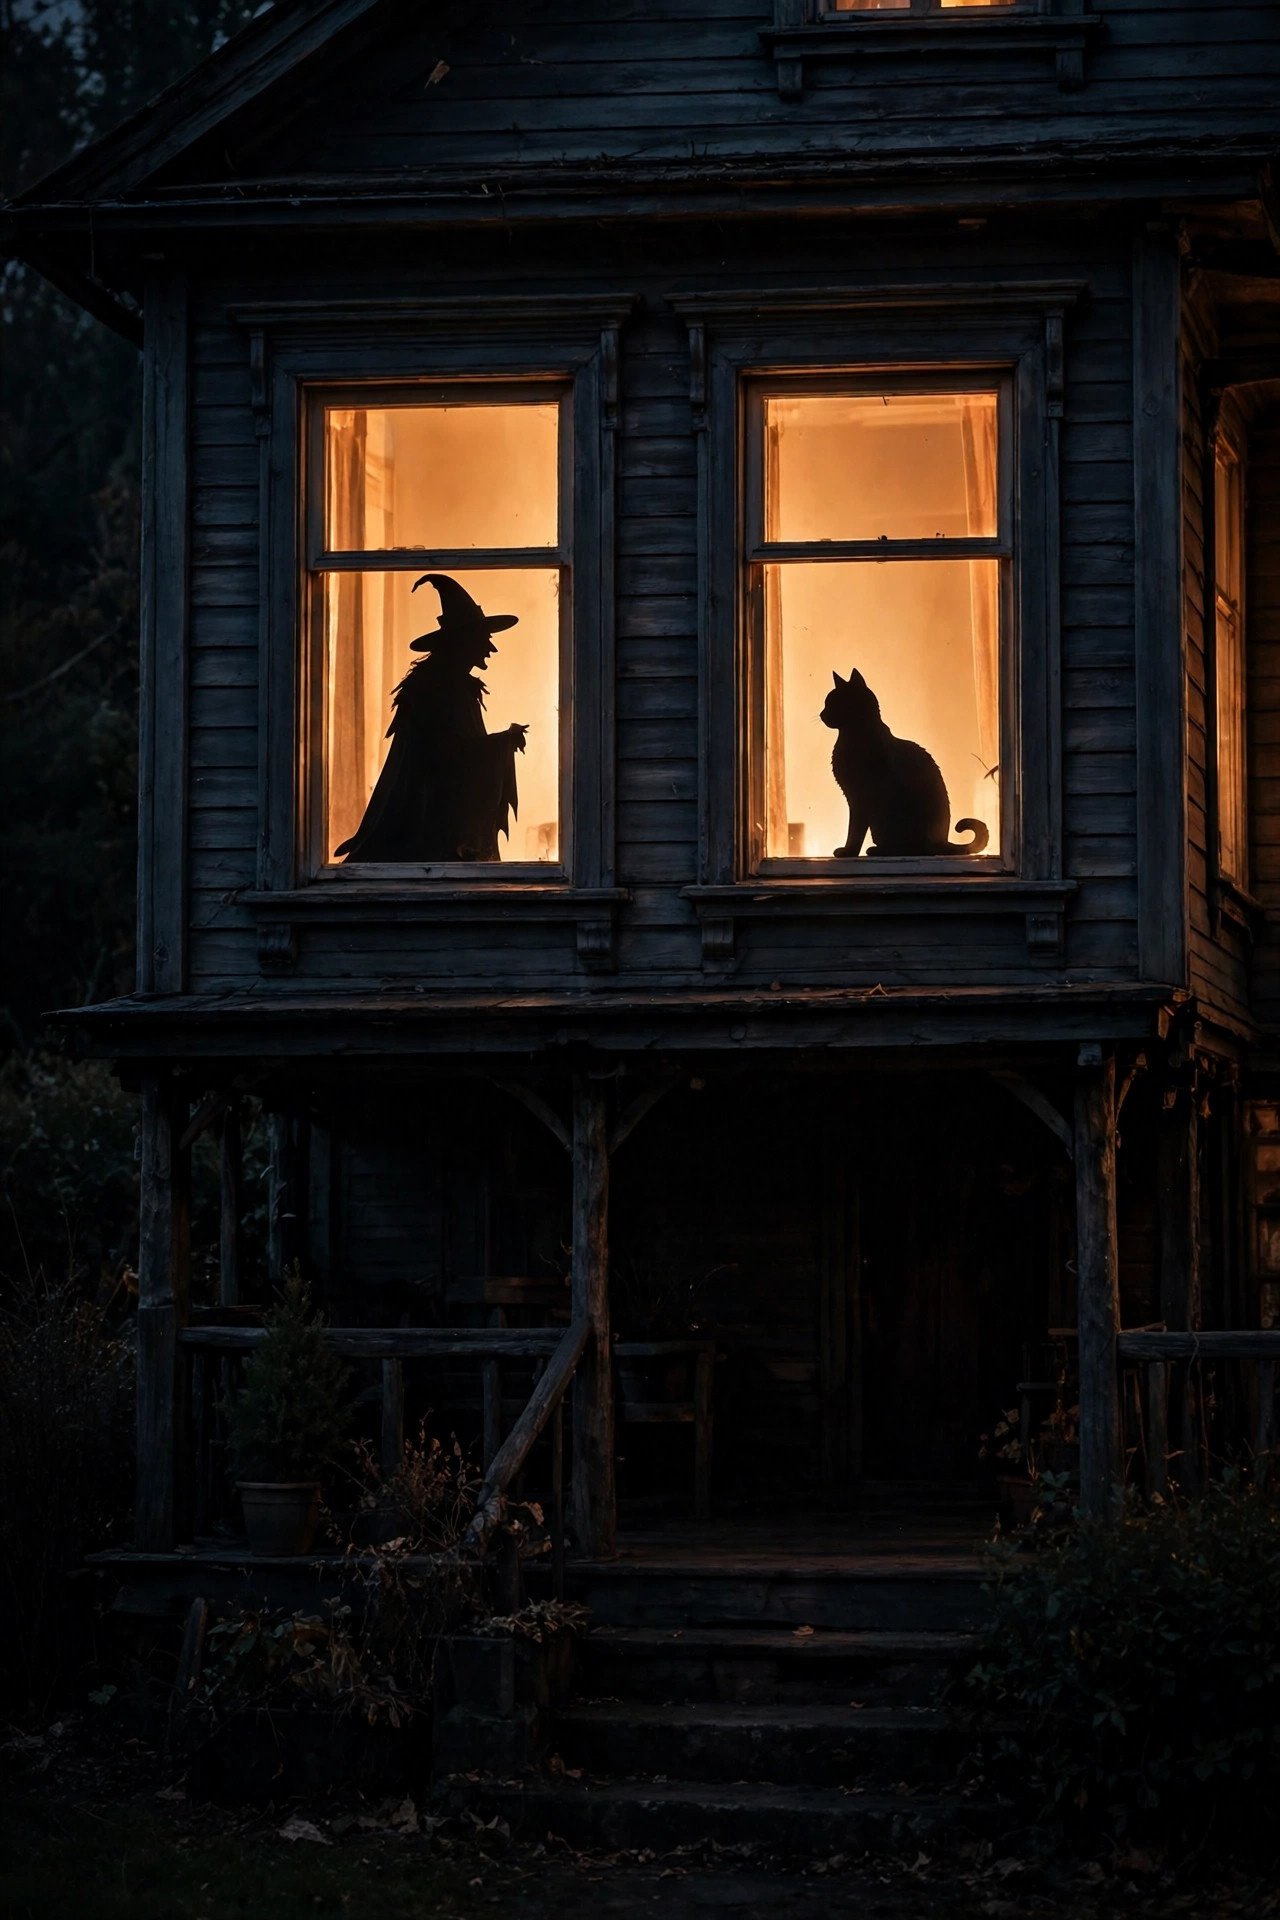
Window silhouettes backlit from inside turn every front window into a glowing Halloween picture frame that can be seen from the street, at almost no cost, because the magic comes from contrast. Cut black card silhouettes of witches, cats, bats or haunted trees to fit each window, tape them flat to the glass, and backlight them with a warm white LED strip or a single LED bulb of 400–800 lumens placed 30–60 cm behind the glass, so each silhouette reads crisp and black against the glow. Card and tape cost £5–£15 per window, LED strips cost £10–£20 and run on mains or USB power, and the same approach pairs beautifully with dedicated Halloween window decor ideas for garlands and decals around the frame. The mistake to avoid is using a hot halogen or incandescent bulb close to card or curtains, which is a genuine fire risk, and never tape silhouettes across an escape window that must open quickly in an emergency.
11. Fairy Lights Woven Through a Front-Yard Graveyard Fence
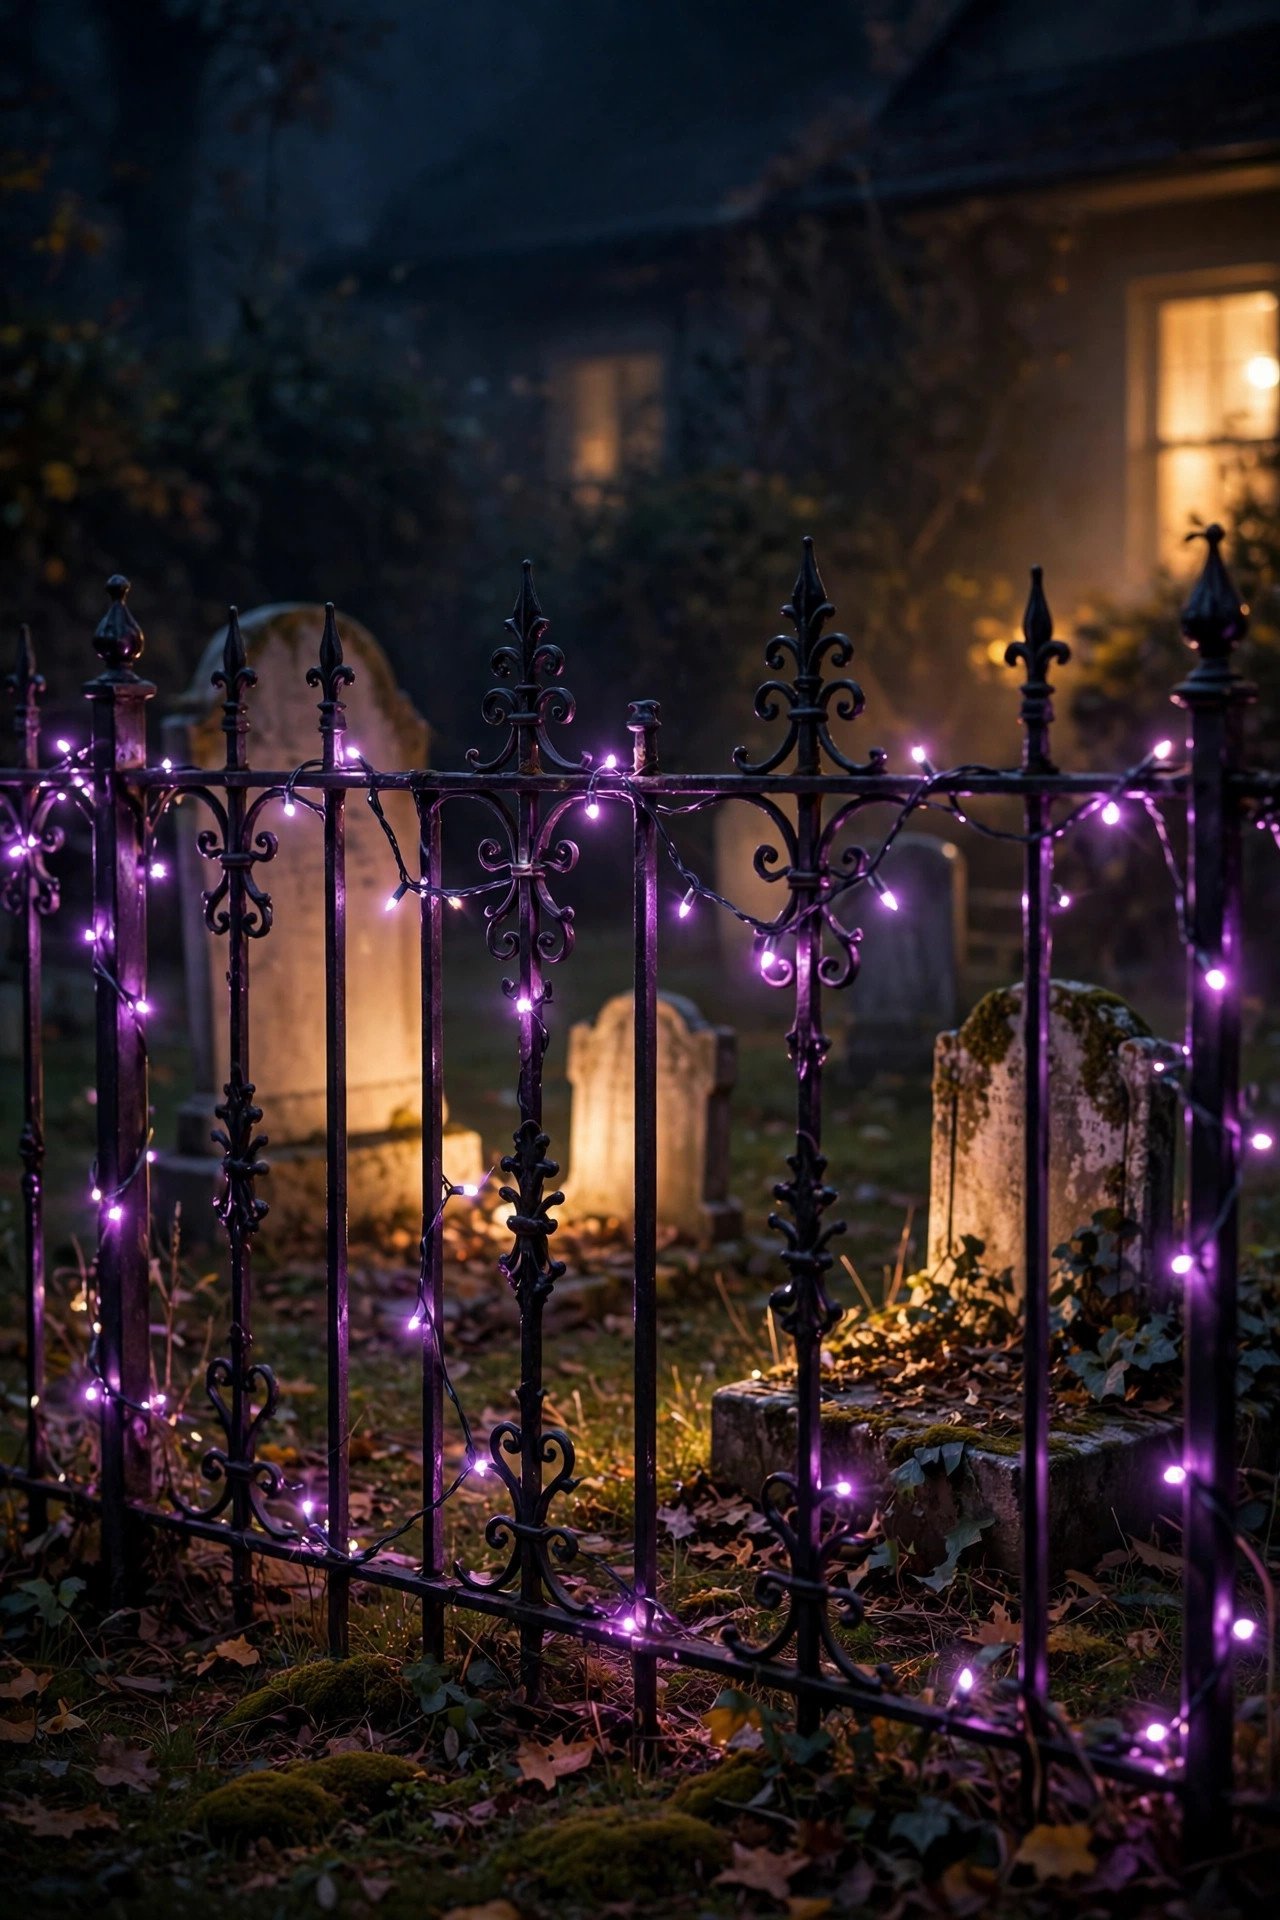
Fairy lights woven through a front-yard graveyard fence outline the boundary of your haunted display and make the fence itself part of the show, rather than a plain barrier. Weave a 10–20 metre string of purple, green or warm white fairy lights in and out of the fence pickets or mesh, keeping the lights loose, sagging 10–15 cm between fixings, and choose battery-operated lights of 100–200 LEDs for a fence far from the house, which cost £10–£20 and switch on with a built-in timer. Space tombstones 60–90 cm behind the fence so the lights frame them without hiding them, and add a second, shorter string along the top rail if the fence is taller than 90 cm, which doubles the glow without doubling the cost. The mistake to avoid is pulling lights tight enough to drag the fence over in wind, or leaving battery boxes and cables at ankle height across the gate, where they become a trip hazard for every visitor entering the yard.
12. A Lit Pumpkin Patch on the Porch Steps
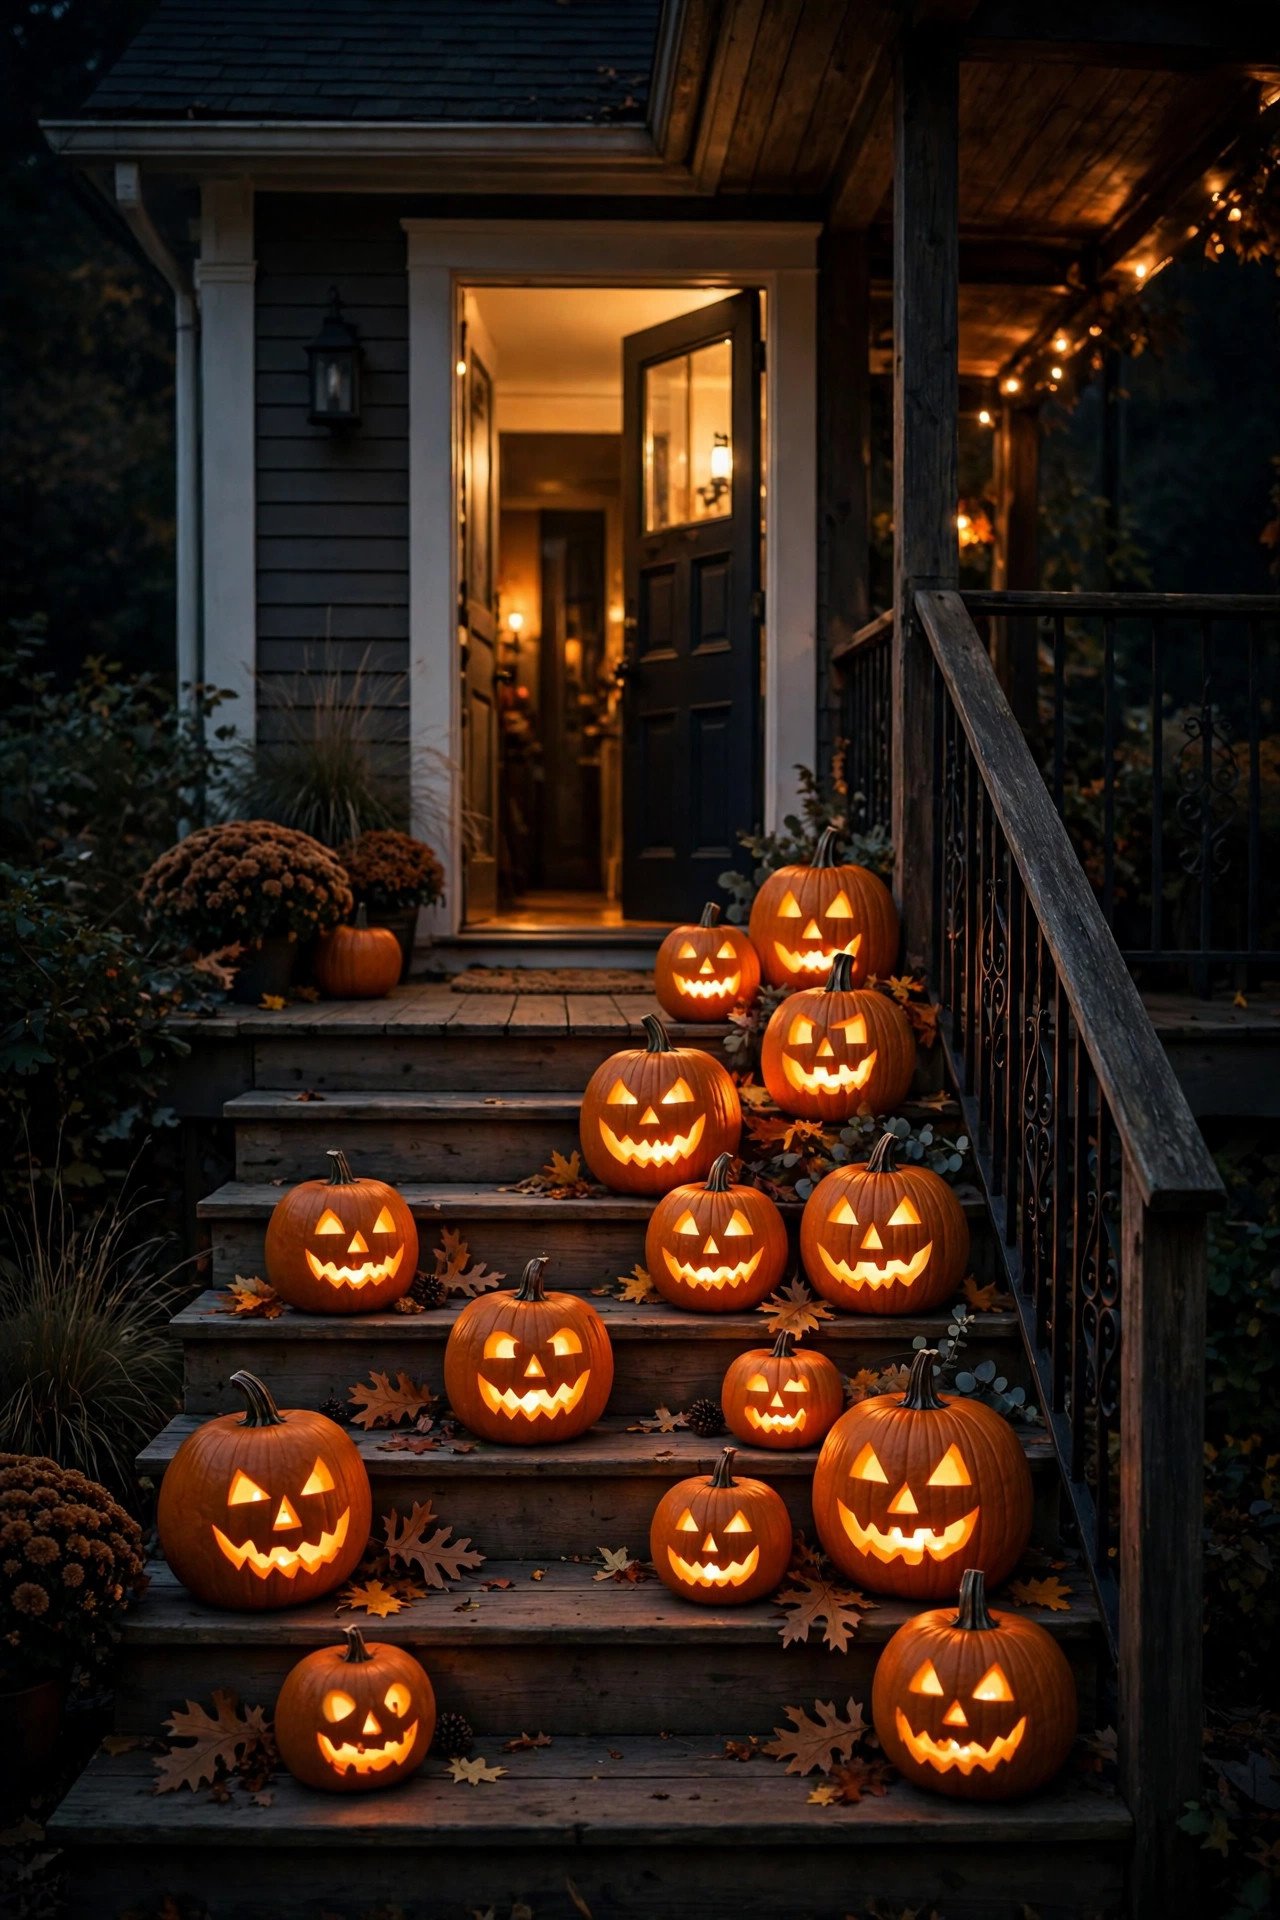
A lit pumpkin patch arranged across the porch steps greets every visitor with a grinning, glowing crowd of jack-o'-lanterns at child eye level, using the steps as natural shelves. Place five to seven pumpkins of graduated sizes across the steps, one or two per step, keeping the centre of each tread clear so visitors always have a safe place to put their feet, and light each pumpkin with a battery LED tea light or a short fairy-light string of 20–30 lumens, which glows for hours without flame inside a drying pumpkin. Real carving pumpkins cost £2–£5 each and LED lights cost £1–£2 each, while faux pumpkins cost £8–£20 each and never rot, so a full patch costs £15–£45 depending on your choice. The mistake to avoid is lighting pumpkins with real candles on wooden steps, where hot wax, dry pumpkin flesh and a busy doorstep combine into a real fire risk, and never let a softening pumpkin stay on the steps where it becomes slippery.
13. Rope Lights Outlining the Roofline and Gables

Rope lights outlining the roofline and gables trace the shape of the whole house in glowing orange or purple, so the house itself becomes the decoration, visible from the end of the street. Fix a 10–20 metre outdoor-rated rope light along the fascia or gutter line with plastic clips spaced every 30 cm (12 inches), keeping the rope taut but never stretched, and choose an IP65-rated rope of 100–200 lumens per metre in orange, purple or warm white, which reads clearly against a dark roof. Rope lights cost £20–£40, plug into a mains outdoor socket with an RCD, and a timer is essential because roofline lights are the easiest display to forget and leave burning all night. The mistake to avoid is climbing a ladder alone, working in the dark or fixing lights with nails and staples that pierce the cable, because a fall or a damaged cable at roof height turns a fun decoration into a serious accident.
14. Motion-Sensor Spotlights That Startle at the Gate

A motion-sensor spotlight at the gate gives visitors a sudden burst of light as they arrive, the cheapest jump scare in outdoor Halloween lighting. Fix a PIR sensor spotlight beside the gate or at the start of the path, aiming it across the entrance at ankle to waist height with a sensor range of 5–8 metres (16–26 feet) and a detection angle of about 90–120 degrees, and choose a 300–600 lumen LED spotlight in warm white or eerie green that switches on for 20–30 seconds, . Battery or solar spotlights cost £15–£30, need an IP44 rating or higher, and need no cables, while mains versions cost £20–£40 and give a brighter, more reliable beam on dark evenings. The mistake to avoid is aiming the sensor at the pavement or the road, where every passing car, cat and pedestrian triggers the light all night, draining batteries, annoying neighbours and teaching visitors to ignore the effect entirely.
15. Floating Candles Hung from Tree Branches

Floating candles hung from tree branches look like pure magic after dark, because small points of warm light hover above the lawn with no visible support. Hang LED tea-light candles from sturdy branches with clear fishing line cut to different lengths of 15–30 cm, varying the hanging heights between 1.8 and 2.5 metres (6–8 feet) so the candles drift at different levels, and choose warm white flickering LEDs of 10–20 lumens each, which read as real flames from the path. A set of twelve LED floating candles with line and hooks costs £10–£20, battery power means no cables in the tree, and a dozen candles spread across two or three branches gives the fullest effect without looking crowded. The mistake to avoid is hanging any candle low enough to brush a tall visitor's head or hair, or using real tea lights in paper cups, which drip hot wax, blow out and can set dry leaves alight in an autumn tree.
16. A Haunted Archway of Lights Over the Walkway

A haunted archway of lights over the walkway turns the entrance to your yard into a threshold guests must pass through, and walking under a glowing arch feels far more immersive. Build or buy an arch frame 2–2.5 metres high and 1–1.2 metres wide, wrap it with two strings of warm white or purple fairy lights totalling 10–20 metres, and weave in faux cobwebs, black gauze or hanging bats so lights shine through the dressing. Arch frames cost £25–£50, lights cost £10–£20, and battery or mains power both work, but the frame must be anchored with ground stakes or sandbags and guy ropes, because a tall, light frame catches the wind like a sail. The mistake to avoid is building an arch that narrows the walkway below 90 cm or sways in the wind, because guests carrying children, bags or pumpkins need a clear, stable passage, and a collapsing arch in the dark is a genuine hazard.
17. Lanterns Hanging from Shepherd's Hooks Along the Drive
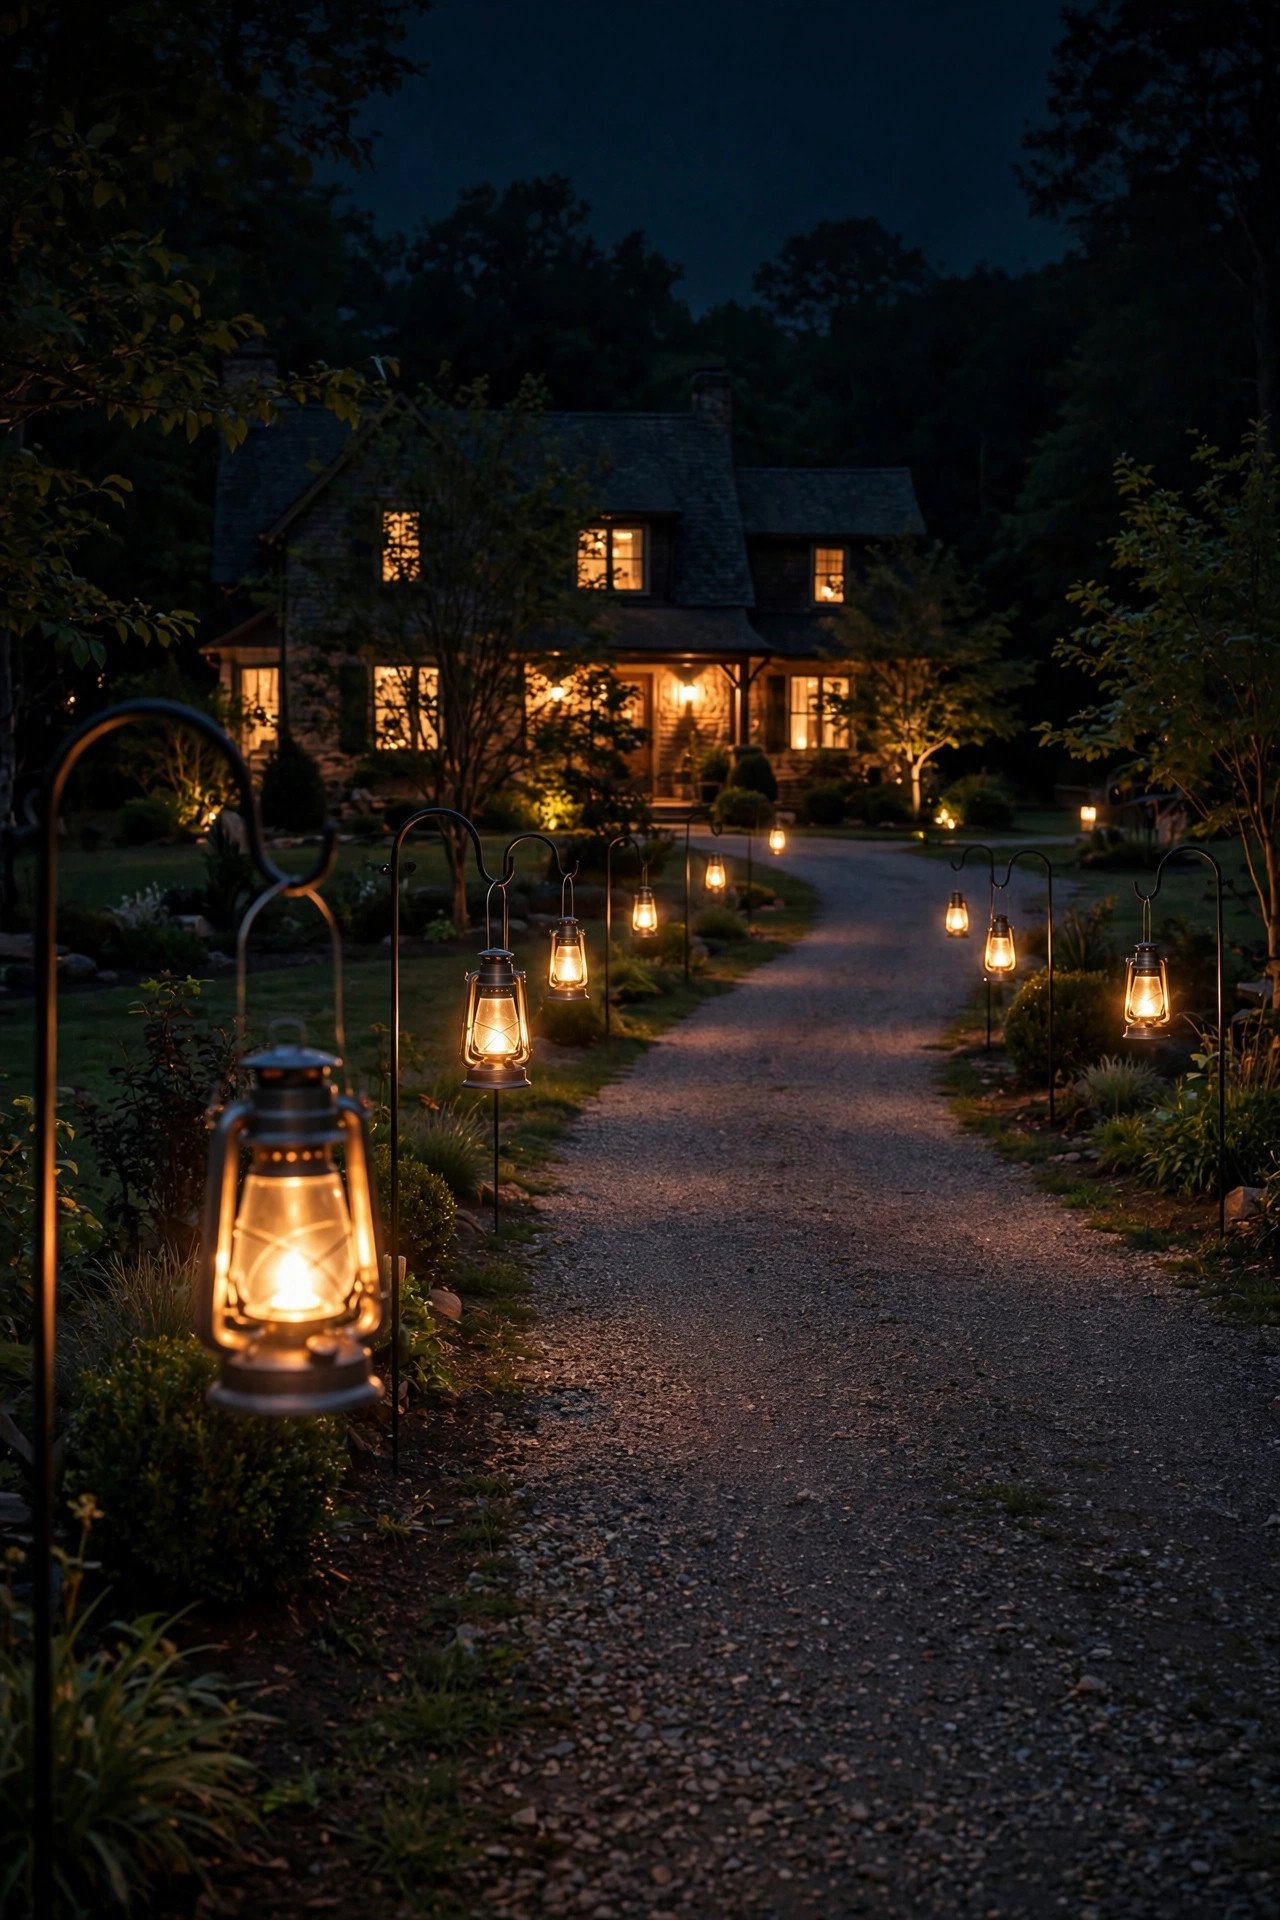
Lanterns hanging from shepherd's hooks along the drive create a processional avenue of light that leads cars and walkers alike towards the house. Push shepherd's hooks 90–120 cm tall into the soil along one or both sides of the drive, spacing them 1.5–2 metres (5–6 feet) apart and setting each hook back 30 cm from the drive edge so car doors and wing mirrors clear them easily, and hang a solar or battery lantern of 50–100 lumens from each hook, choosing warm white light with one or two orange lanterns. Hooks cost £6–£12 each, lanterns cost £8–£15 each, and solar lanterns charge by day and glow automatically at dusk, so a row of six hooks and lanterns costs roughly £85–£160 in total. The mistake to avoid is placing hooks where they lean into the drive or hang over it, because a low lantern can catch a wing mirror, a coat or a child's costume, and always check the hooks are upright and firm before the first visitors arrive.
18. Red and Purple Wash Lights for a Vampire Entrance

Red and purple wash lights turn an ordinary front entrance into a vampire's lair, because red suggests candlelit drama and purple adds a supernatural edge. Place two wash lights either side of the front door, 1.5–2 metres from the door and angled slightly inwards, and choose LED wash lights of 500–800 lumens each in red at around 620 nanometres and deep purple, with a dimmer or app control so you can soften the colour once trick-or-treating ends and the entrance needs to feel welcoming again. Wash lights cost £25–£45 each, plug into mains power through a weatherproof socket, and need an IP65 rating if they sit exposed on the porch floor. The mistake to avoid is lighting the steps themselves only in red, because red light destroys depth perception and makes steps, edges and cables almost invisible, so always keep one small warm white light on the steps themselves for safe footing.
19. Glowing Tombstones with Internal LED Lights
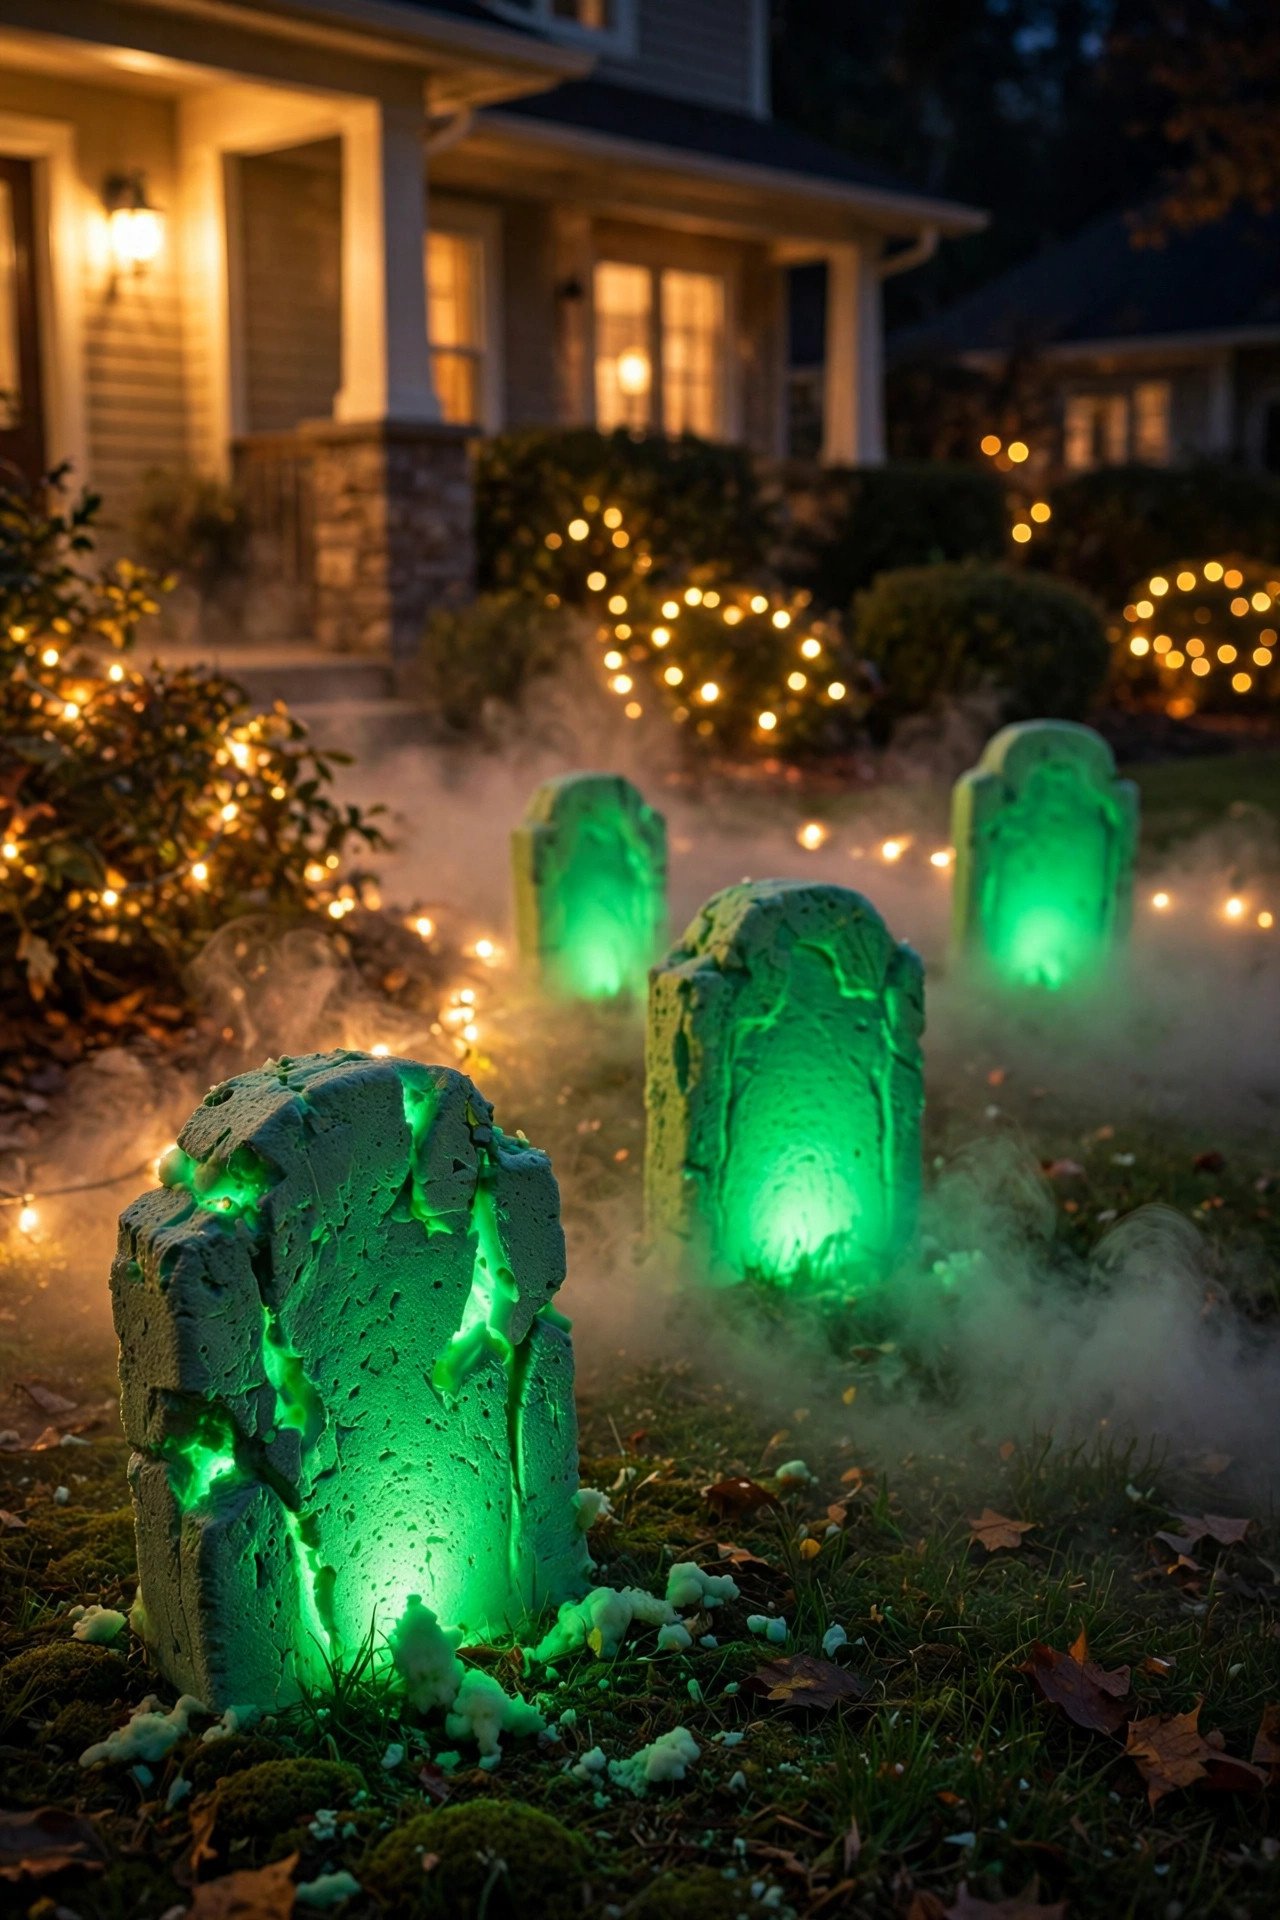
Glowing tombstones with internal LED lights look as if they are lit from within by something buried underneath, far spookier than front lighting, as light escapes through cracks and carved lettering. Buy foam tombstones with a hollow back or cut a recess behind a standard foam stone, fit a short battery LED strip of 100–200 lumens inside in eerie green or cold white, and stake the stones 60–90 cm (2–3 feet) apart along a flower bed or lawn edge, leaning each one back slightly at about 10 degrees so it reads as old and weathered. Foam tombstones cost £10–£25 each, LED strips cost £8–£15, and battery power keeps the graveyard cable-free, while a timer switches the glow on at dusk. The mistake to avoid is hammering stakes into the ground without checking for buried cables, irrigation pipes or tree roots, and never place tombstones where they block a gate, a path or a neighbour's view of the road.
20. A Lit Wreath and Sidelights Framing the Front Door

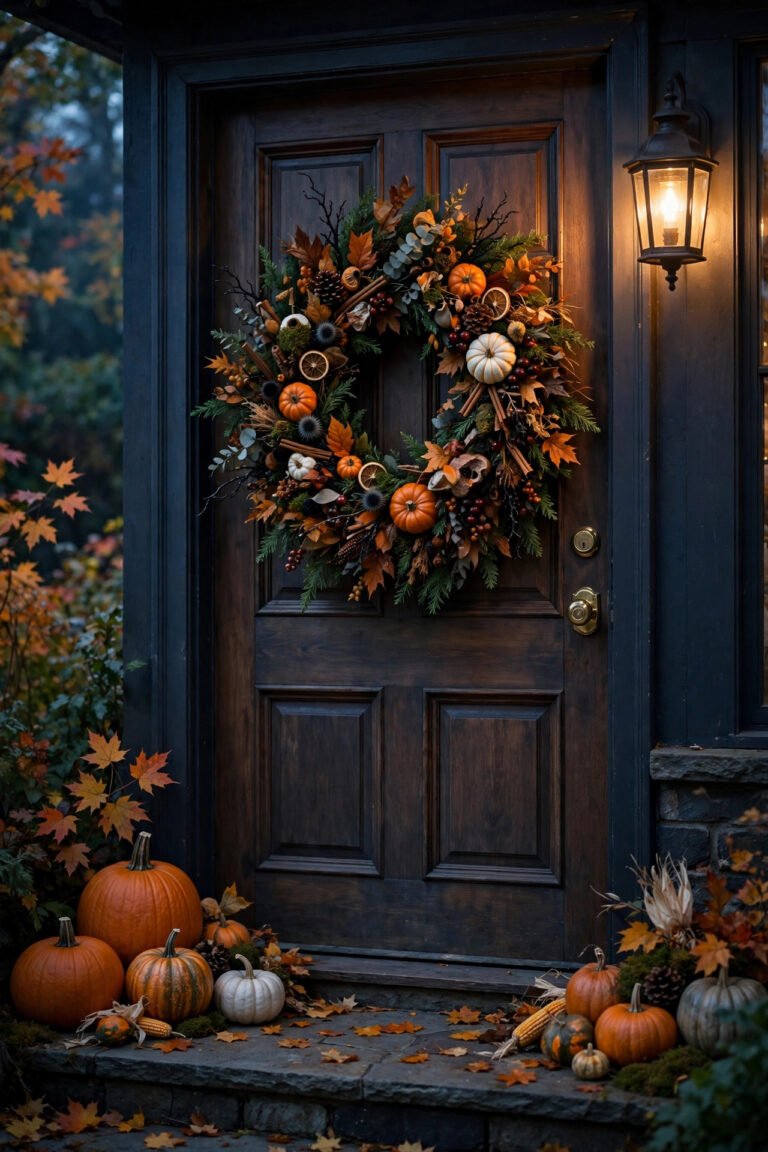
A lit wreath flanked by glowing sidelights frames the front door like a portrait, making the door the star of the yard display. Hang a 40–50 cm wreath woven with 20–30 warm white or orange LEDs on the door at eye level, and place a lantern or a slim LED sidelight on each side of the door at 60–90 cm from the frame, keeping one colour temperature so wreath and sidelights read as one composition. A pre-lit outdoor wreath costs £20–£45, lanterns cost £8–£20 each, and battery or solar power avoids cables across the threshold, while an outdoor rating matters because a door wreath catches every shower. The mistake to avoid is hanging the wreath over the peephole, doorbell or house number, which frustrates visitors and delivery drivers, and never use an indoor-only wreath outside, where rain will soak the wiring and kill the lights within a single October downpour.
21. Net Lights Draped Over Shrubs Like Cobwebs
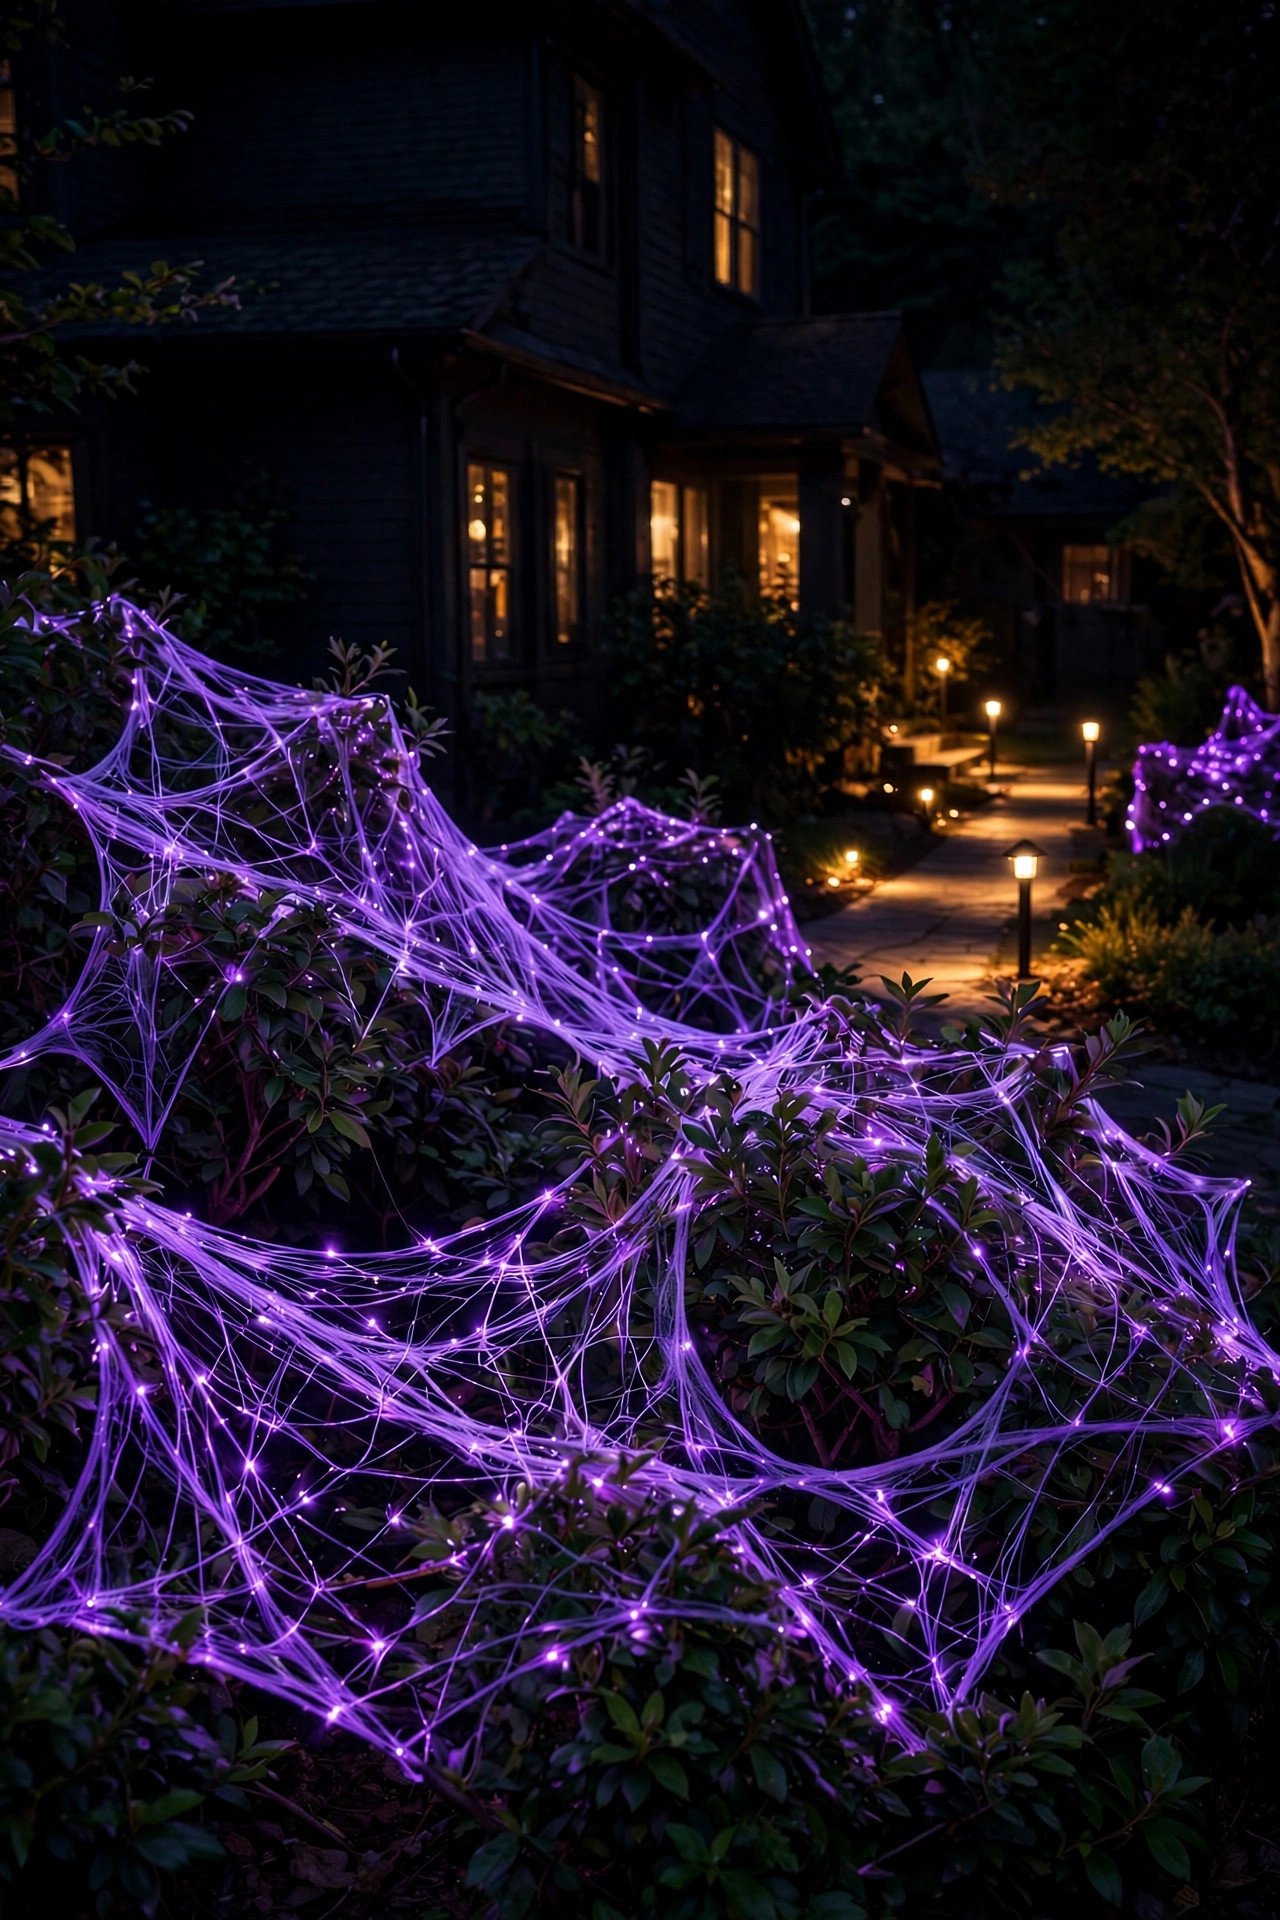
Net lights draped over shrubs look like giant glowing cobwebs spun across the garden, because the grid of lights follows each bush and turns it luminous. Drape one net of 2 by 1.5 metres or 3 by 2 metres over each shrub, letting it fall naturally with the lights facing outwards and leaving gaps for foliage to show through, and choose purple, green or warm white nets of 100–200 LEDs each, which cost £12–£25 and run on battery, solar or mains power depending on the shrub's distance from the house. Work from the top of the shrub downwards, fix the net with a few loose plant ties rather than tight wire, and keep the battery box or plug off the ground and out of puddles. The mistake to avoid is wrapping a net so tightly that it strangles new growth, traps birds or tears branches when you pull it off, and never drape nets over shrubs beside a path where loose netting can snag a costume or trip a child.
22. A Timed Grand Finale: Whole-Yard Lighting on One Schedule
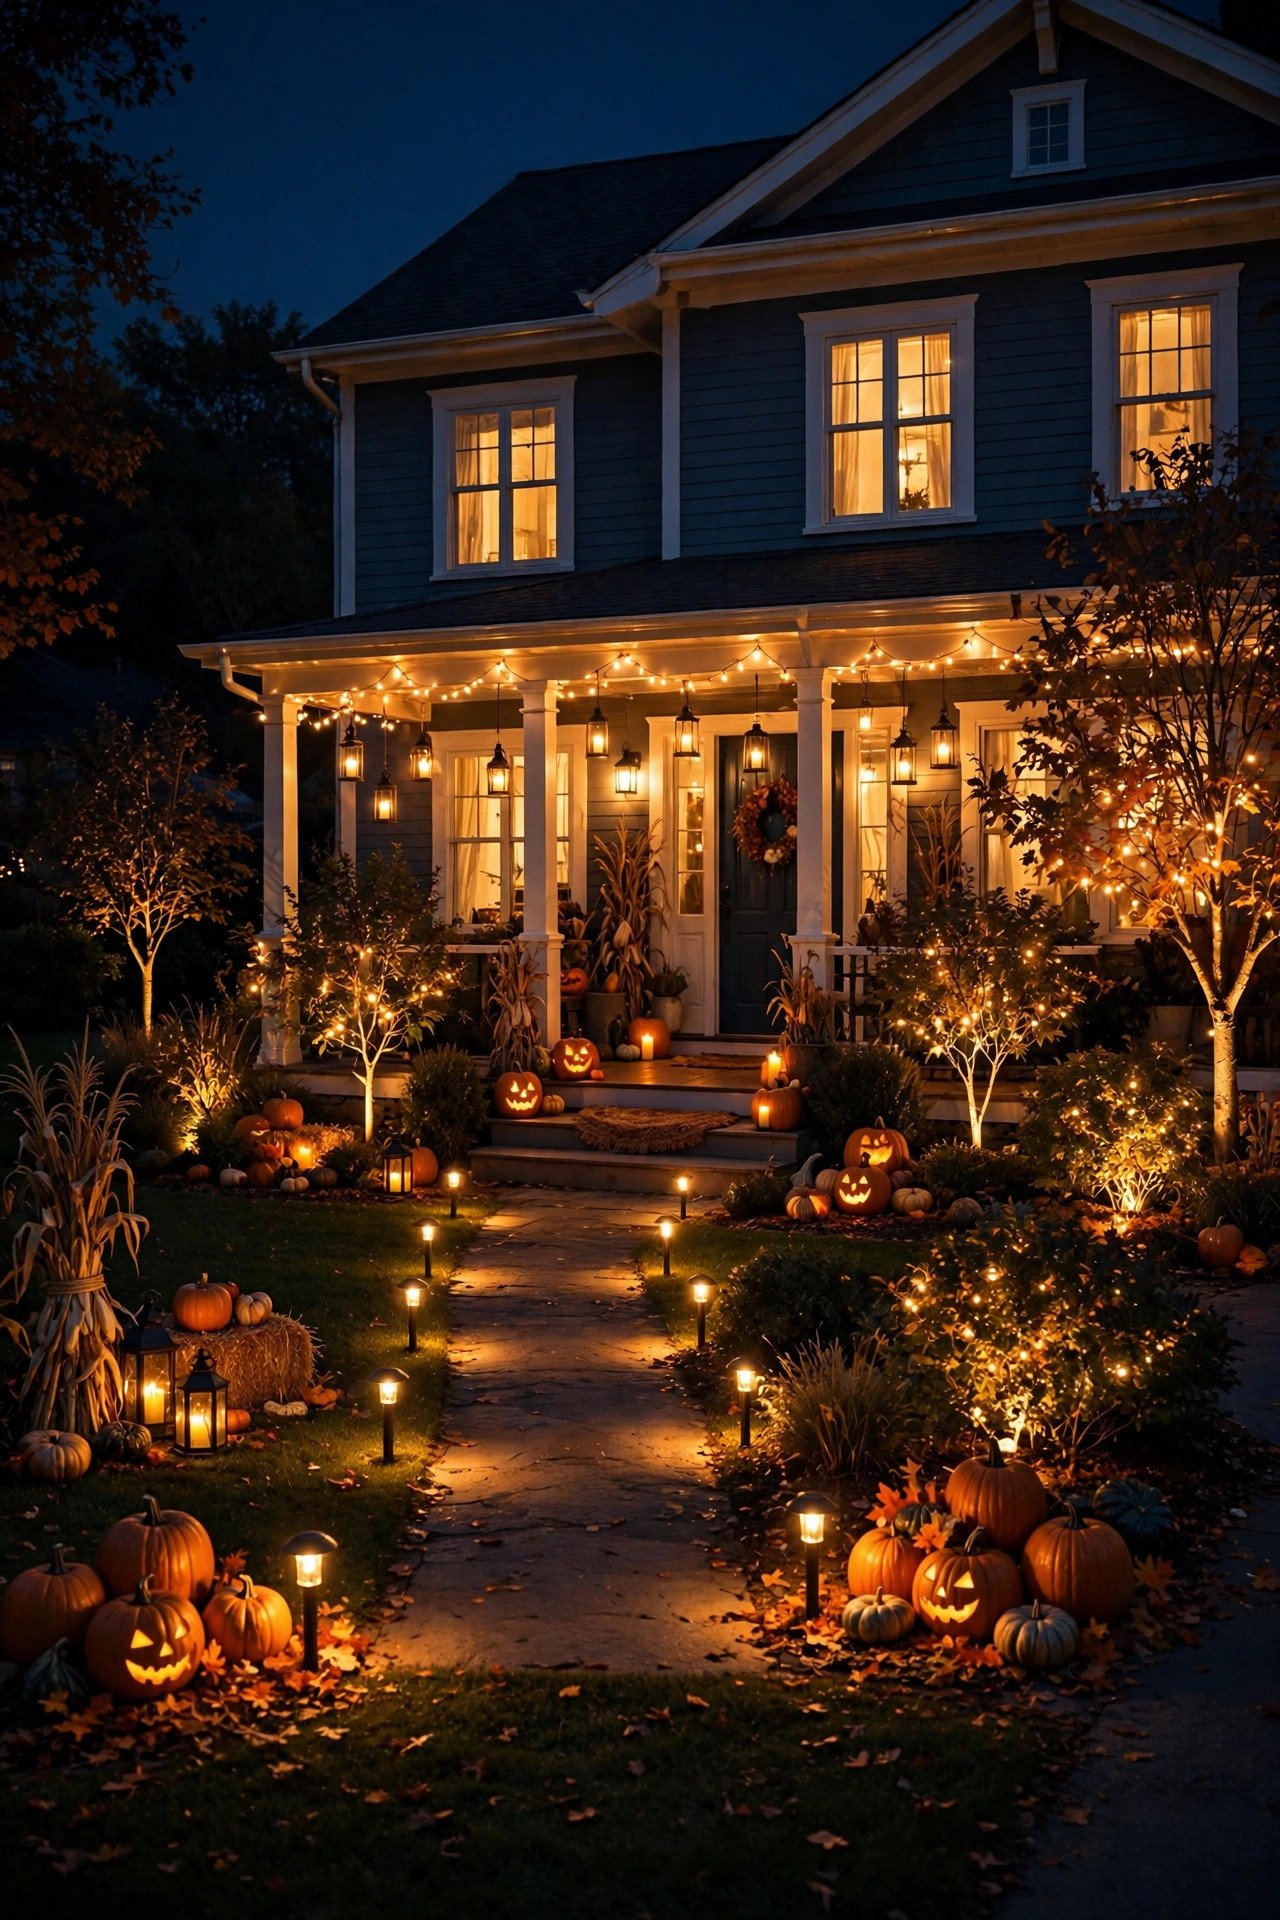
A timed whole-yard schedule is the finale that ties every other idea together, because pathway lights, uplights, lanterns, projector and floodlights switch on together at dusk and off together at night's end. Group your lights into three zones — paths and steps, trees and facade, and effects such as the projector and fog machine — and plug each zone into its own outdoor timer or smart plug, setting the main display to run from dusk, around 5:30 pm in late October, until 10 pm, with effects on a shorter 6–9 pm window on party nights only. Outdoor timers and smart plugs cost £15–£40 each, need an IP44 rating or a weatherproof box, and let you stagger start times by a few minutes so the yard does not surge onto one circuit. The mistake to avoid is plugging every light into a single socket or extension lead, which overloads the circuit, trips the breaker and plunges the whole haunted yard into darkness at the worst possible moment.
Practical Tips
Treat outdoor electrical safety as part of the design, not an afterthought: every light, cable and plug used outside must be rated for outdoor use, with IP44 as the minimum for sheltered spots and IP65 for anything fully exposed to rain, and every mains connection should run through a weatherproof outdoor socket with RCD protection, with connections raised off the ground and out of puddles. Use LED lights throughout, because they stay cool to the touch, use a fraction of the power of old incandescent strings and will not scorch dry leaves, cobwebs or card decorations, and check every cable for nicks, cracked plugs and damaged insulation before you hang it, replacing anything damaged rather than taping it up. For more seasonal home inspiration, browse the decorating ideas at Better Homes & Gardens. Never run an indoor extension lead outside, never overload a socket, and switch the whole display off at the socket when the house is empty or overnight.
Plan power and timers before you buy a single light, by adding up the wattage of every mains item, checking that no single socket carries more than its rated load, and giving each zone its own timer or smart plug so paths, facade and effects can run on different schedules. Put the main display on a dusk-to-10-pm timer, set the projector and fog machine to party hours only, and use solar and battery lights for far corners where running a cable would mean trailing it across a lawn or a path, which is both ugly and a trip hazard. Keep spare batteries, a spare fuse and a torch by the front door for the nights when something fails, test the whole display the evening before Halloween rather than on the night itself, and label each timer and plug so anyone in the household can switch the yard off quickly if the weather turns.
Be a good neighbour and a smart spender by aiming every beam at your own yard, house and trees, keeping brightness modest after trick-or-treating ends and switching the display off by 10 pm on weeknights, because a yard that glows all night will generate complaints far faster than it generates admiration. Choose warm colours over flashing strobe effects near boundaries, warn neighbours in advance if you plan a projector or fog show, and set a budget before you shop: £50 buys pathway stakes and a string of lights, £100 adds uplighting and lanterns, and £200 covers floodlights, a projector and timers for a full-yard display, with the best value coming from reusing last year's lights and spending new money only on the one statement effect your yard is missing. For a display assembled at the last minute, these last-minute Halloween decor ideas show how to get a yard glowing with the lights you already own.
Final Thoughts
A haunted yard after dark does not need the brightest lights or the most lights — it needs the right lights in the right places, with safe power, sensible timers and a clear path to the door, so pick the five or six ideas that suit your yard, repeat your colours, keep the walkway glowing and safe, and let the whole display tell its spooky story from the gate to the front door.
You May Also Like: – 22 Halloween Front Door Decor Ideas for a Grand Entrance – 22 Halloween Wreath Ideas for a Spooktacular Front Door – 22 Outdoor Halloween Decor Ideas for a Spooktacular Yard – 22 Halloween Window Decor Ideas That Glow After Dark – 22 Halloween Garage Decor Ideas for a Haunted Garage That Wows
Frequently Asked Questions
Is Halloween outdoor lighting safe to leave on all night?
Yes, if every light is rated for outdoor use, connections stay dry and cables run where nobody trips over them. Choose LED lights, which stay cool, plug mains lights into a weatherproof outdoor socket with RCD protection, and put the whole display on a timer that switches off after midnight so neighbours sleep and energy stays low.
What IP rating do outdoor Halloween lights need?
Look for IP44 or higher for a covered porch, and IP65 or higher for lights left exposed to rain on lawns, fences and rooflines. The first digit guards against dust and objects, the second against water, so a higher second digit matters most in rain. Check the rating on the box, not just the word waterproof, before buying.
Can I use solar Halloween lights in October?
Yes, but expect shorter, dimmer run times as days shorten. Solar lights need four to six hours of direct daylight, so place stakes in the sunniest part of the yard, keep panels clean and facing south, and choose models with backup battery or USB charging. For reliable all-evening glow, pair solar accents with mains or battery lights on key paths.
How do I stop Halloween lights annoying my neighbours?
Keep beams aimed at your own yard, house and trees, never across a boundary or into a bedroom window, and switch the display off by 10 pm on weeknights. Avoid flashing, strobe and bright white lights near fences, choose warm colours, and use shields, timers and lower brightness after trick-or-treating ends. A word with neighbours beforehand prevents most complaints.
How much do Halloween outdoor lights cost to run?
Very little with LEDs: a string of 100 LED lights uses 5–8 watts, so running a yard display of 100 watts for five hours a night for a week costs under £1. Solar and battery lights cost nothing to run, though batteries need replacing. Mains floodlights and projectors use more, so run them on timers and on party nights.
What should I do with outdoor Halloween lights after Halloween?
Take everything down within a few days, before wind and rain damage it, and let lights dry before packing. Coil strings, remove batteries, check cables for nicks and store everything in labelled, dry boxes indoors. Test each set next October before hanging it, replace any damaged cable or bulb, and recycle broken lights instead of throwing them in waste.