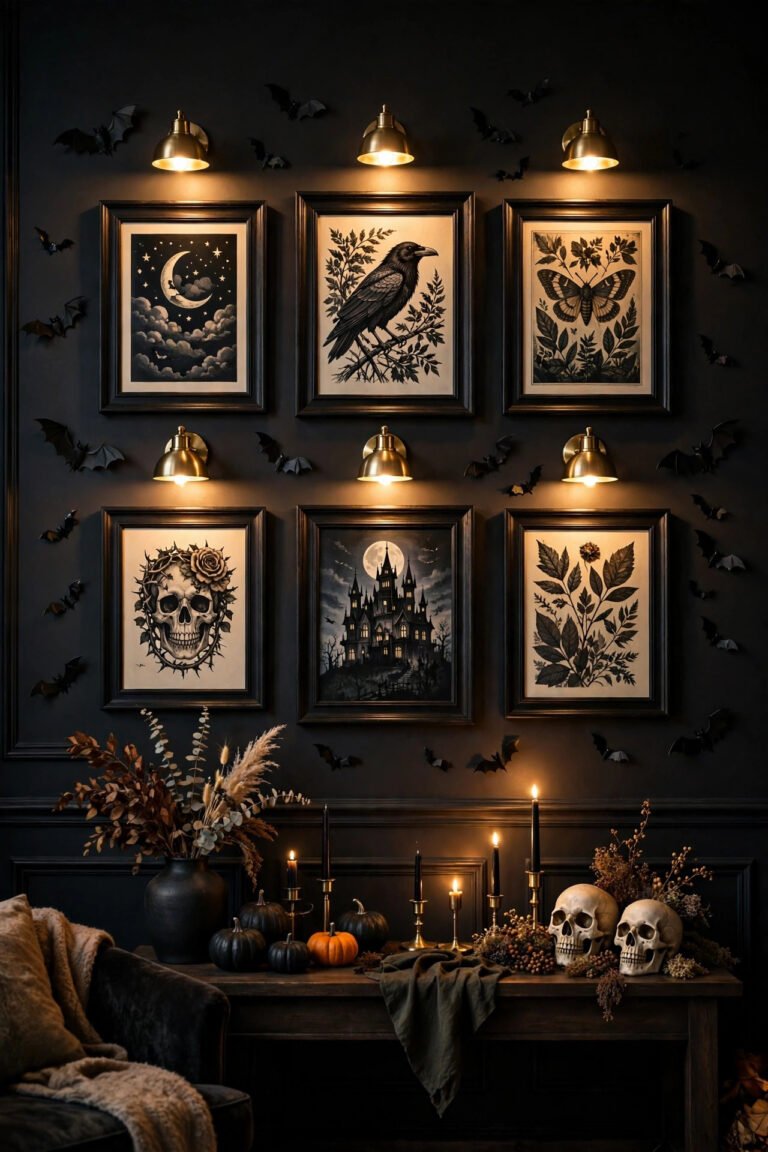

22 Halloween Garage Decor Ideas for a Haunted Garage That Wows
Your garage is the biggest blank canvas on your house, and on Halloween night it can do far more than hold the car. With the door, the driveway, and the open bay working together, you can build a scene trick-or-treaters remember, a party space guests actually want to linger in, or a simple walkthrough that delights families without blocking the sidewalk. This guide is for homeowners, renters with a driveway to dress, and party hosts who want big impact without damaging paint, blocking exits, or creating a fire hazard.
Looking for more inspiration? Our Nest Decorz homepage gathers the latest home decor ideas, seasonal decorating guides and room-by-room styling tips in one place — start there and explore.
Unlike thin listicles that just say add spiders and call it done, every idea below explains how to mount it safely on a garage door, how much space it needs, what it costs, and how to keep kids, pets, and visitors safe. You will find door-safe mounting tricks, one-way walkthrough routes, ventilation rules, weatherproofing tips, and lighting specs that most competitors skip entirely.
1. Haunted Mansion Garage Door Facade
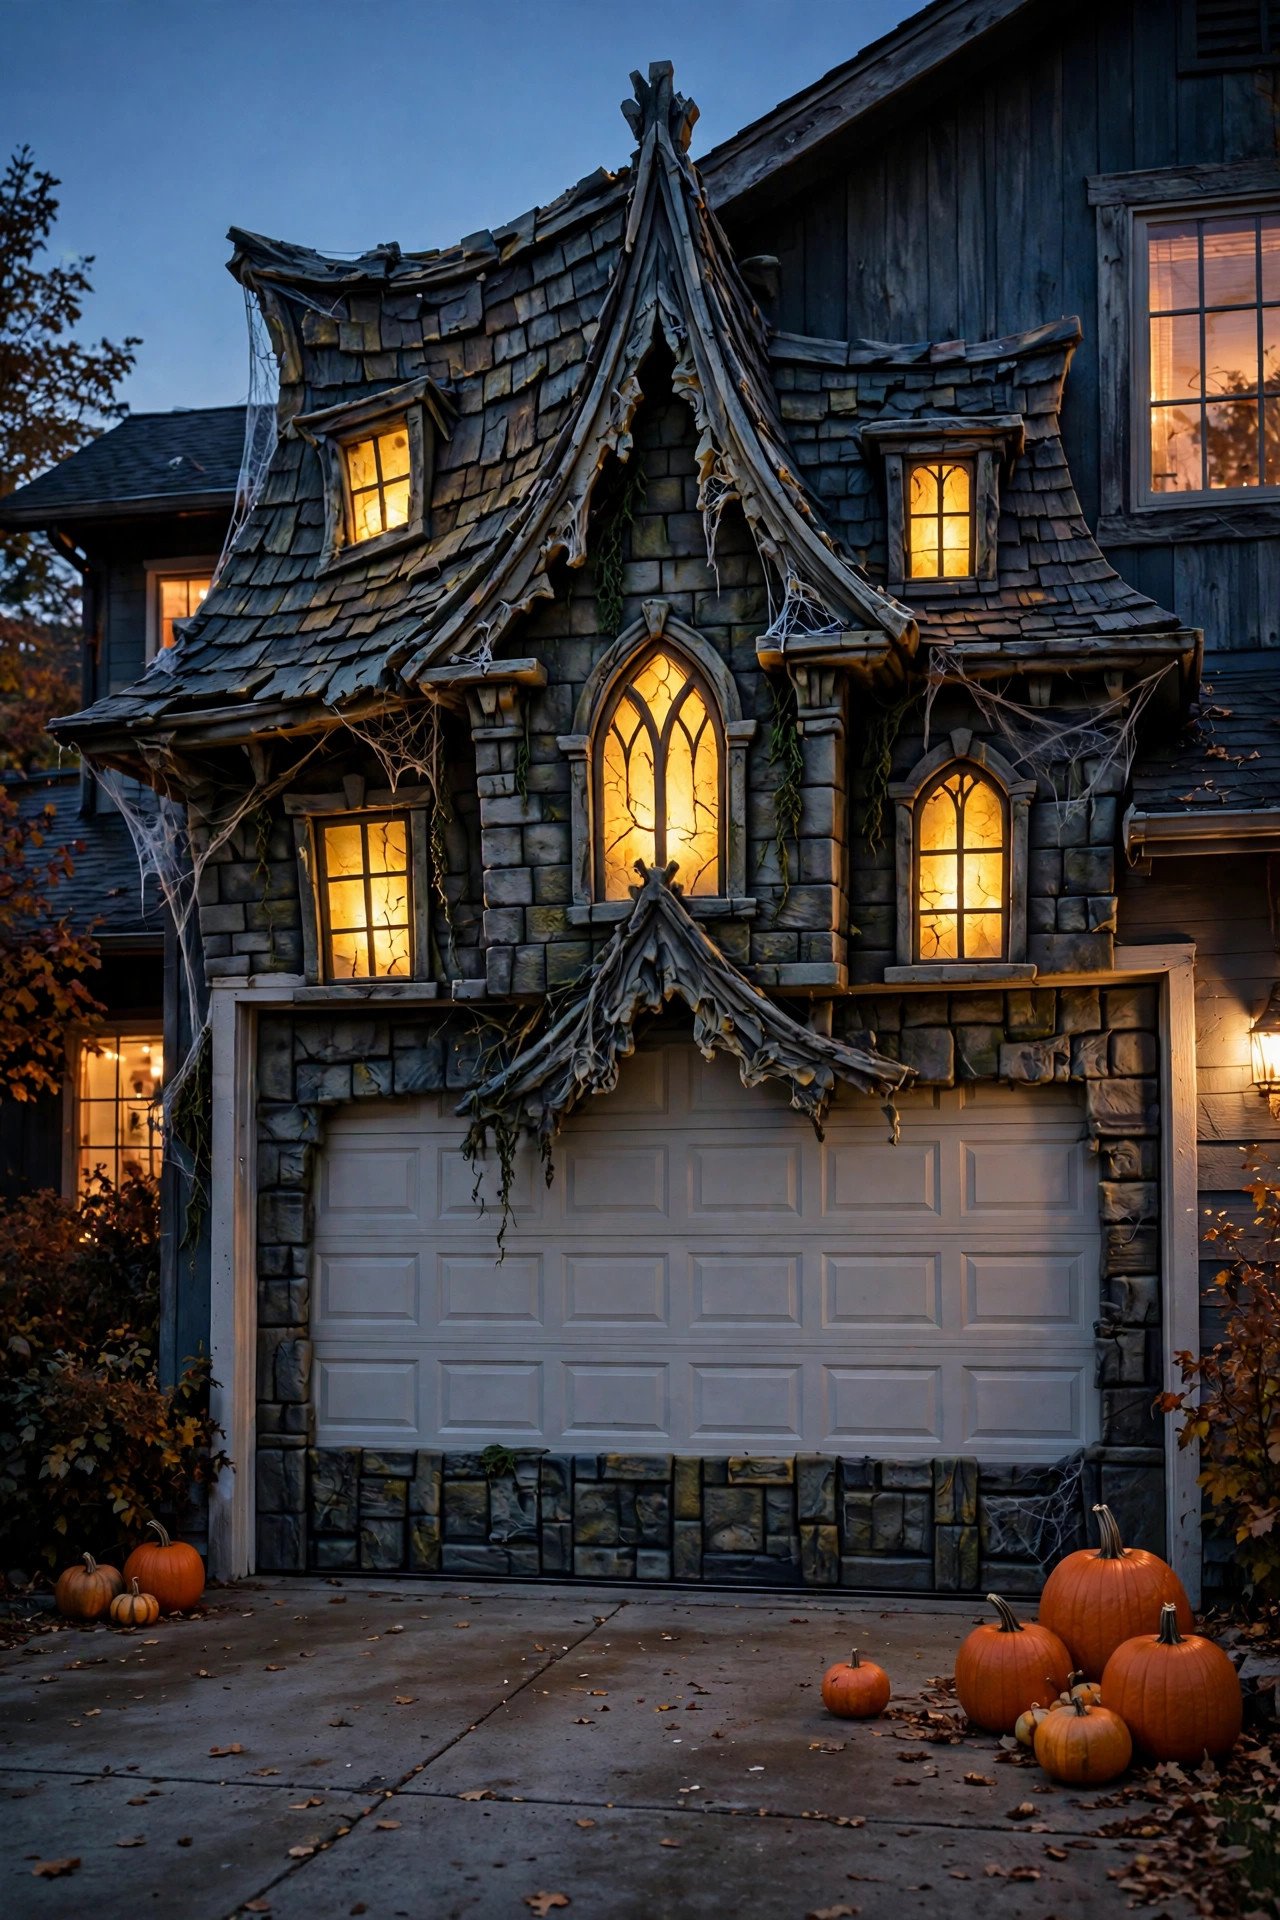
Turn the whole door into a crooked mansion front using lightweight foam board panels, painted window frames, and a peaked gable cut from corrugated plastic. Hang panels with strong magnetic hooks rated for at least 10 pounds each on a steel door, spacing hooks every 18 inches along the top rail so weight spreads evenly and nothing pulls paint. Paint panels in charcoal, bone white, and dusty purple, then add battery-operated window candles for a warm glow that needs no wiring. Budget around 60 to 90 dollars if you already own paint and a staple gun, and keep every panel under 4 pounds so the door opener still lifts smoothly. Avoid tape, hot glue, or spray adhesive directly on the door, because heat and moisture can lift paint and leave residue. Test the door twice before nightfall, clear the tracks, and remove the facade if wind gusts pass 25 miles per hour.
2. Giant Spider Web Garage Door

Stretch a giant web across the door using white cotton rope, stretchy spider web fabric, or a pre-made 12-foot web kit, anchoring it to magnetic hooks and the door frame rather than screwing into the door itself. Place a large plush spider near the top corner, about 24 inches across, and add smaller spiders crawling toward the handle so the scene reads from the street. Use outdoor-rated webbing that sheds rain, and avoid thin cheesecloth in wind because it tears, tangles in the tracks, and looks messy by 8 p.m. Keep the web at least 6 inches clear of the door tracks and sensors so the door can still close in an emergency. Budget 25 to 45 dollars, and light the web from below with a warm white spotlight so shadows stretch dramatically. Take the web down promptly after rain so damp fabric does not stain the door.
3. Pumpkin Patch Driveway Staging

Line the driveway edges with real and foam pumpkins in clusters of three, five, and seven, varying heights from 6 inches to 20 inches for a natural patch look rather than a straight soldier row. Add hay bales as risers, corn stalks tied to porch posts or driveway stakes, and a wheelbarrow spilling mini pumpkins near the garage corner. The history of Halloween explains why pumpkins became the season's icon, and that story makes a nice talking point for visiting families. Use battery candles inside carved pumpkins, never real flames near hay, and set foam pumpkins on the outer edges where feet and wheels pass. Budget 40 to 70 dollars for a generous display, and choose foam pumpkins for any spot that gets kicked, rained on, or sat on. Leave a clear 36-inch path for strollers and wheelchairs, and sweep fallen leaves daily so nobody slips.
4. One-Way Haunted Walkthrough Tunnel

Clear the garage bay completely, then build a one-way tunnel from the driveway door to the side exit using black plastic sheeting hung from a PVC frame, with hanging ghosts, strobe-free lights, and sound effects along the route. Keep the tunnel at least 42 inches wide, mark the floor with glow tape arrows, and station an adult at the entrance and exit so nobody doubles back or gets stuck in the dark. Ventilation matters here: leave the top 12 inches of each side wall open, run a box fan at the exit to pull fresh air through, and never seal the space fully or run a fog machine continuously. Limit groups to six people, keep the route under 30 feet, and install two battery lanterns so a power cut never leaves anyone in total darkness. Budget 50 to 80 dollars, and test the route with children first.
5. Mad Scientist Laboratory Garage

Transform the open garage into a laboratory with folding tables draped in green cloth, bubbling beakers made from jars and dry ice handled only by adults, and glowing test tubes filled with tinted water and glow sticks. Hang a hand-painted sign reading Laboratory, add clipboards with fake experiment notes, and dress a volunteer in a white coat, wild wig, and safety goggles for greetings. Keep all liquids out of reach of small children, label every jar clearly, and never use real chemicals, open flames, or dry ice in a sealed container. Ventilate by keeping the garage door at least halfway open and a fan running, because dry ice releases carbon dioxide that can build up in a closed bay. Budget 35 to 60 dollars, mostly for glow sticks, jars, and fabric. Store the props in labelled bins for next year.
6. Graveyard Scene on the Garage Door
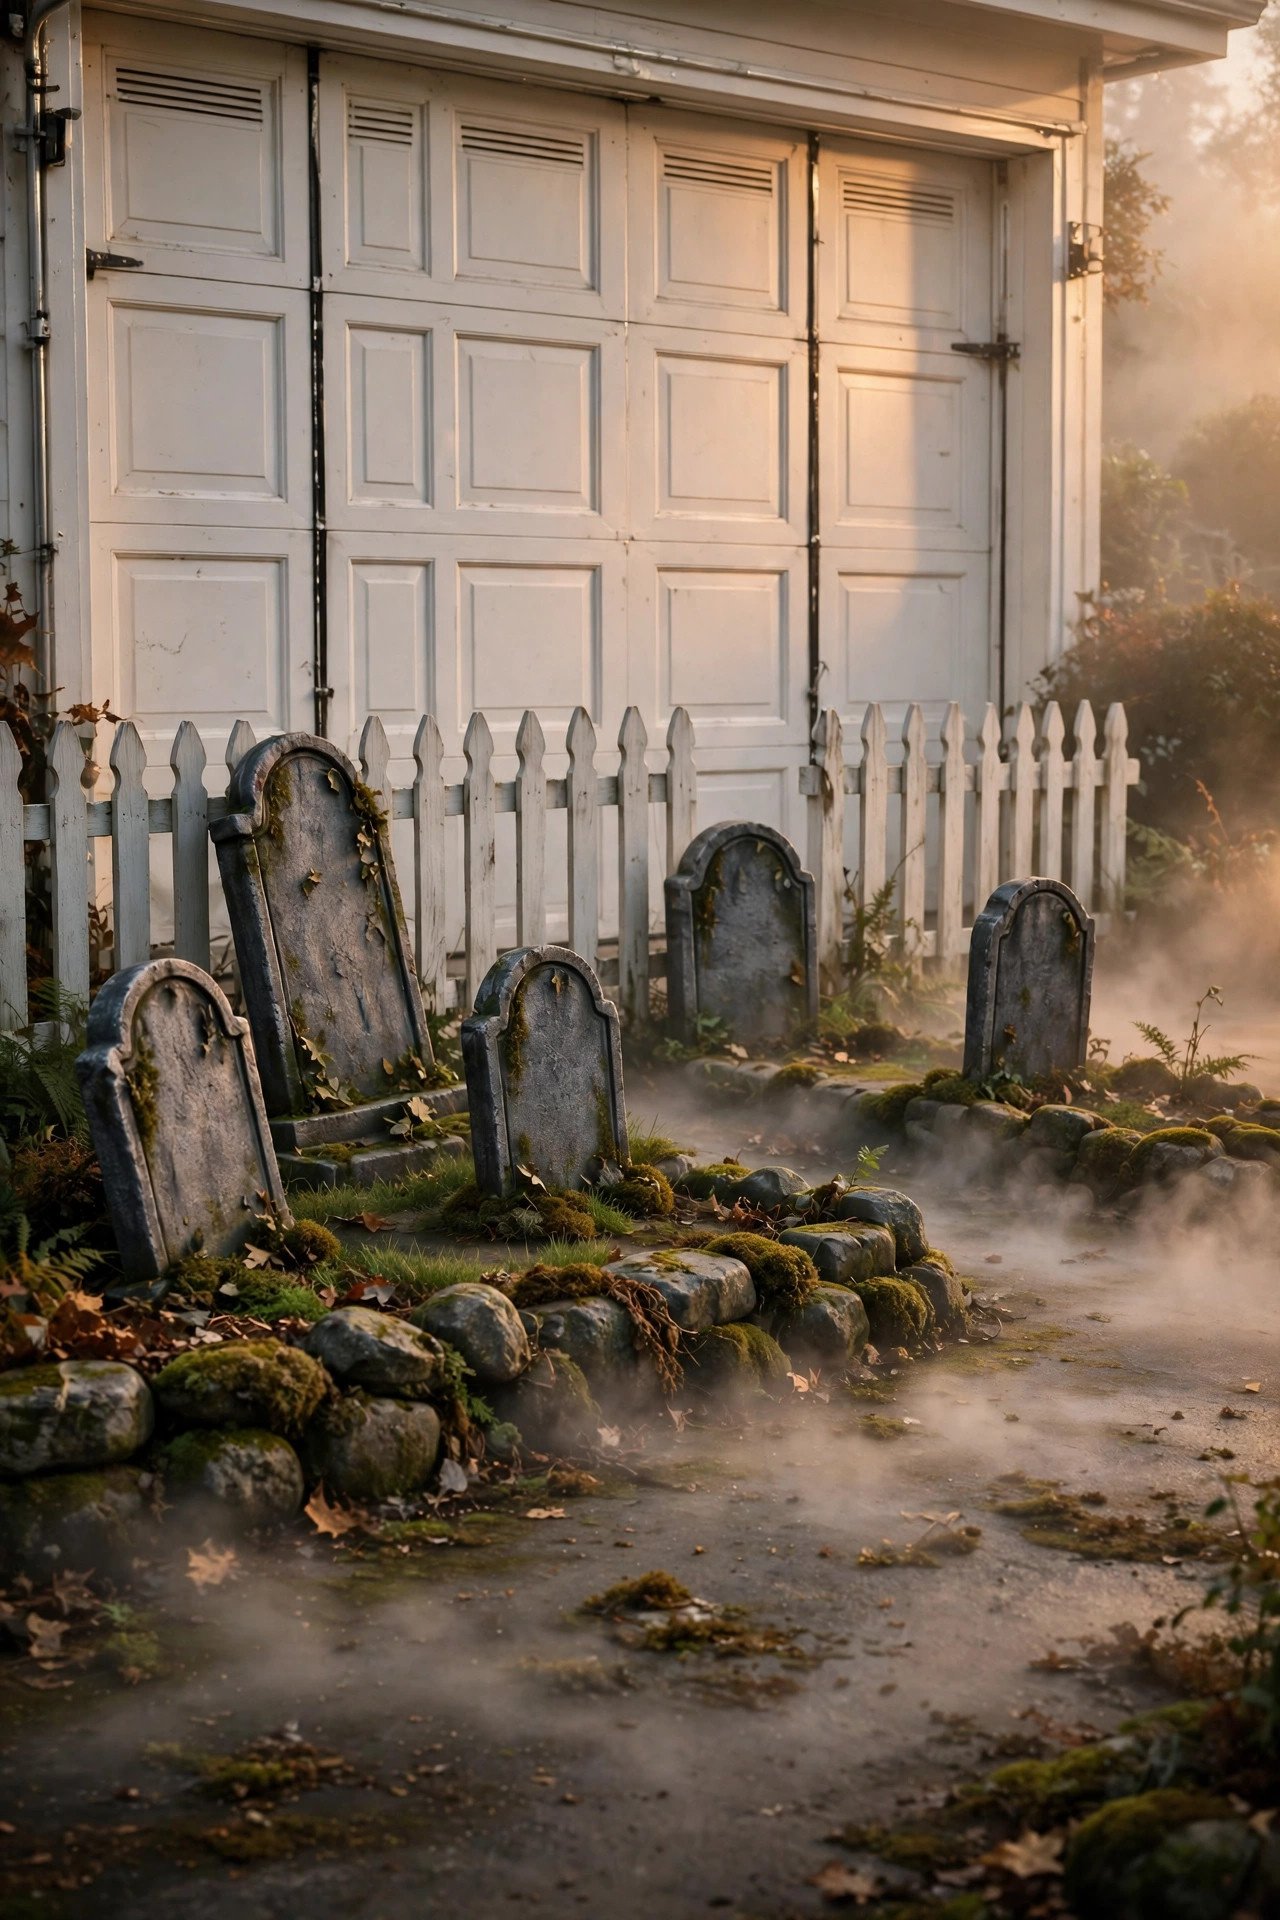
Build a graveyard directly on the door using foam tombstones attached with magnetic hooks and removable hook-and-loop strips rated for outdoor use, never nails or screws that puncture steel. Cut tombstones 18 to 30 inches tall from foam board, paint them grey with moss-green dry brushing, and lean larger stones against the driveway edge for depth. Add a low picket fence made from painted garden edging, scattered foam bones, and a fog machine placed outside the door so mist drifts across the scene instead of filling the garage. Keep tombstones off the bottom panel seam so the door can flex, and check that no stone blocks the safety sensors. Budget 30 to 55 dollars, and weigh the base of each standing stone with a sandbag in wind. Avoid real candles among foam props, since foam melts and burns quickly if a flame tips over.
7. Witch's Cottage Garage Party

Set the garage up as a witch's cottage party room with a cauldron punch bowl, broomsticks crossed over the doorway, potion bottles on a shelf, and purple and green string lights overhead. Cover tables with black cloth, add a striped table skirt, and serve drinks from labelled potion jars so guests can mix their own witches brew without crowding one table. Hang a crescent moon and stars from the ceiling with fishing line, and place a rocking chair with a witch hat and shawl in the corner for photos. Keep walkways 36 inches wide, secure overhead decorations so nothing falls into food or drinks, and use LED candles everywhere because real flames near costumes and fabric are a serious risk. Budget 45 to 75 dollars for food-safe jars, lights, and fabric. End the night by packing glass bottles separately so nothing breaks in storage.
8. Trick-or-Treat Candy Station
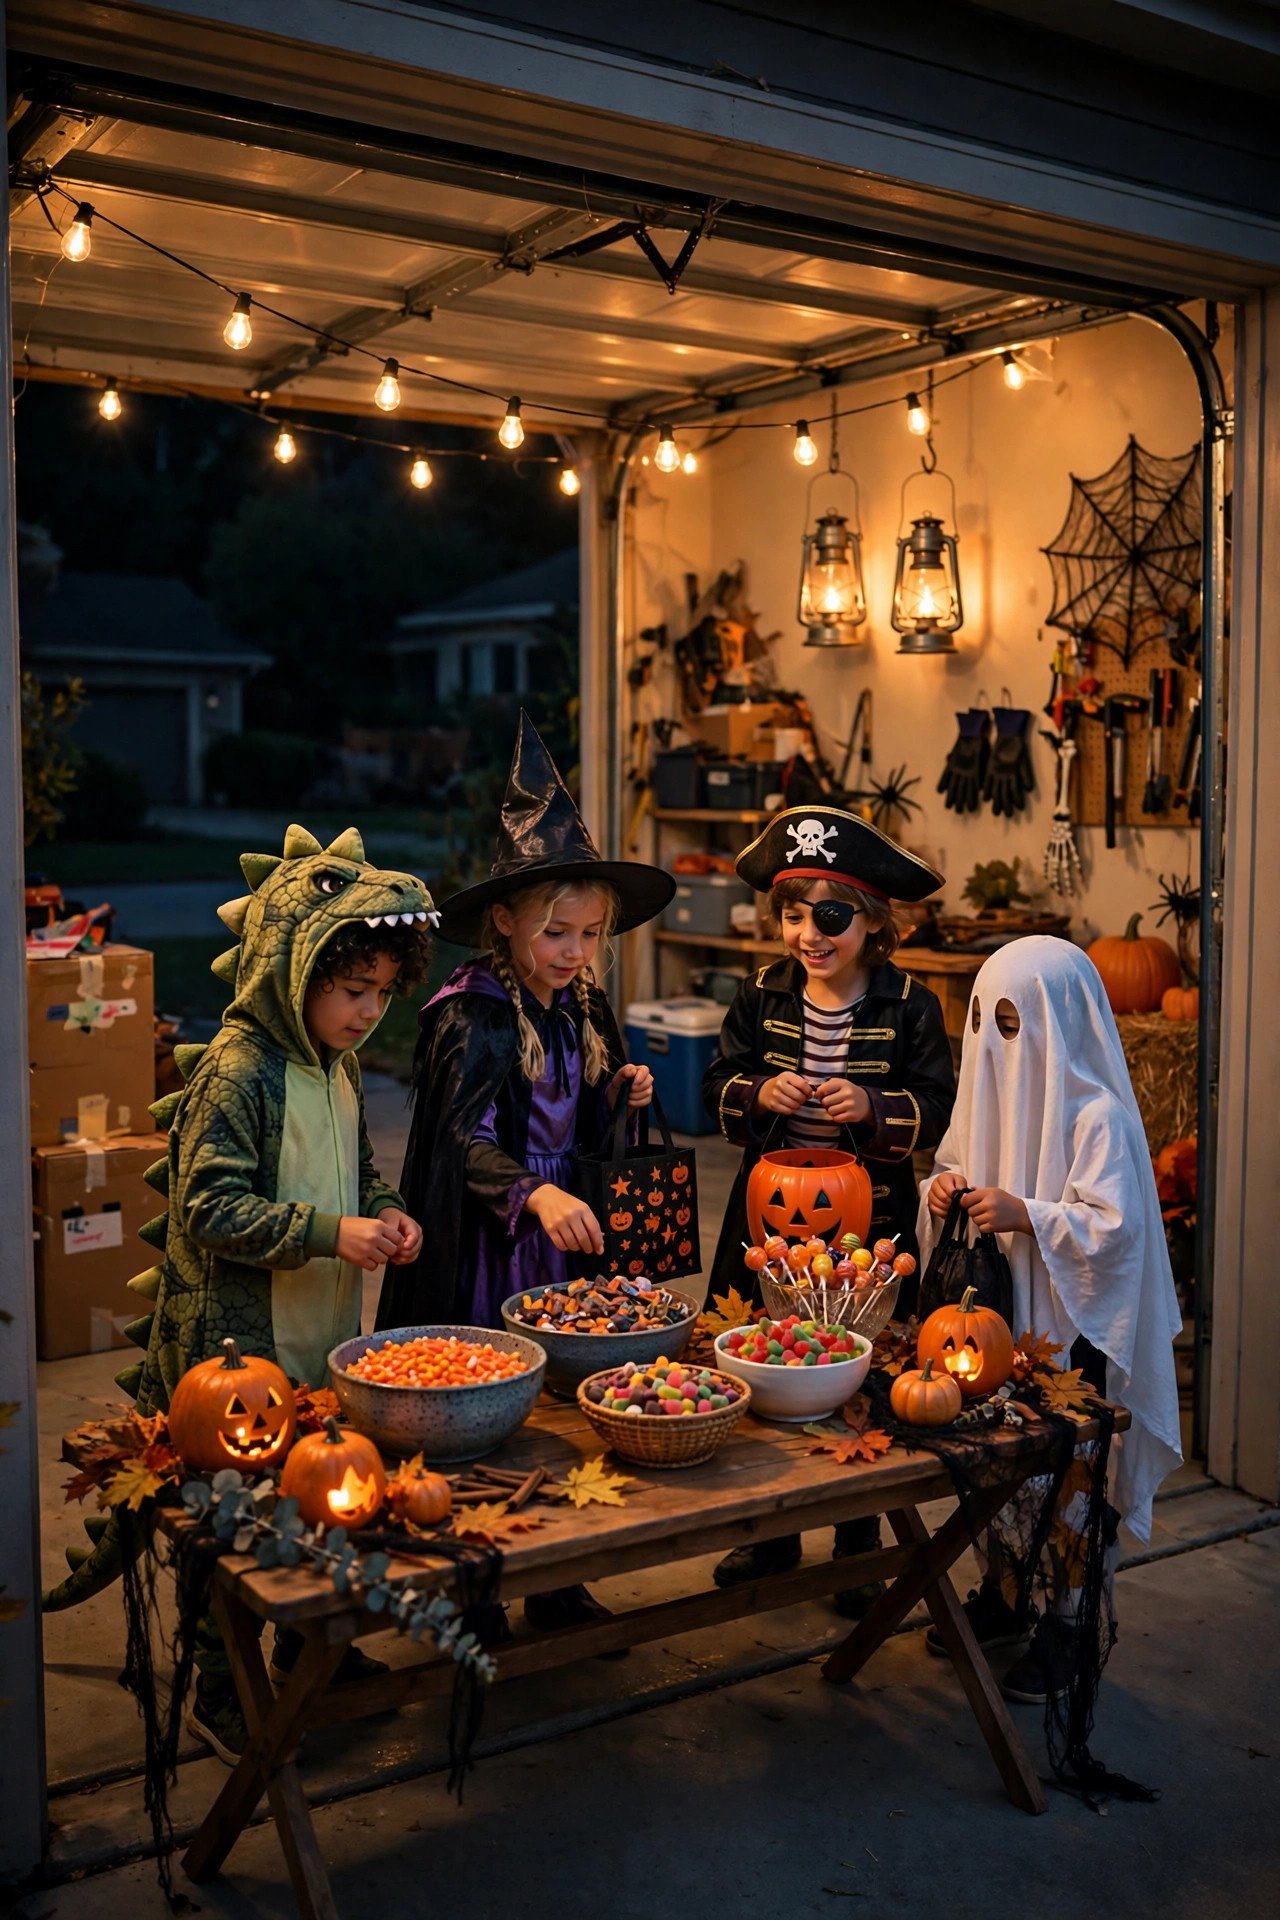
Build a dedicated candy station just inside the garage mouth so visitors never need to enter the dark interior or climb steps to reach treats. Set a sturdy table 30 inches high, cover it with a Halloween cloth, and arrange candy in three labelled bowls by age group, plus a separate bowl of non-food treats like stickers and glow bracelets for children with allergies. The teal pumpkin idea and modern trick-or-treating traditions both reward hosts who plan for every child, so add a small sign explaining the choices clearly. Keep the station lit with two warm LED lanterns, staff it with an adult at all times, and place a trash bin nearby so wrappers do not blow into the street. Budget 30 to 50 dollars plus candy, and restock from a sealed backup bin rather than leaving the whole supply out. Clear the table by 10 p.m.
9. Monster Movie Night Garage
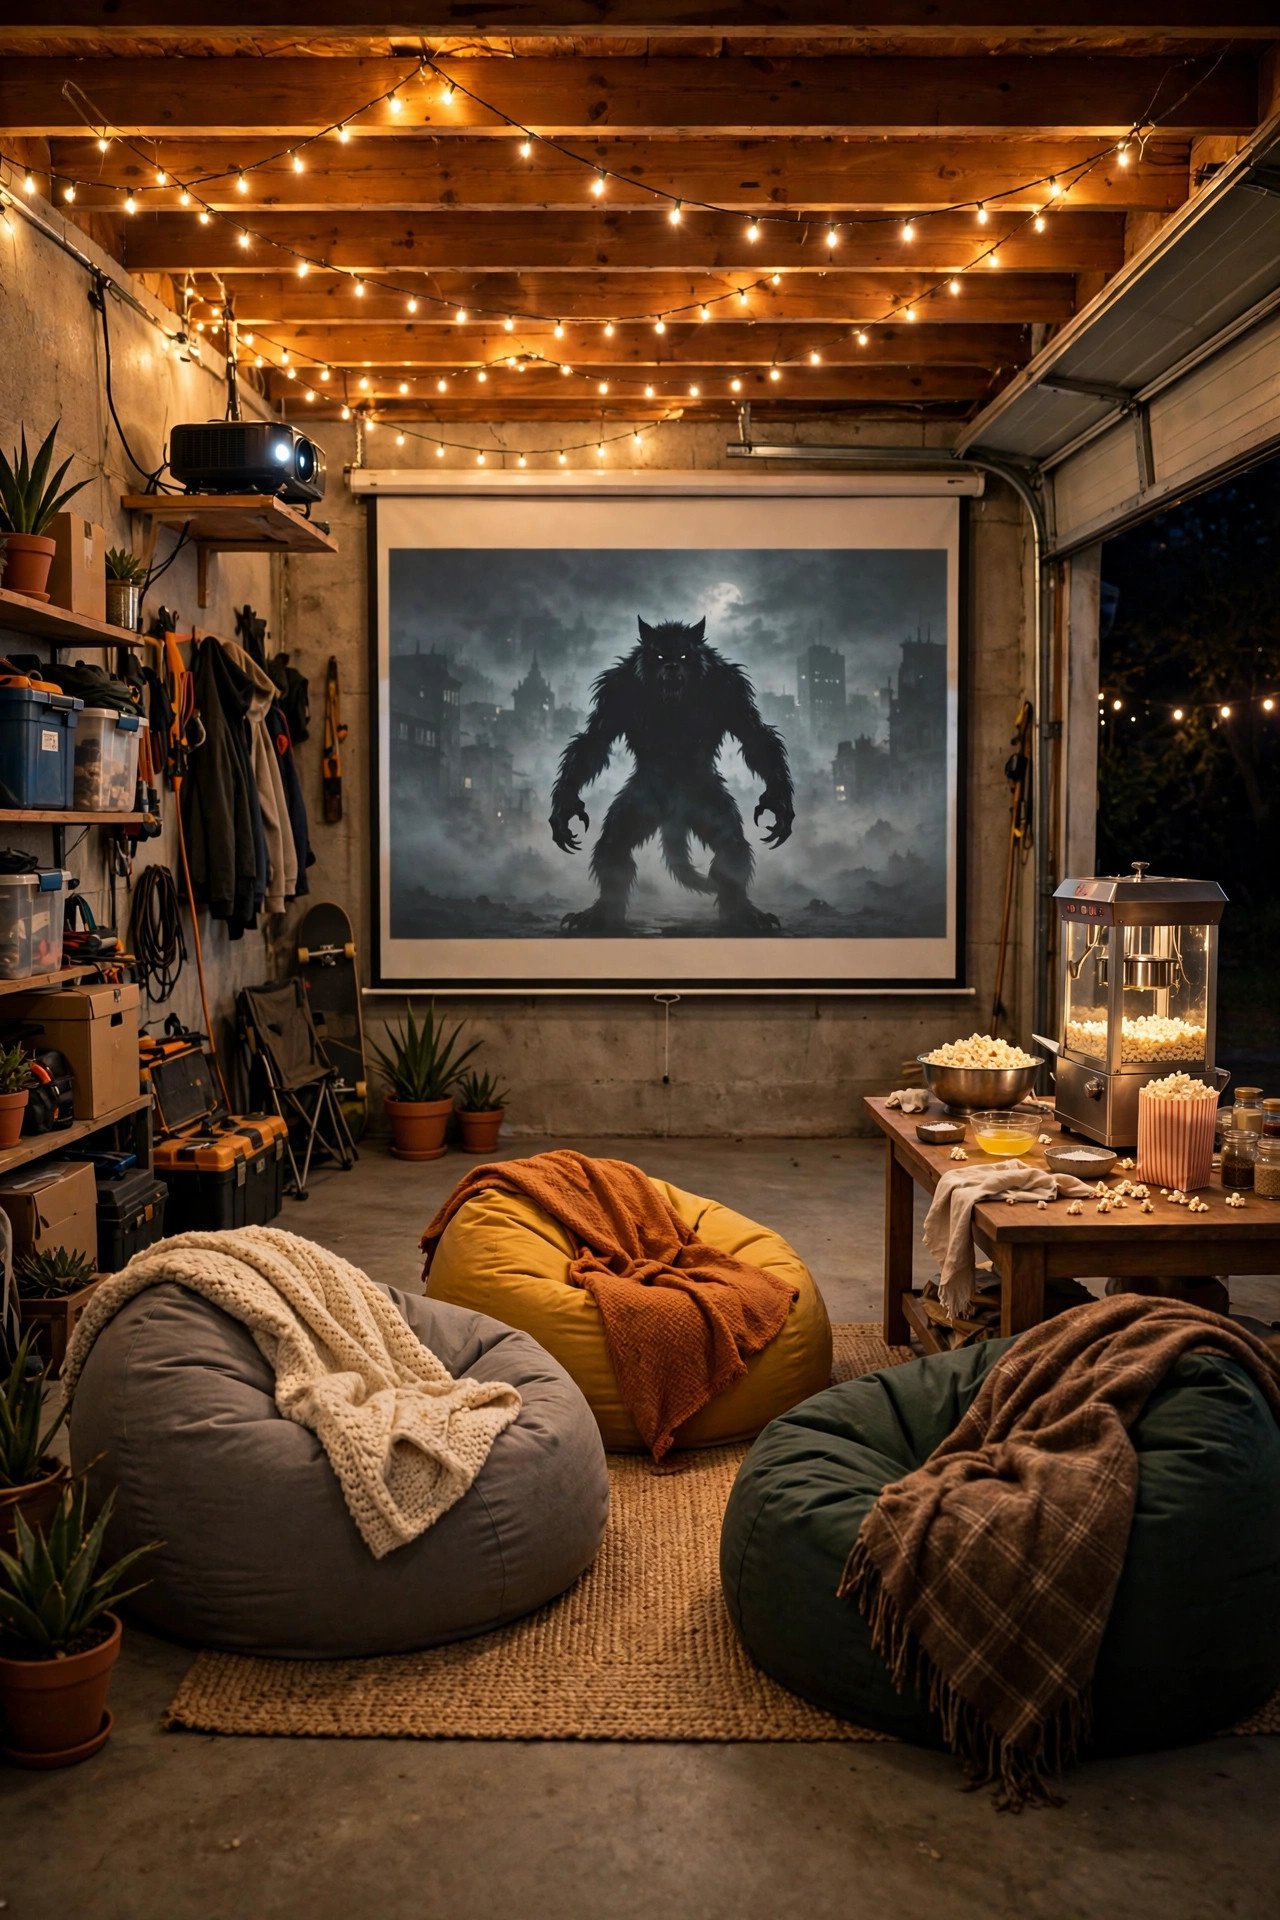
Hang a white sheet or portable projector screen on the inside back wall, project a family-friendly monster movie, and arrange blankets, bean bags, and camp chairs in rows with a clear aisle down the middle. String warm fairy lights around the screen frame, set a popcorn station on a side table, and hand out glow sticks as admission tickets for a playful touch. For a full party plan, pair this setup with our Halloween party decor ideas to coordinate colours, food, and music across the whole night. Keep the projector on a stable table at least 4 feet from seating, tape down every cable with gaffer tape, and keep the garage door open for ventilation and a quick exit. Budget 20 to 40 dollars if you already own a projector, plus snacks. End the movie by 10 p.m. in residential areas.
10. Skeleton Crew Workshop Garage
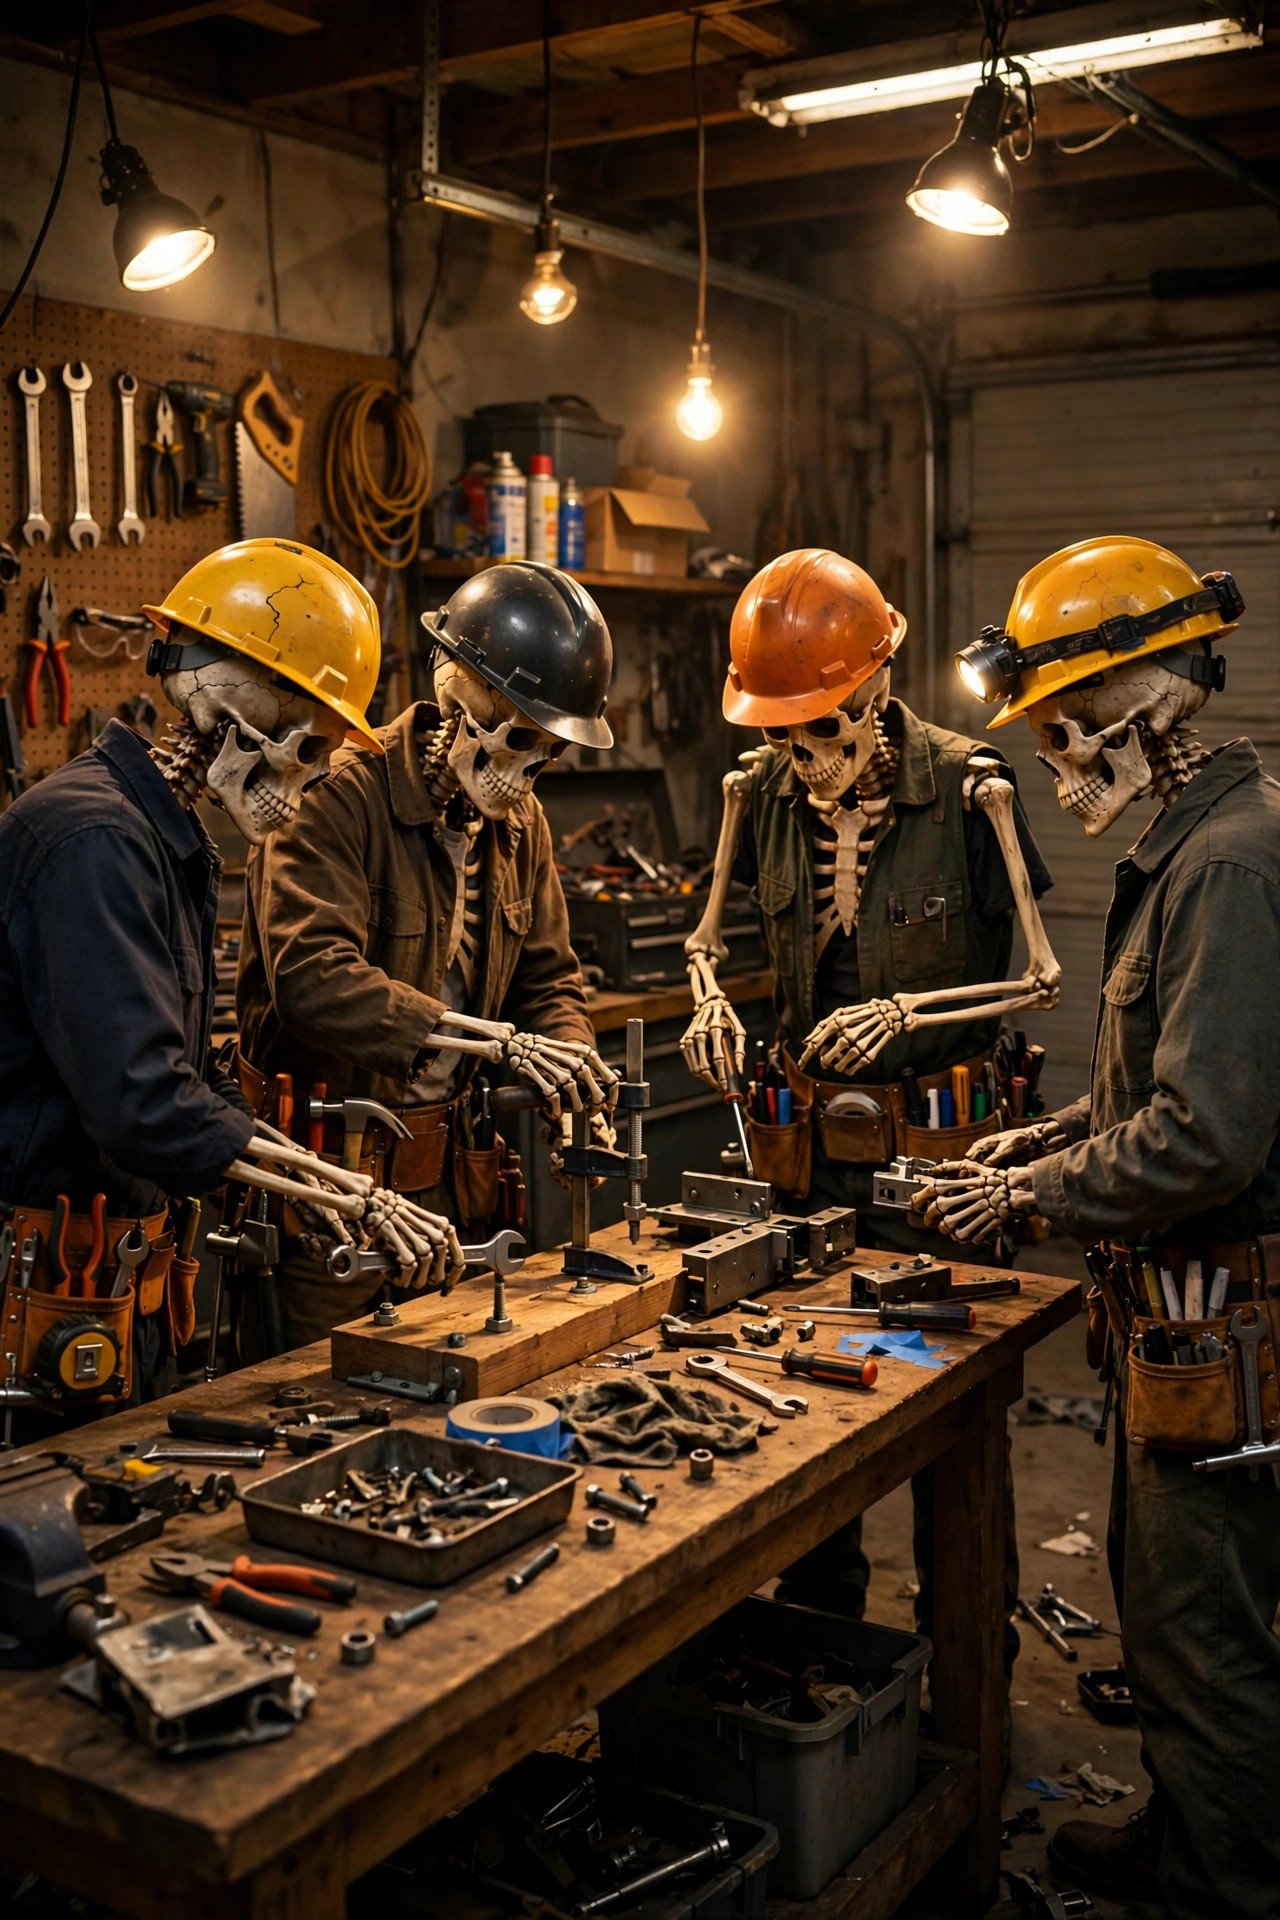
Pose a crew of plastic skeletons as if they are repairing the house: one on a ladder, one holding a wrench under a workbench, one lounging in a deck chair with a drink, and one driving a toy car. Dress them in old work shirts, hard hats, and tool belts from a thrift store, and set the scene around a real workbench covered with safe, oversized foam tools. Pose joints carefully so figures do not topple onto visitors, wire lightweight figures to furniture with fishing line, and keep the ladder display behind a rope barrier rather than letting children climb it. Use warm spotlights to cast long skeleton shadows on the garage wall, which doubles the spooky effect for almost no extra cost. Budget 40 to 70 dollars for four to six figures, and store them standing upright in a dry bin so joints do not warp. Avoid placing skeletons where they block the exit path.
11. Vampire Castle Entrance Arch
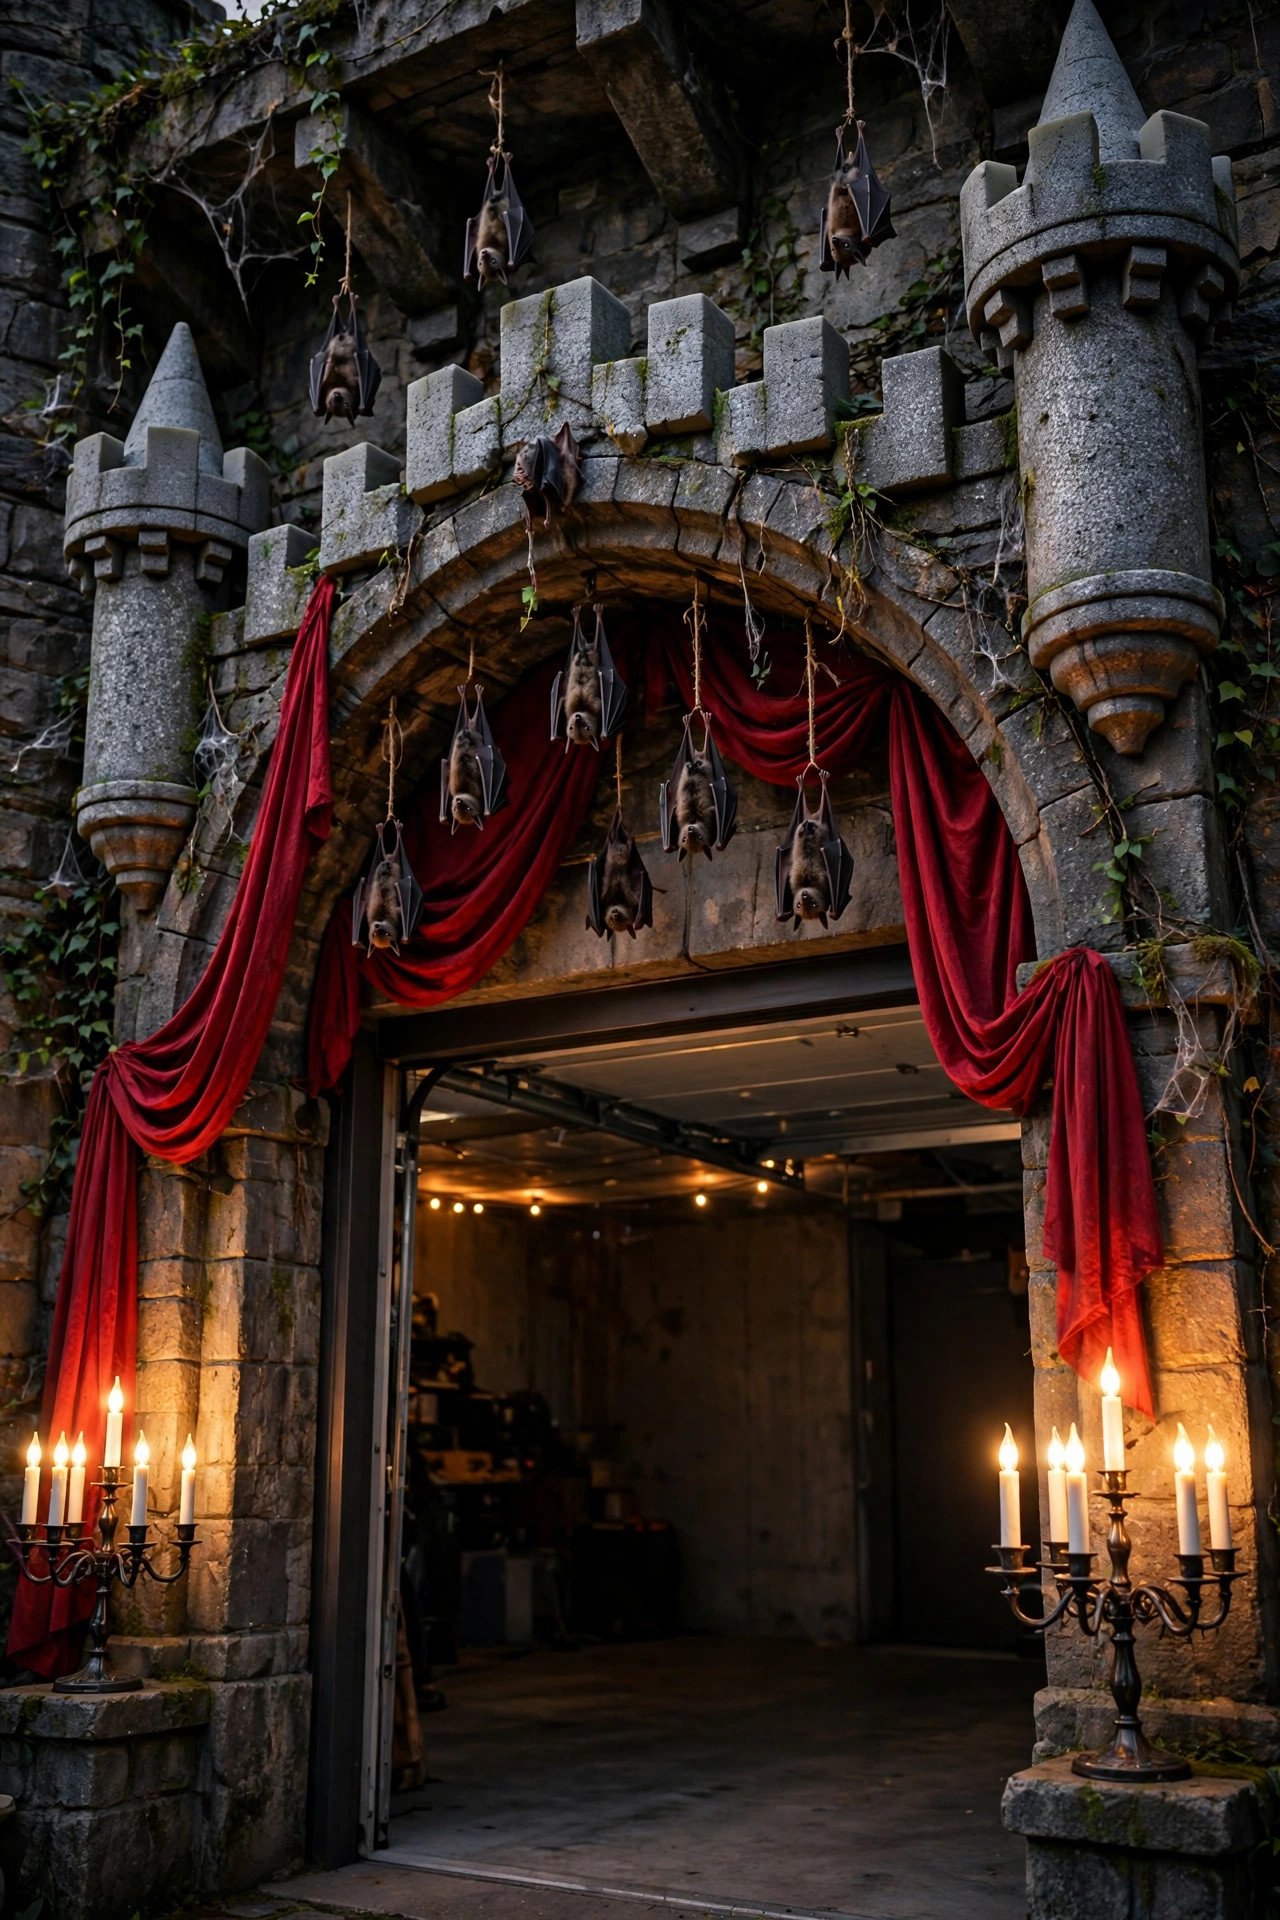
Frame the garage opening with a castle arch made from two foam turrets, each about 6 feet tall and 18 inches wide, topped with cone roofs and small flag pennants in black and blood red. Drape black and red fabric between the turrets, hang plastic bats from fishing line at different heights, and place two candelabras with LED candles on either side of the entrance. Build turrets from lightweight foam board over a PVC frame so they stand steady without bolting into concrete, and anchor each base with a 20-pound sandbag hidden behind fabric. Keep the arch opening at least 48 inches wide for costumes, strollers, and wheelchairs, and test it in wind before guests arrive. Budget 55 to 85 dollars, and choose LED candles rated for outdoor use so rain does not short the wiring. Remove fabric promptly if storms are forecast.
12. Zombie Apocalypse Bunker Garage
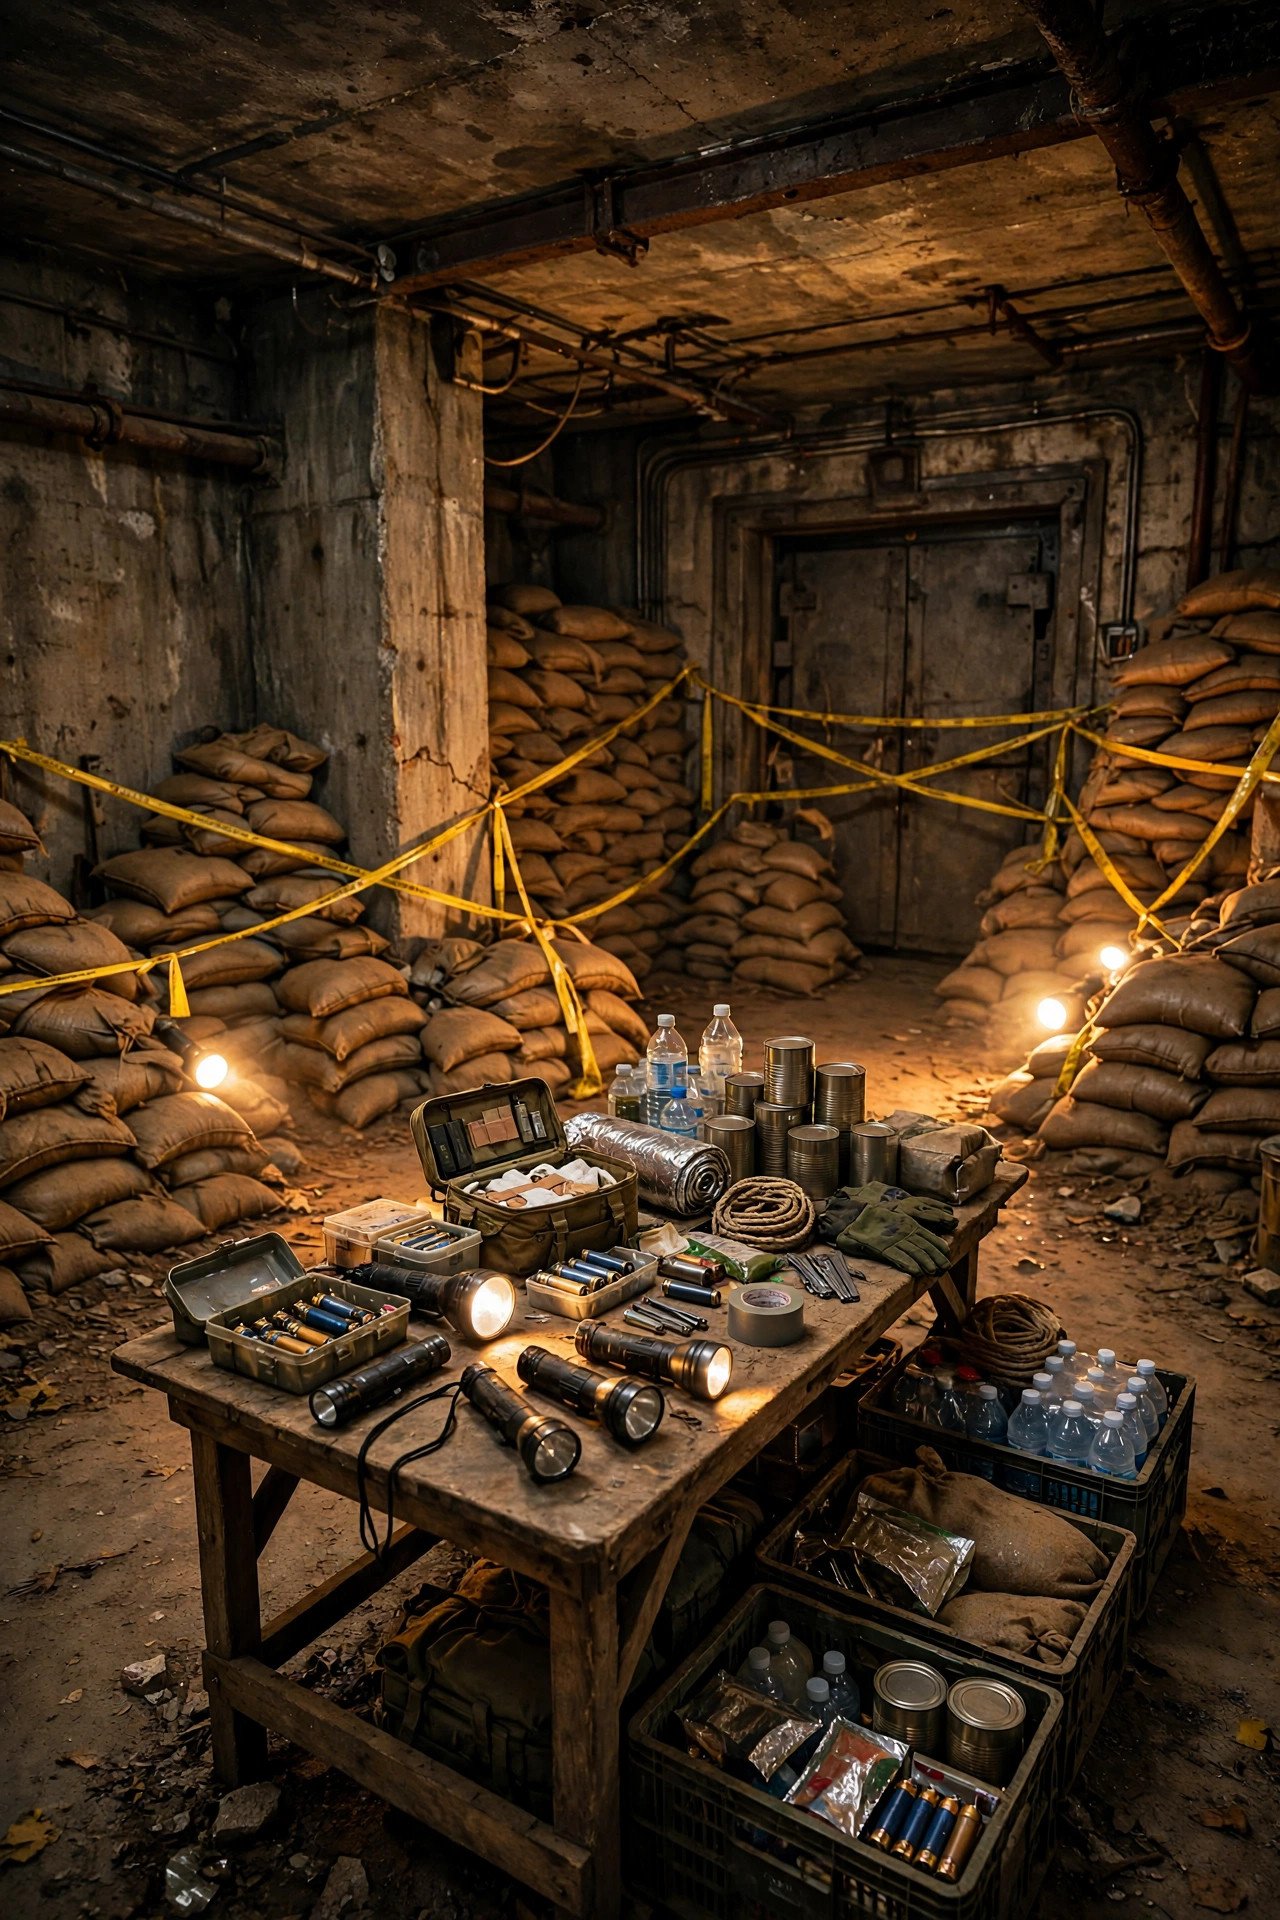
Turn the garage into a survival bunker with caution tape crisscrossed over the doorway, sandbags stacked waist-high along the front, and hand-painted signs warning of zombies ahead and survivors inside. Add a supply table with canned goods, bottled water, flashlights, and a first aid kit as props, plus a radio playing static and emergency broadcasts for atmosphere. Keep the bunker look fun, not frightening, for young children by using cartoonish zombie cutouts rather than gory figures, and place a friendly greeter at the entrance to set the tone. Never block the real exit with sandbags: stack them to the sides, leave a clear 36-inch escape route, and keep the garage door opener accessible at all times. Budget 30 to 55 dollars for tape, fabric, and signs. Pack props in a single bunker bin for reuse.
13. Ghostly Fog and Glow Lighting Display
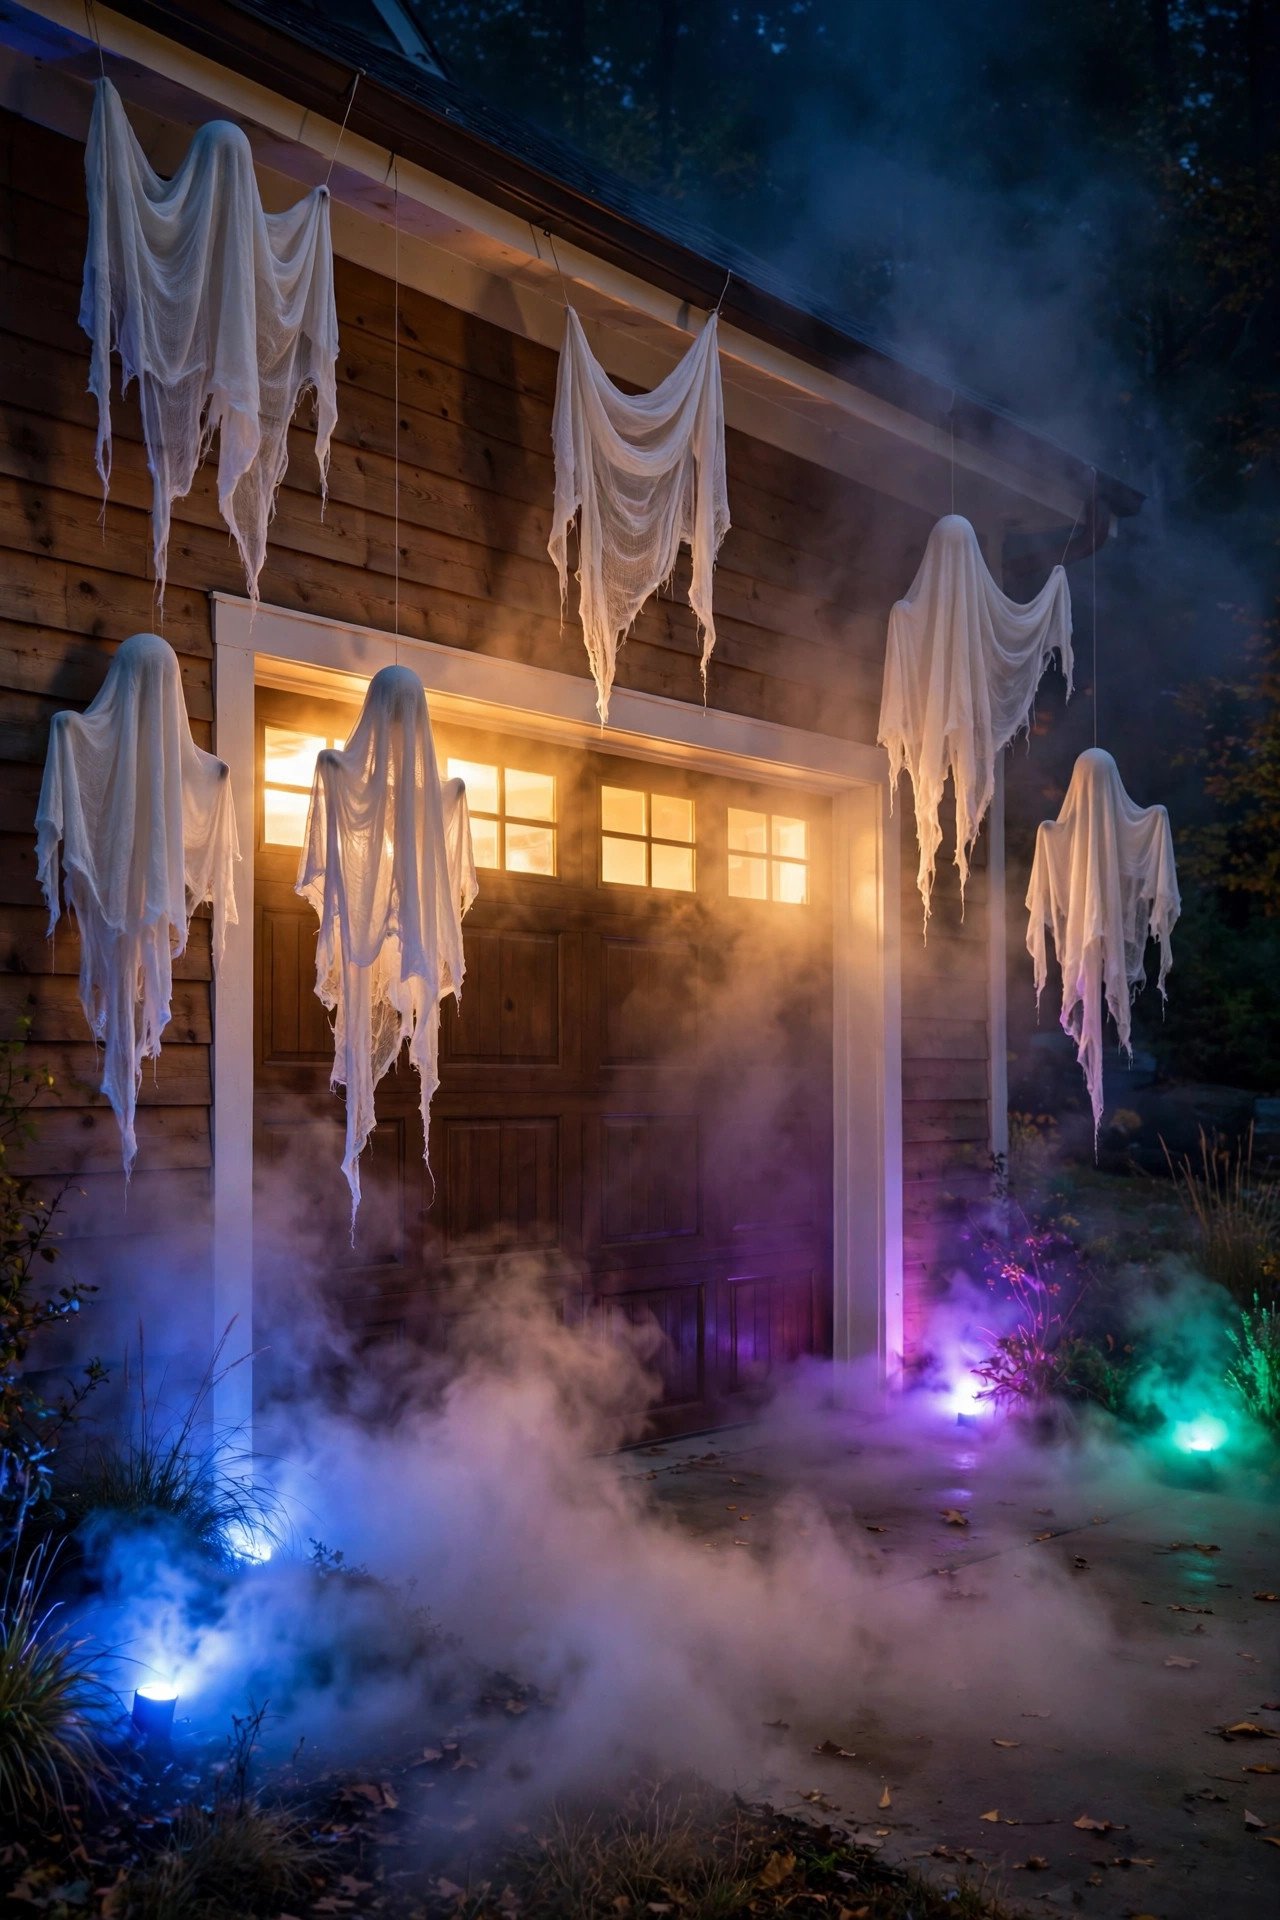
Make lighting the star by combining low fog, uplights, and glowing ghosts rather than buying dozens of separate props. Place two warm white LED floodlights, each 20 to 30 watts, at the driveway corners aimed up at the garage door, add purple and green wash lights on the side walls, and hang cheesecloth ghosts from the ceiling so light passes through them. Run a small outdoor fog machine for short bursts only, never continuously, and keep it outside the garage mouth so fog drifts in rather than filling the bay. Use outdoor-rated extension cords, keep connections off wet ground on a brick or cord cover, and plug lights into a ground fault protected outlet. Budget 60 to 90 dollars for lights and fog fluid, and test every circuit before dark. This approach looks expensive, photographs beautifully, and packs away into one small lighting box.
14. Creepy Carnival Midway Garage

Set up a mini midway inside the garage with three simple games: ring toss over bottles, a bean bag throw into a pumpkin mouth, and a duck pond using a shallow tub and rubber ducks. Paint booth signs on foam board, string carnival lights overhead, and offer small prizes like spider rings, stickers, and temporary tattoos so every child wins something. Keep each game station 4 feet apart so queues do not tangle, place a volunteer at each booth, and use a rubber mat under the duck pond to catch splashes before they reach the concrete. Avoid games that require throwing hard objects toward the street or other visitors, and keep prizes nut-free and age-appropriate for toddlers. Budget 40 to 65 dollars for games, prizes, and lights, and store booth signs flat so paint does not crack. Close games by 9 p.m. for younger visitors.
15. Haunted Forest Driveway Trail

Turn the driveway into a forest trail by lining both sides with potted evergreens, bare branches stuck in buckets of sand, and twisted vine garlands draped from stakes. Add glowing eyes peeking from the branches, made from toilet paper tubes with glow sticks inside, and scatter fallen leaves and pinecones along the path for crunch underfoot. For more yard-wide inspiration, browse our outdoor Halloween decor ideas to extend the forest theme from the driveway to the front lawn. Keep the trail at least 36 inches wide, secure every branch so it cannot poke eyes at child height, and light the path with solar stake lights every 4 feet. Budget 35 to 60 dollars if you forage branches and use potted plants you already own. Bring potted plants indoors after Halloween night so frost does not damage them.
16. Skeleton Dinner Party Garage
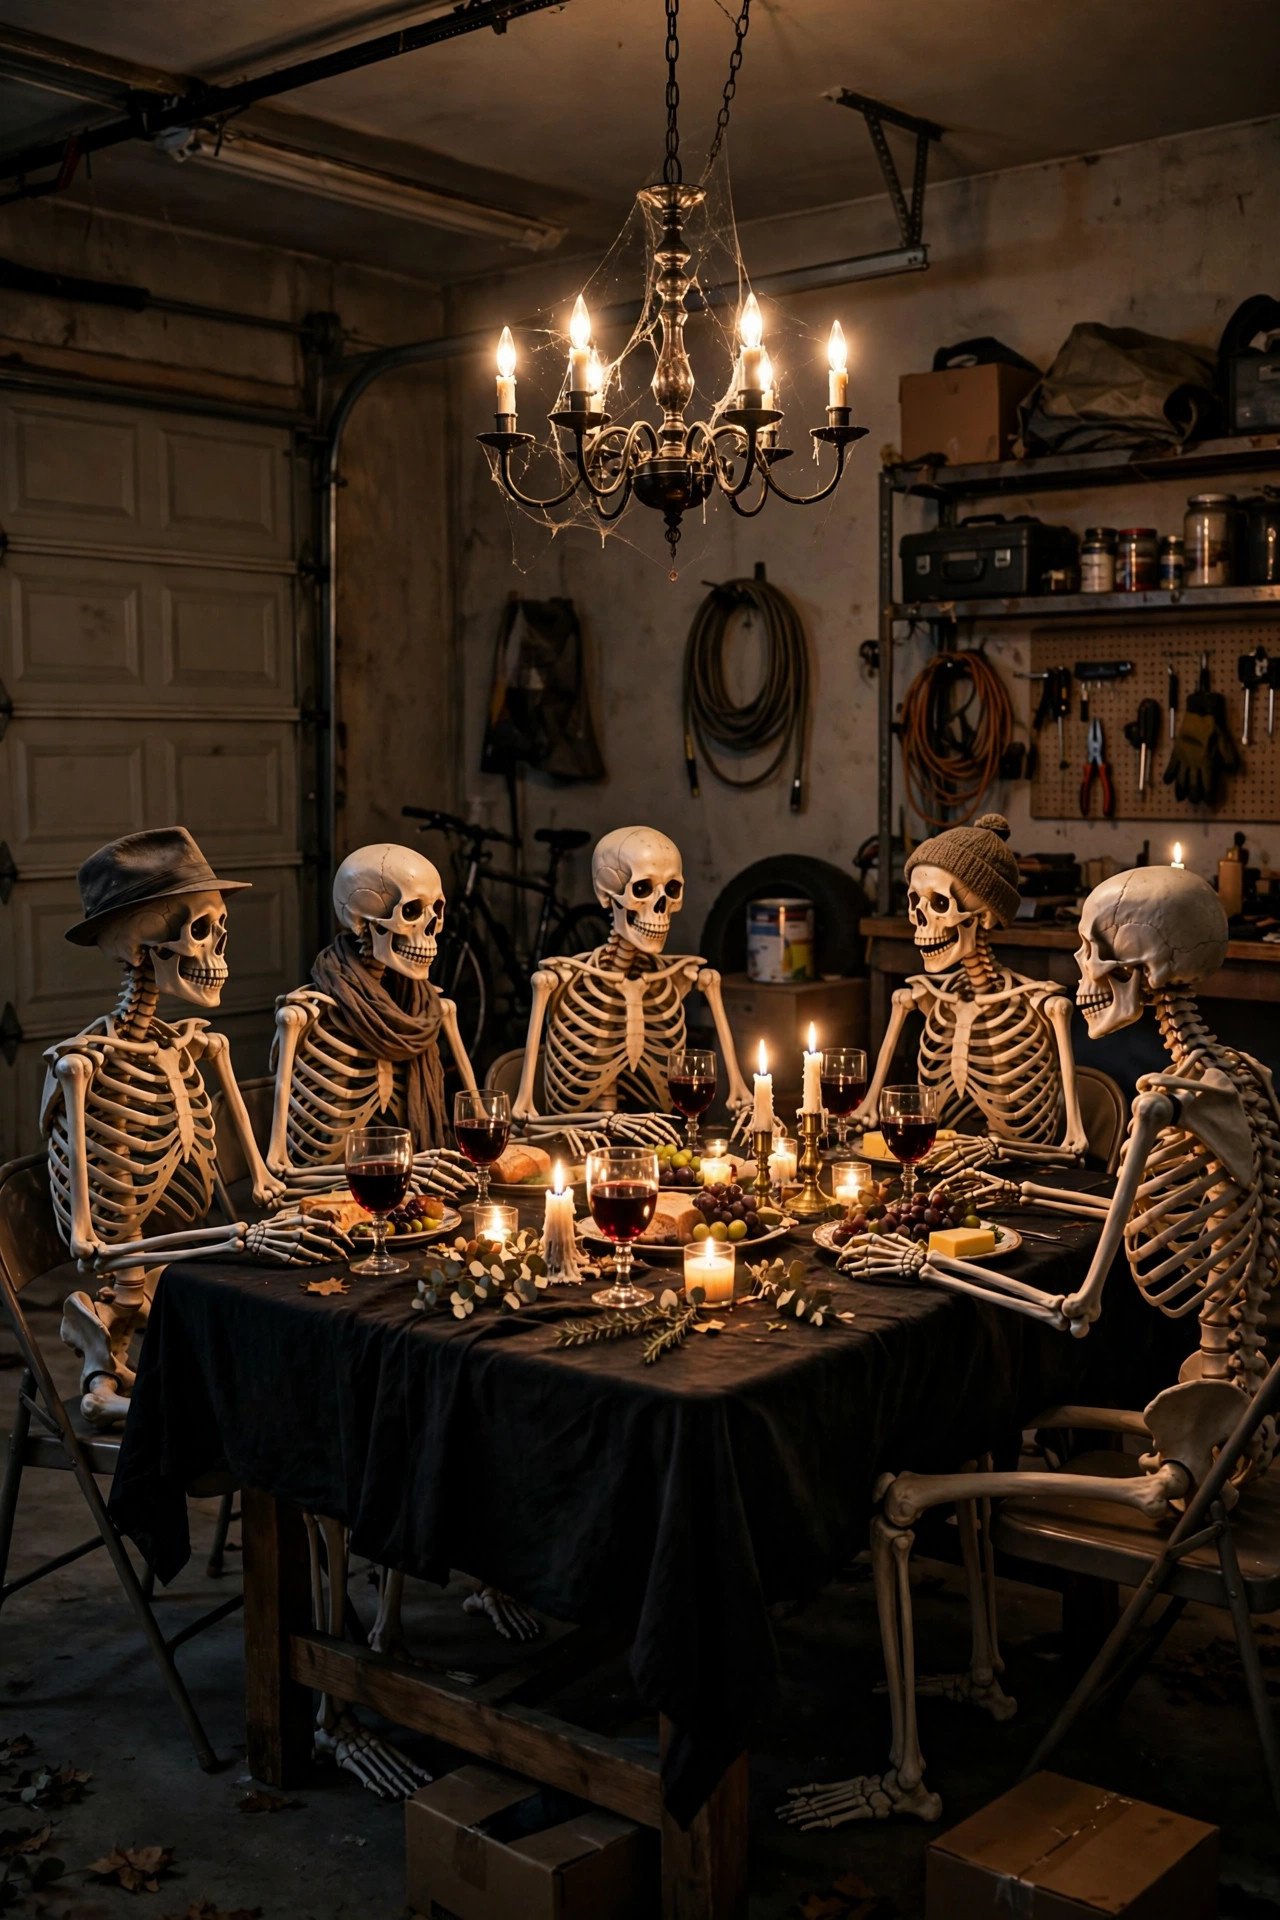
Stage a dinner party where skeletons sit around a table set with a black cloth, plastic goblets, gold charger plates, and a candelabra glowing with LED candles. Dress one skeleton in a suit, one in a gown, and one in a chef hat serving a platter of eyeball meatballs made from mozzarella and olives for guests to admire, not eat, unless you label food clearly. Hang a chandelier made from a hoop and string lights above the table, and place name cards with spooky puns at each setting for a photo-ready scene. Keep the display behind a rope or table barrier so visitors admire it without knocking over goblets, and never mix display food with real guest food on the same table. Budget 50 to 80 dollars for figures, tableware, and lights, and photograph the scene before guests arrive because it will be disturbed quickly. Store goblets wrapped in tissue.
17. Monster Mash Dance Floor Garage

Clear the garage floor, lay down interlocking foam tiles in black and purple, and hang a disco ball with coloured spotlights for a monster dance floor that works for teens and adults. Create a playlist of Halloween classics and novelty songs, set speakers on a sturdy table at the back wall, and mark a dance area about 10 feet by 12 feet so dancers do not collide with food tables or decorations. Keep volume neighbour-friendly, end dancing by 10 p.m., and place water and snacks on a side table so dancers stay hydrated without leaving the party. Tape down tile edges, remove any tripping hazards, and keep the garage door open for fresh air and an easy exit if the room gets crowded. Budget 45 to 75 dollars for tiles, lights, and a borrowed speaker. Sweep the floor before laying tiles so they grip properly.
18. Scarecrow Farm Stand Garage
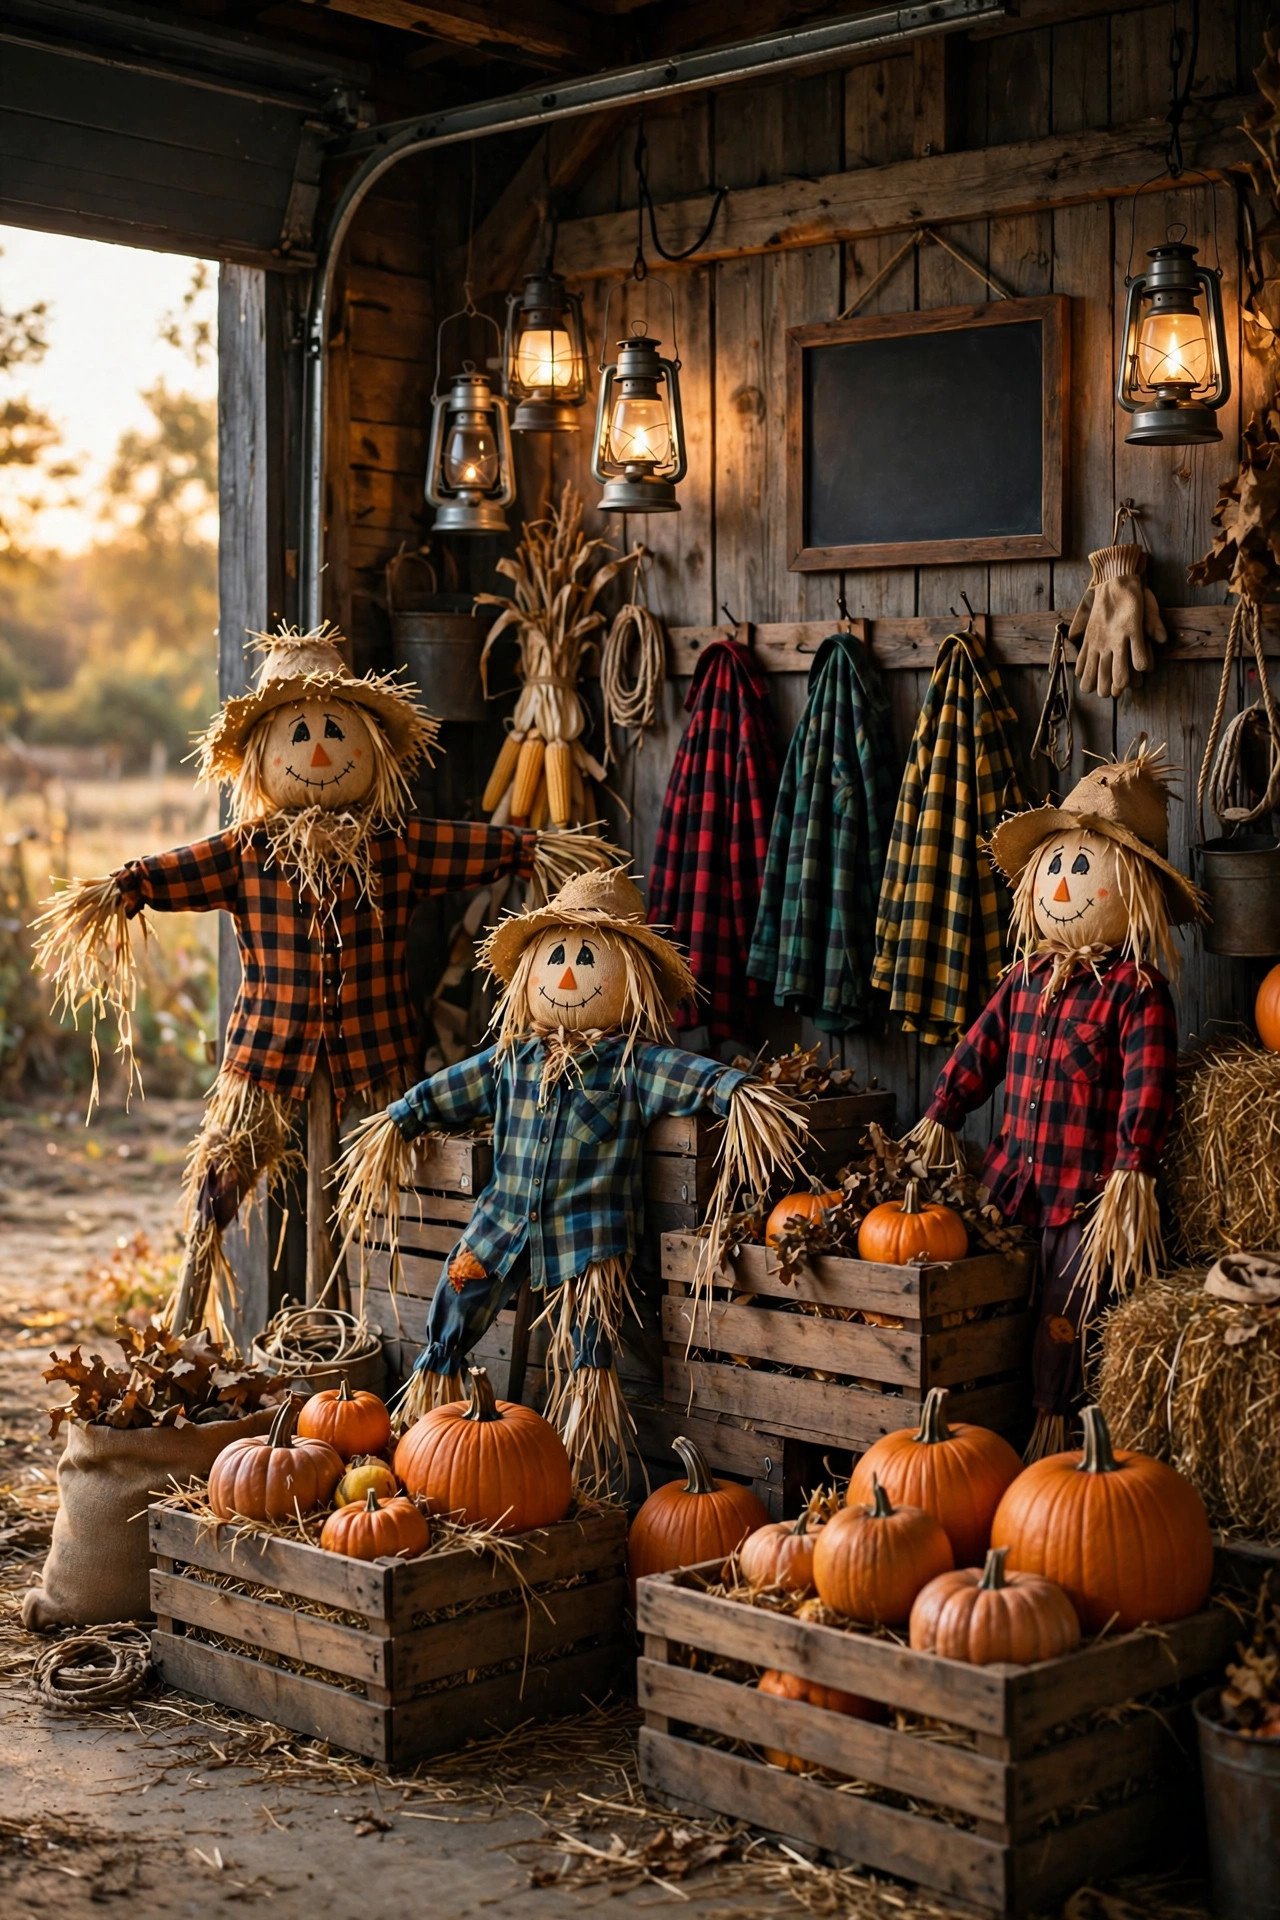
Build a farm stand at the garage mouth with crates of pumpkins, gourds, corn, and apples, plus two friendly scarecrows in flannel shirts and straw hats guarding the display. Stack crates at different heights, add a chalkboard sign with prices for a pretend market, and offer real mini pumpkins or apples as treats for trick-or-treaters who stop by. Stuff scarecrow clothes with straw or crumpled newspaper, secure hats with pins so wind does not carry them into the street, and keep the stand clear of the driveway so cars and visitors never compete for space. Use battery lanterns, not candles, near straw and dried corn, because dry farm materials catch fire fast. Budget 35 to 55 dollars for crates, produce, and clothing from thrift stores. Compost real produce after the holiday and store crates stacked flat.
19. Black Cat Crossing Garage Door

Paint a black cat silhouette scene across the lower half of the garage door using a large foam board panel, so the cat appears to cross a moonlit fence under a yellow crescent moon. Add glowing green eyes using small LED tea lights behind cutout eye holes, scatter foam paw prints up the driveway, and hang a small sign reading beware of black cats for a playful warning. Attach the panel with magnetic hooks only, keeping the bottom edge at least 4 inches above the ground so the door seal still closes and the panel does not drag. This design suits families who want spooky but not scary, and it photographs well for social media without frightening toddlers. Budget 25 to 40 dollars for foam board, paint, and lights, and choose outdoor paint so rain does not streak the cat. Remove the panel before operating the door in high wind.
20. Haunted Toy Workshop Garage
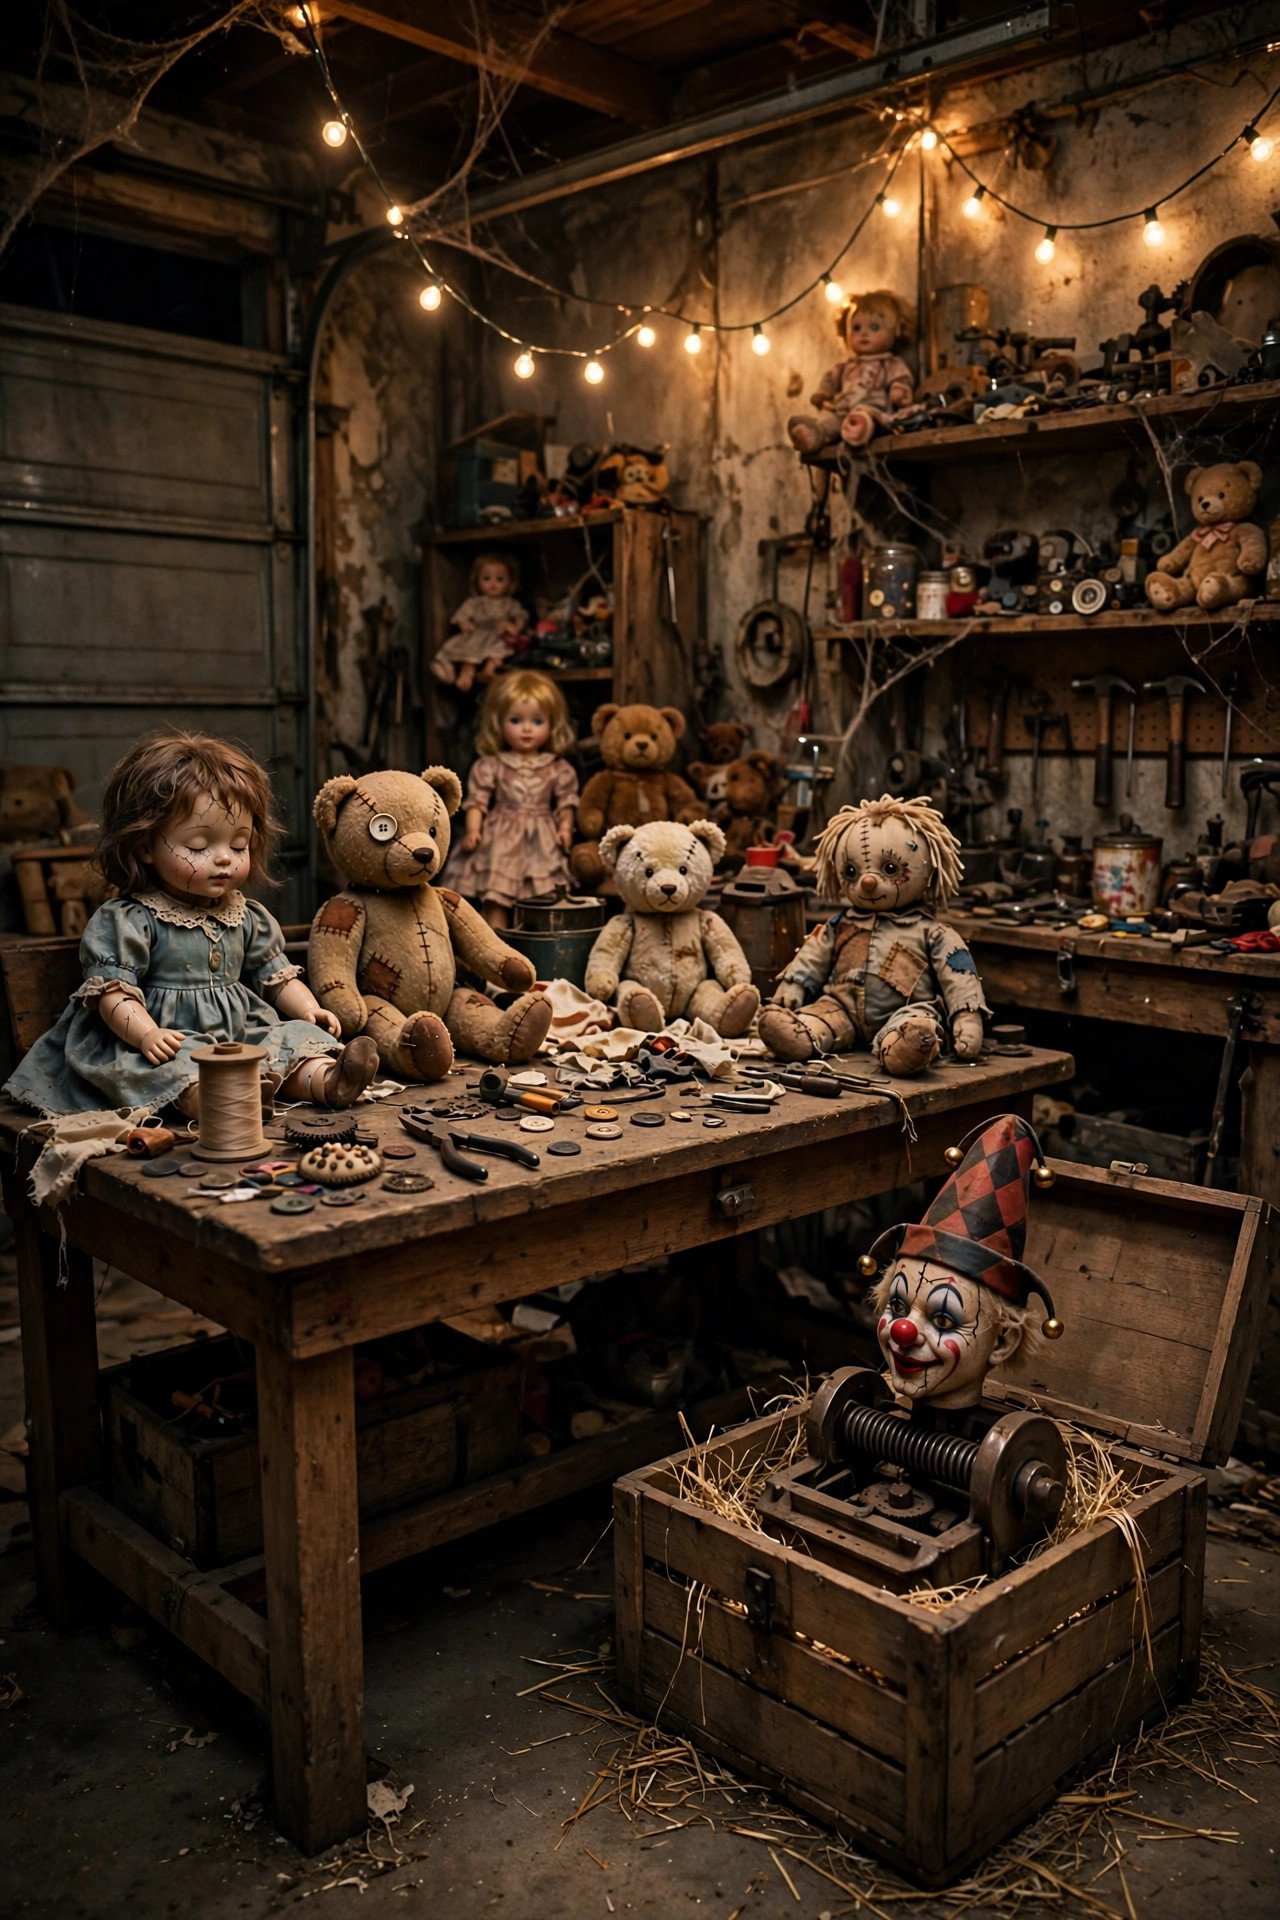
Turn the garage into a workshop where toys have come alive: dolls seated at a tiny workbench, teddy bears wearing masks, toy cars lined up for repair, and a jack-in-the-box popping from a large crate near the entrance. Use thrift store toys only, never a child's favourites, and arrange them under warm string lights so the scene feels mischievous rather than genuinely frightening for younger visitors. Keep small toy parts out of reach of toddlers, secure the jack-in-the-box so it cannot spring into a face, and place a friendly sign explaining the workshop story for children who want context. Ventilate the garage well if you use a fog machine or scented candles, and prefer LED candles throughout for safety. Budget 30 to 50 dollars for thrift toys, lights, and fabric. Box toys separately after Halloween so small parts stay together.
21. Trick-or-Treat Safety Checkpoint Garage
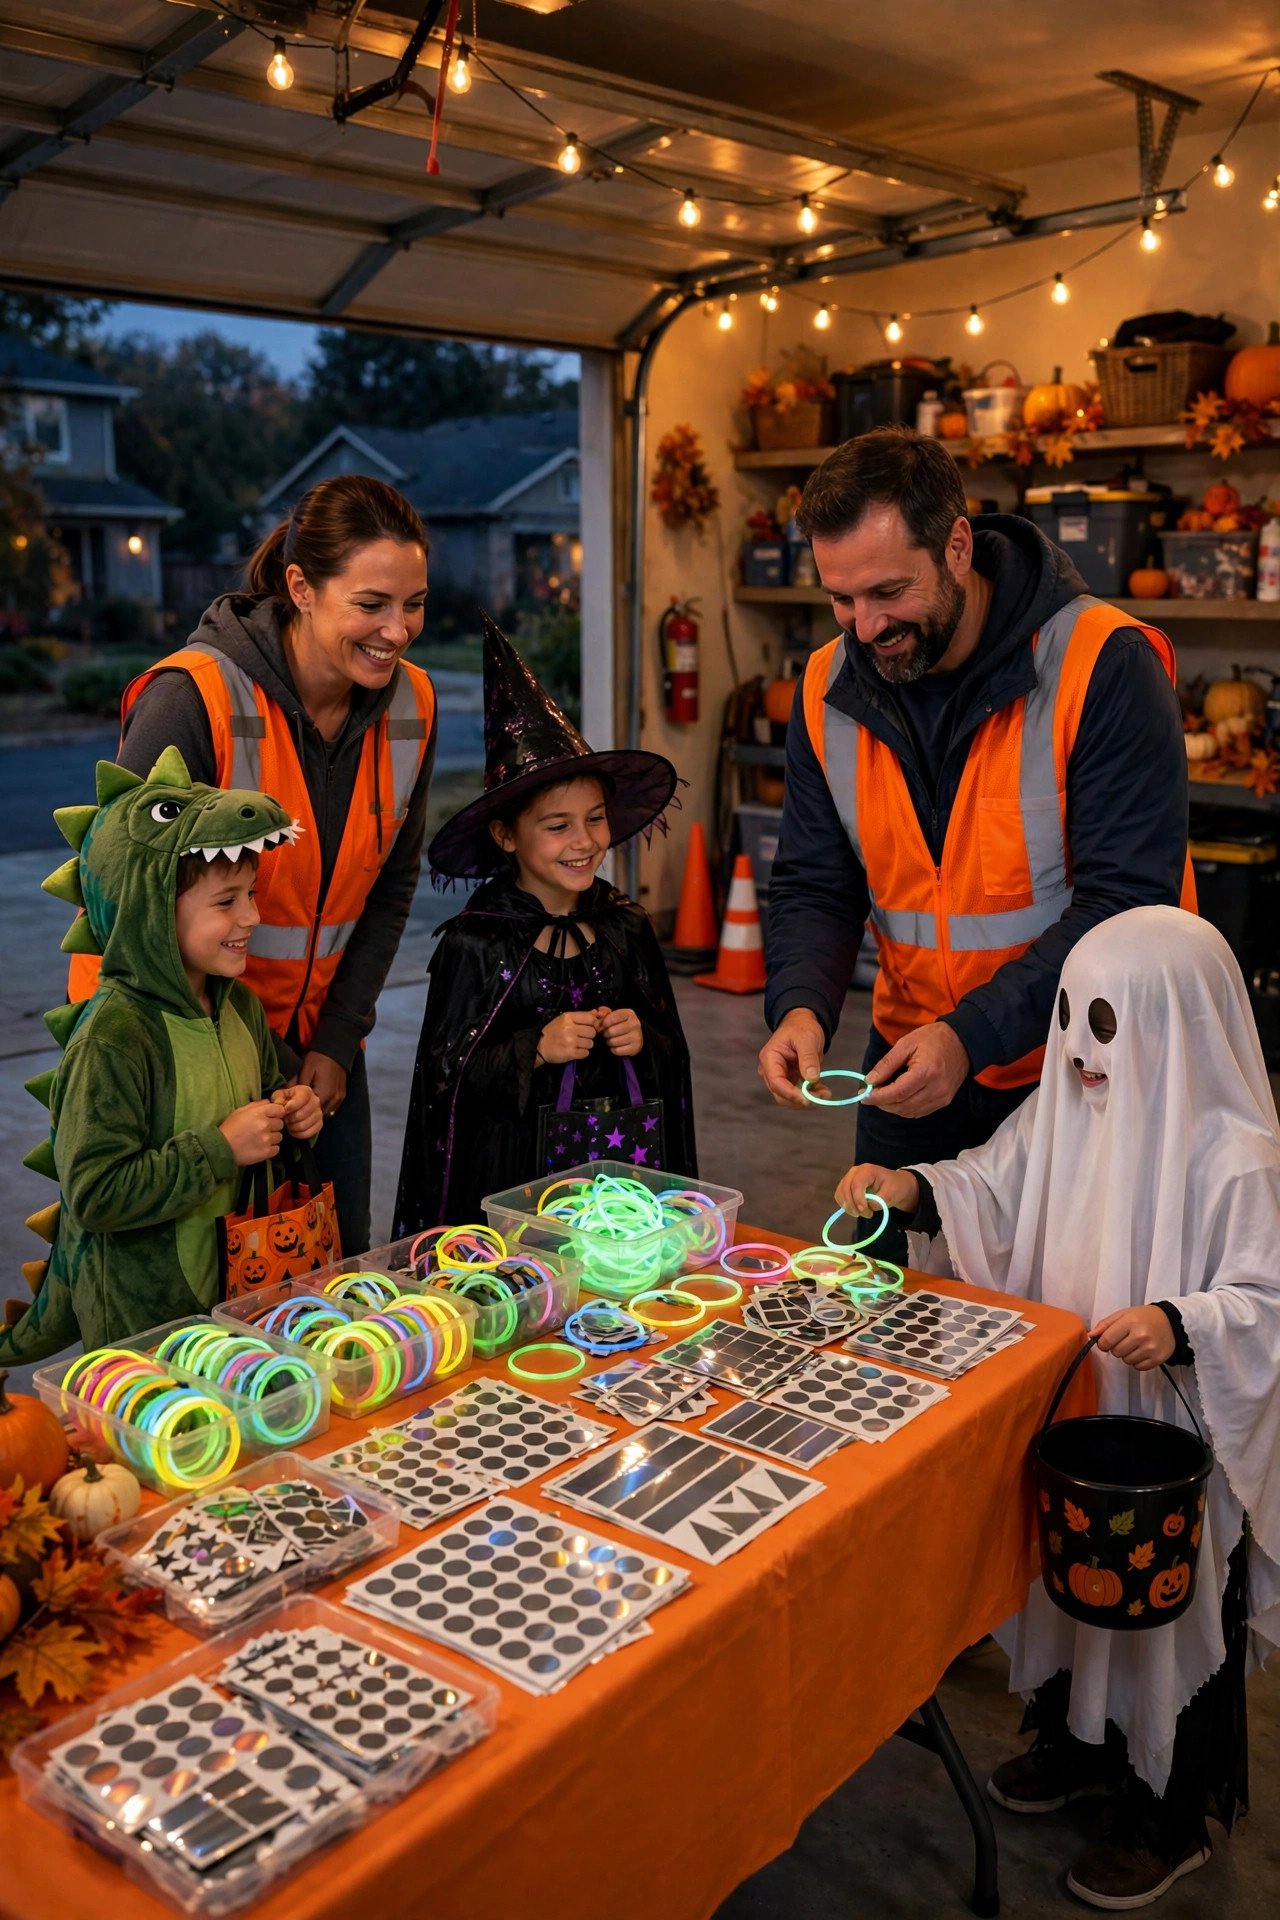
Make safety part of the fun by turning the garage into a checkpoint where children collect a glow bracelet, a reflective sticker, and a quick costume check before heading back into the night. Set up a bright, friendly table near the entrance, staff it with two adults, and use a flashlight to check that masks allow clear vision and costumes do not drag on the ground. Offer to trim loose ribbons, pin up long hems with safety pins, and swap a dark costume accessory for a reflective one from a spare bin. Keep the checkpoint fast, under one minute per child, so queues do not block the driveway, and place it to the side of the main candy flow rather than across it. Budget 20 to 35 dollars for glow items, stickers, and pins. This station earns grateful parents, safer children, and a reputation as the thoughtful house on the street.
22. After-Dark Photo-Op Garage Backdrop

Finish with a dedicated photo backdrop on the inside back wall so guests take pictures that spread your display far beyond Halloween night. Hang a black backdrop cloth 8 feet wide and 6 feet tall, add a moon cutout, hanging bats, and a hay bale seat, and light the scene with two warm LED panels at 45-degree angles to avoid harsh shadows on faces. Place a small sign with a fun hashtag-free prompt like say boo, keep props like hats, capes, and wands in a basket nearby, and wipe the backdrop between groups if it gets dusty. Keep the photo area at least 6 feet deep so photographers can step back, and tape down backdrop edges so nobody trips while posing. Budget 35 to 55 dollars for cloth, lights, and props. Share the setup early in the evening when costumes look freshest.
Practical Tips
Start with the door, because it is the largest surface and the hardest to fix if paint peels or a panel falls. Test every magnetic hook, foam panel, and hanging prop on a dry afternoon, operate the door twice, and check the tracks and safety sensors before you add lights, fog, or visitors to the scene.
Set a realistic budget before you shop, since garage displays grow quickly once you start adding figures and lights. A strong door scene and driveway staging can cost under 75 dollars, while a full walkthrough or party setup lands closer to 150 dollars, so reuse foam board, lights, and fabric year after year and buy only the fresh pumpkins and prizes annually.
Plan timing around weather and daylight, not just Halloween night itself. Build the main structure two days early, add pumpkins and fabric the day before, and save fog, candles, and perishable treats for the final afternoon so rain, wind, or heat does not ruin the display before anyone sees it.
Think about storage on the night you build, not the morning after, when you are tired and tempted to toss everything into one bin. Label bins by scene, wrap lights around cardboard to prevent tangles, store foam flat, and keep small parts like eyes, hooks, and glow sticks in sealed bags for next October.
Keep safety visible rather than hidden in the fine print of your plan. Mark exits with glow tape, keep a fire extinguisher near the garage entrance, charge phones and flashlights in advance, and assign one adult to watch the door, the fog, and the crowd so small problems never become emergencies.
Final Thoughts
A haunted garage works best when it feels intentional, welcoming, and safe, not just crowded with props. Choose one hero scene for the door, one clear route for visitors, and one memorable moment for photos, and let the rest of the details support those three choices rather than competing with them.
You May Also Like
22 Outdoor Halloween Decor Ideas for a Spooktacular Yard 22 Halloween Party Decor Ideas for a Spooktacular Celebration 22 Halloween Front Door Decor Ideas 22 Halloween Entryway Decor Ideas for a Spooky Welcome 22 Halloween Apartment Decor Ideas 22 Halloween Window Decor Ideas That Glow After Dark
Frequently Asked Questions
Will Halloween decorations damage my garage door paint?
They should not if you use magnetic hooks on steel doors, freestanding frames, and foam panels hung from the frame rather than tape, glue, or screws on the door itself. Test one hook in a hidden spot first, keep panels light, and remove everything promptly after rain so trapped moisture does not stain or lift paint.
How do I keep garage decor safe in rain and wind?
Choose outdoor-rated lights, foam board, and fabric, anchor freestanding pieces with sandbags, and keep decorations at least six inches clear of tracks and sensors. Bring in cheesecloth, paper props, and unsecured fabric before storms, and take the display down early if gusts pass 25 miles per hour.
How do I ventilate a haunted garage walkthrough safely?
Keep the garage door at least halfway open, leave the top of side walls open for airflow, and run a fan at the exit to pull fresh air through the route. Use fog in short bursts only, never run fuel heaters or generators inside, and keep two clear exits marked with glow tape at all times.
Should I keep the car in the garage or move it out for Halloween?
Move the car out for the night if visitors will enter the garage, because it frees the full bay, removes a tripping and bumping hazard, and protects paint from props, fog, and excited costumes. If the car must stay, park it fully inside one bay and rope off that side completely.
How do I power garage Halloween lights safely outdoors?
Use outdoor-rated extension cords, ground fault protected outlets, and LED lights that stay cool and draw little power. Keep connections off wet ground on a cord cover or brick, tape down cables across walkways, and never overload a single outlet with heaters, fog machines, and lights together.
What is the fastest way to take down and store a garage display?
Photograph the setup first, then remove lights, fabric, and hanging props before lifting heavy panels or frames. Sort items into labelled bins by scene, wrap lights around cardboard, store foam flat and dry, and keep hooks, sandbags, and small parts together for next year.