
22 Halloween Wall Decor Ideas That Transform Any Room
Walls are the most underused surface in Halloween decorating. Most people crowd pumpkins onto the mantel while vast stretches of blank wall do nothing for the season — yet walls deliver the biggest visual payoff per dollar of any surface. A few well-chosen pieces, hung with intention, can make an entire room feel haunted.
The difference between styled and cluttered comes down to rules, not budget: scale art to the furniture, space frames consistently, light for after-dark impact, and hang everything damage-free. These 22 ideas cover gallery walls, tapestries, decals, lighting tricks, and renter-friendly methods for every room.
Looking for more inspiration? Our Nest Decorz homepage gathers the latest home decor ideas, seasonal decorating guides and room-by-room styling tips in one place — start there and explore.
Quick Answers
– The 57-inch rule: center the whole arrangement (not each frame) at 57 inches from the floor — average eye level. – Gallery-wall spacing: keep 2–3 inch gaps between frames and size the display to roughly two-thirds of the furniture width below it. – Renters, relax: adhesive strips, museum putty, and washi tape handle most Halloween wall decor with zero damage. – Light it after dark: a picture light or uplight turns daytime decor into a genuinely eerie nighttime scene.
1. How Do You Build a Halloween Gallery Wall Without Damaging Your Paint?
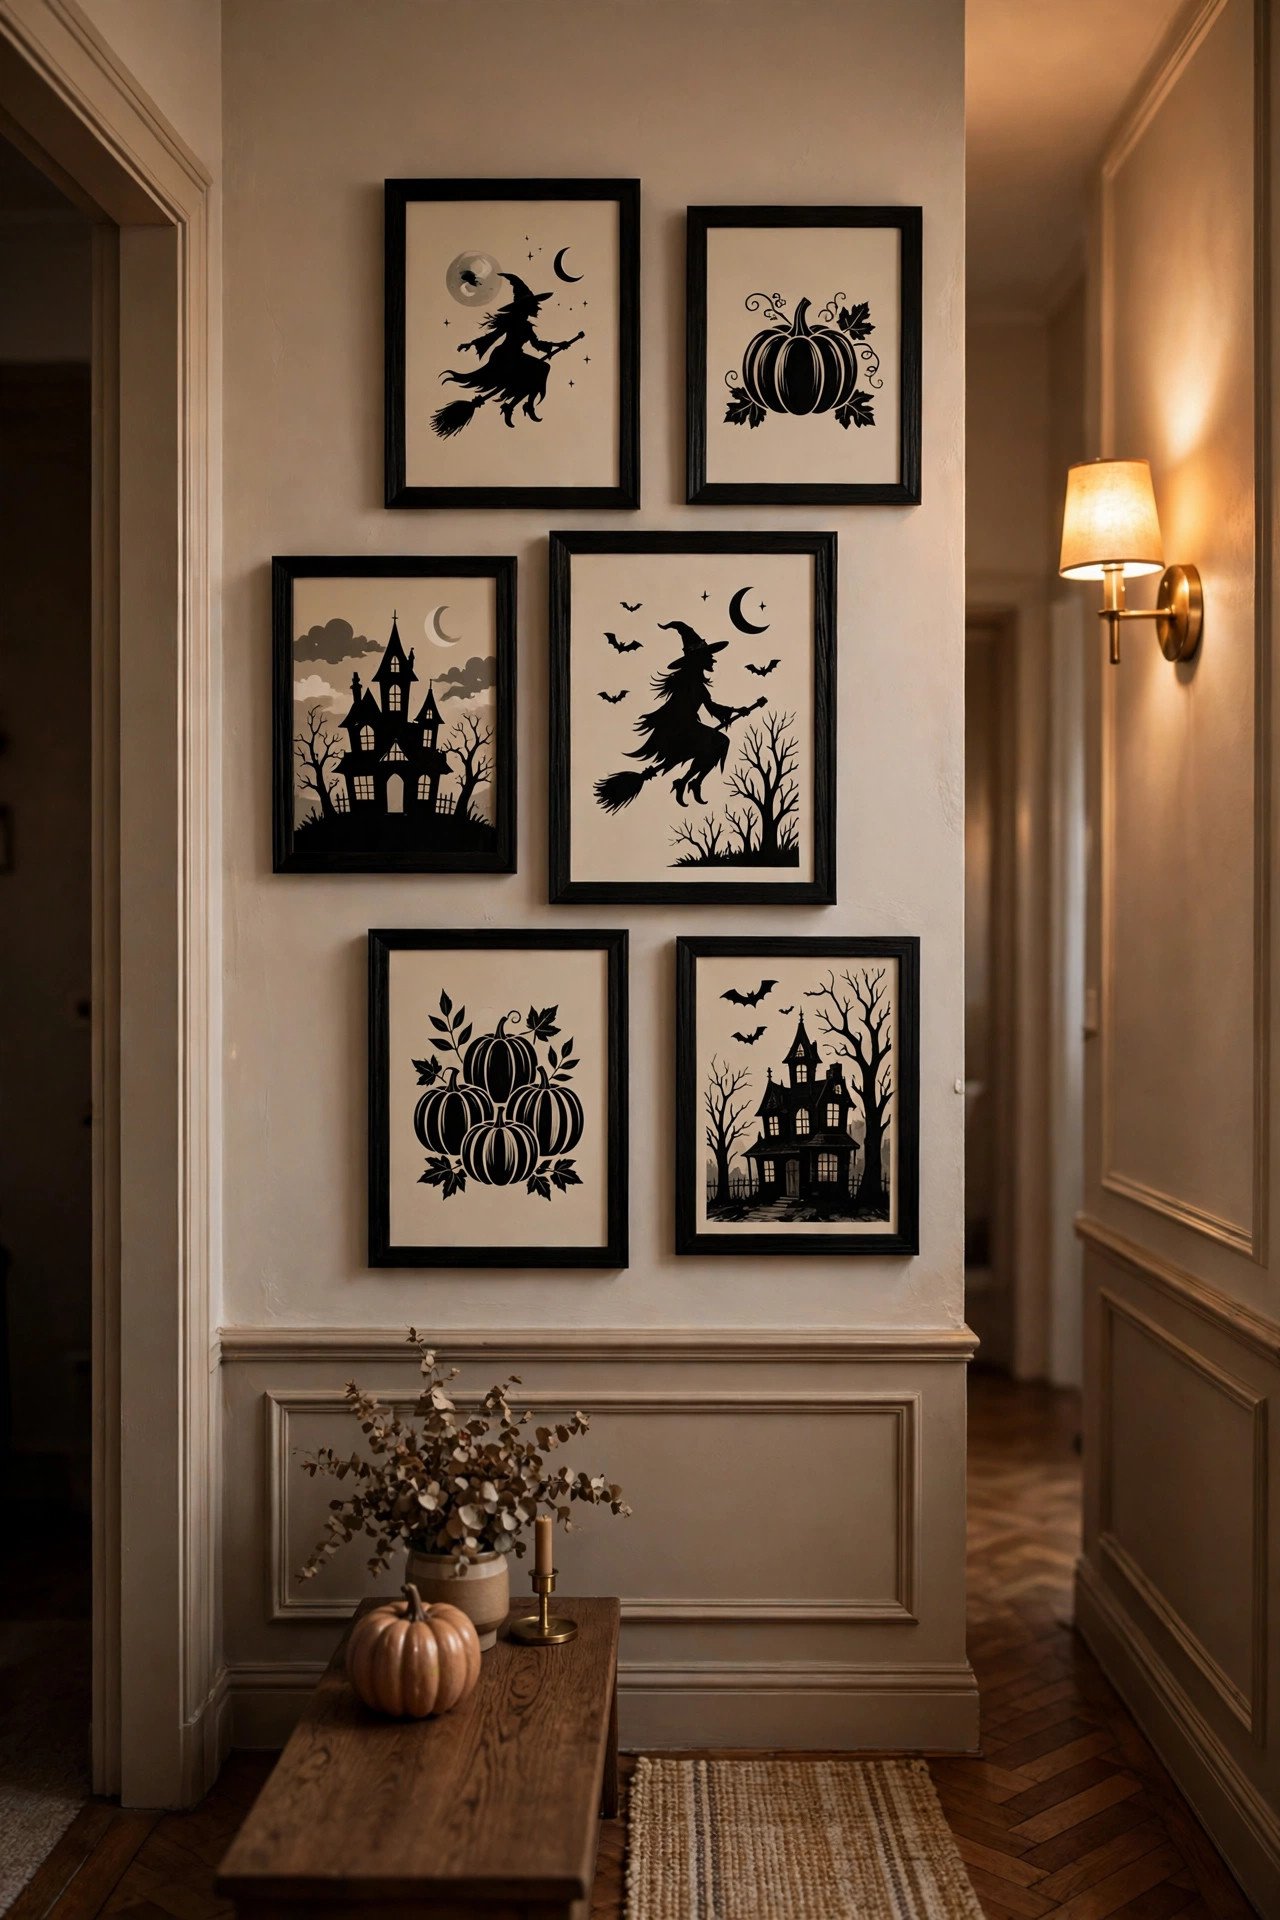
Build it with hardware matched to each piece's weight — adhesive strips for framed prints under 7 pounds, museum putty for unframed paper art, washi tape for the lightest pieces — and plan the layout with templates on the floor first. Center the arrangement at 57 inches with 2–3 inch gaps between frames, and it reads as one curated composition.
Gather five to nine frames in mixed sizes; thrifted frames spray-painted matte black unify everything instantly. Rank hanging methods by wall type: adhesive strips grip painted drywall best, museum putty suits plaster and glass, nano-tape dots handle tile or metal. Photograph your floor layout, transfer it with painter's-tape outlines, and hang each piece once. Above a sofa, switch the reference: leave 6–8 inches between the furniture top and the lowest frame instead of chasing 57 inches.
2. What Makes Removable Halloween Wall Decals Look High-End Instead of Cheap?
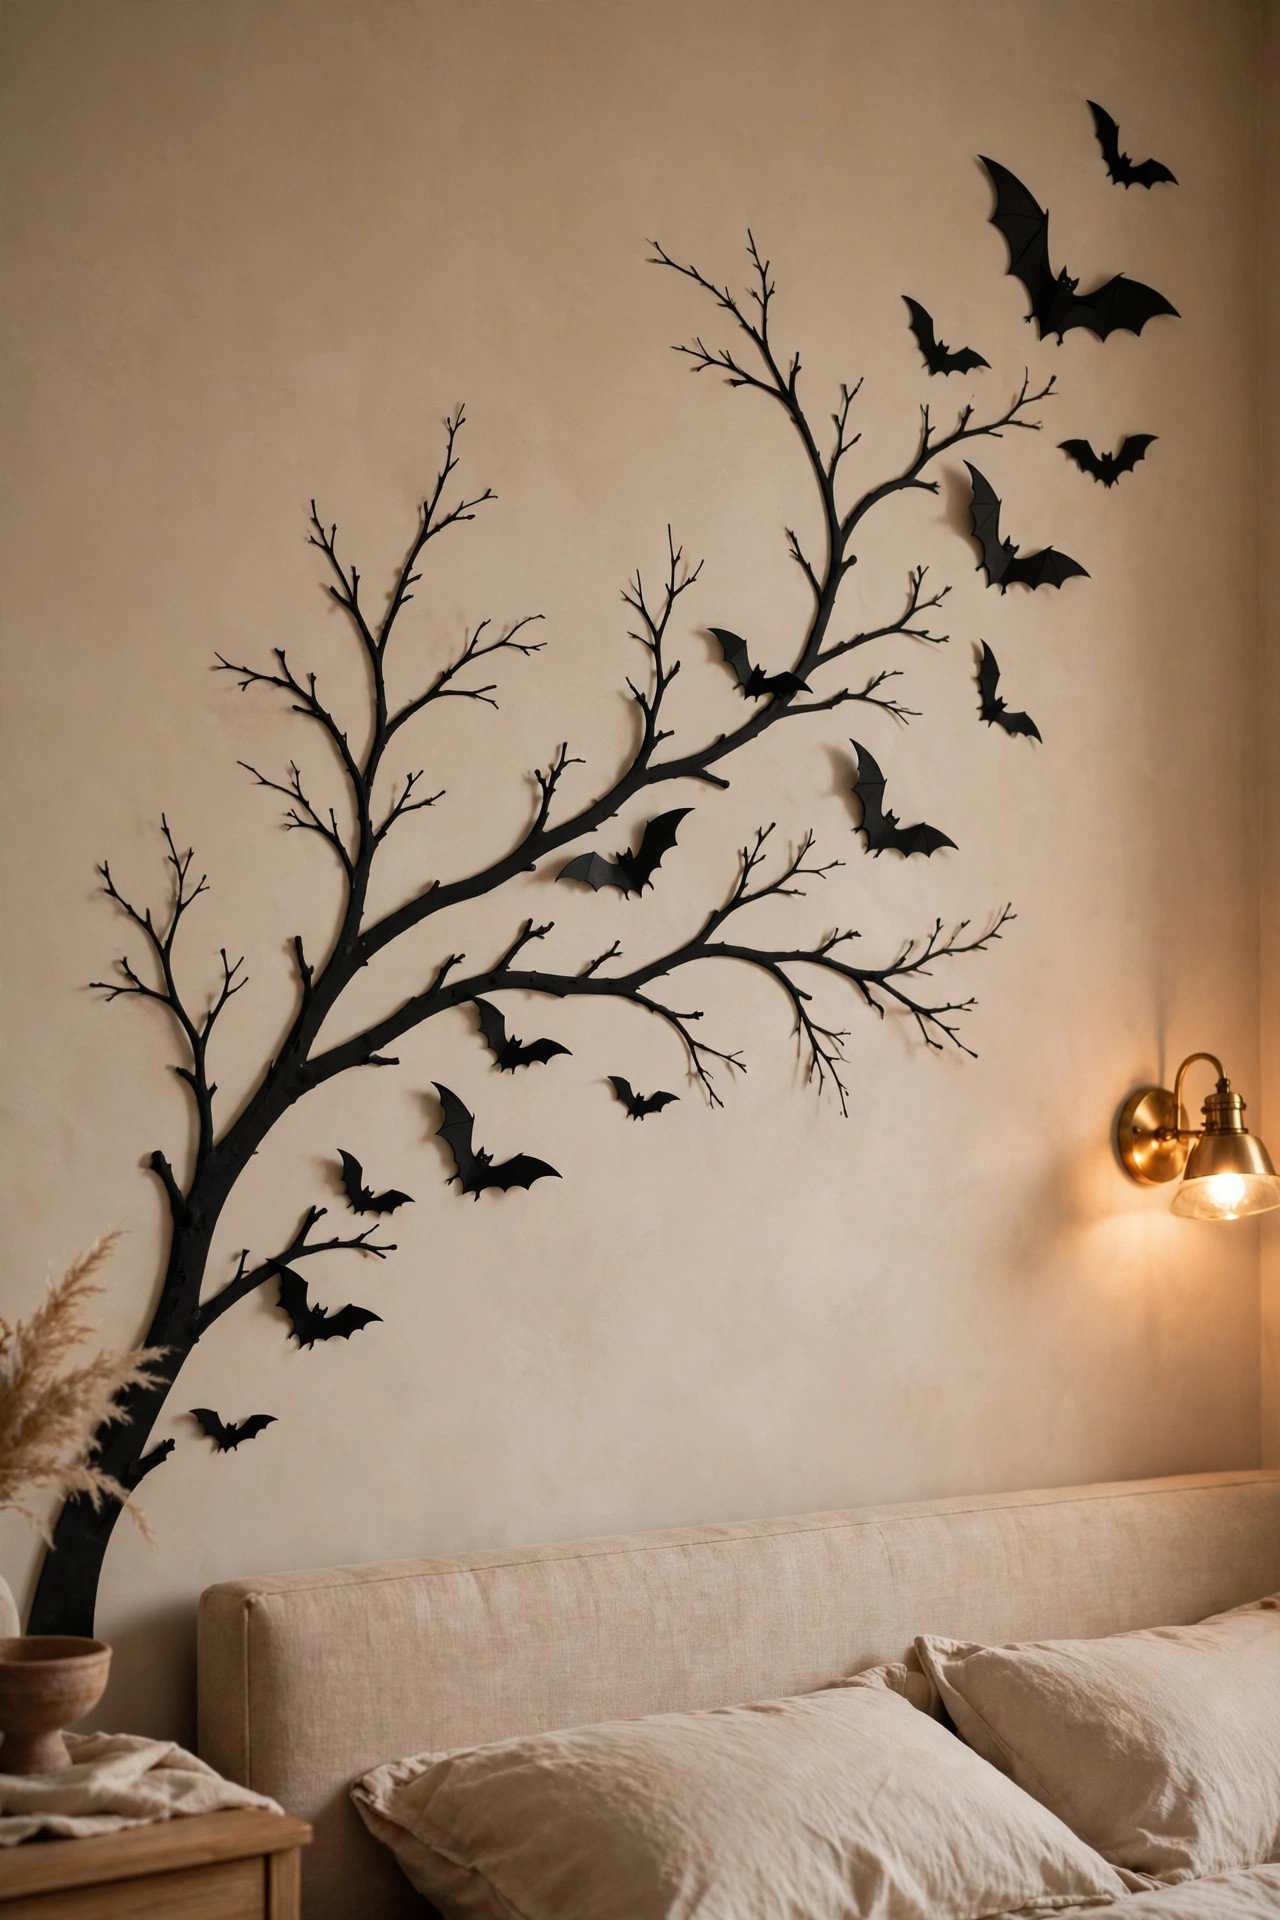
Decals look high-end with matte finishes, one motif per wall, and deliberate negative space. Matte black bats or bare branches in a sweeping asymmetric pattern read as intentional art; glossy, cluttered, multi-theme decals read as stickers. Restraint, material finish, and spacing make the difference — the details thin roundups never mention.
Apply to clean, fully cured paint and smooth from the center outward with a credit card to banish bubbles. Plan the flight path: start dense near a corner and scatter upward, varying sizes and tilting each bat differently for a mid-flight feel. Skip decals on textured walls — they curl. Warm the vinyl with a hair dryer during application so it conforms better, and peel slowly at a 180-degree angle for residue-free removal.
3. How Can a Tapestry Turn a Bare Wall Into a Haunted Focal Point?
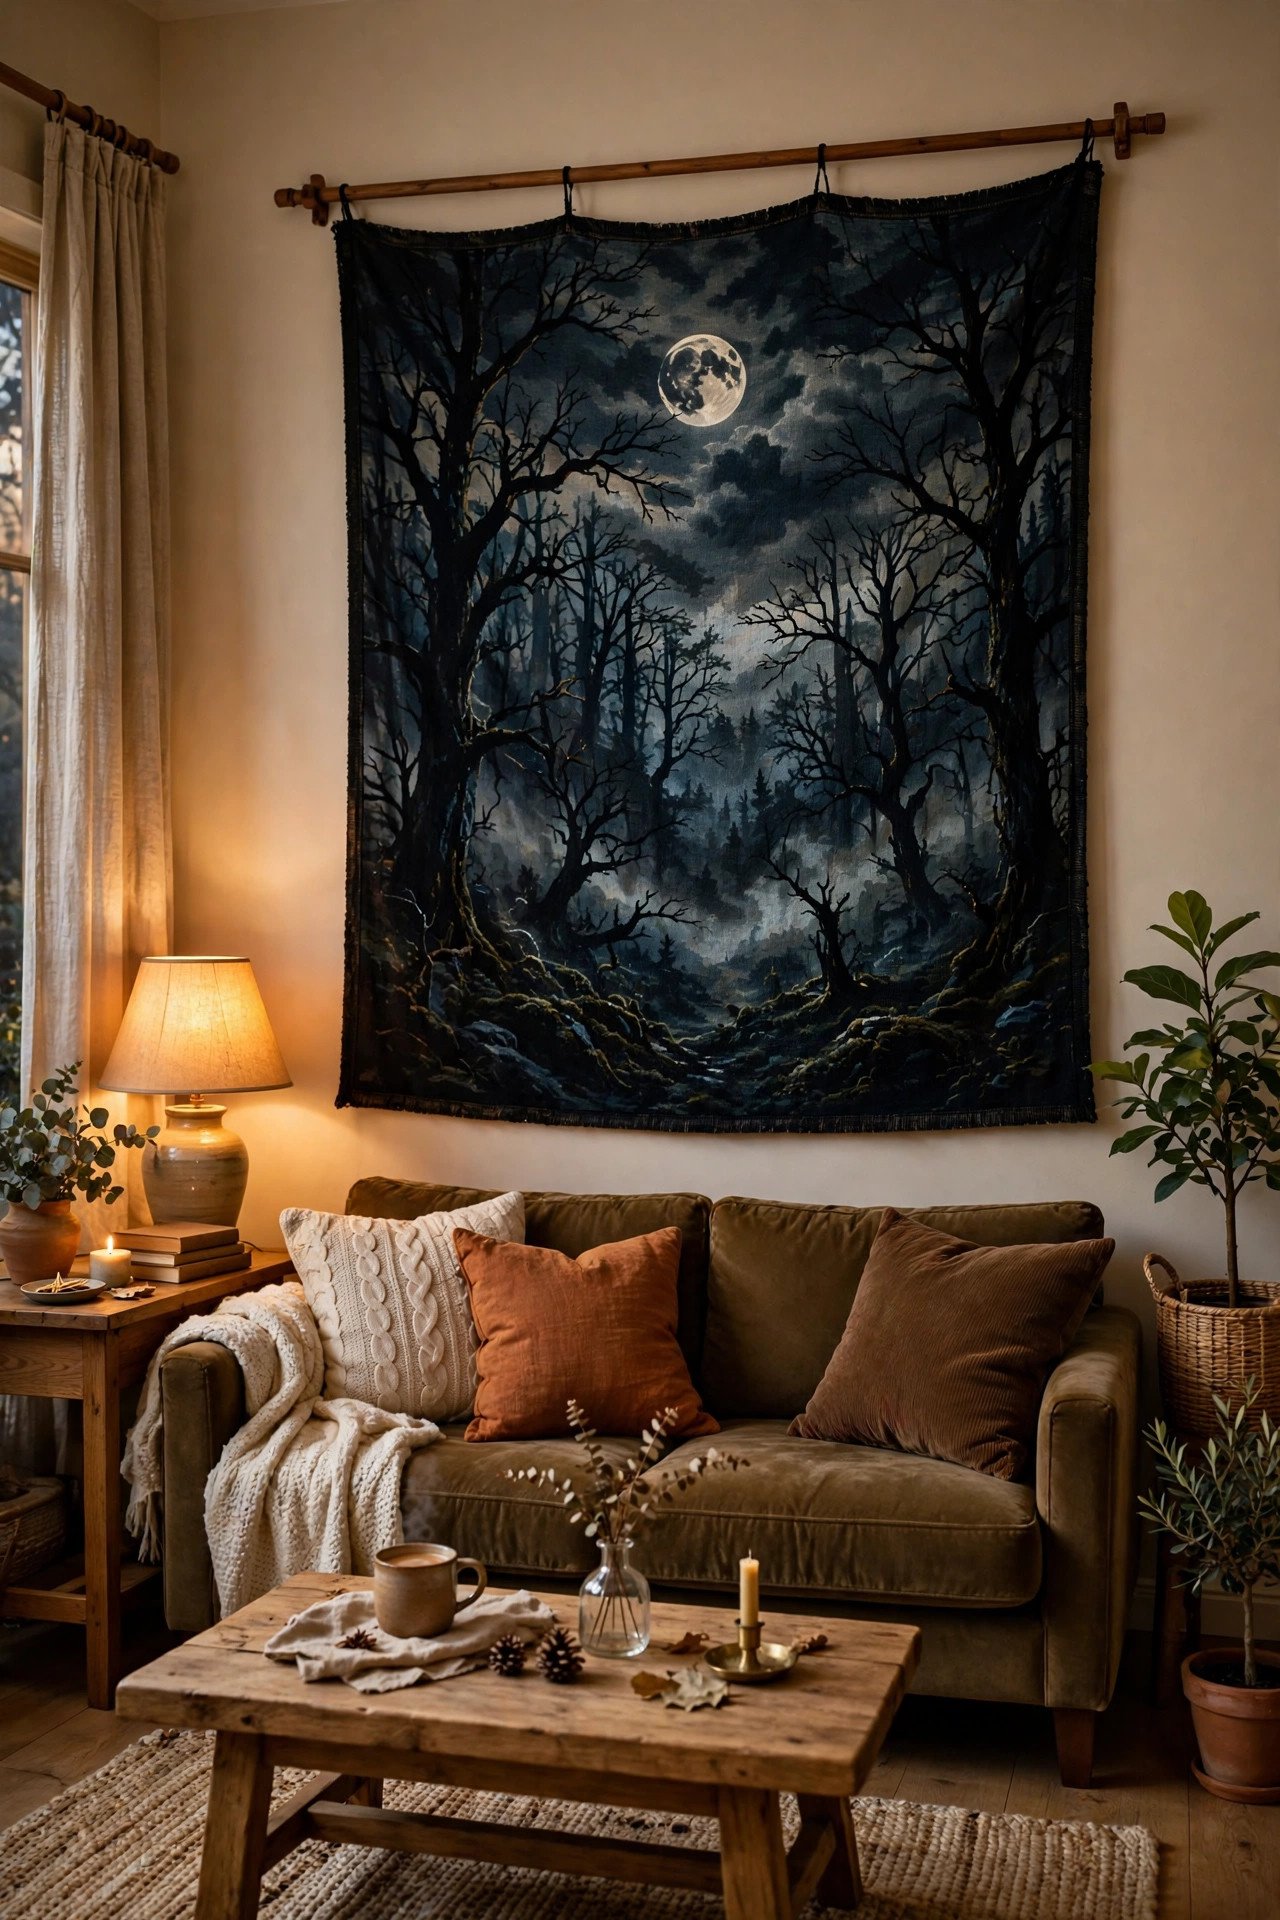
A tapestry covers massive square footage in one move — a 60-by-80-inch piece fills the space of a dozen frames — and fabric texture keeps the scene from feeling flat. Choose moonlit forests, vintage anatomical prints, or black damask, hang it on a wooden dowel, and you have an instant haunted focal point that folds into a drawer in November.
Size it to roughly two-thirds of the furniture beneath it and center at eye level. Sandwich the top edge between thin wood strips with binder clips or sew a rod pocket so it hangs straight — no dorm-room thumbtacks. Layer it behind a console topped with candlesticks and dried branches for depth no single frame can match. It's the lowest-storage, lowest-cost statement piece on this list.
4. How Do You Hang a Wreath on a Wall Instead of a Door for Maximum Effect?
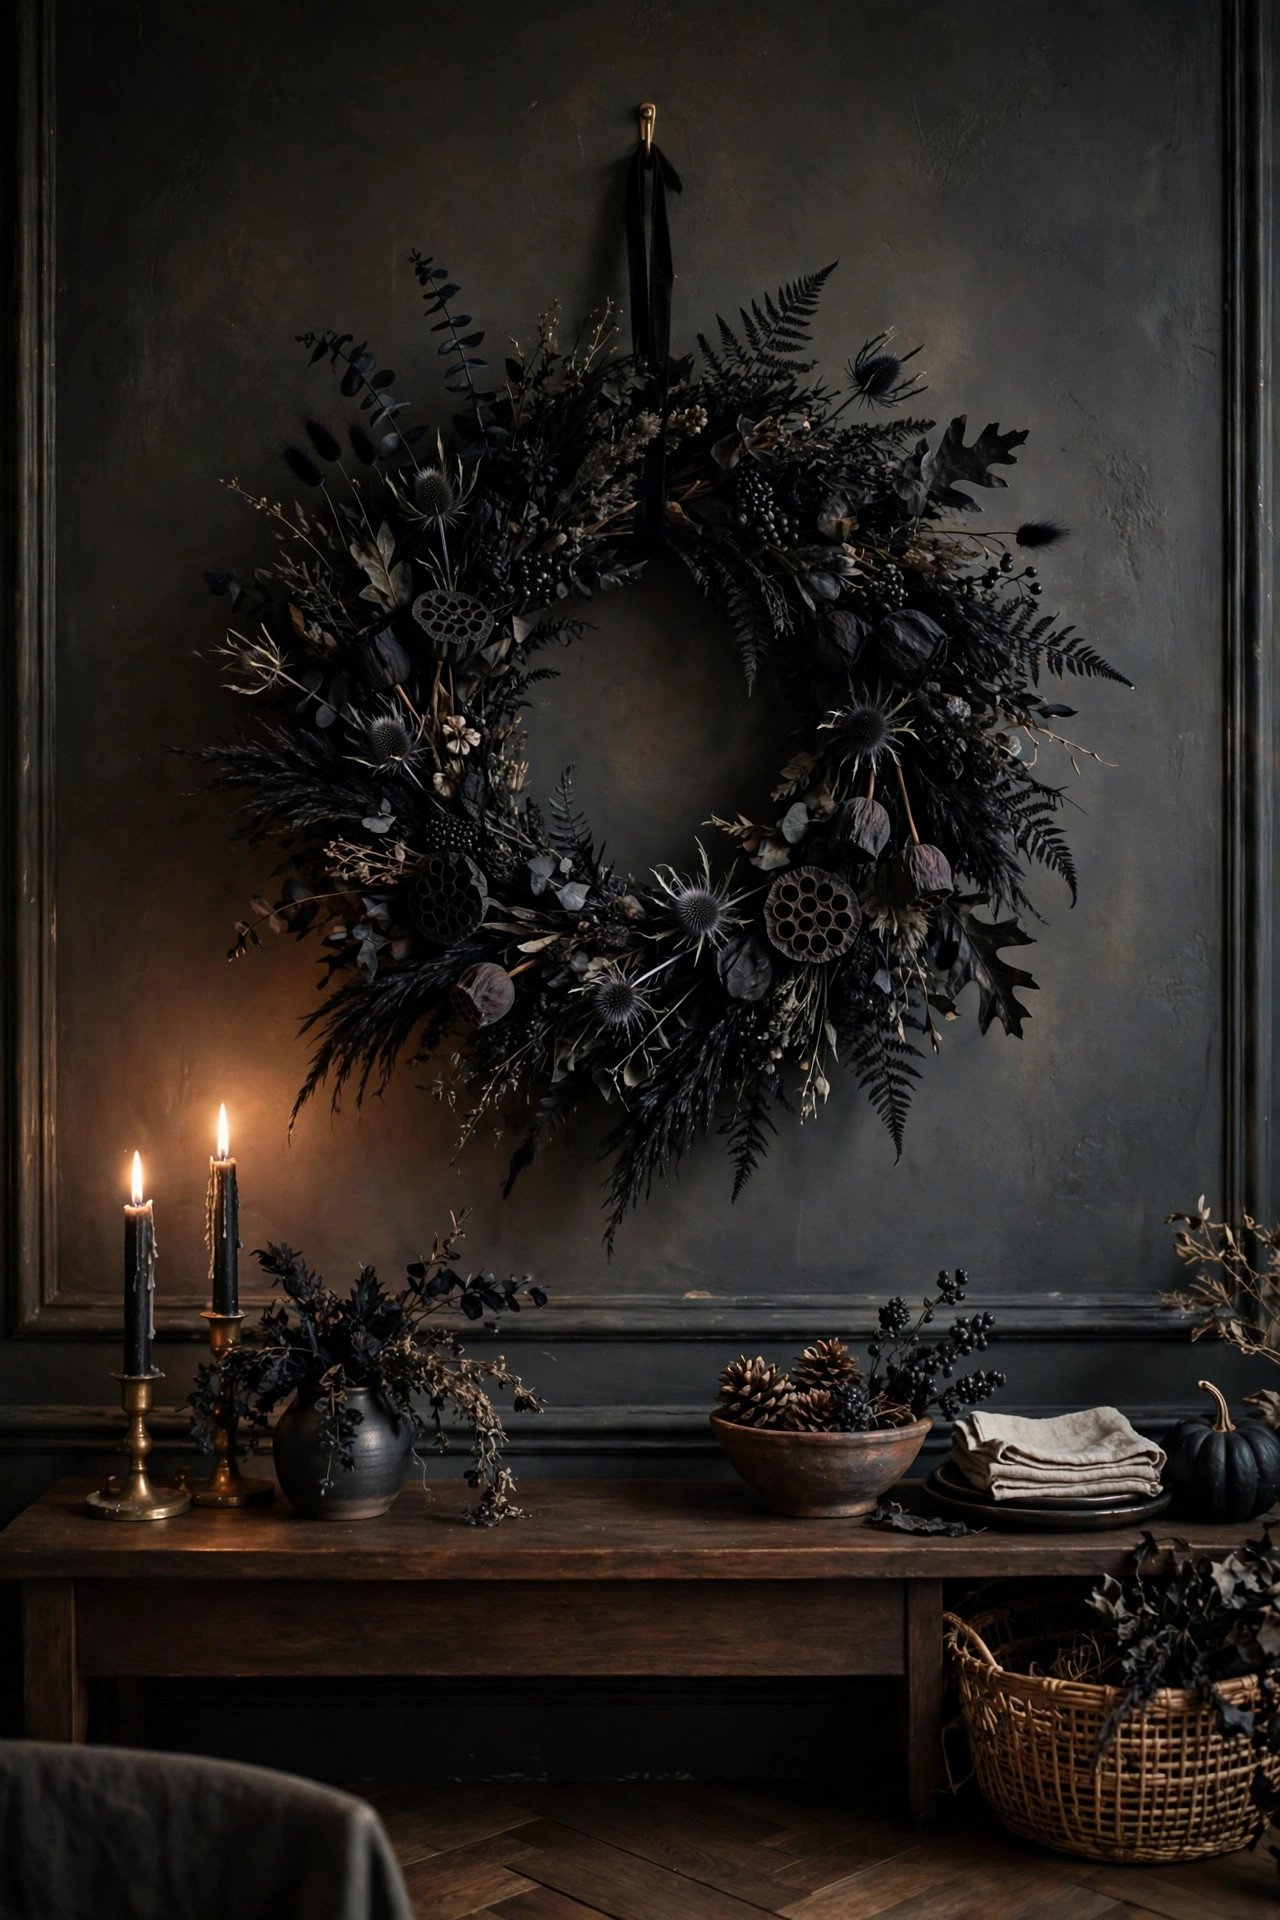
Treat the wreath as art: center it at eye level on a wide blank expanse, give it breathing room, and contrast its palette against the wall — dark materials silhouette best on light walls, pale dried elements on dark ones. Indoors, a wreath stops reading as a door greeting and starts reading as sculpture.
One adhesive hook rated above the wreath's weight holds most grapevine designs — no nails needed. Scale matters: 24 inches suits hallways, but above a sofa or console go 30 inches or more. Build the mood with black eucalyptus, dried pampas, and matte seed pods rather than glossy orange. Hang slightly off-center over a console for an editorial feel, or flank a mirror with two matching smaller wreaths for symmetry.
5. What's the Trick to Styling Floating Shelves With Spooky Halloween Pieces?
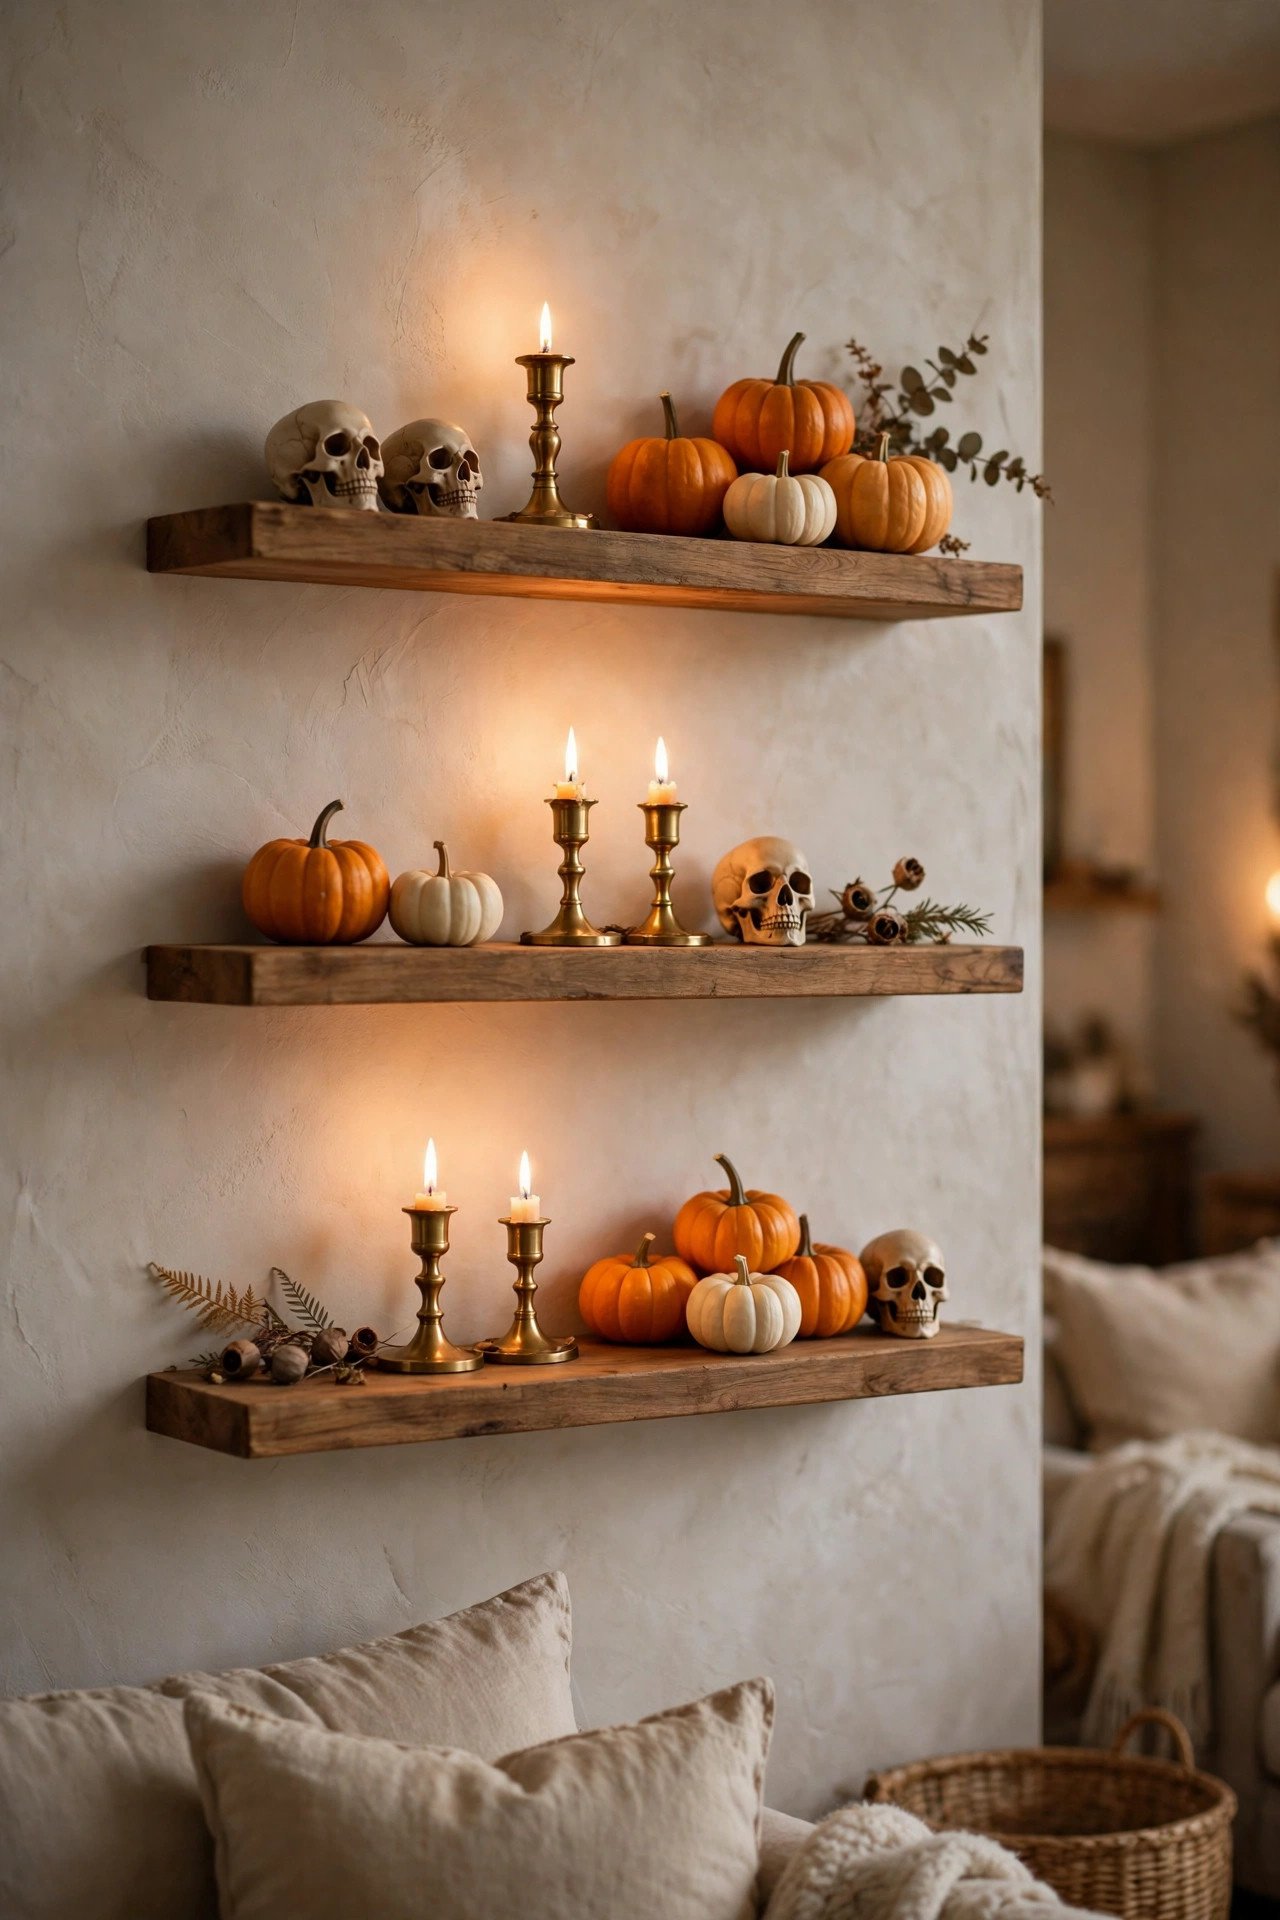
Group in threes at staggered heights, leave a third of each shelf empty, and anchor every shelf with one taller piece. Crammed shelves read as storage; the same objects with negative space read as styling. That editing discipline separates styled shelves from cluttered ones.
Build tiny vignettes: two stacked vintage books, a matte-black skull on top, a brass candlestick, a trailing dried stem for softness. Vary heights aggressively — flat rows of same-height objects look static. Mount shelves 12–18 inches apart and keep the lowest about 18 inches above furniture. Battery fairy lights woven behind objects make everything glow after dark with no visible cords.
6. How Do You Mix Halloween Pieces Into Your Existing Year-Round Art?
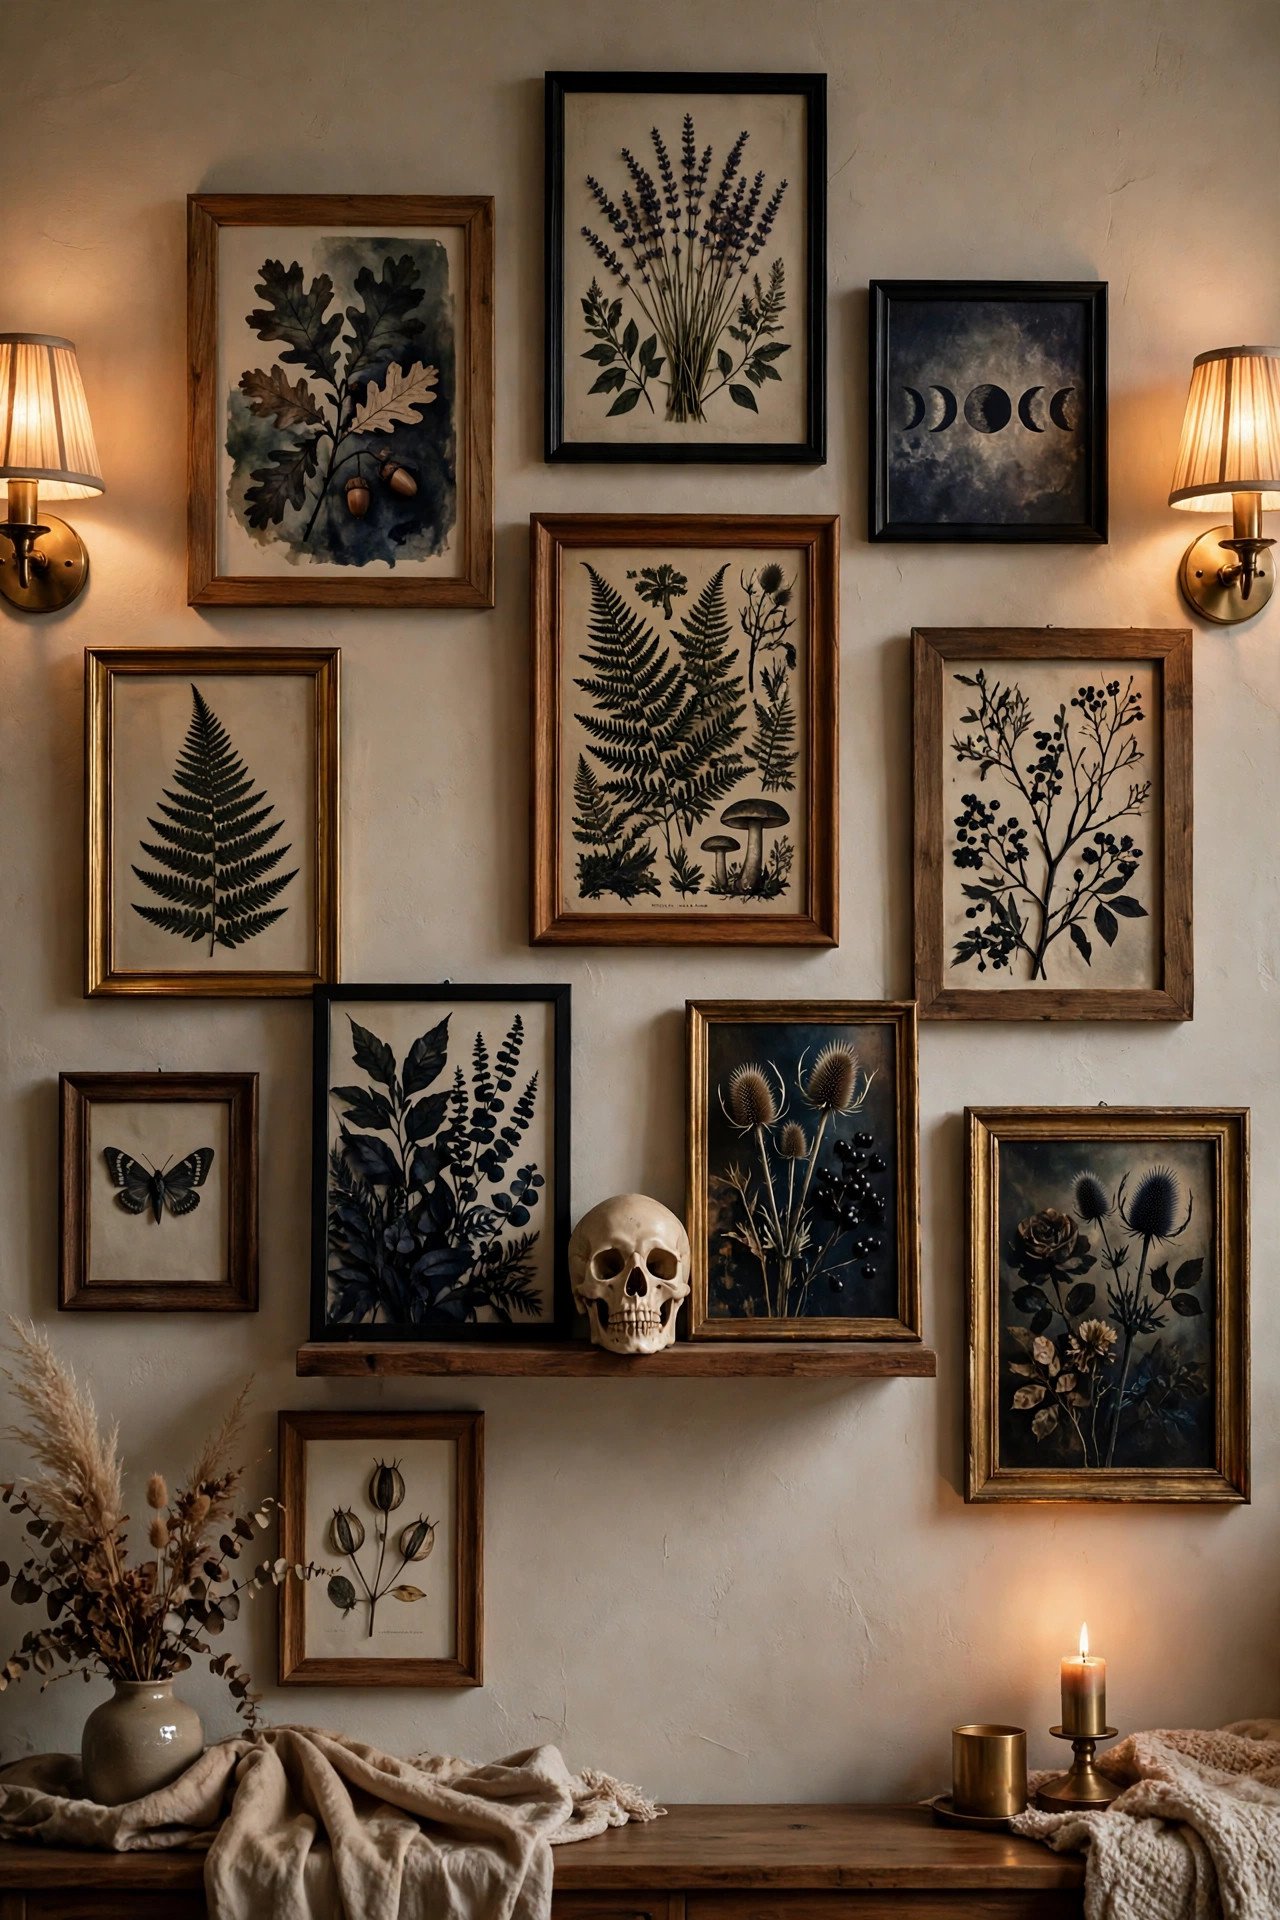
Swap just 20–30 percent of your frames for seasonal prints that share the wall's existing palette or frame style. Pull three frames from your gallery wall, replace them with dark botanicals or vintage Halloween illustrations in matching frames, and the wall transforms without losing its identity. Frame continuity does the heavy lifting.
This twenty-minute swap beats building a separate Halloween wall. Choose prints with staying power — gothic landscapes, moth illustrations, moody abstracts — and they work through November as autumn art. Keep the largest anchor untouched; changing it destabilizes the composition. Add one dimensional object, like a mini wreath on a frame corner, for texture. Photograph the original layout so January's reset takes minutes.
7. How Do You Create DIY Halloween Wall Art That Doesn't Look Crafty?
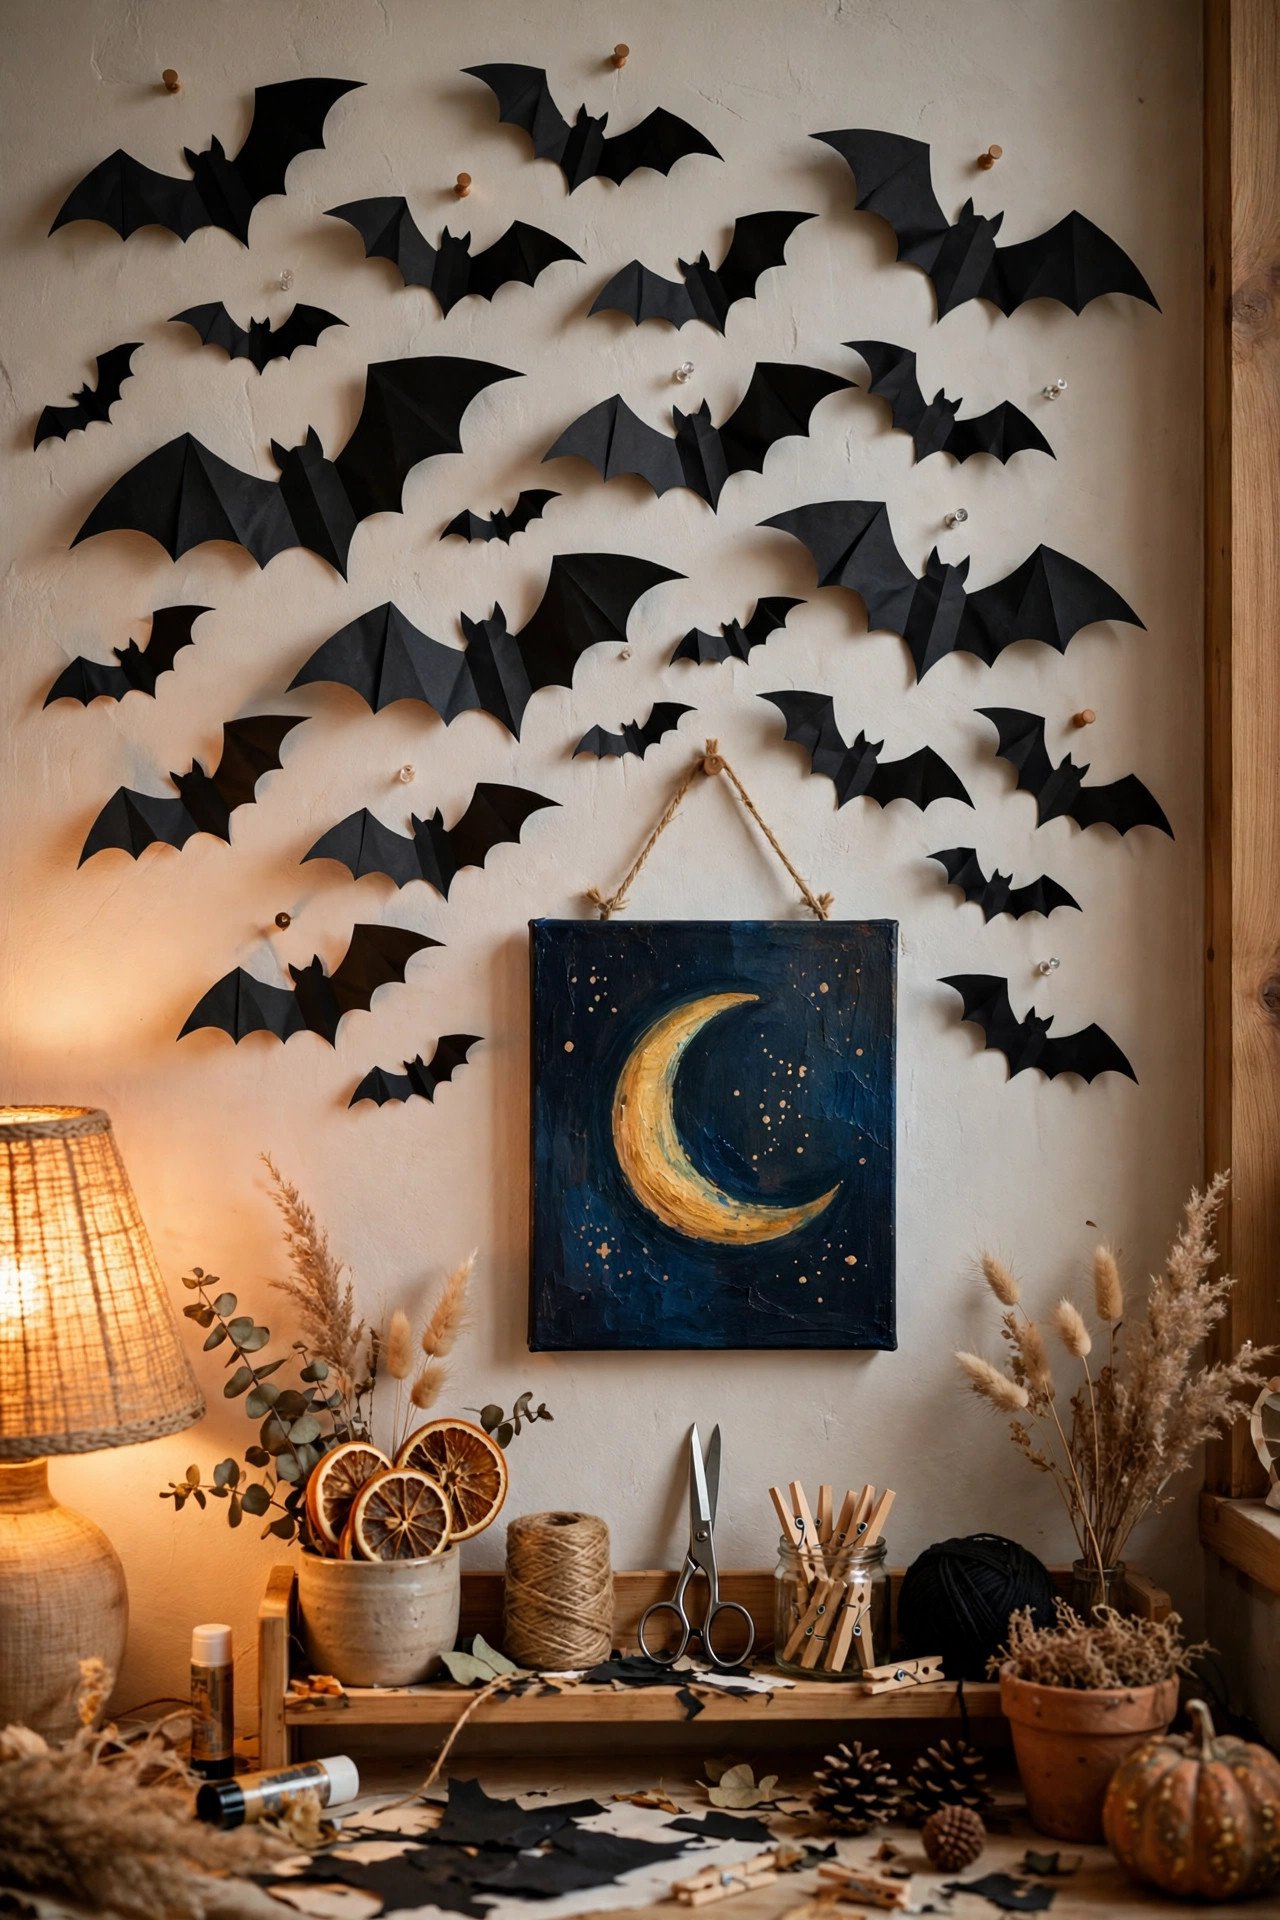
Use a restrained palette and real frames. A crescent moon in metallic gold on black canvas, dropped in a proper frame with a mat, looks like gallery art — the frame signals intention the way bare canvas never does. Work in black, white, and one metallic and nearly any technique reads sophisticated.
Print vintage Halloween illustrations from public-domain archives at a copy shop for large-format art under ten dollars. For more handmade pieces that punch above their price, adapt these 22 DIY Halloween decorations on a budget that look expensive to wall scale. Seal paper pieces behind glass so October humidity doesn't curl them.
8. What Size Should Halloween Wall Art Be for Maximum Impact?

Follow the two-thirds rule: art should span two-thirds to three-quarters of the furniture width below it — a 72-inch sofa wants 48–54 inches of art. One large piece beats scattered small signs, which read as clutter from across the room. Small art floating on a big wall is the most common scale mistake in seasonal decorating.
Measure first: painter's-tape rectangles reveal true scale better than online dimensions. On empty walls, aim for art covering about 60 percent of the wall's width. Oversized canvas prints are the highest-impact single purchase. With only small pieces, cluster them into one tight block treated as a single artwork. Center at 57 inches on open walls, or 6–10 inches above furniture.
9. How Do You Light Your Halloween Wall Decor for After-Dark Drama?
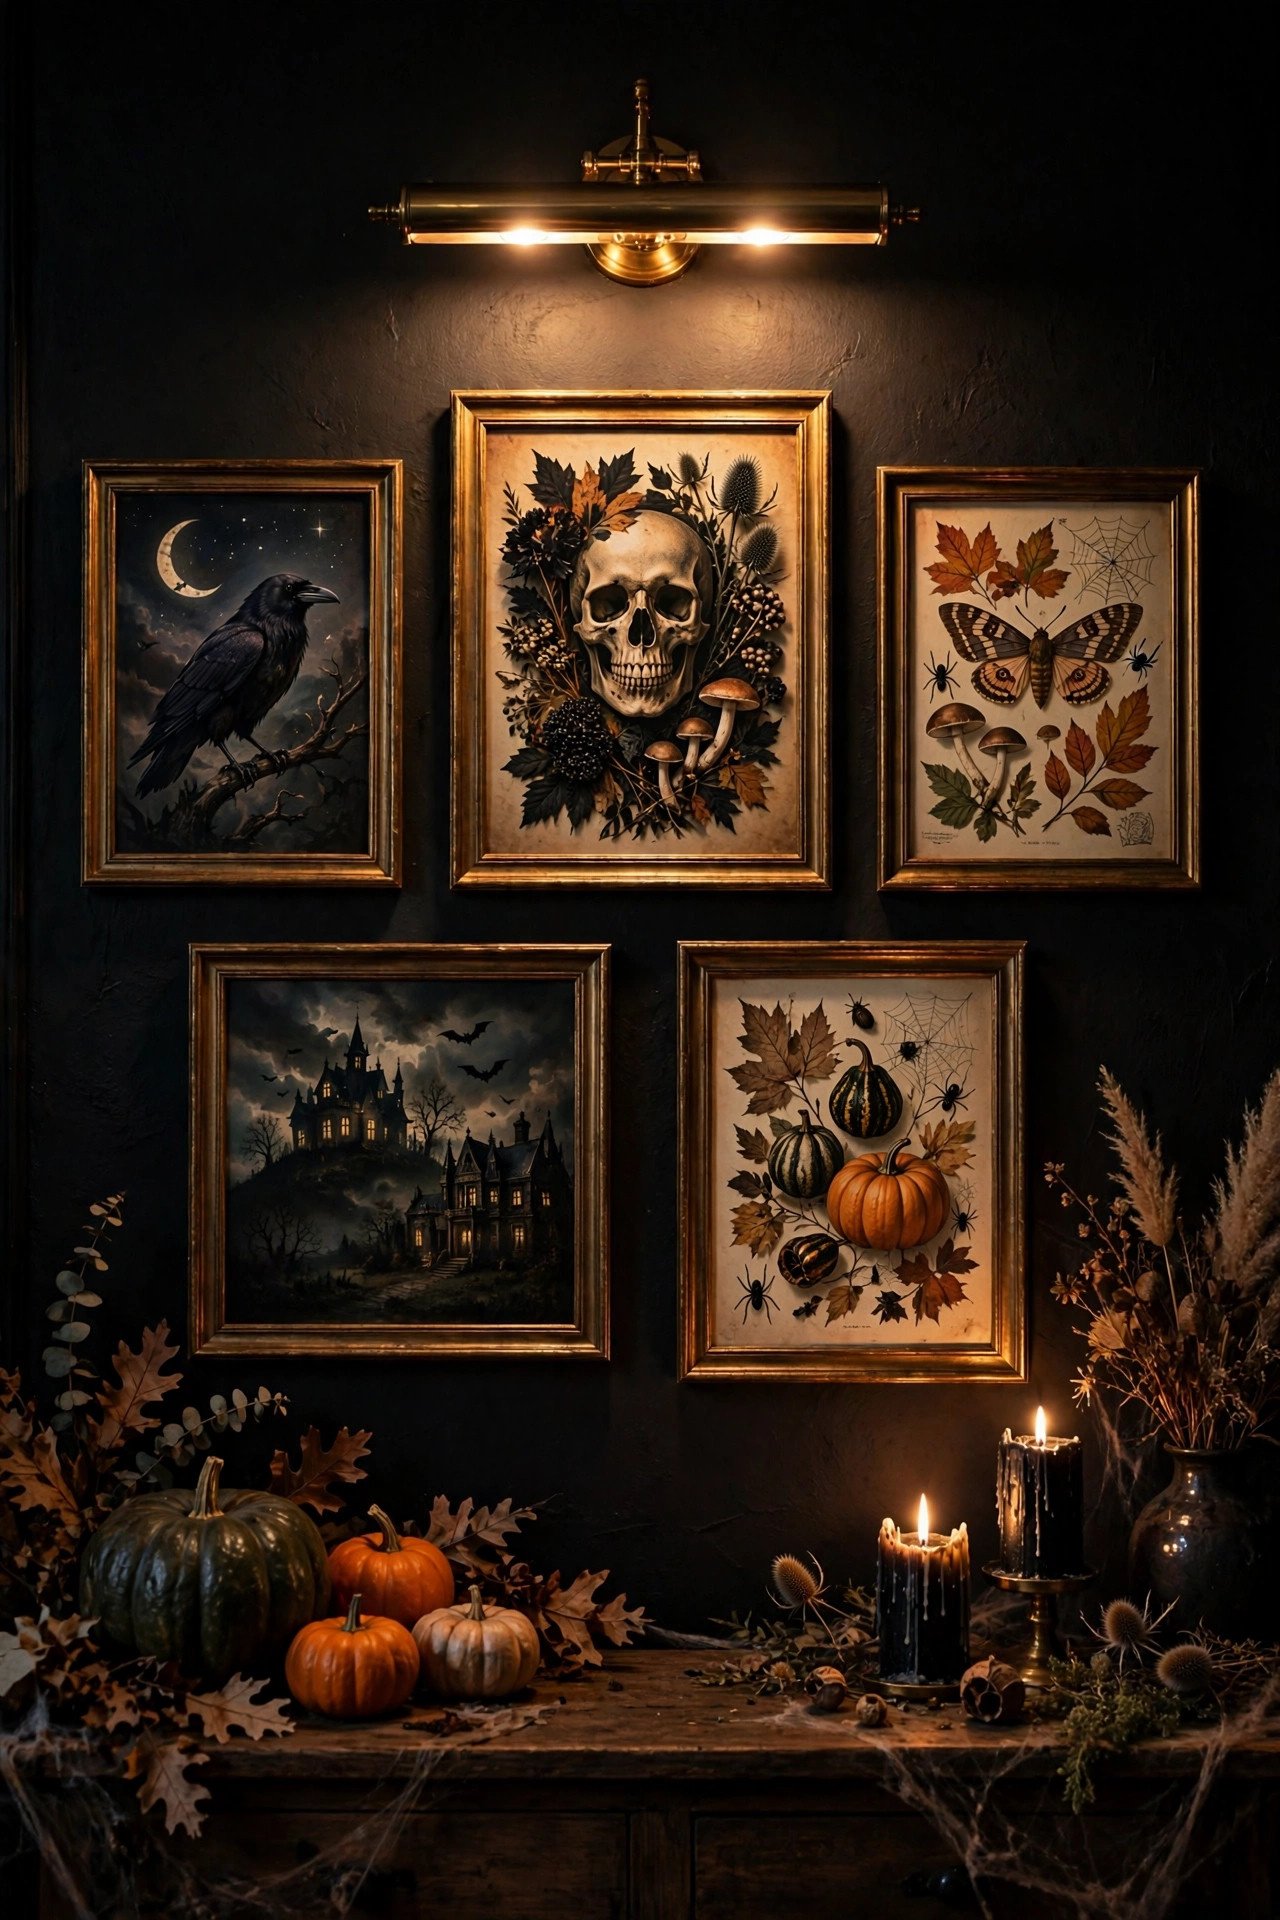
Use dedicated art lighting — a battery picture light above the piece or a warm uplight below it. Directional light creates long shadows and warm pools that overheads flatten out, and swapping to 2700K warm bulbs turns your daytime gallery wall into a genuinely eerie nighttime scene with zero new decorations.
Slim rechargeable LED picture lights mount with adhesive and wash art in museum-like glow. Cheaper trick: a puck light on the console beneath the art grazes light upward across wreaths and cheesecloth, exaggerating texture dramatically. Orange smart bulbs on a sunset schedule shift the whole room's mood automatically. Light from below feels spookiest — it mimics campfire light. Avoid aiming lights at glossy decals; matte finishes glow far better.
10. How Do Bats and Silhouettes Transform a Plain Wall?
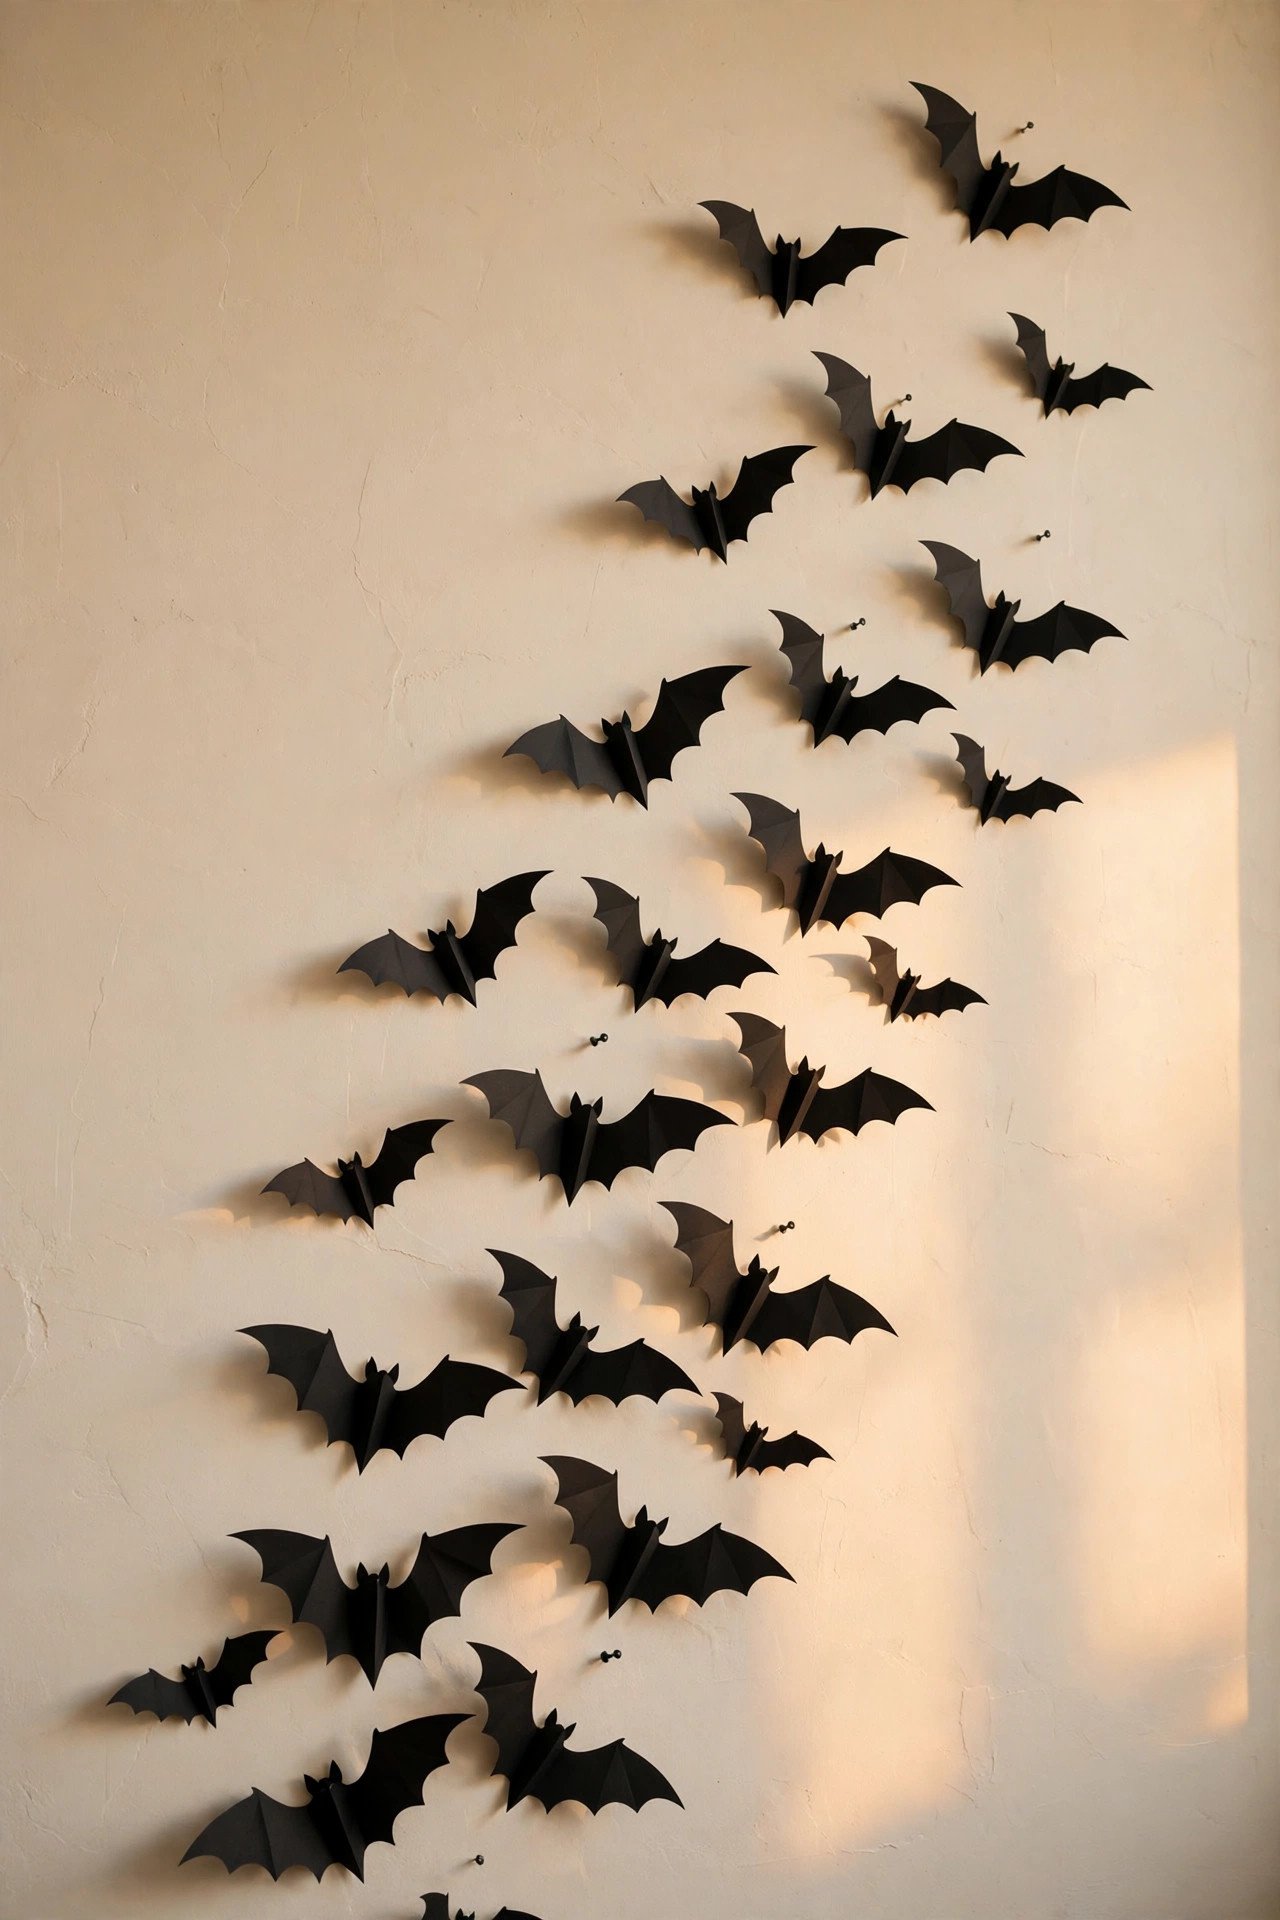
Through implied motion: a swarm of 3D cutouts reads as a flock caught mid-flight, and your brain fills in the movement. That sense of motion is why a $10 pack of paper bats outperforms a $50 print on a boring wall — static art decorates, silhouettes animate. Arrange them in an upward swoop with varied sizes and tilt angles.
Buy 3D bats with folded wings; the fold catches light and casts tiny shadows. Start dense in one corner and thin out as the swarm rises. Space 4–8 inches apart in the dense zone, wider as they scatter. Museum putty or adhesive dots hold them on smooth walls and peel cleanly. Mix in a witch silhouette or crescent moon so the swarm has a destination. Black on light walls gives maximum contrast; on dark walls, switch to metallic gold.
11. How Can Mirrors Double the Spook Factor of Your Halloween Wall?

Mirrors multiply every candle flame and shadow — one lit vignette becomes two, with depth flat walls can't offer. Hang a wreath directly on a large mirror and you get the wreath plus its shimmering double; candlesticks on the console beneath reflect into a glowing row. It's the highest-atmosphere-per-dollar trick here.
Static-cling bat decals apply to glass with water and peel residue-free; a swag of faux cobweb across one corner takes thirty seconds. An ornate vintage-style mirror already reads gothic — just dim the room and let candlelight work. Angle it to catch your lit decor, not a blank ceiling. In small rooms, the mirror's space-doubling effect is pure bonus on top of the Halloween mood.
12. How Do You Style a Halloween Wall Around a Mantel?
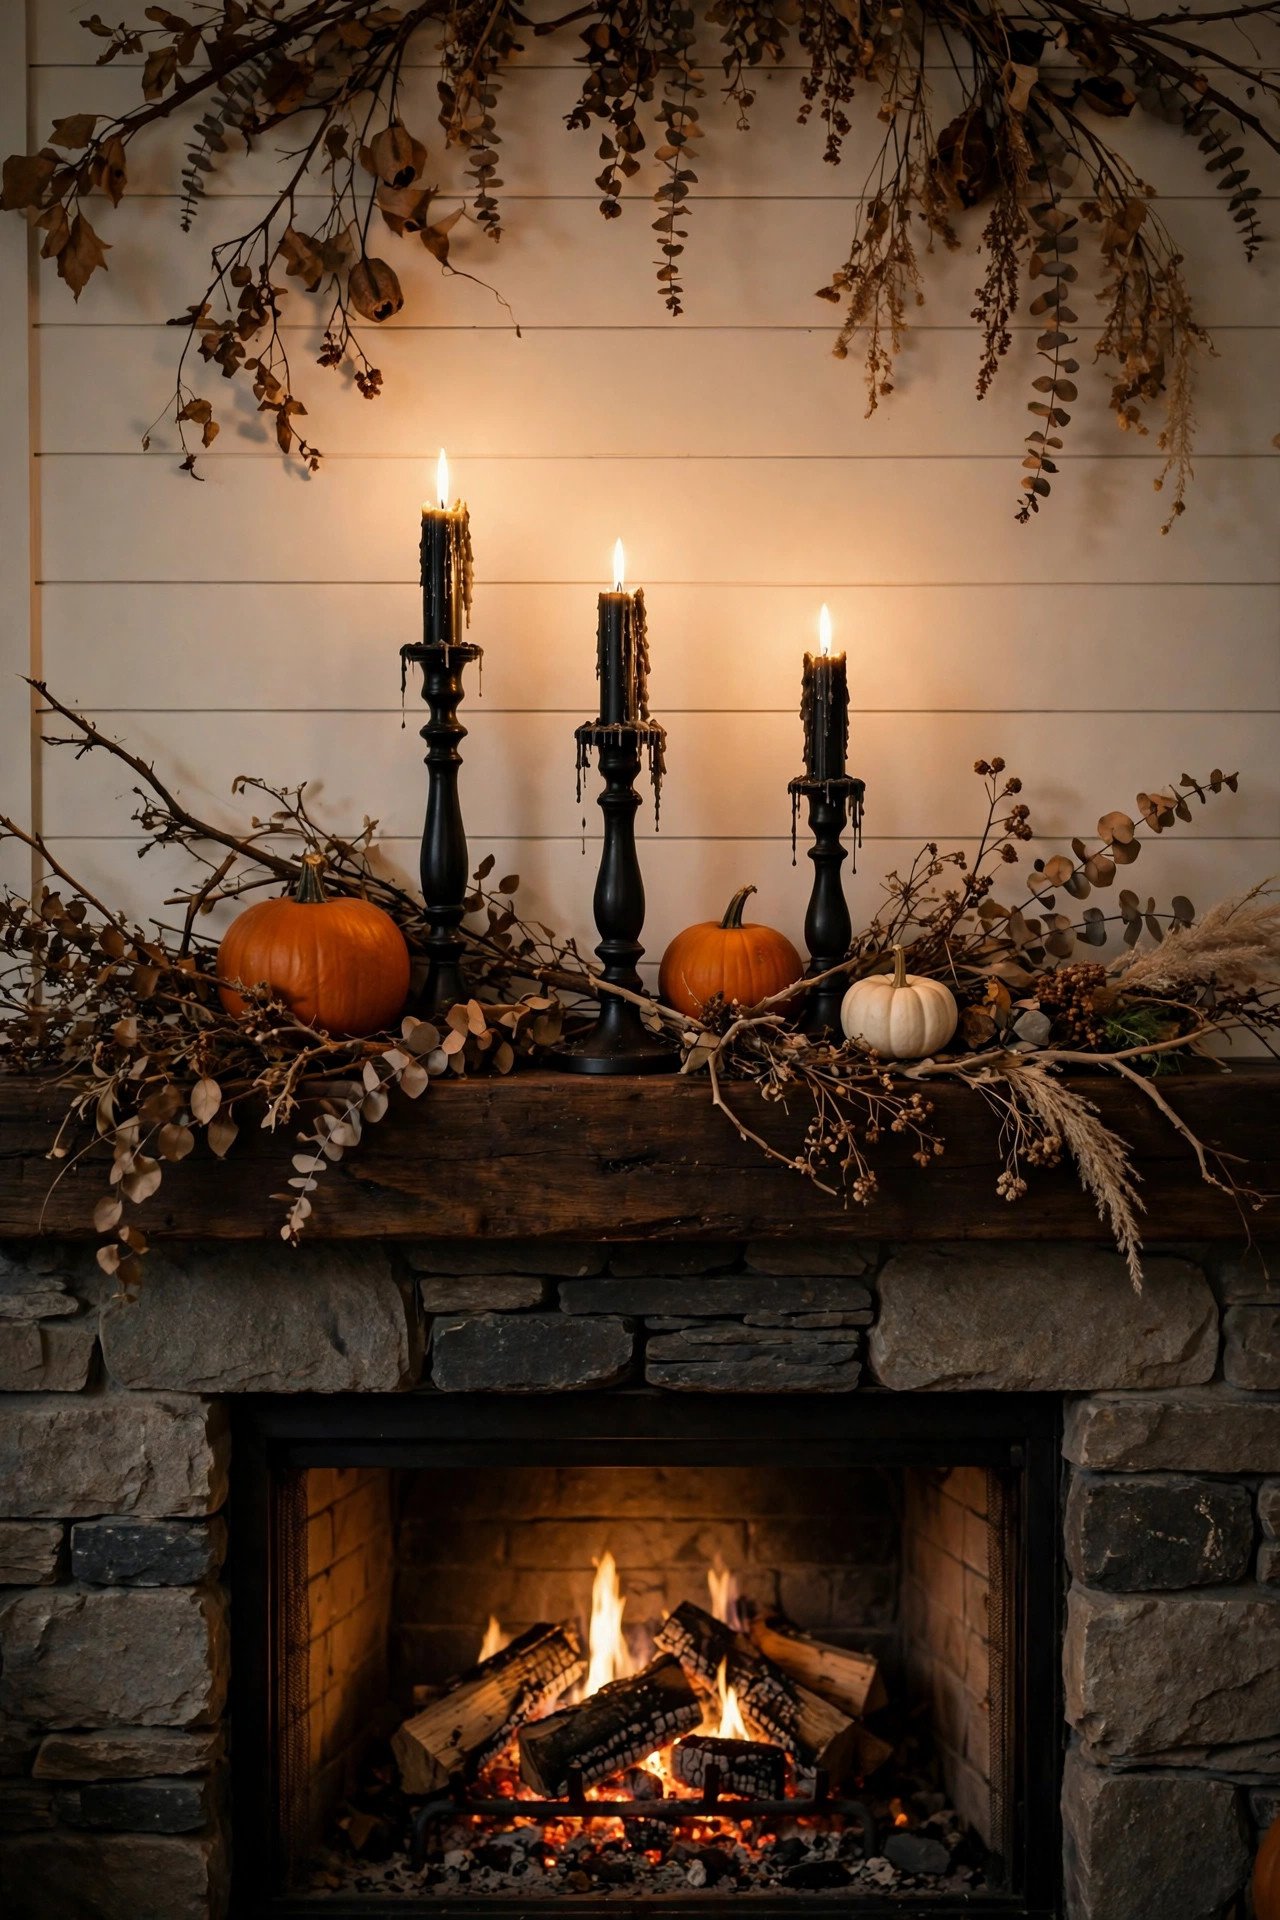
Treat the wall above the mantel as the main event and the mantel as its base: hang one large statement piece centered over it, then echo its colors in the objects below. When wall art and mantel share a palette of black, brass, and dried botanicals, the whole fireplace reads as one designed moment.
Center the art 6–10 inches above the mantel shelf — closer than standalone hanging, since the mantel anchors it. A large mirror or dark landscape is the classic choice; tall candlesticks below mirror its verticality. Drape garland along the mantel's front edge so it overlaps the frame's lower edge, connecting the two planes. For the full fireplace treatment, see these 22 Halloween mantel decor ideas for a haunted fireplace. Keep the art narrower than the mantel to avoid a top-heavy look.
13. How Do You Decorate a Staircase Wall for Halloween?
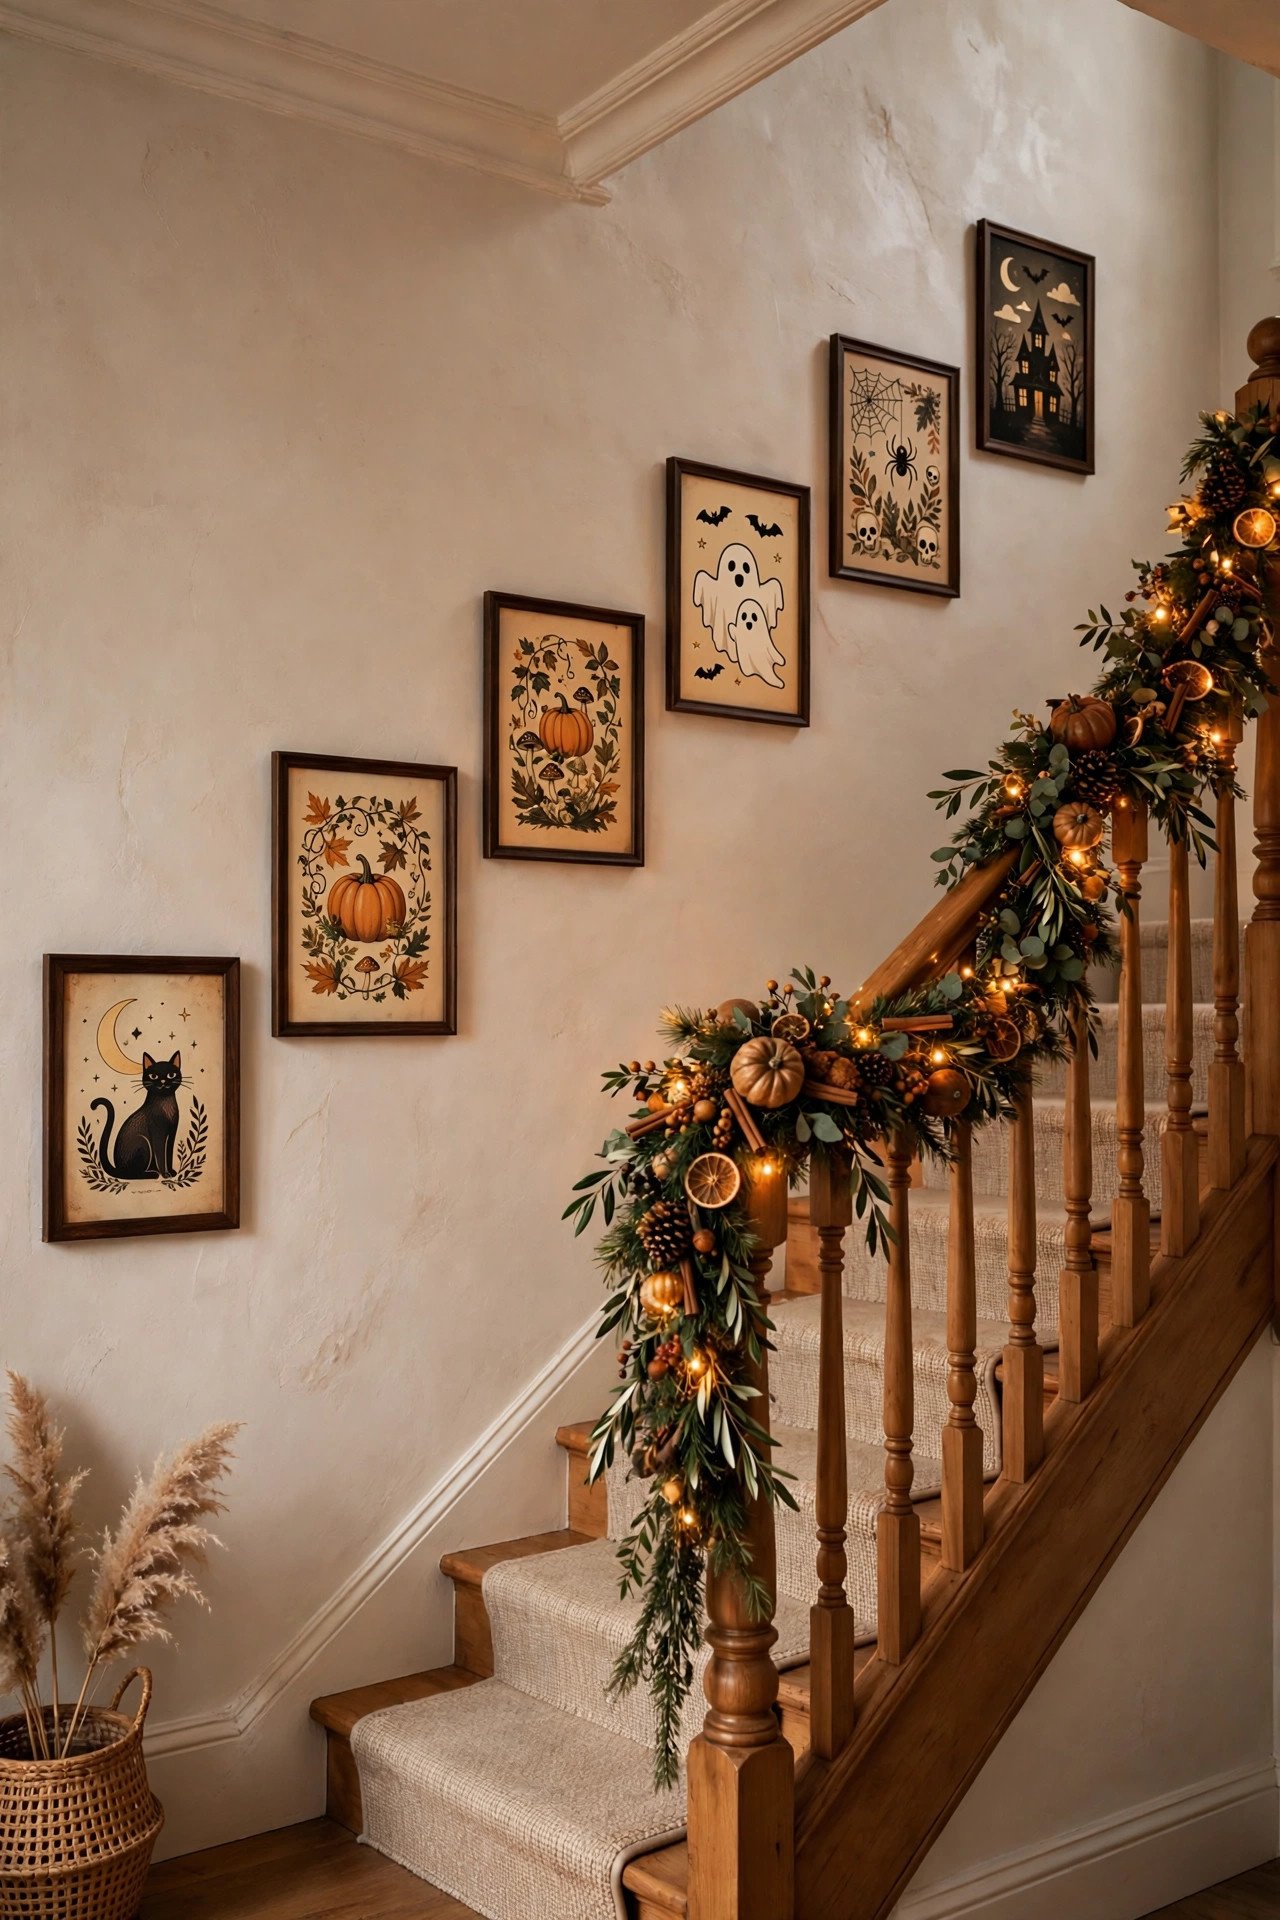
Follow the stairs' diagonal: hang framed prints ascending in a stepped pattern that mirrors the slope, each frame's center about 60 inches above its step. Art hung level on a stair wall fights the architecture; art that climbs with the stairs feels inevitable. Three to five frames in a rising sequence transform a forgotten wall.
Keep frame bottoms 8–12 inches above the stair nosing so nobody brushes them. Swag garland along the banister in loose scallops, secured with hidden zip ties, to tie wall art to staircase. Alternate art with 3D elements — a frame, a small wreath, a bat cluster — so the eye bounces upward. Battery fairy lights in the garland make the stairwell glow safely. For more stairway drama, explore these 22 Halloween staircase decor ideas that wow your guests.
14. What Works for Halloween Wall Decor in a Bedroom?

Whisper, don't shout: one dark botanical print above the bed, a small wreath on the closet door, dried branches beside the dresser. Bedrooms need calm, so seasonal texture in charcoal, cream, and dried neutrals wins. One well-chosen piece beats a wall of plastic skeletons where you sleep.
Swap bedside art rather than layering — a moonlit forest print keeps the wall balanced and restful. Warm-white string lights along the headboard add glow with zero wall damage. Avoid anything startling at face height near the bed. Black amber or cedarwood candles on the nightstand complete the mood through scent. Keep the whole scheme to our bedroom Halloween decor playbook and the room stays restful while still feeling seasonal.
15. How Do You Make a Kids' Room Wall Festive Without the Scares?
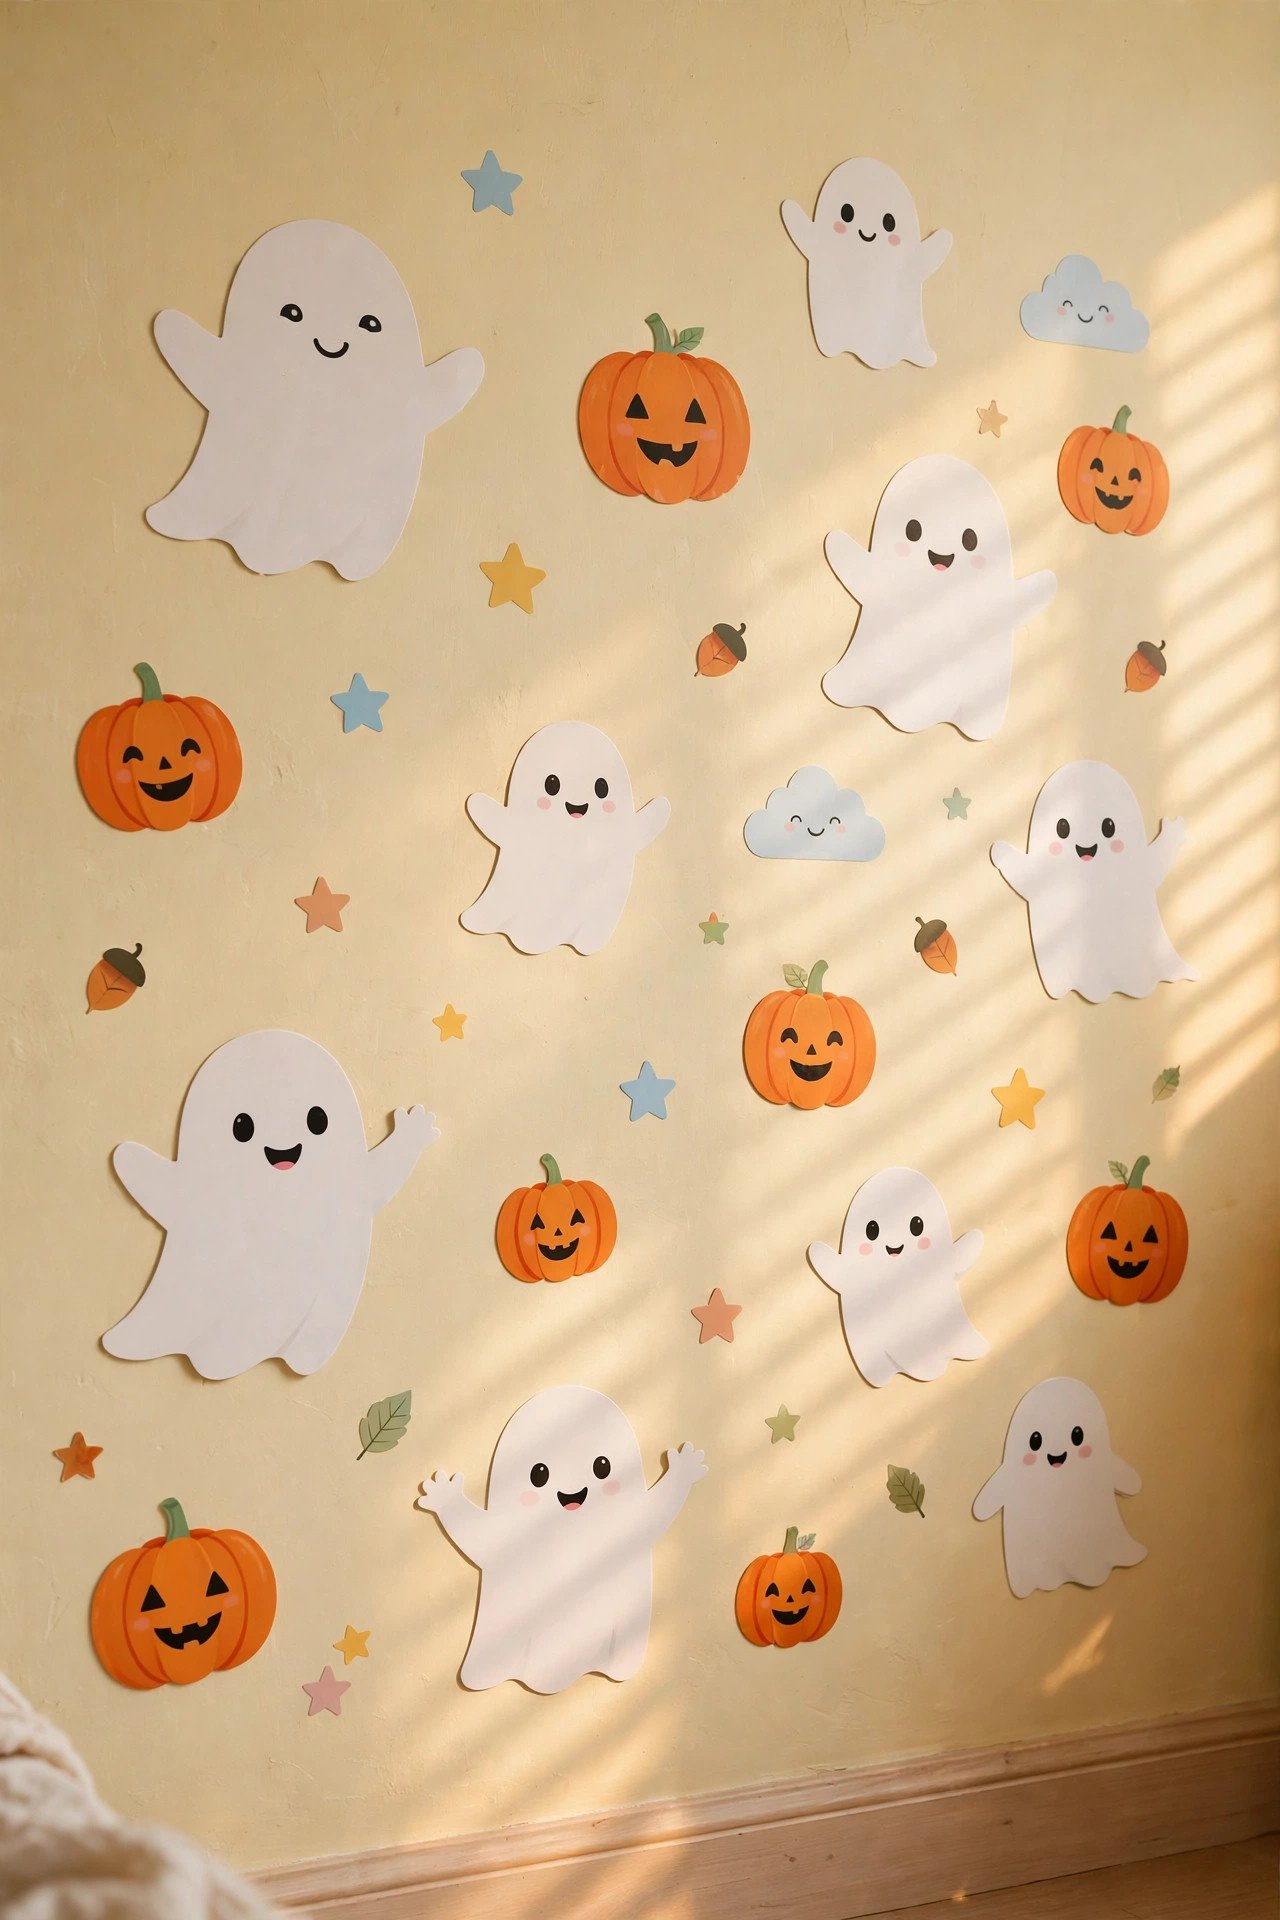
Swap the spooky palette for a playful one: smiling ghosts, grinning pumpkins, friendly monsters in orange, purple, and teal. Kids read faces first — a happy ghost delights while a realistic skull terrifies. Let them choose and place the decals themselves and the wall becomes their project.
Removable static-cling decals reposition endlessly and come off cleanly in November. Build a little story: a friendly haunted house low on the wall with bats rising toward the ceiling. Glow-in-the-dark stars over the Halloween pieces make bedtime exciting, not frightening. Keep everything at kid height, 36–48 inches. For more playful schemes, browse these 22 Halloween kids' room decor ideas.
16. How Can Garland Strung Across a Wall Replace Traditional Art?
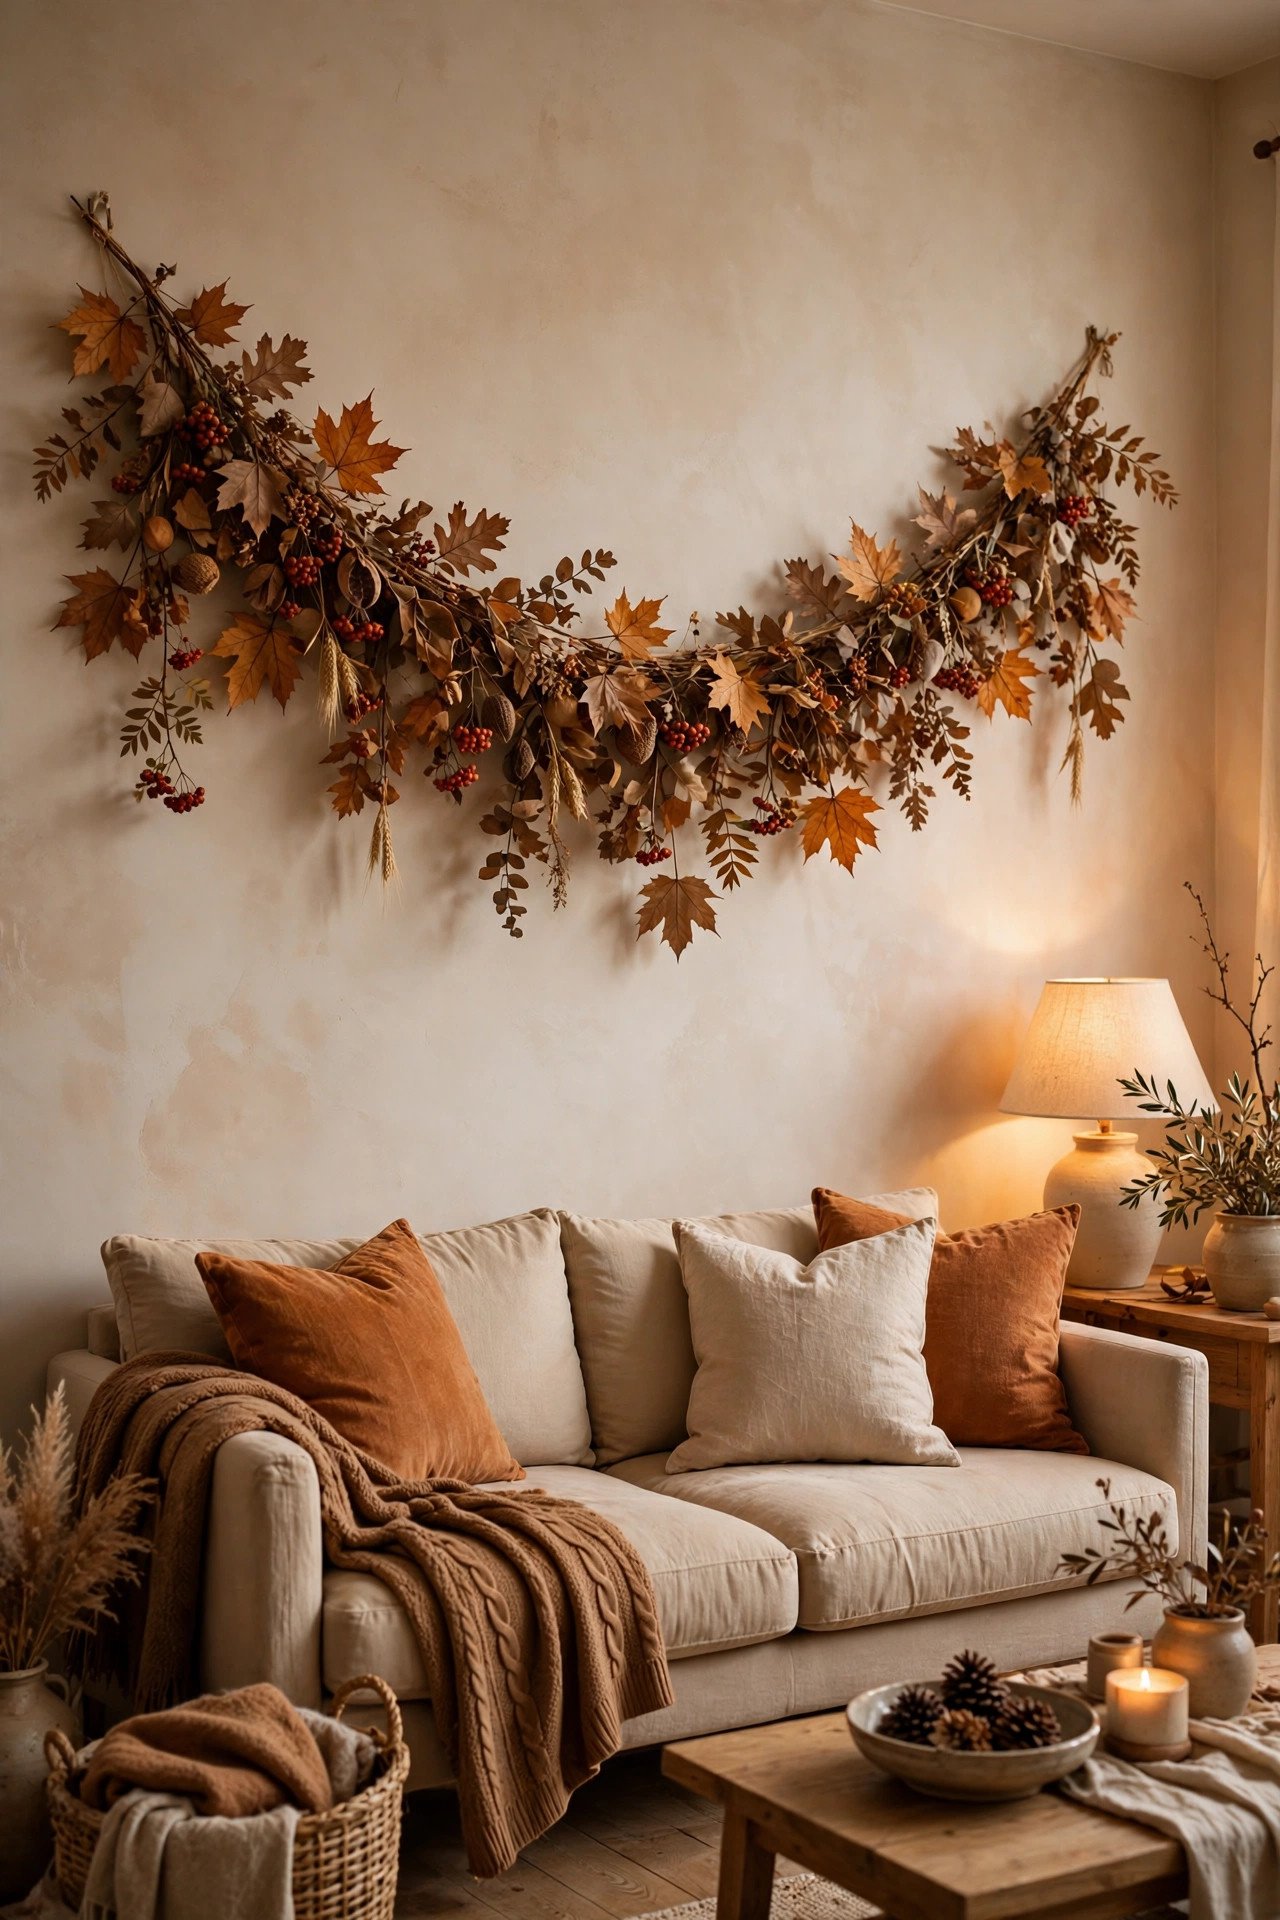
A full swag of dried leaves and berries strung at eye level does the same visual job as a row of frames — a horizontal band of color and texture — but softer and more dimensional. Two garlands and a few adhesive hooks give six feet of impact above a sofa for very little money.
Hang it in a gentle scallop, center dipping 6–12 inches below the ends — the curve makes it look styled, not strung. Layer a fuller garland with a trailing one for depth; weave in battery fairy lights for evening glow. Add one small wreath above the garland's peak as a vertical anchor. Large adhesive hooks hold surprising weight — test with garland plus lights before leaving overnight. It stores flat in a garment bag afterward.
17. How Do You Create a Gothic-Style Halloween Wall?
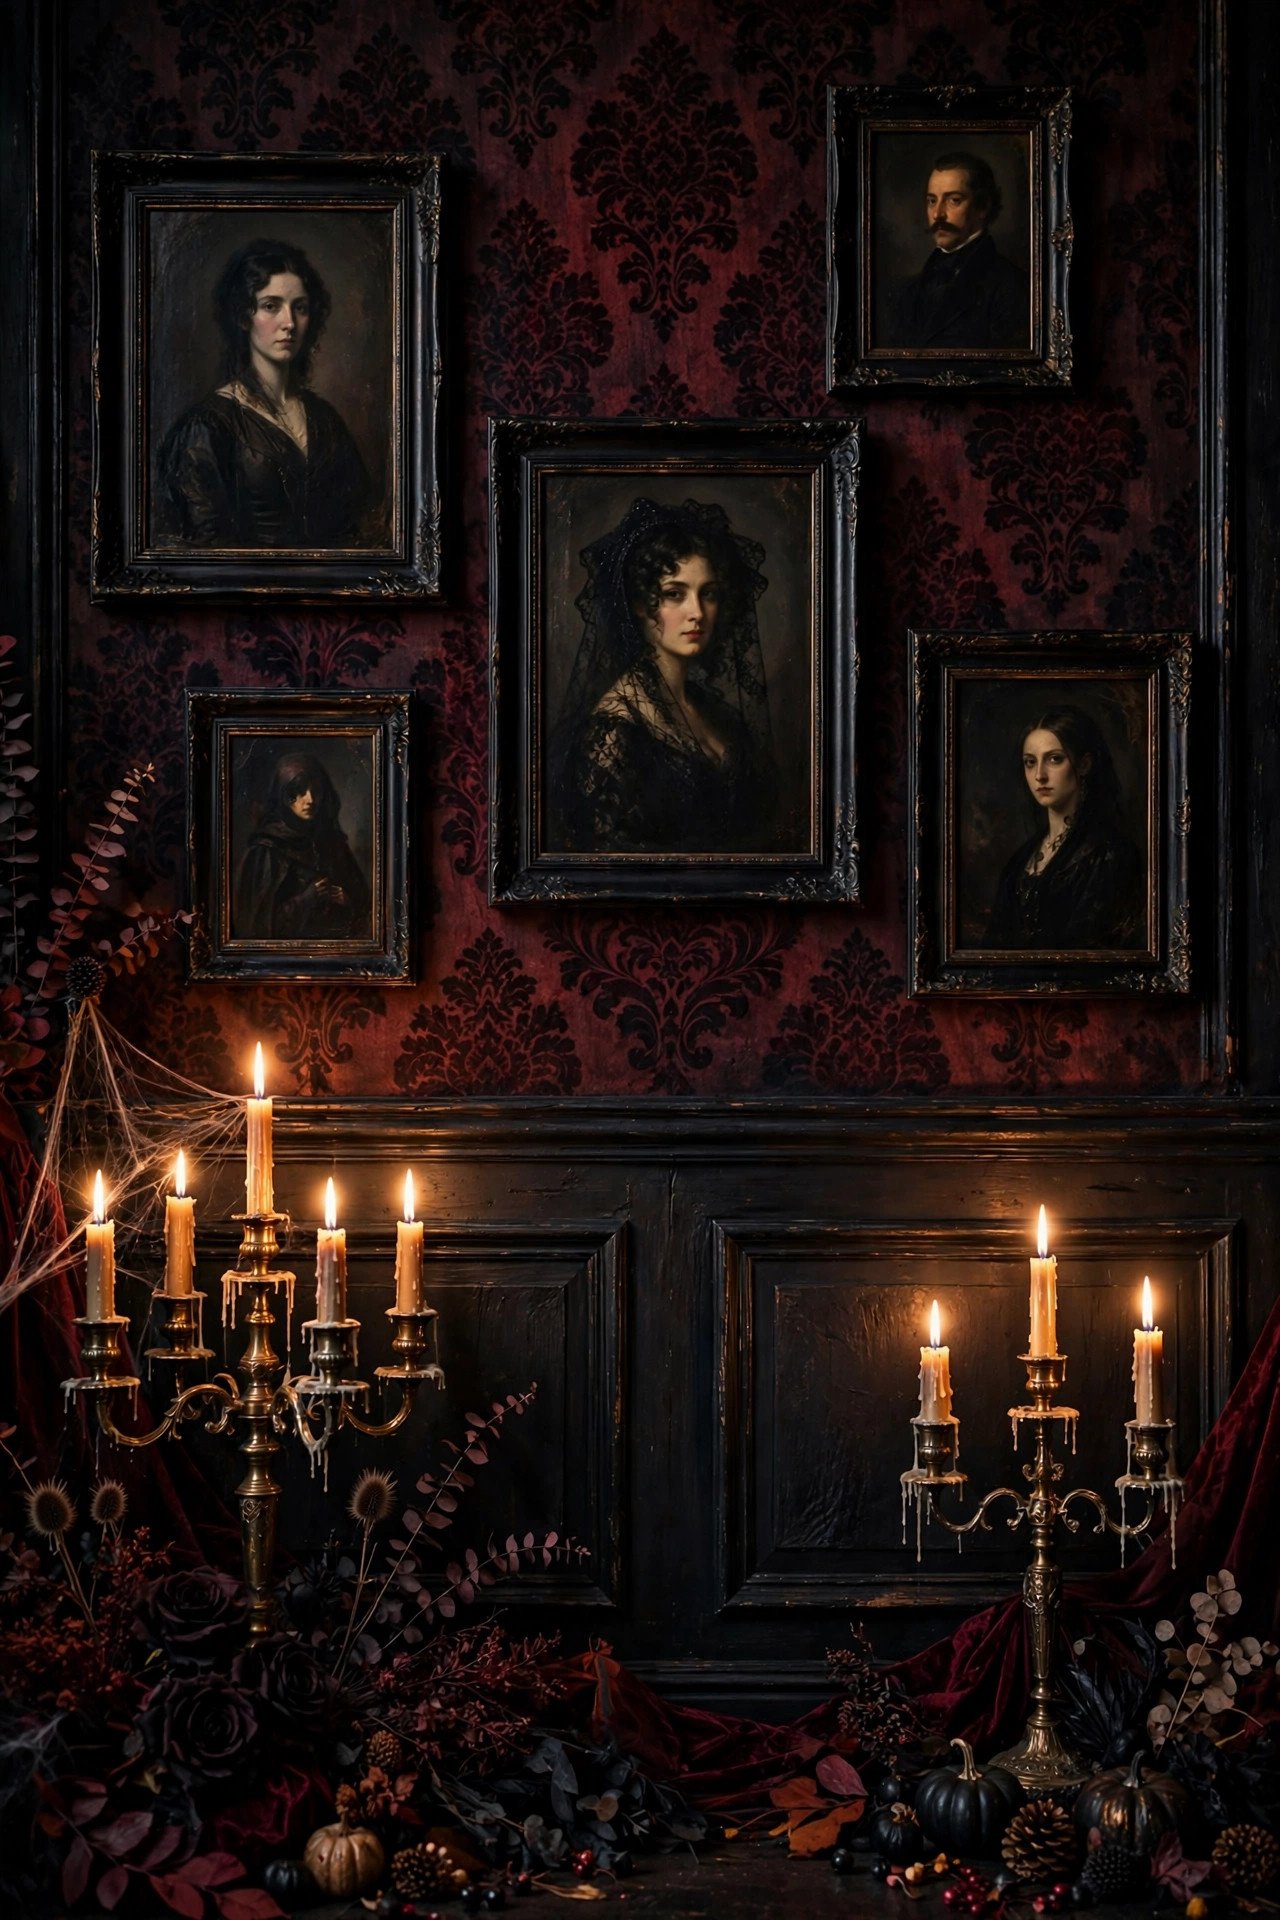
Commit to a disciplined dark palette — black, deep burgundy, antique gold, candlelight — on ornate rather than cartoonish objects. Black-framed vintage portraits, brass candelabras, dried black roses read as gothic; plastic skulls read as party store. The style's power is restraint and rich materials, echoing the ancient Celtic Samhain roots behind Halloween's haunting mood.
Symmetry is gothic's secret weapon: matching candlesticks flanking a central portrait, identical frames in a grid. Thrift ornate gold frames and spray the art inside matte black for instant gothic portraits. Layer velvet ribbon, dried amaranthus, black lace over a frame corner — gothic lives in tactile richness. Keep lighting low; one picture light over the central piece lets everything else recede into shadow. For the full look, explore these 22 gothic Halloween decor ideas for a dark elegant haunt.
18. How Do You Decorate a Small Entryway Wall for Maximum Halloween Welcome?
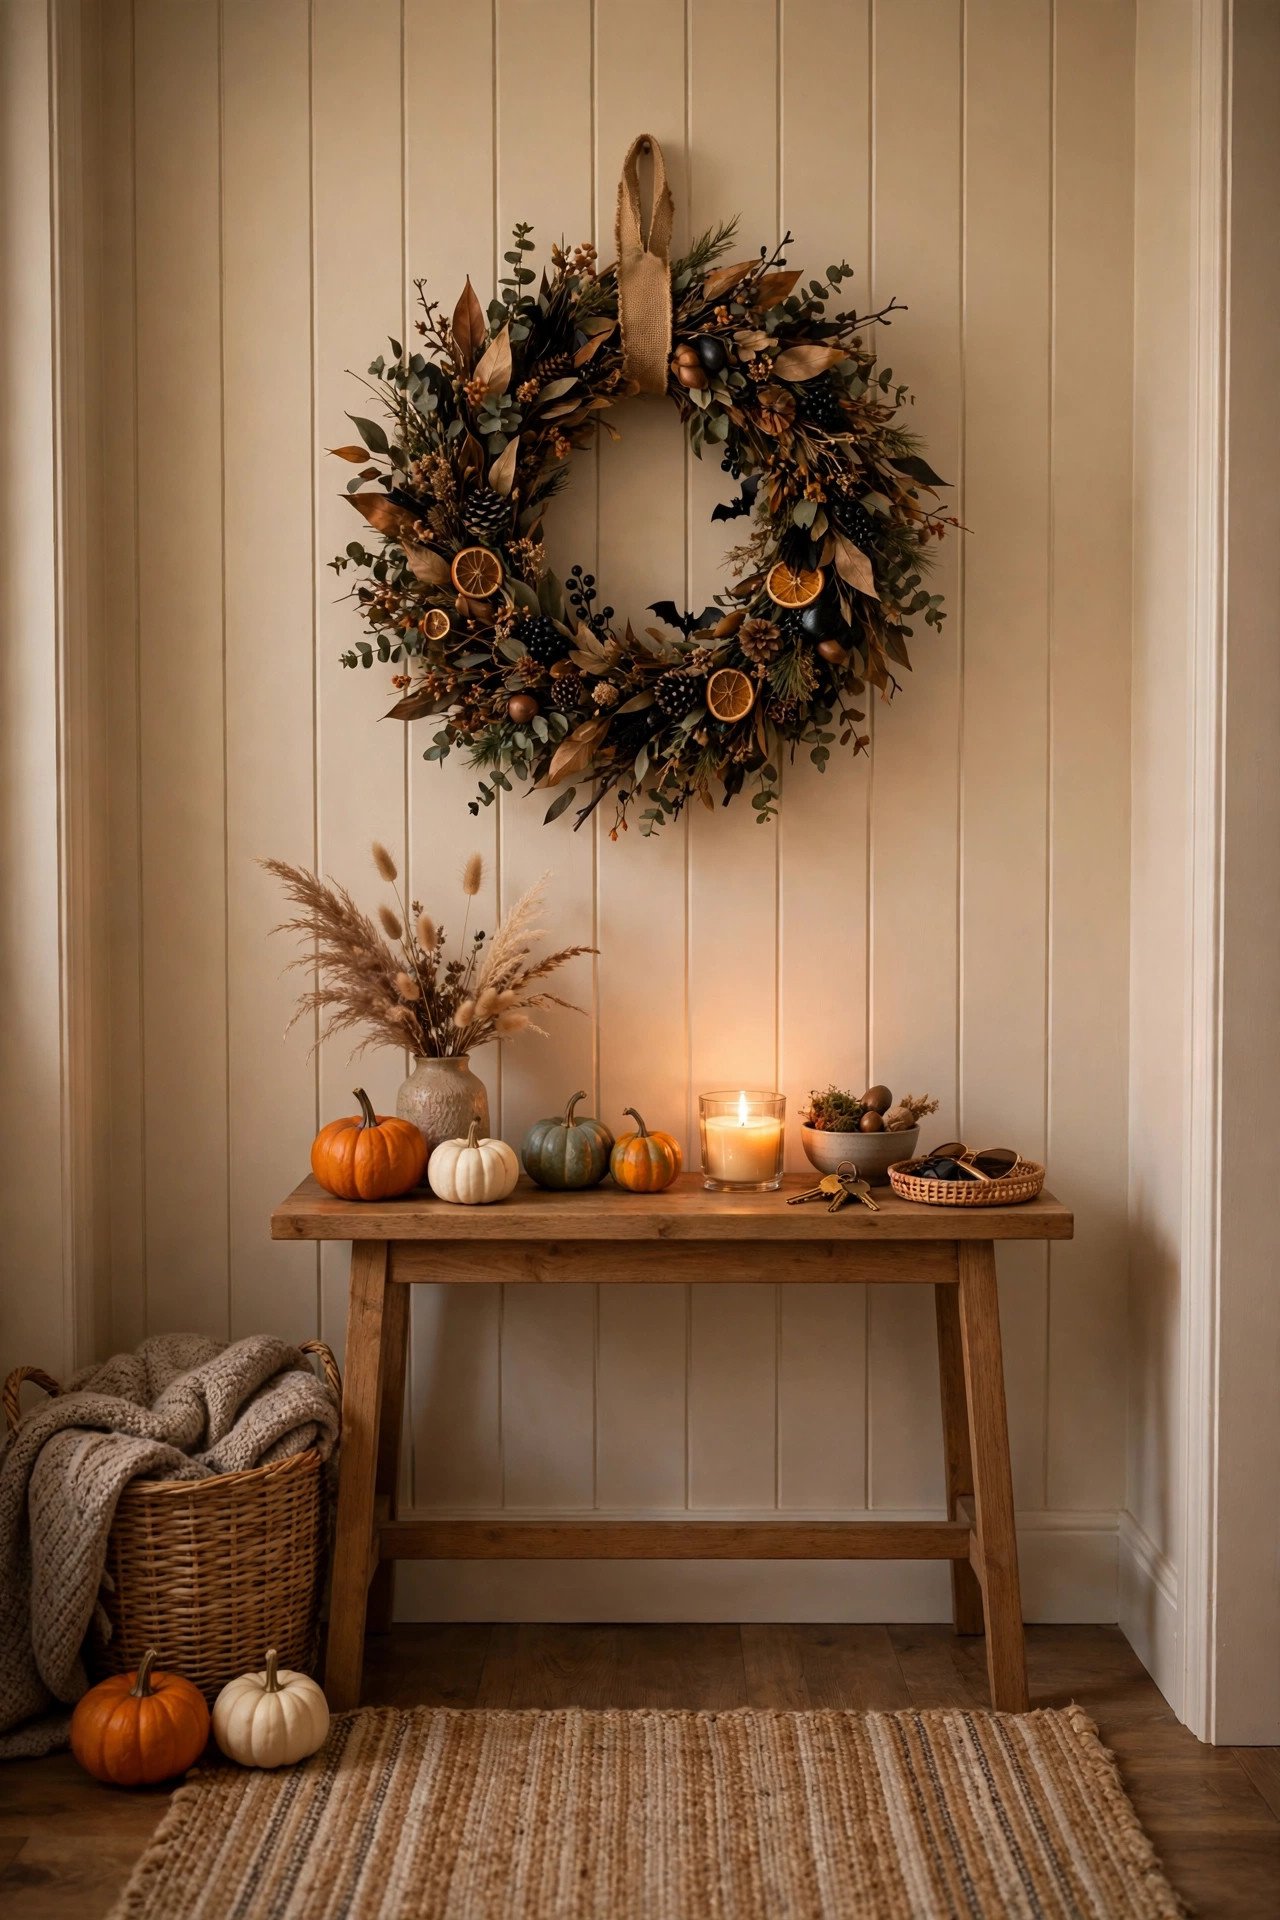
Concentrate everything into one tight vignette: a wreath or single print above a slim console, flanked by a pumpkin and candlestick. Small walls punish sprawl and reward density, and this one wall carries the whole first impression. A 24-inch wreath centered at eye level over a 30-inch console is the formula that never fails.
Use verticality: a hook rail with witch hats, a small broom, or a lantern at varying heights turns dead space into display. A mirror behind the console doubles light and decor. Keep the floor clear so all energy lives at eye level. Entries run dim, so a small lamp or battery candles on the console make the vignette glow on arrival. Swap the wreath for evergreen in December and the system works year-round.
19. How Do Cheesecloth and Fabric Drapes Create a Haunted Wall Effect?
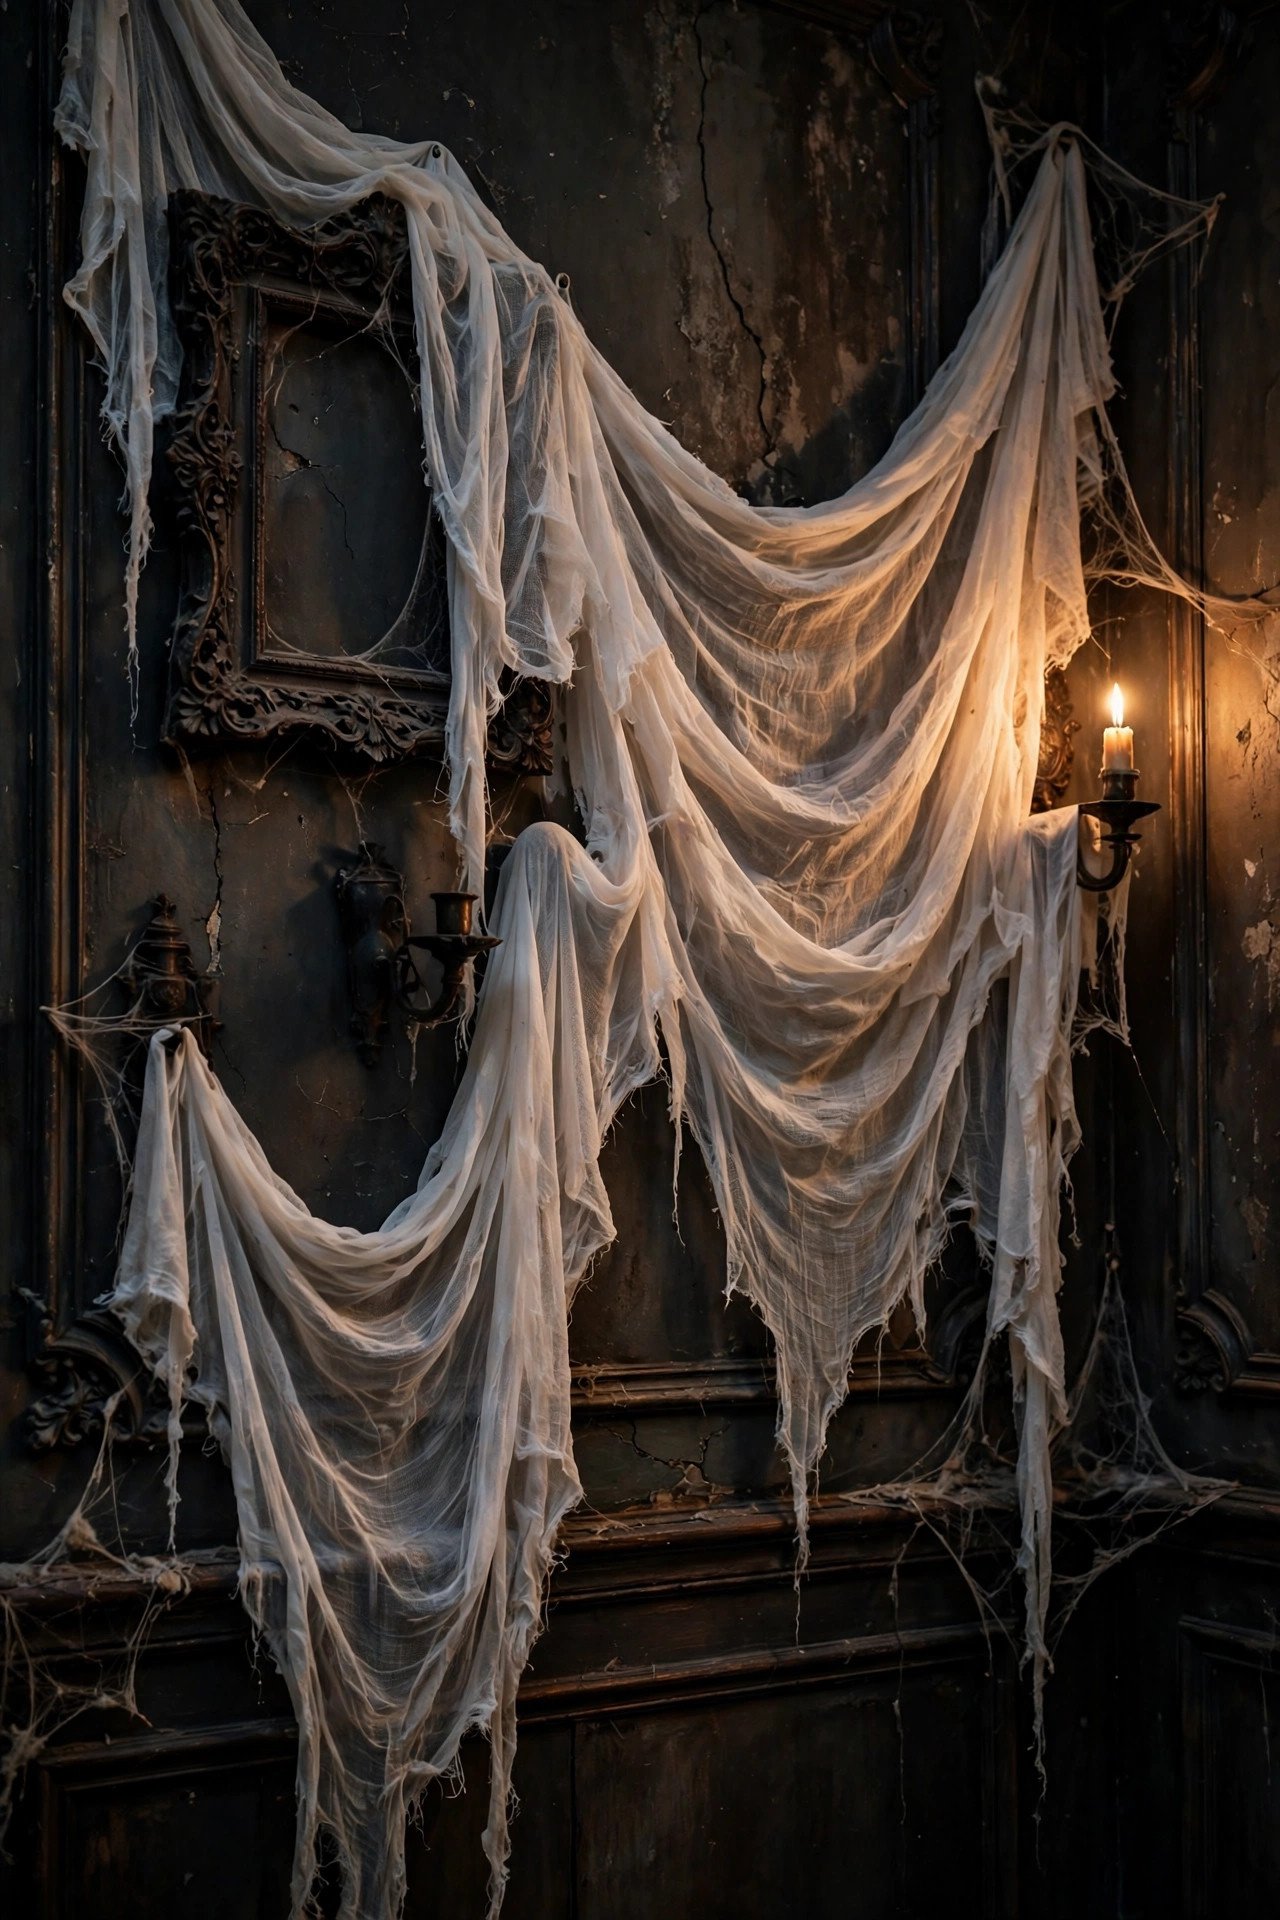
Through translucency and movement: loosely draped gauze catches light unevenly, billows with air currents, and partially obscures what hangs behind it. That partial concealment is the trick — your brain registers "something behind the veil" and supplies the scariness. Nothing delivers this much atmosphere for under ten dollars.
Tear (don't cut) cheesecloth into 3-foot strips for ragged edges, then drape over rods, hooks, or an existing gallery wall so familiar frames ghost through. Layer white over gray for depth. A fan on low makes the fabric breathe — genuinely haunting after dark. Stretch spider webbing over the cloth for the abandoned-mansion look, and uplight from below so folds cast long shadows. Mist lightly with water and let dry in place to hold sculptural folds.
20. How Do You Style a Halloween Chalkboard or Letter Board Wall?

Treat the board as typographic art: one short phrase in beautiful lettering, in an ornate frame, surrounded by candlelight. A large chalkboard with elegant script becomes a focal point; a small board crammed with jokes becomes clutter. Practice on paper first or trace a printed template with chalk markers.
Keep the board dark and the lettering white or metallic gold for cross-room readability. Surround it with context — dried branches, a small pumpkin, flanking candlesticks — so it anchors a vignette instead of floating alone. Change the message weekly through October; a countdown keeps it fresh. For a no-lettering alternative, fill the frame with a vintage print. Seal chalk art with hairspray to prevent smudging.
21. How Do You Decorate Windows as Part of Your Halloween Wall Story?
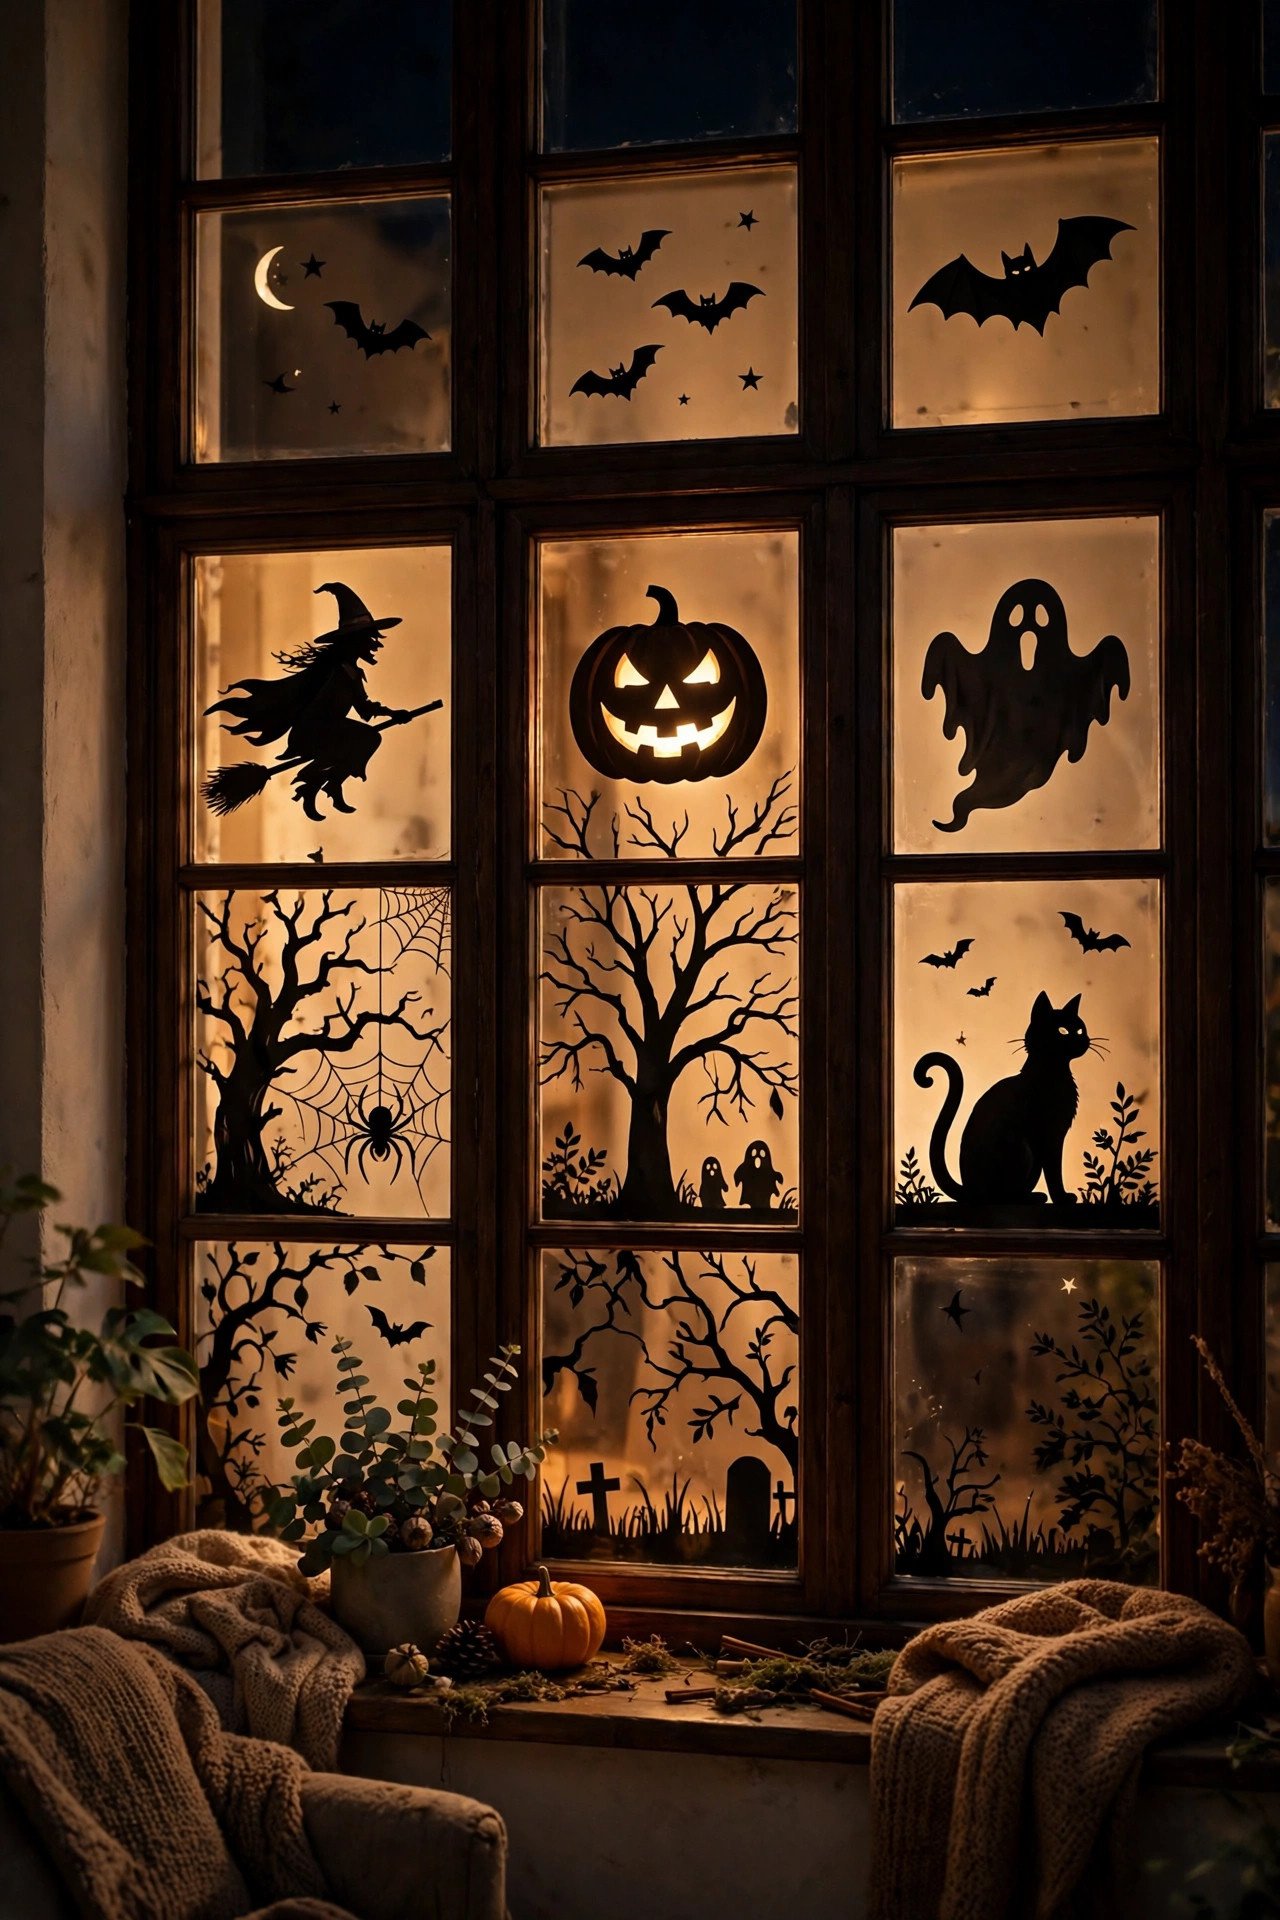
Treat windows as backlit art: black silhouette decals on the glass turn every window into a glowing Halloween canvas after dark when interior lights shine through. From the street they're the neighborhood's spookiest display; from inside, the silhouettes frame your view like living artwork. No other surface works this double shift.
Static-cling silhouettes — witches, haunted houses, cats on fences — apply with water and peel residue-free. Layer large silhouettes low, smaller bats higher, for depth. Place a warm lamp near the window so they glow outward at night; by day they're simple graphics, after dark they transform. Match the silhouette style to your wall decals so windows and walls tell one story. For windows that truly glow, see these 22 Halloween window decor ideas.
22. How Do You Take It All Down Without Ruining Your Walls?
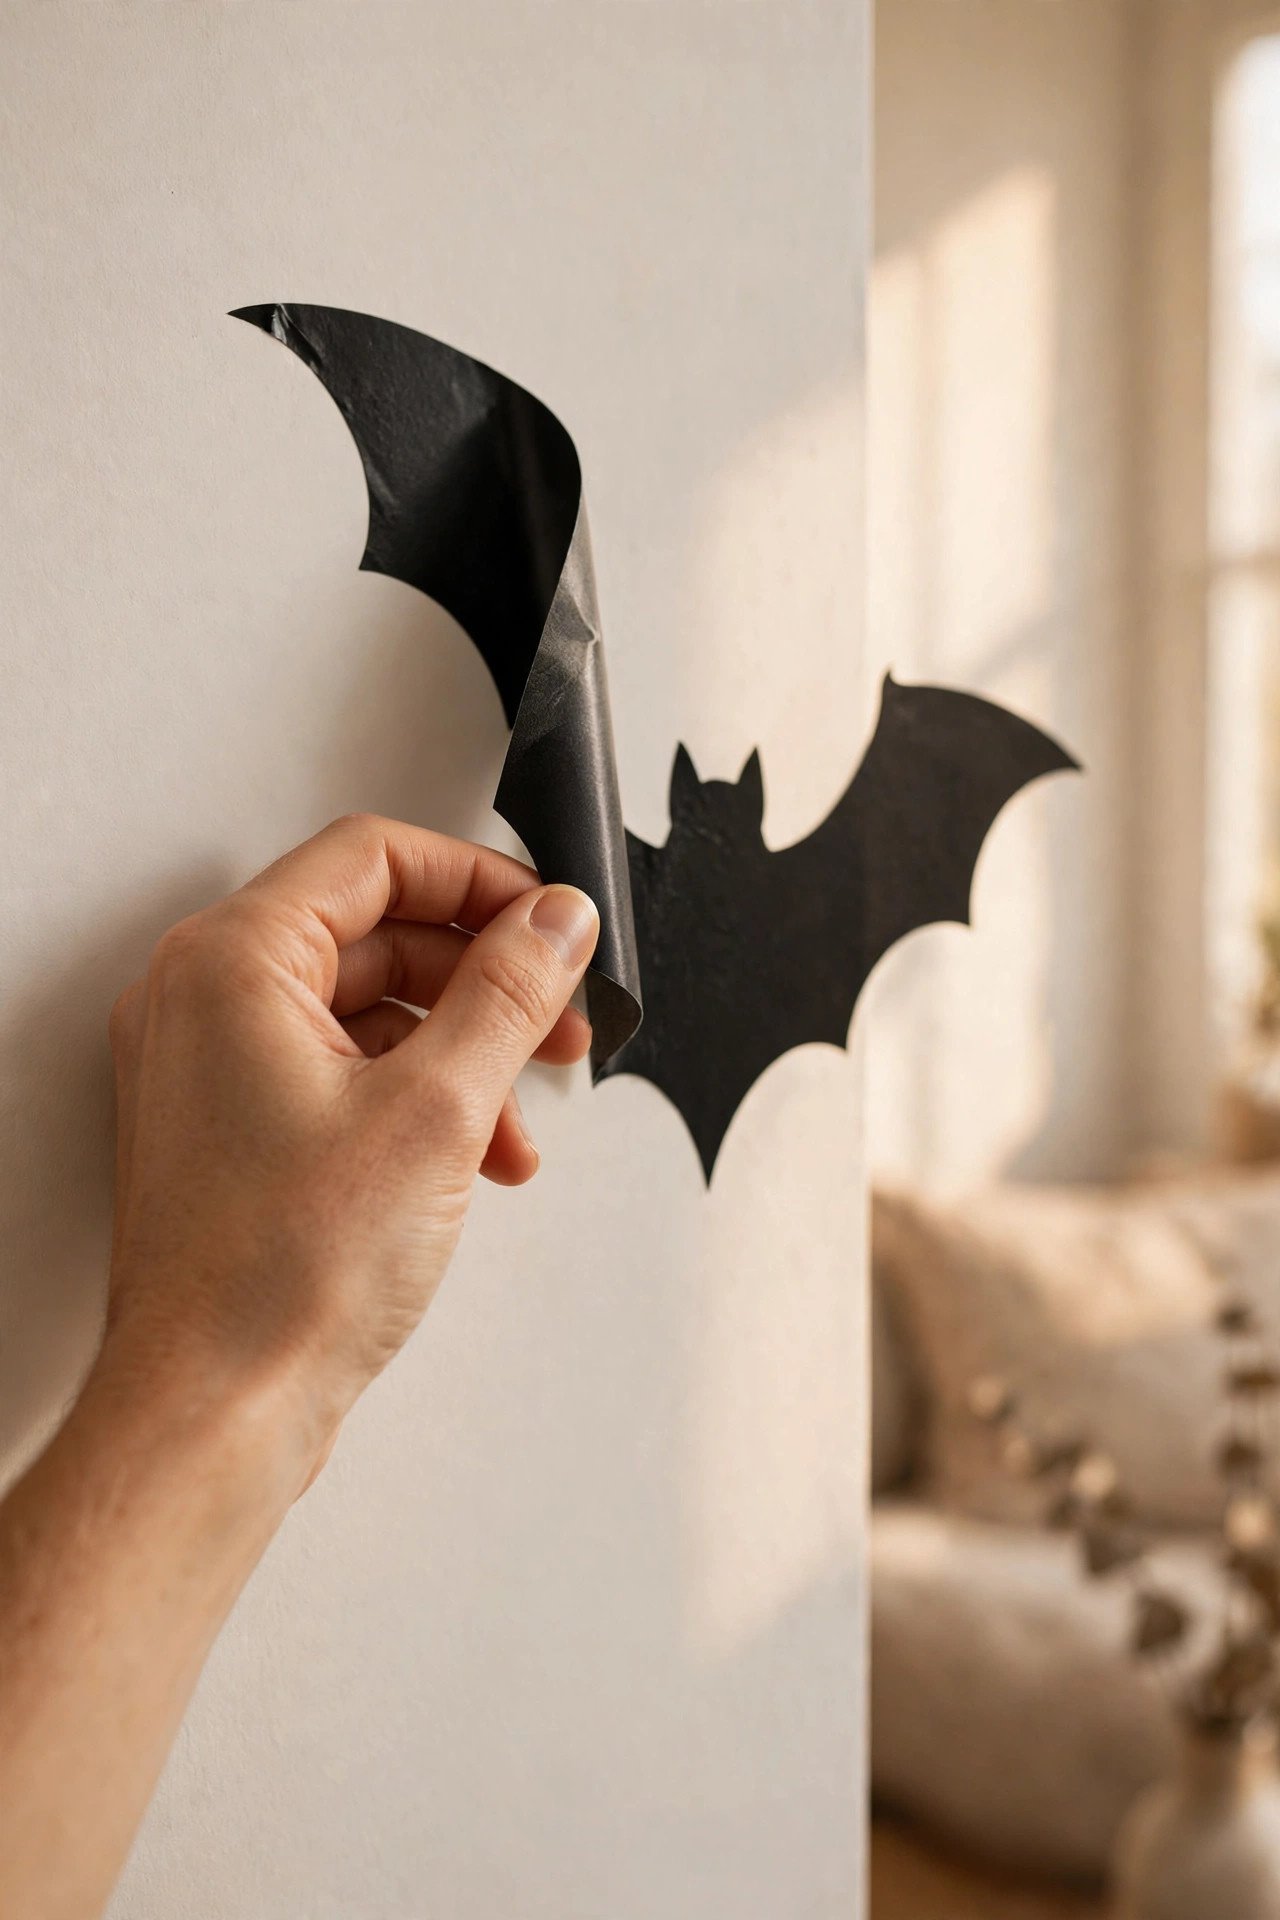
Reverse your hanging method properly: pull adhesive strips straight down along the wall, peel decals slowly at 180 degrees with gentle heat, lift museum putty with a rolling motion. Ninety percent of wall damage happens during removal, from rushing. Budget thirty unhurried minutes and your walls survive November 1st untouched.
Work top to bottom so falling pieces don't knock lower ones. Warm stubborn adhesive with a hair dryer for fifteen seconds; follow residue with rubbing alcohol on a cotton pad, testing paint in a hidden spot first. Photograph each wall before removing — next October's rehang takes minutes. Store decals flat between wax paper, roll tapestries around a tube, and bag hardware with labels. Note what worked; next year's wall will be better for it.
Pro Tips for a Flawless Halloween Wall
Plan on the floor first, hang once. Lay out every frame, photograph it, and transfer the layout with painter's tape. This one habit eliminates the extra holes that betray amateur gallery walls.
Match hardware to weight and wall type. Adhesive strips for light frames on drywall, museum putty for unframed prints, washi tape for paper. The right match holds all October and releases cleanly.
Keep the 57-inch center and 2–3 inch gaps sacred. Center the composition at eye level, space frames consistently, size to two-thirds of the furniture below. These numbers do more than any decoration.
Light for the night, not the day. Halloween walls live after dark — add picture lights, uplights, or warm fairy lights. Directional warm light creates the shadows that feel genuinely eerie.
Edit ruthlessly — negative space is decor. Remove one item from every arrangement before calling it done. Breathing room makes the rest look intentional and expensive.
Photograph before takedown. A quick photo of each finished wall becomes next year's hanging map and your record of what worked.
Frequently Asked Questions
How do I hang Halloween decorations on walls without damage?
Use removable hardware matched to weight and wall type: adhesive strips for framed prints under 7 pounds on drywall, museum putty for unframed paper art, washi tape for light pieces on smooth walls, static-cling decals on glass. Plan layouts with painter's tape first, and remove everything slowly — strips pulled straight down, decals peeled at 180 degrees.
What is the 57-inch rule for hanging wall art?
The center of an artwork — or of a whole gallery-wall grouping treated as one piece — should sit 57 inches from the floor, average eye level. It comes from museum practice. Above furniture, leave 6–8 inches between the furniture top and the artwork's bottom edge instead, and size the art to roughly two-thirds of the furniture's width.
How far apart should frames be on a Halloween gallery wall?
Keep 2–3 inches between frames. Consistent spacing makes mixed frames read as one intentional composition; wider gaps look sparse, touching frames look cramped. Use a small spacer block to keep every gap identical as you hang.
Can I leave Halloween wall decor up after October?
Yes, with the right pieces. Dark botanical prints, gothic landscapes, moonlit forests, black-framed mirrors, and dried branches transition into autumn and winter decor. Pack away only explicitly Halloween items like bats and orange signage — designing this way saves a full redecorating cycle.
How do I make a small wall look good with Halloween decor?
Concentrate everything into one dense vignette: a wreath or print centered at eye level with small objects flanking it. Use vertical space with staggered hooks, add a mirror to double light and depth, and keep the floor clear so all the energy lives at eye level.
What's the cheapest way to decorate walls for Halloween?
Paper and printables: 3D paper bats under ten dollars transform a whole wall, printable vintage art costs pennies per print, torn cheesecloth delivers massive atmosphere for a few dollars. Thrifted frames with matte black spray paint unify everything. The most expensive-looking walls here cost under thirty dollars total.
How do I light Halloween wall decor for nighttime?
Use dedicated art lighting: battery picture lights above key pieces, warm uplights below textured decor like wreaths and cheesecloth, 2700K bulbs in nearby lamps. Light from below feels spookiest — it mimics candlelight. Avoid aiming lights at glossy decals; matte finishes glow far better.
Final Thoughts
Walls are where Halloween decorating goes from scattered to styled. Whether you build a gallery wall, swarm the room with paper bats, or simply light the art you already own, the formulas hold: center at eye level, space consistently, scale to the furniture, hang damage-free, and light for the dark. Pick three or four ideas that fit your rooms and hang them this weekend — your walls will carry the whole season.
You May Also Like:
– 22 Halloween living room decor ideas — spooky yet stylish – 22 elegant Halloween decor ideas that are chic, not scary – 22 whimsical Halloween decor ideas — vintage, playful, not scary – 22 Halloween party decor ideas for a spooktacular celebration
FAQ_SCHEMA:
<script type="application/ld+json"> { "@context": "https://schema.org", "@type": "FAQPage", "mainEntity": [ { "@type": "Question", "name": "How do I hang Halloween decorations on walls without damage?", "acceptedAnswer": { "@type": "Answer", "text": "Use removable hardware matched to weight and wall type: adhesive strips for framed prints under 7 pounds on drywall, museum putty for unframed paper art, washi tape for light pieces on smooth walls, static-cling decals on glass. Plan layouts with painter's tape first, and remove everything slowly — strips pulled straight down, decals peeled at 180 degrees." } }, { "@type": "Question", "name": "What is the 57-inch rule for hanging wall art?", "acceptedAnswer": { "@type": "Answer", "text": "The center of an artwork — or of a whole gallery-wall grouping treated as one piece — should sit 57 inches from the floor, average eye level. It comes from museum practice. Above furniture, leave 6–8 inches between the furniture top and the artwork's bottom edge instead, and size the art to roughly two-thirds of the furniture's width." } }, { "@type": "Question", "name": "How far apart should frames be on a Halloween gallery wall?", "acceptedAnswer": { "@type": "Answer", "text": "Keep 2–3 inches between frames. Consistent spacing makes mixed frames read as one intentional composition; wider gaps look sparse, touching frames look cramped. Use a small spacer block to keep every gap identical as you hang." } }, { "@type": "Question", "name": "Can I leave Halloween wall decor up after October?", "acceptedAnswer": { "@type": "Answer", "text": "Yes, with the right pieces. Dark botanical prints, gothic landscapes, moonlit forests, black-framed mirrors, and dried branches transition into autumn and winter decor. Pack away only explicitly Halloween items like bats and orange signage — designing this way saves a full redecorating cycle." } }, { "@type": "Question", "name": "How do I make a small wall look good with Halloween decor?", "acceptedAnswer": { "@type": "Answer", "text": "Concentrate everything into one dense vignette: a wreath or print centered at eye level with small objects flanking it. Use vertical space with staggered hooks, add a mirror to double light and depth, and keep the floor clear so all the energy lives at eye level." } }, { "@type": "Question", "name": "What's the cheapest way to decorate walls for Halloween?", "acceptedAnswer": { "@type": "Answer", "text": "Paper and printables: 3D paper bats under ten dollars transform a whole wall, printable vintage art costs pennies per print, torn cheesecloth delivers massive atmosphere for a few dollars. Thrifted frames with matte black spray paint unify everything. The most expensive-looking walls here cost under thirty dollars total." } }, { "@type": "Question", "name": "How do I light Halloween wall decor for nighttime?", "acceptedAnswer": { "@type": "Answer", "text": "Use dedicated art lighting: battery picture lights above key pieces, warm uplights below textured decor like wreaths and cheesecloth, 2700K bulbs in nearby lamps. Light from below feels spookiest — it mimics candlelight. Avoid aiming lights at glossy decals; matte finishes glow far better." } } ] } </script>