22 Small Kitchen Storage Ideas That Make Every Inch Work
A small kitchen does not need more square footage to feel generous; it needs storage that uses height, depth, door backs, corners, and the narrow gaps most kitchens waste. The ideas below treat every surface as working space, from cabinets that run to the ceiling to a slim cart that slides between appliances, and each one is sized for real kitchens where counter space is scarce, cabinets are shallow, and one cluttered drawer can slow down every meal. You will find exact measurements, approximate United States costs, and the mistake most people make with each solution, so you can choose the fixes that fit your layout, your budget, and whether you rent or own.
Looking for more inspiration? Our Nest Decorz homepage gathers the latest home decor ideas, seasonal decorating guides and room-by-room styling tips in one place — start there and explore.
Start with the vertical space and the zones you already have before buying a single container. Measure cabinet interiors, door clearances, and the gaps beside the refrigerator and stove, then match each idea to a real problem: daily dishes within arm's reach, rarely used appliances out of the way, and food visible enough that nothing expires at the back of a shelf. The 22 ideas that follow are ordered from the biggest structural gains to the small habits that keep storage working, and most can be combined in one weekend without a full remodel.
1. Use the Full Height With Cabinets to the Ceiling
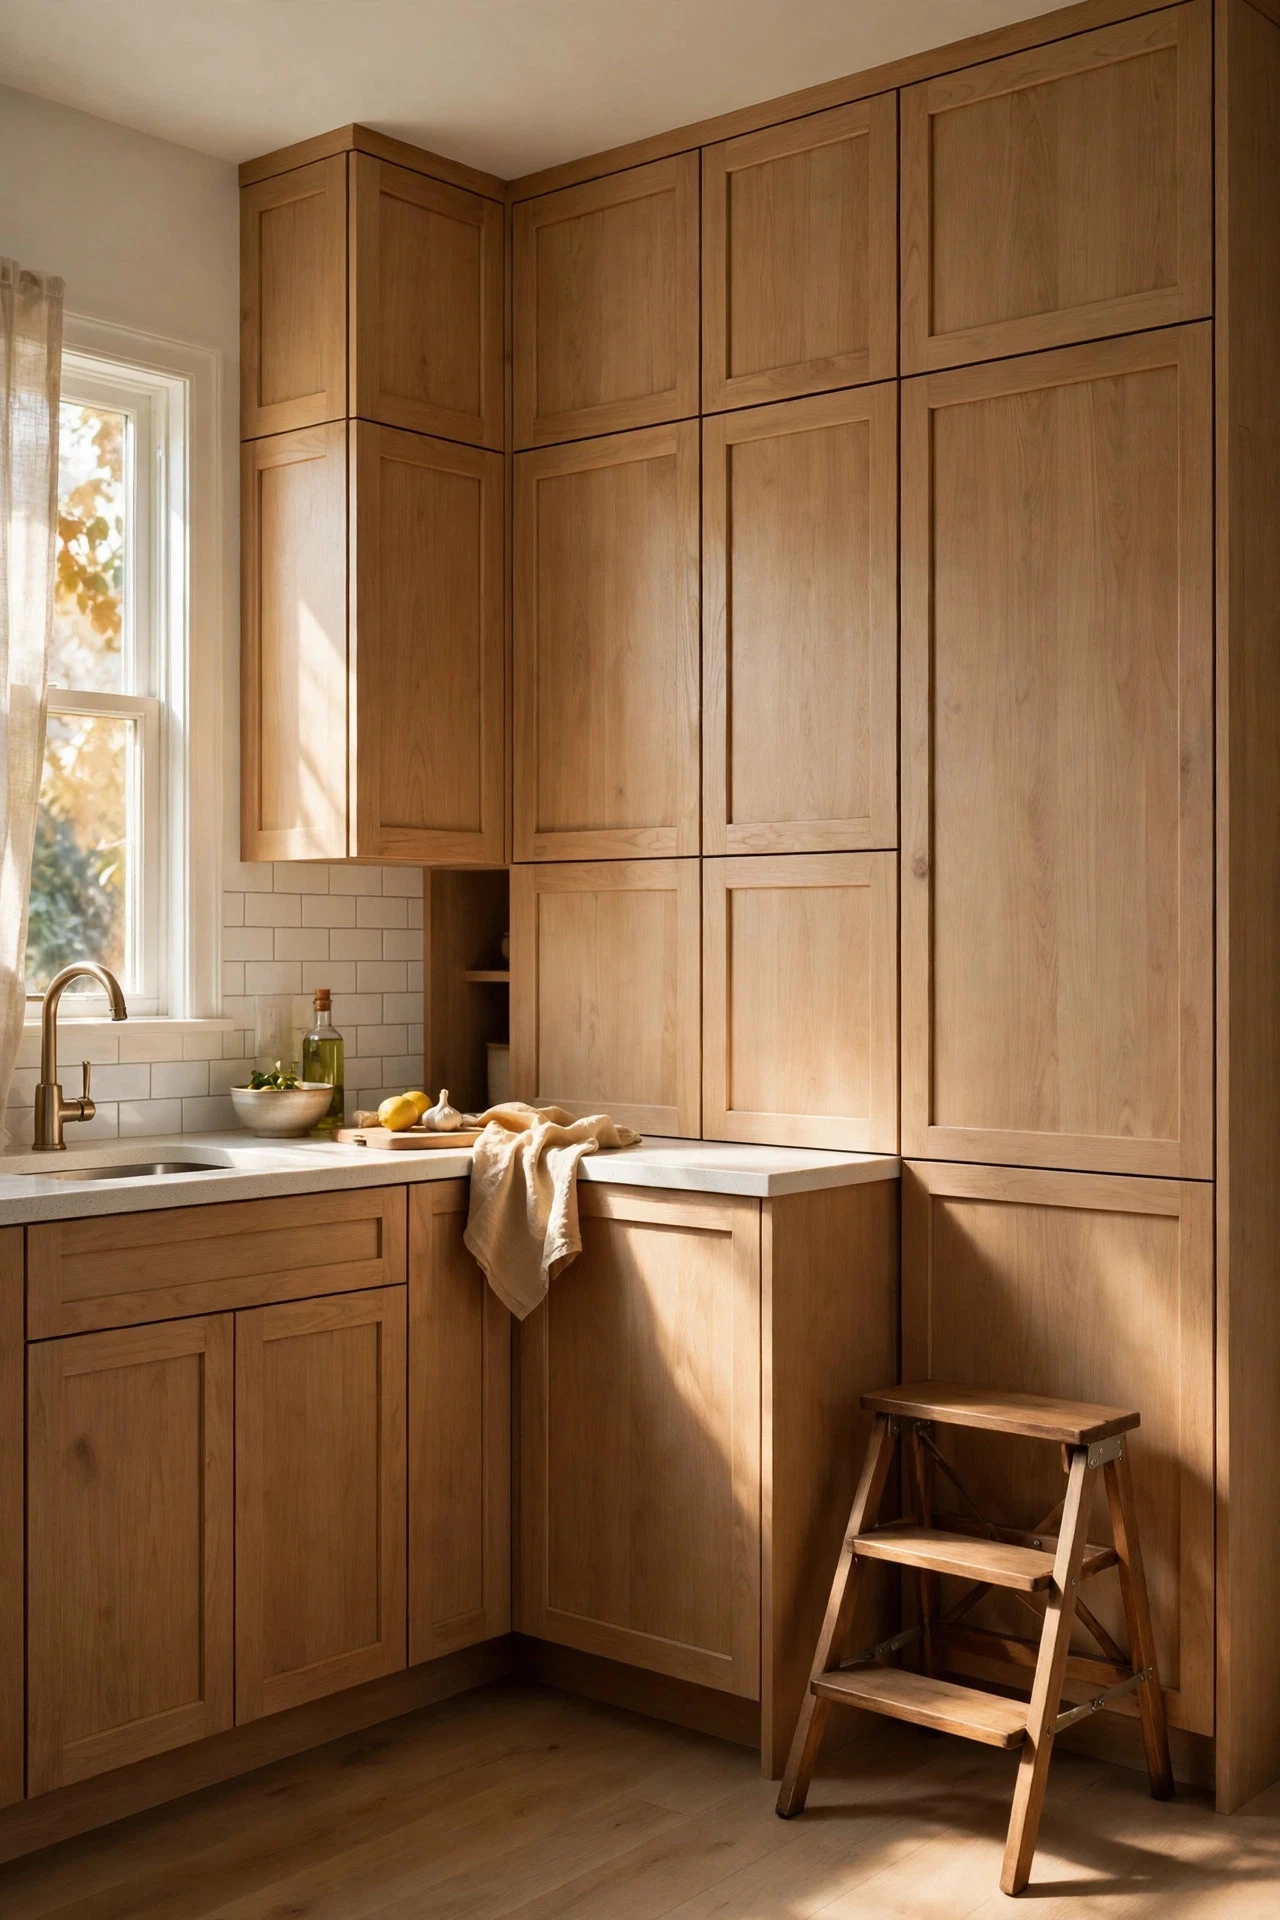
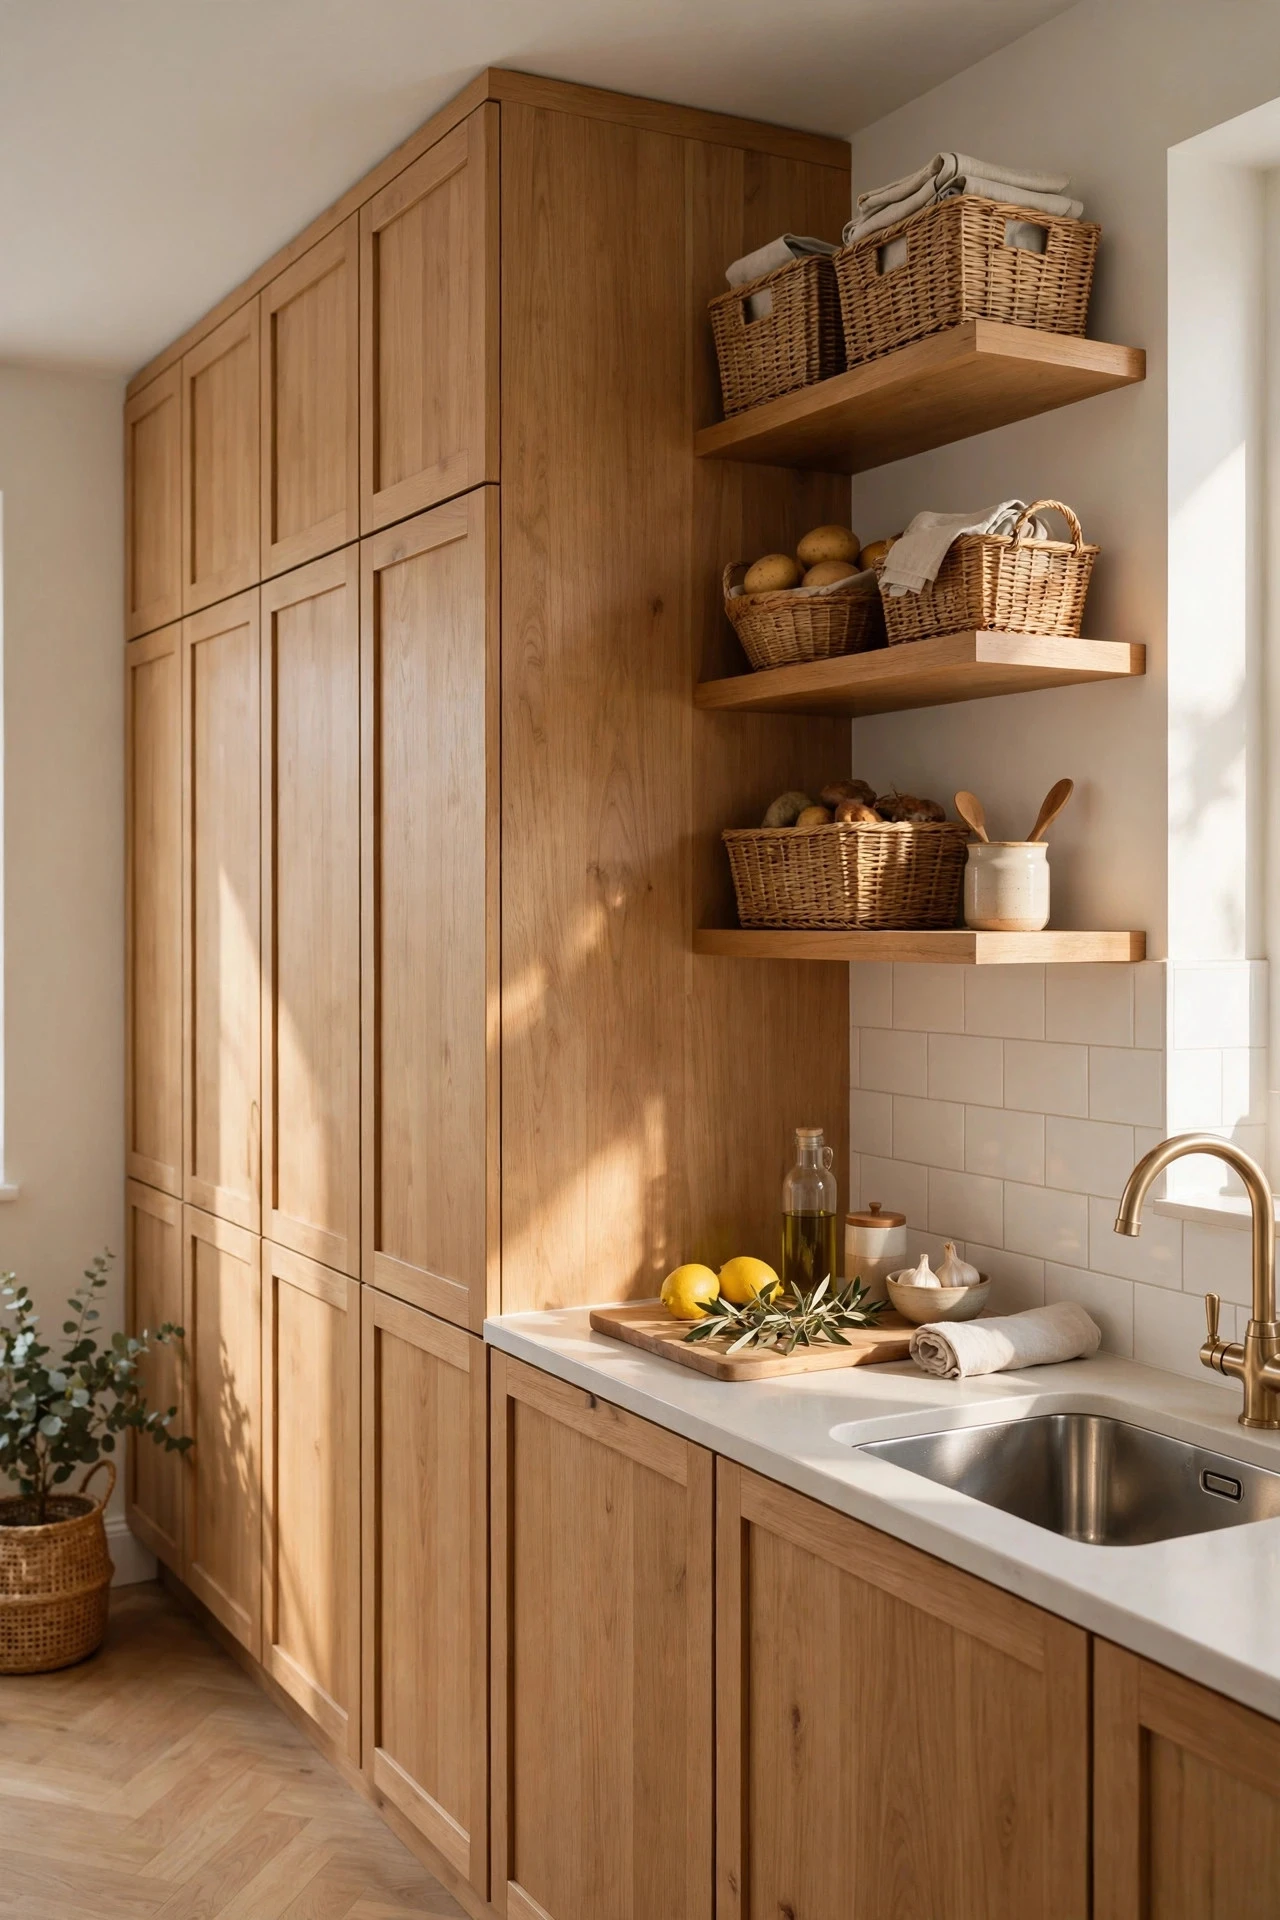
Cabinets that run to the ceiling recover the 12 to 18 inches of dead space above standard wall cabinets, where dust gathers and bulky items get shoved out of sight. In a kitchen with 8-foot ceilings, full-height uppers typically measure 42 inches tall, with a 12- to 15-inch-deep cabinet box that still clears most countertops below. Reserve the top shelf, roughly 72 inches and higher, for seasonal platters, holiday bakeware, and appliances used a few times a year, and keep daily dishes between 24 and 60 inches so no one needs a stool for breakfast. Stock ready-to-assemble full-height cabinets cost approximately $150 to $400 per linear foot installed, while custom work runs $400 to $900 per linear foot. Keep a folding step stool nearby and never store heavy cast iron overhead. The mistake to avoid is filling the new height with daily items, which turns every meal into a climb and guarantees the cabinets will be ignored within weeks.
2. A Pegboard Wall for Pots and Tools
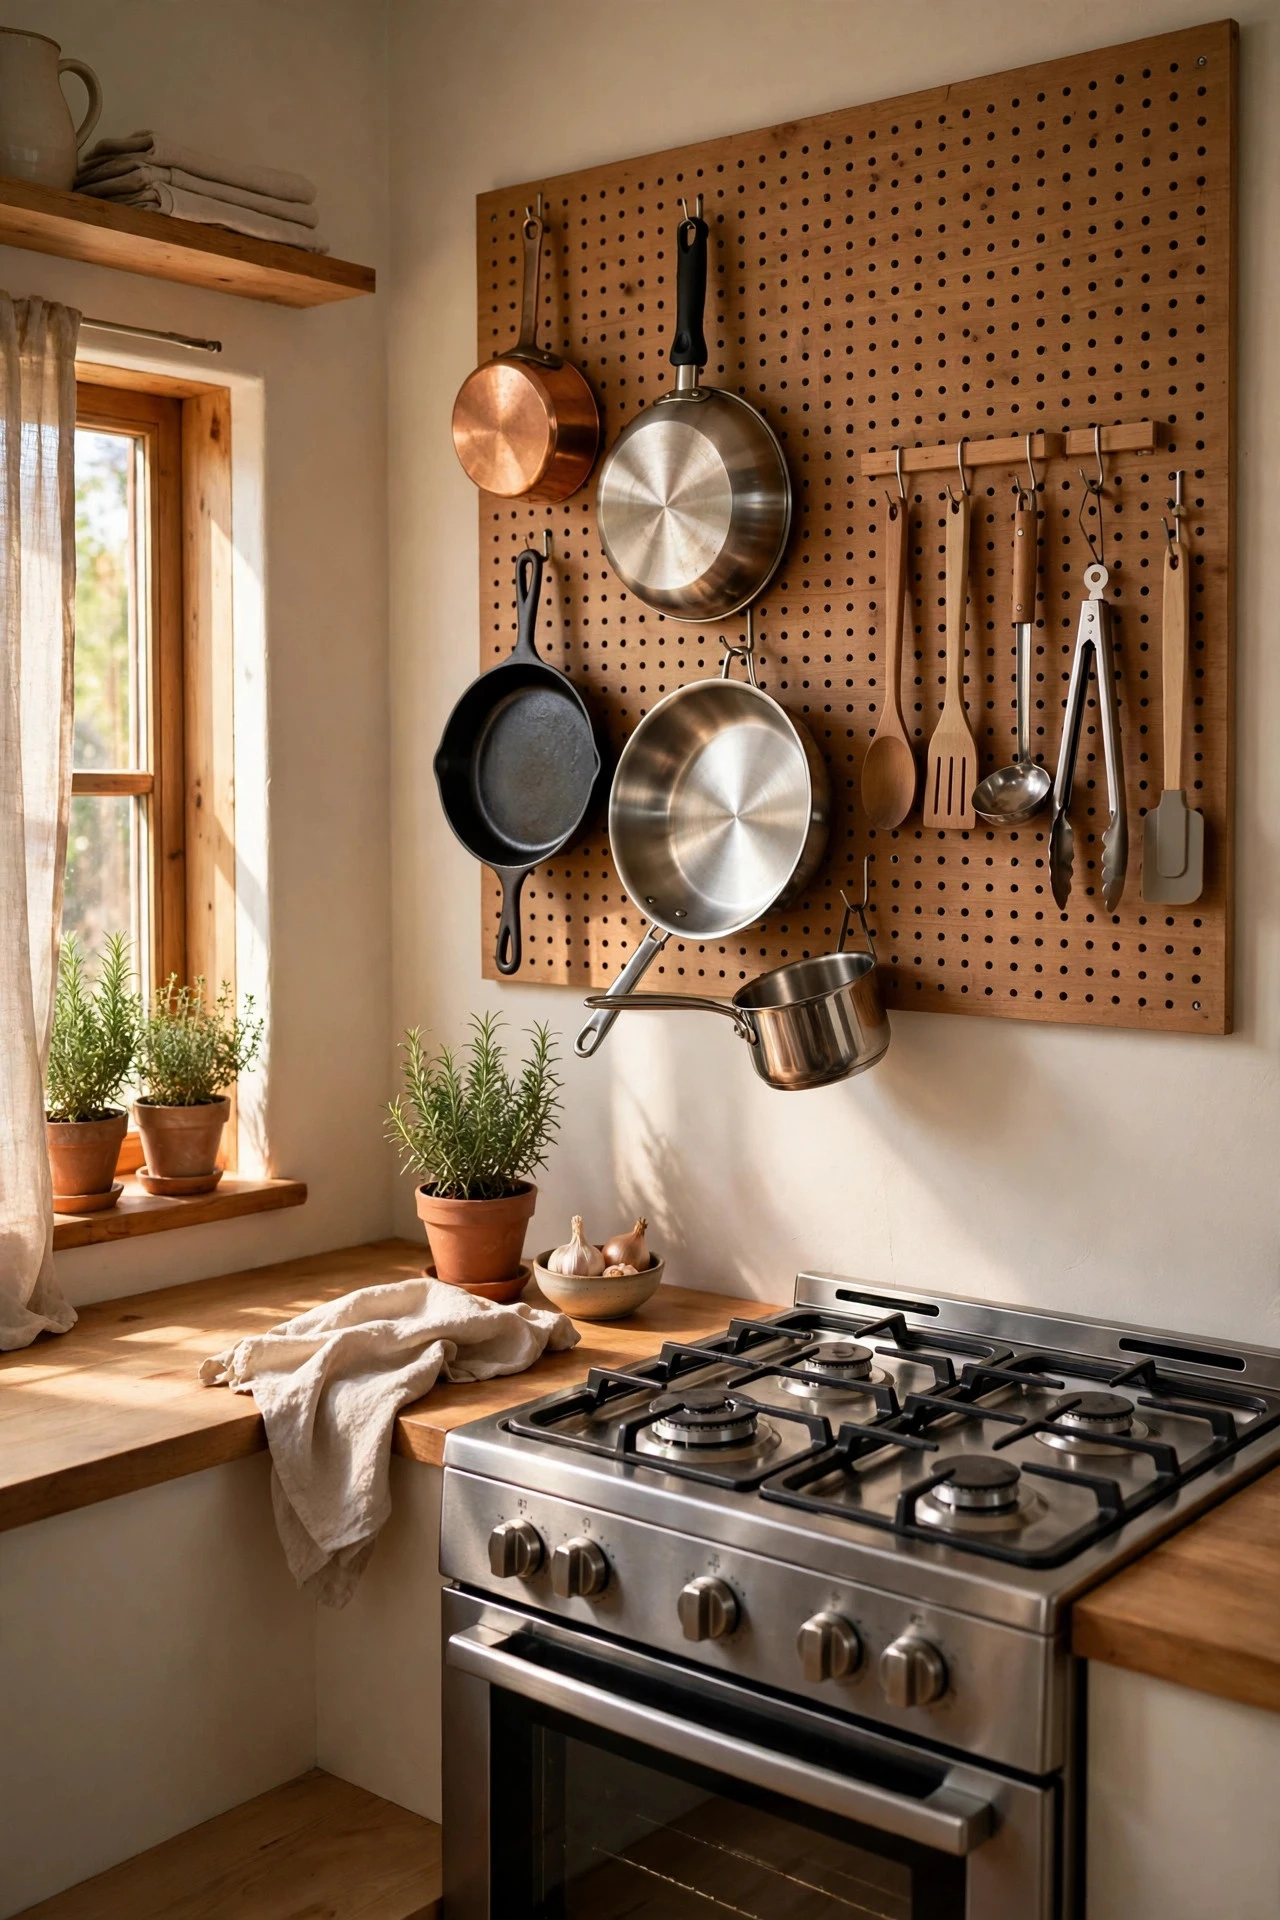
A pegboard wall turns one blank stretch of wall into flexible, visible storage for pots, pans, utensils, and measuring tools that otherwise pile up in drawers. Use 3/4-inch pegboard or perforated hardboard mounted on 1-inch furring strips so hooks have clearance behind the board, fasten it into wall studs spaced 16 inches apart, and choose a panel 24 to 48 inches wide beside the stove or over a work counter. Stainless steel hooks and S-hooks hold skillets by their handles. A painted pegboard, mounting hardware, and 20 to 30 hooks cost approximately $40 to $120 in total, and the whole project takes two to three hours. Paint the board to match the wall or contrast in deep green. The mistake to avoid is hanging more weight than the studs and hooks can carry, especially cast-iron skillets, which can pull loose anchors out of drywall and damage the wall.
3. Inside-the-Door Racks for Spices
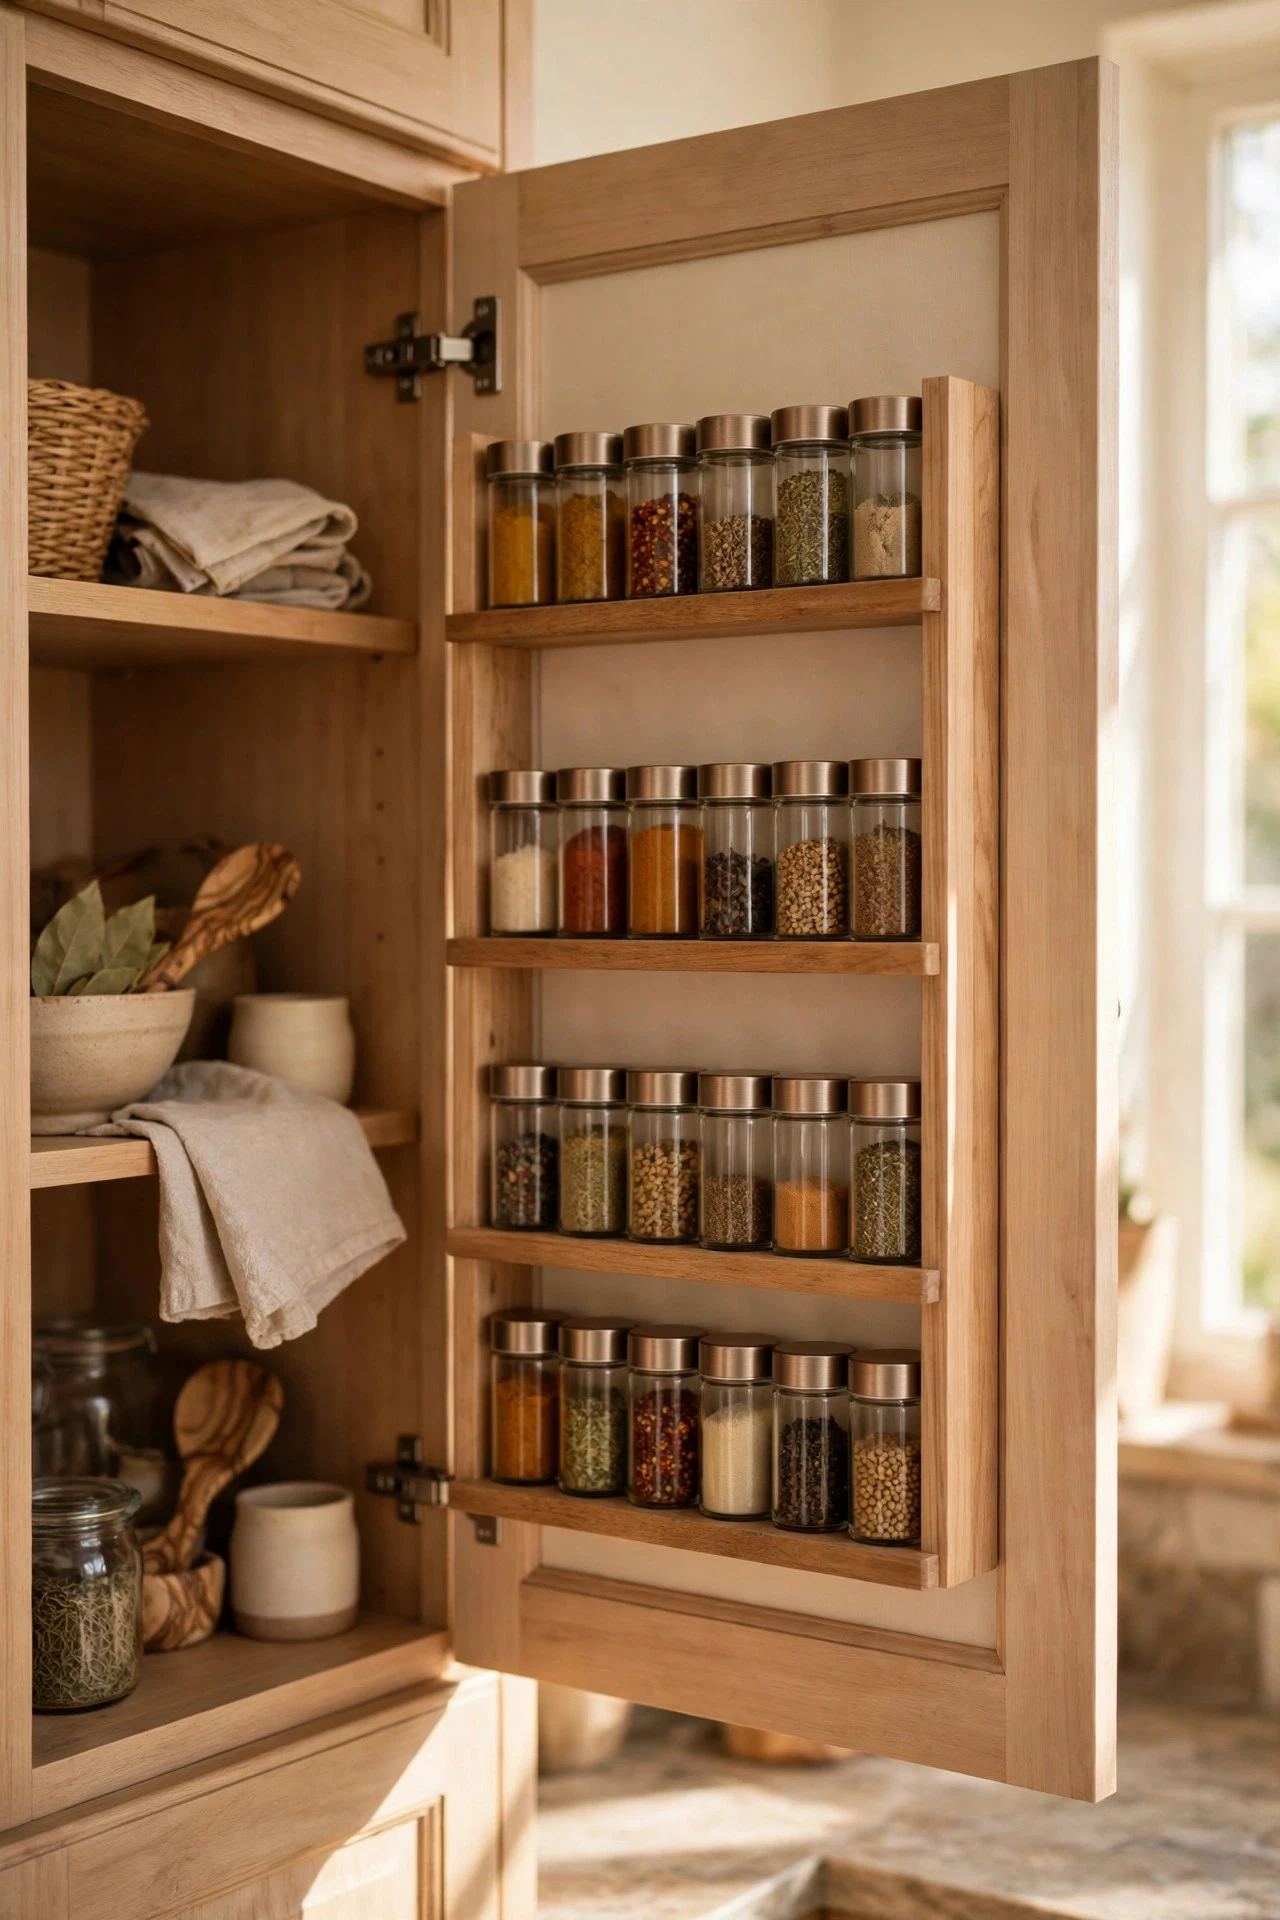
Inside-the-door racks use the wasted 2 to 3 inches behind cabinet doors to store spices, oils, vitamins, and small jars where they are visible the moment the door opens. Choose a rack 3 to 4 inches deep so the door still closes over shelf contents, mount it with short screws that will not pierce the door front, and keep total load under 10 to 15 pounds per door to protect hinges. Standard spice jars, 4-ounce bottles, and small cans fit neatly in two or three tiers, while taller oil bottles belong on the lowest tier where the door frame gives extra support. Wire or wood door racks cost approximately $15 to $45 each, and three doors usually total $45 to $135. Label the top of each jar so you can read it from above. The mistake to avoid is loading a door with heavy cans and glass bottles, which sags hinges, prevents the door from closing, and eventually cracks the door frame at the screw holes.
4. Pull-Out Pantry Beside the Fridge
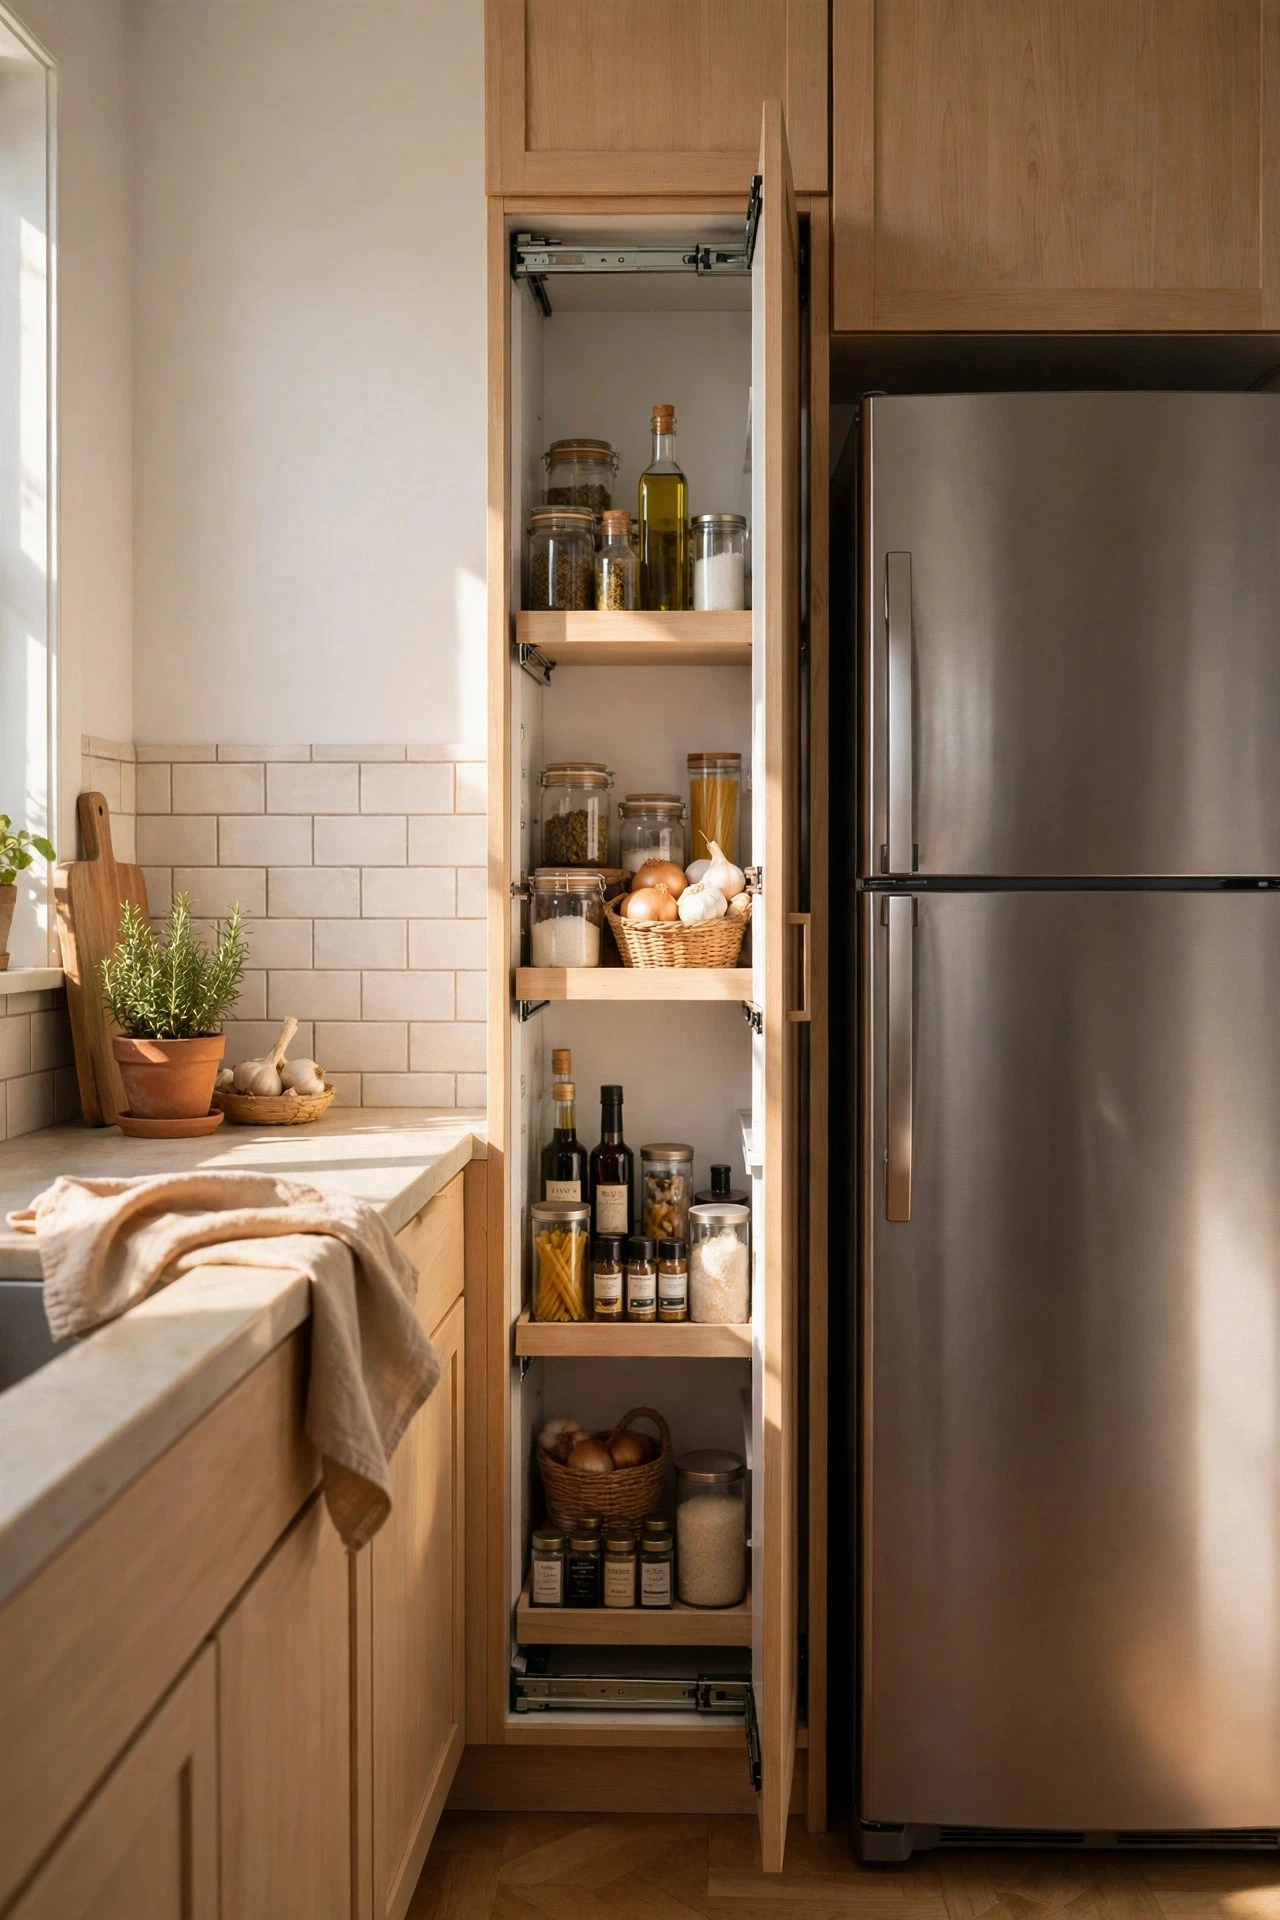
A pull-out pantry slides into the narrow gap beside the refrigerator and turns a 6- to 12-inch slot into tall, accessible food storage. Measure the gap carefully, allowing at least 1 inch of clearance on each side for the refrigerator door and ventilation, then choose a unit 5 to 11 inches wide, 60 to 72 inches tall, with three to five shelves and a full-extension slide rated for 75 to 100 pounds. Canned goods, pasta boxes, sauces, and baking supplies stand upright and visible, and the whole pantry rolls out so nothing hides at the back. Ready-made pull-out pantry units cost approximately $120 to $350, plus $80 to $200 for installation if a carpenter adjusts the filler panel. Keep heavy cans low, light boxes high, and check that the refrigerator door still opens fully. The mistake to avoid is buying a unit wider than the gap or blocking the refrigerator's side vent, which overheats the appliance and voids the smooth roll-out you paid for.
5. Drawer Dividers That End the Junk Drawer
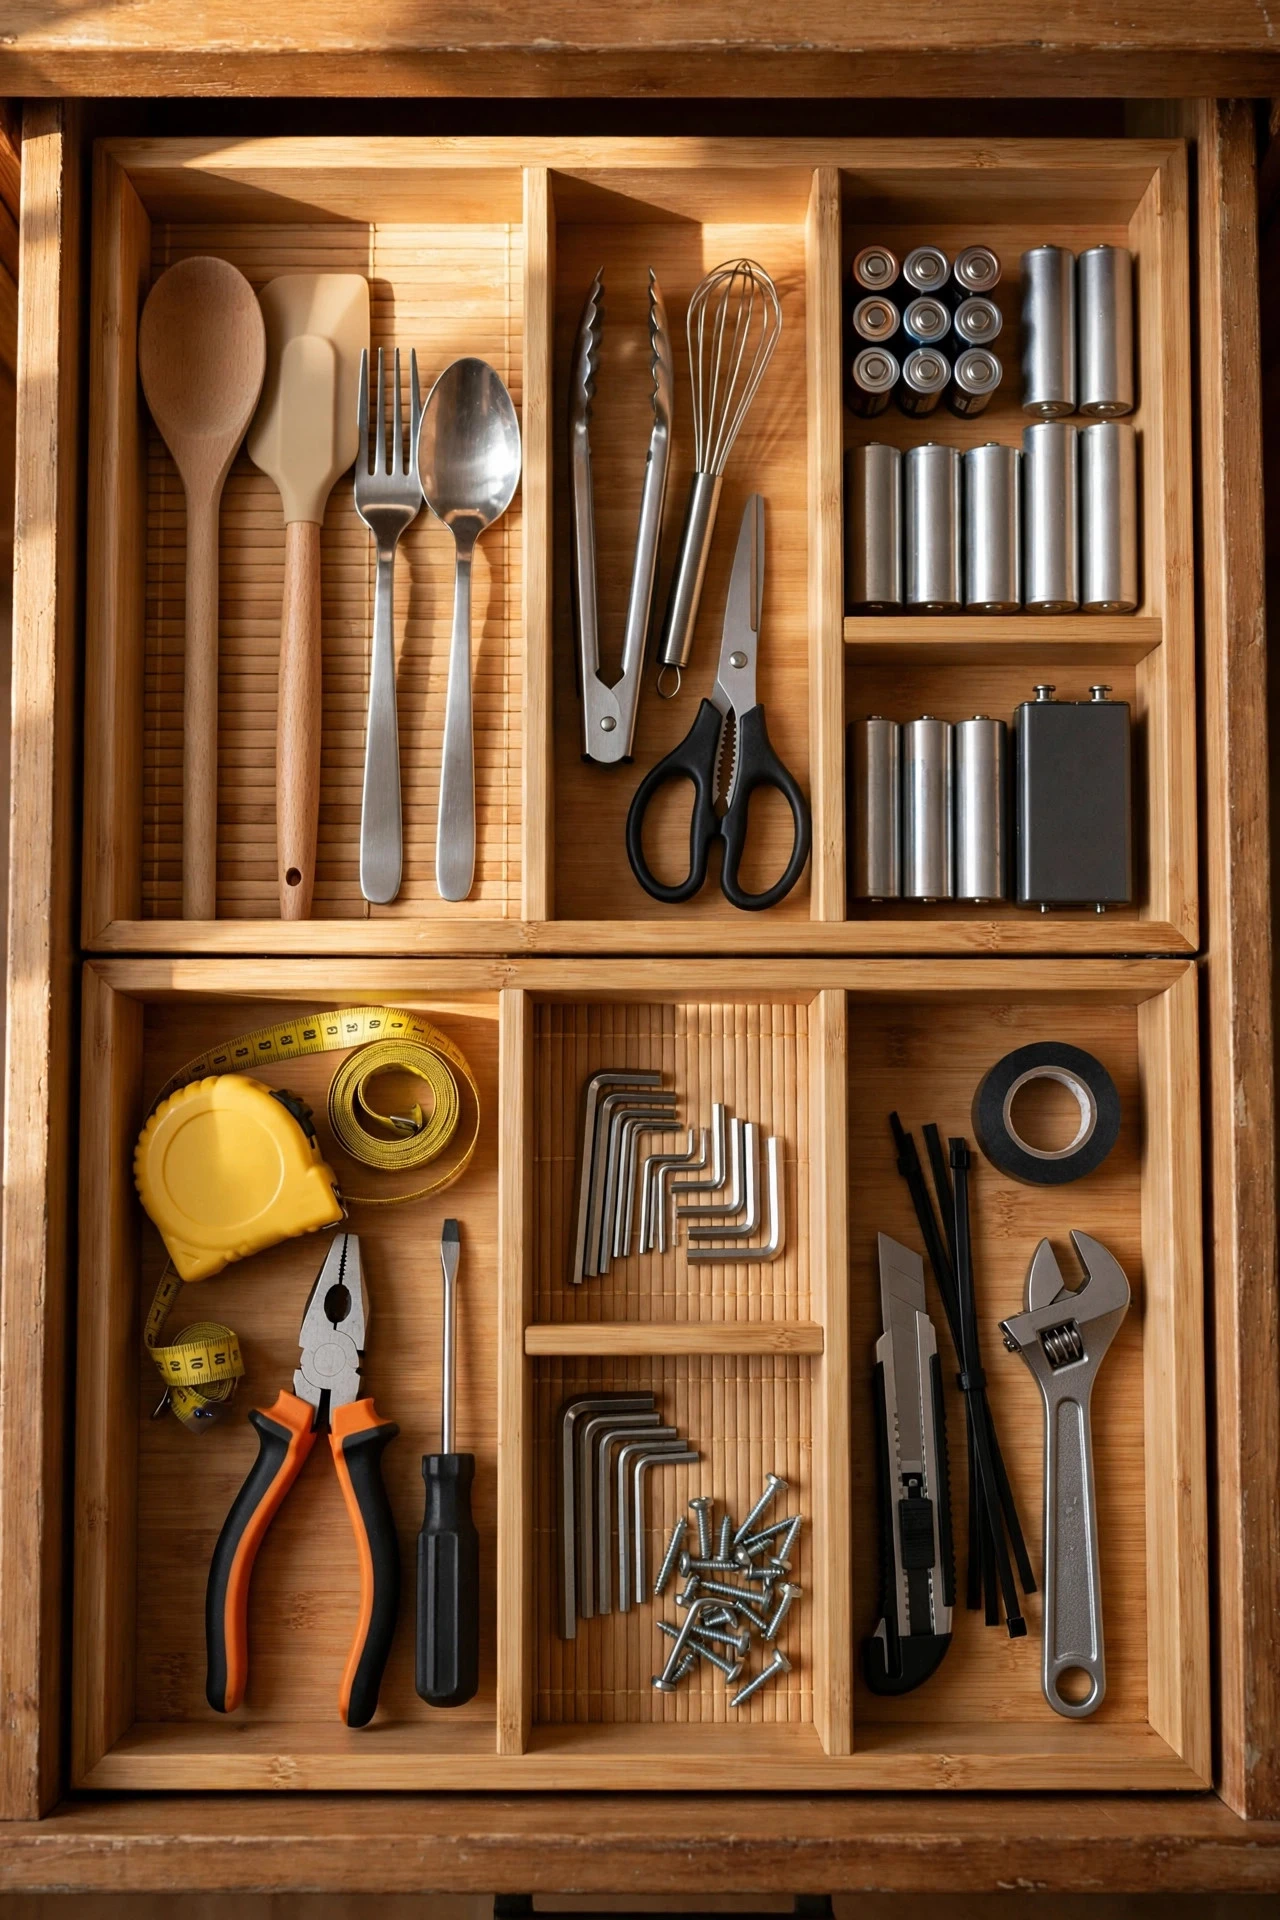
Drawer dividers turn one chaotic junk drawer into defined zones for batteries, tape, scissors, chargers, and the small tools that otherwise migrate across the whole kitchen. Measure the drawer interior, not the drawer front, and choose adjustable bamboo or plastic dividers that leave no more than 1/4 inch of play, or cut 1/4-inch plywood dividers to fit for a permanent solution. A standard 18- to 24-inch-wide utensil drawer needs three to five compartments, while a deeper 24-inch drawer suits six to eight smaller zones for lids, clips, and twist ties. Adjustable divider sets cost approximately $12 to $30 per drawer, and custom plywood dividers cost $20 to $50 in materials. Assign every compartment a purpose, remove anything without a home, and keep only one of each duplicate tool. The mistake to avoid is buying dividers before emptying and measuring the drawer, which produces neat-looking boxes that do not fit and a drawer that still will not close.
6. Shelf Risers to Double Cabinet Space
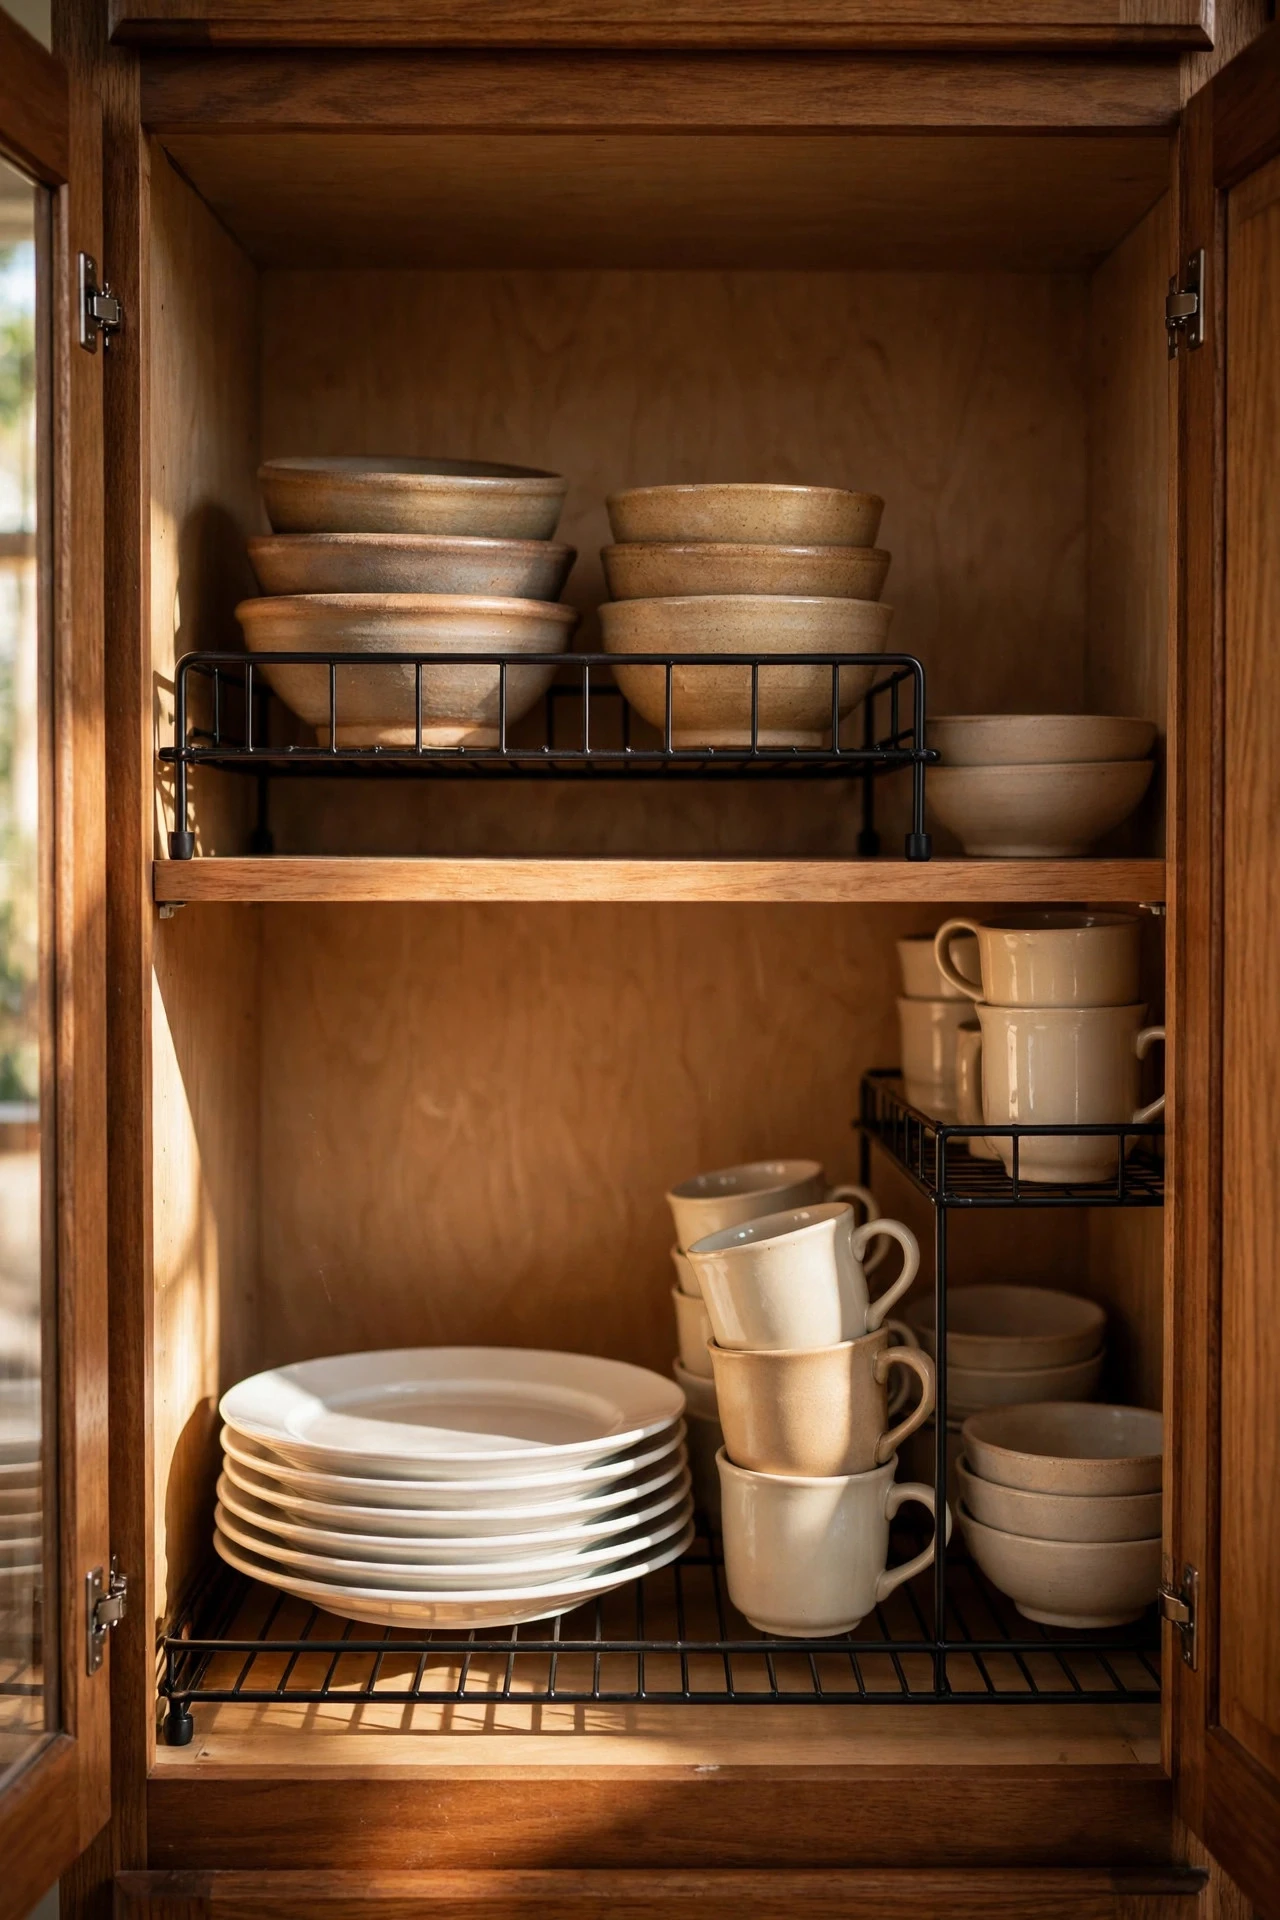
Shelf risers add a second level inside a cabinet so mugs, bowls, plates, and canned goods stack without the dangerous tower that topples every time you reach for one item. Choose a riser 9 to 12 inches wide and 5 to 7 inches tall for standard 12-inch-deep wall cabinets, leaving at least 10 inches of clearance above the riser for dinner plates and 7 inches below for mugs and bowls. Wire risers suit dishes and canned goods, while bamboo or coated-steel risers look calmer on open shelves and in pantries. Two risers per cabinet is the practical limit, and a set of two costs approximately $12 to $28. Place daily dishes on the riser and below it, seasonal pieces behind, and keep the heaviest stacks, such as stoneware plates, on the lowest shelf. The mistake to avoid is stacking plates so high above a riser that they hit the shelf above, which chips rims and forces you to unload the whole cabinet to reach one plate.
7. A Rolling Cart as a Movable Pantry
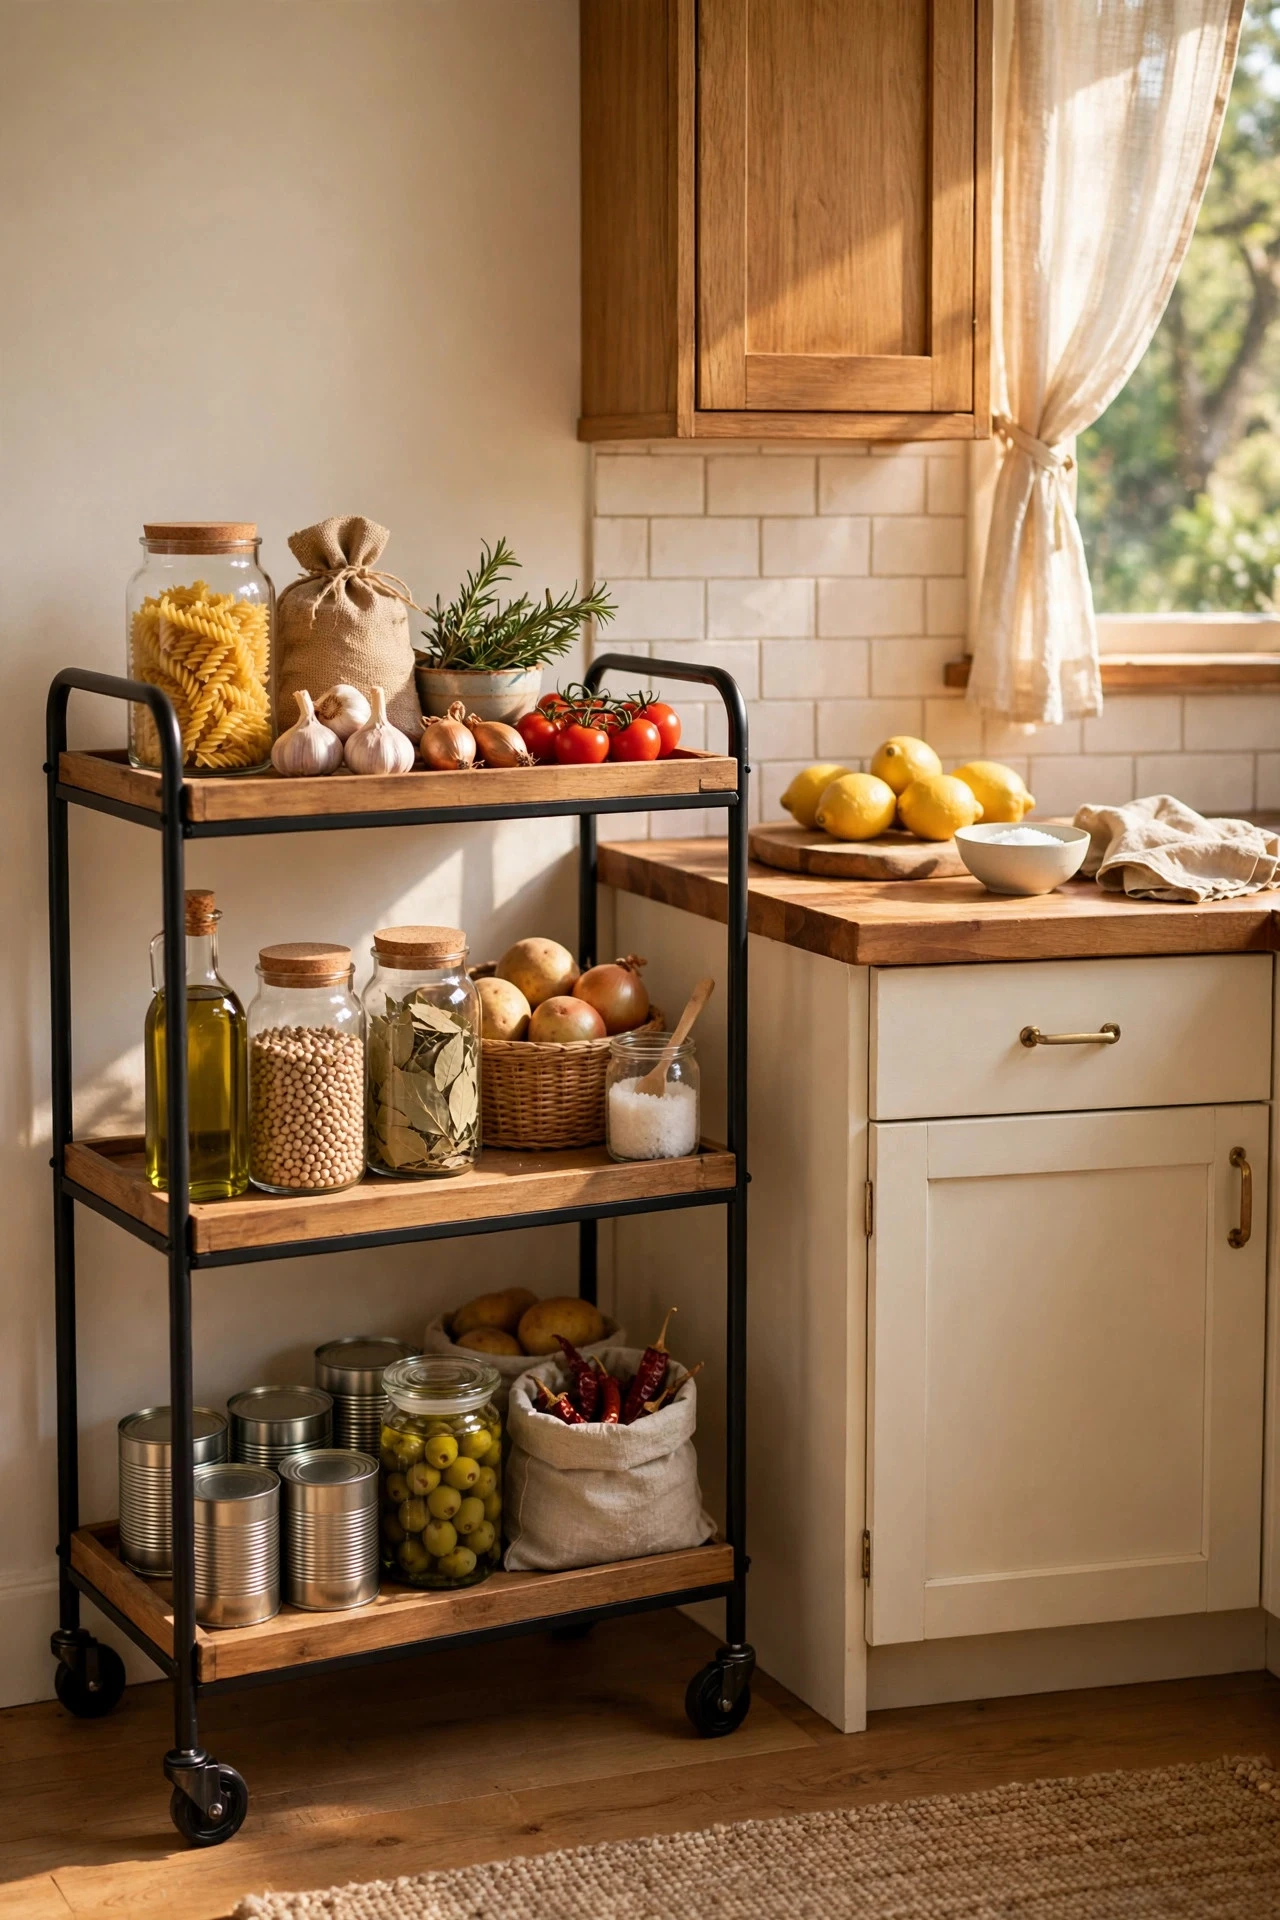
A rolling cart is a movable pantry, prep surface, and serving station in one, and it earns its footprint in a small kitchen only if it parks in a defined home when not in use. Choose a three-tier cart 12 to 18 inches wide, 16 to 24 inches long, and 30 to 38 inches tall, with locking casters and a weight rating of at least 40 pounds. Stock the top tier with daily cooking oils and seasonings, the middle with produce and snacks, and the bottom with heavy cans and cleaning supplies, Metal and wood carts cost approximately $35 to $120, and a butcher-block top adds $40 to $90. Roll it beside the stove while cooking, then return it to its parking spot after every meal. See these kitchen island decor ideas for a compact island version. The mistake to avoid is letting the cart become a roaming dumping ground with no parking spot, which clutters walkways and blocks cabinet doors within days.
8. Magnetic Knife Strip and Wall Rails
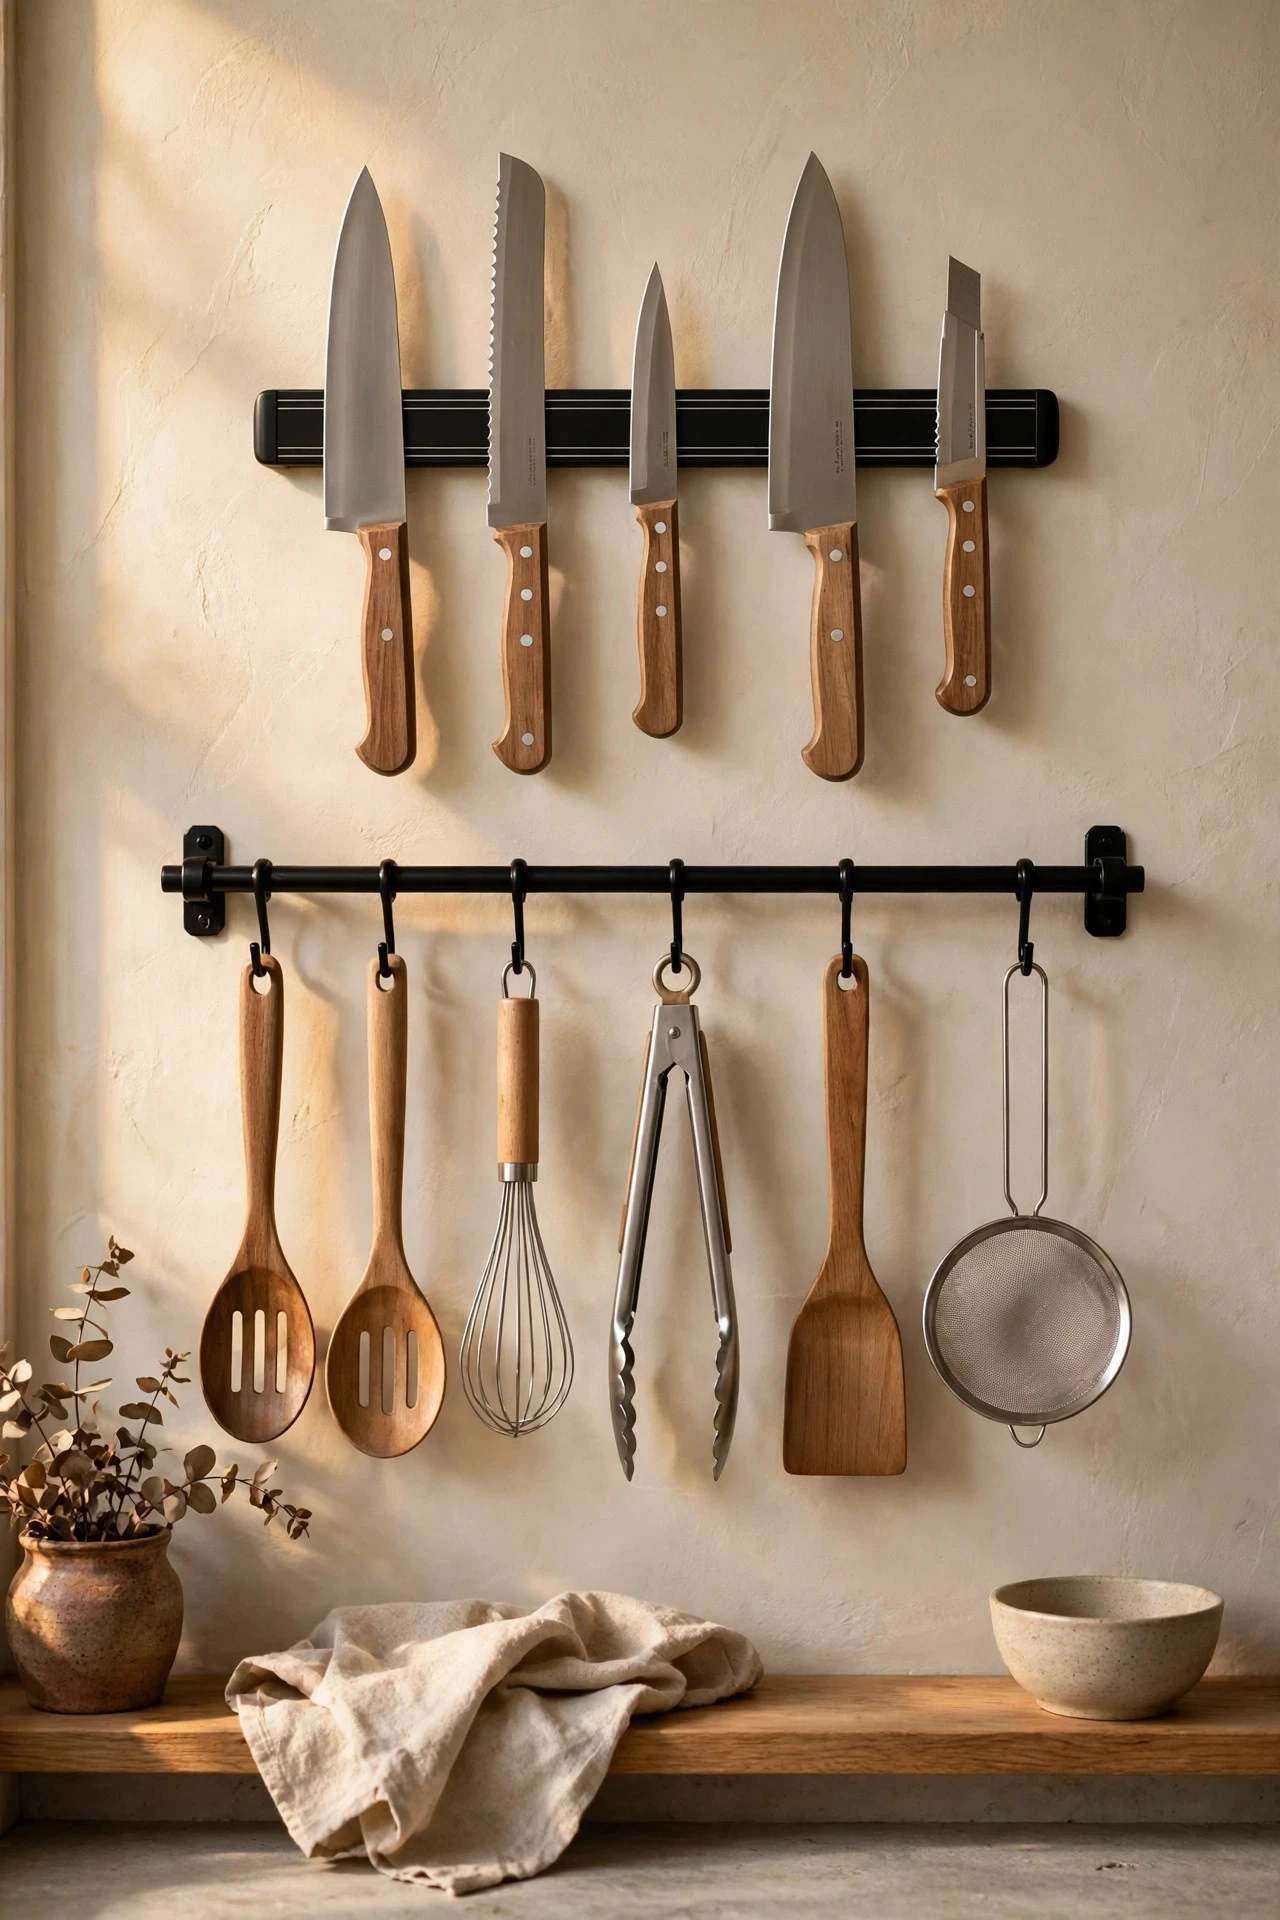
A magnetic knife strip and wall rails free an entire drawer and a stretch of counter by moving knives, utensils, and spice jars onto the wall at arm's reach. Mount a 16- to 24-inch magnetic strip at 60 to 66 inches from the floor, into studs or with heavy-duty wall anchors, so blades sit above counter height. Add one or two stainless steel rails with S-hooks below the strip for ladles, tongs, and measuring cups, keeping the rail at least 18 inches from the stove burners so handles stay cool. A quality magnetic strip costs approximately $20 to $60, rails and hooks add $15 to $40, and installation takes under an hour. Keep only the five or six knives you use weekly on display, wiped dry before mounting. The mistake to avoid is mounting the strip with adhesive or light anchors in drywall, where the combined weight of knives can peel the strip off the wall and drop blades onto the counter.
9. Toe-Kick Drawers for Trays and Tins
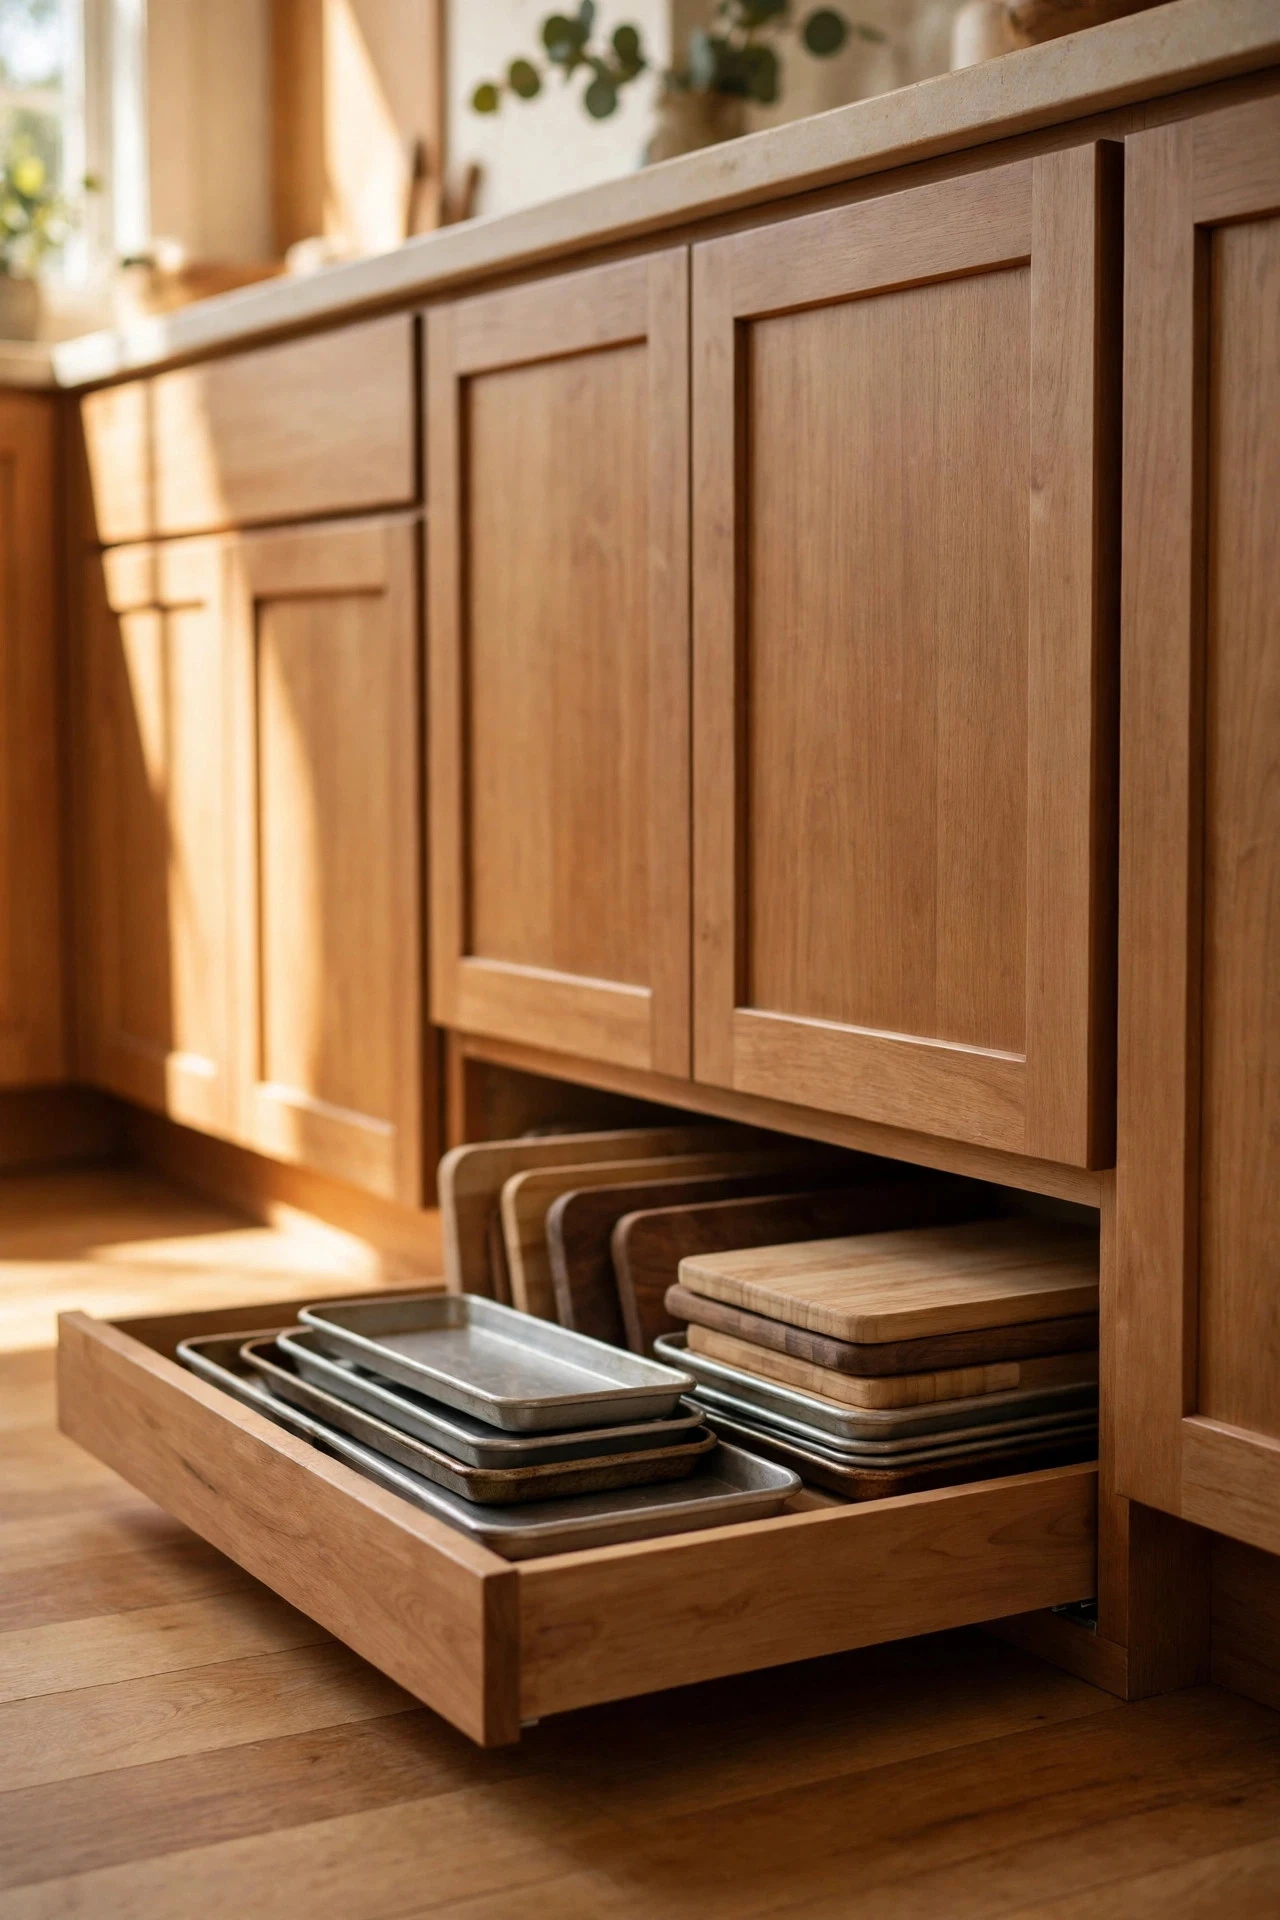
Toe-kick drawers hide flat storage in the 4-inch recess beneath base cabinets, the strip of space your feet use that otherwise holds nothing but dust. A toe-kick drawer is typically 3 to 3.5 inches tall inside, 20 to 30 inches wide, and as deep as the cabinet, which is exactly right for baking sheets, muffin tins, cutting boards, placemats, and table linens laid flat. Retrofit kits with soft-close slides cost approximately $45 to $90 per drawer, plus $60 to $150 for installation if the plinth needs cutting, while toe-kick drawers specified in a new kitchen add $100 to $250 each. Line the drawer base with a washable liner, keep only flat items inside so the drawer glides freely, and wipe the floor track monthly. The mistake to avoid is storing heavy roasting pans or cast-iron griddles in a toe-kick drawer, which overloads the shallow slides, scrapes the floor, and makes the drawer stick after a few uses.
10. Clear Containers and a Label System
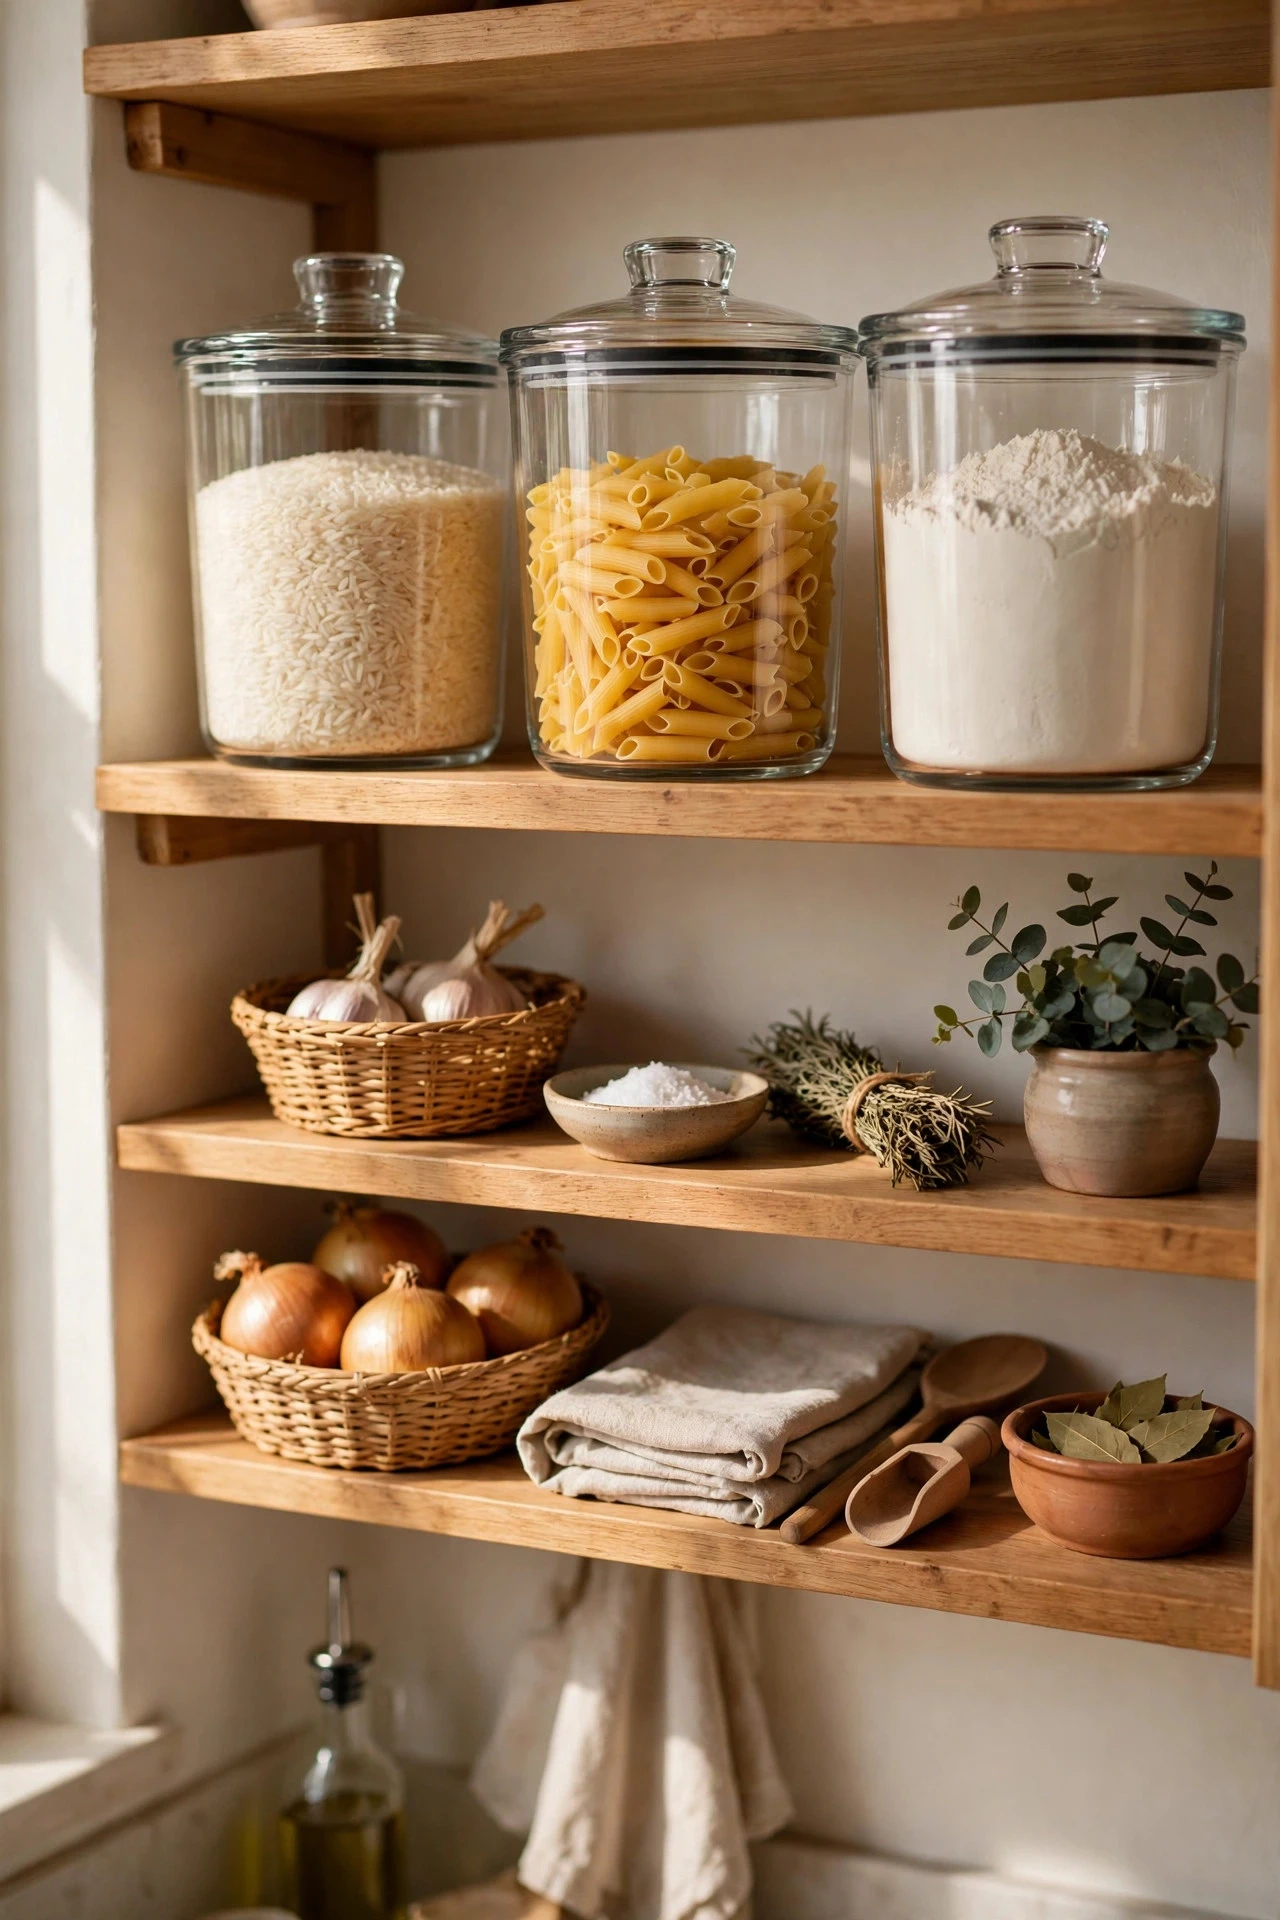
Clear containers and a consistent label system make pantry contents visible at a glance, which cuts duplicate buying and stops food from expiring unseen behind opaque boxes. Decant only dry staples you buy repeatedly, such as rice, pasta, flour, oats, and cereal, into airtight containers 32 to 64 ounces for everyday items and 16 to 32 ounces for spices and baking extras. Square containers waste less shelf space than round ones, and a uniform set of 10 to 12 containers costs approximately $30 to $70, with labels adding $8 to $20. Label each container with the contents and the date decanted, store flour and grains away from the stove's heat. A pantry full of matching containers also suits the open shelving seen in farmhouse-style kitchens, where visible storage becomes part of the decor. The mistake to avoid is decanting everything at once, including rarely used grains and half-empty boxes, which fills shelves with pretty containers and leaves no room for the food you actually cook with.
11. Over-the-Sink Board and Drying Rack
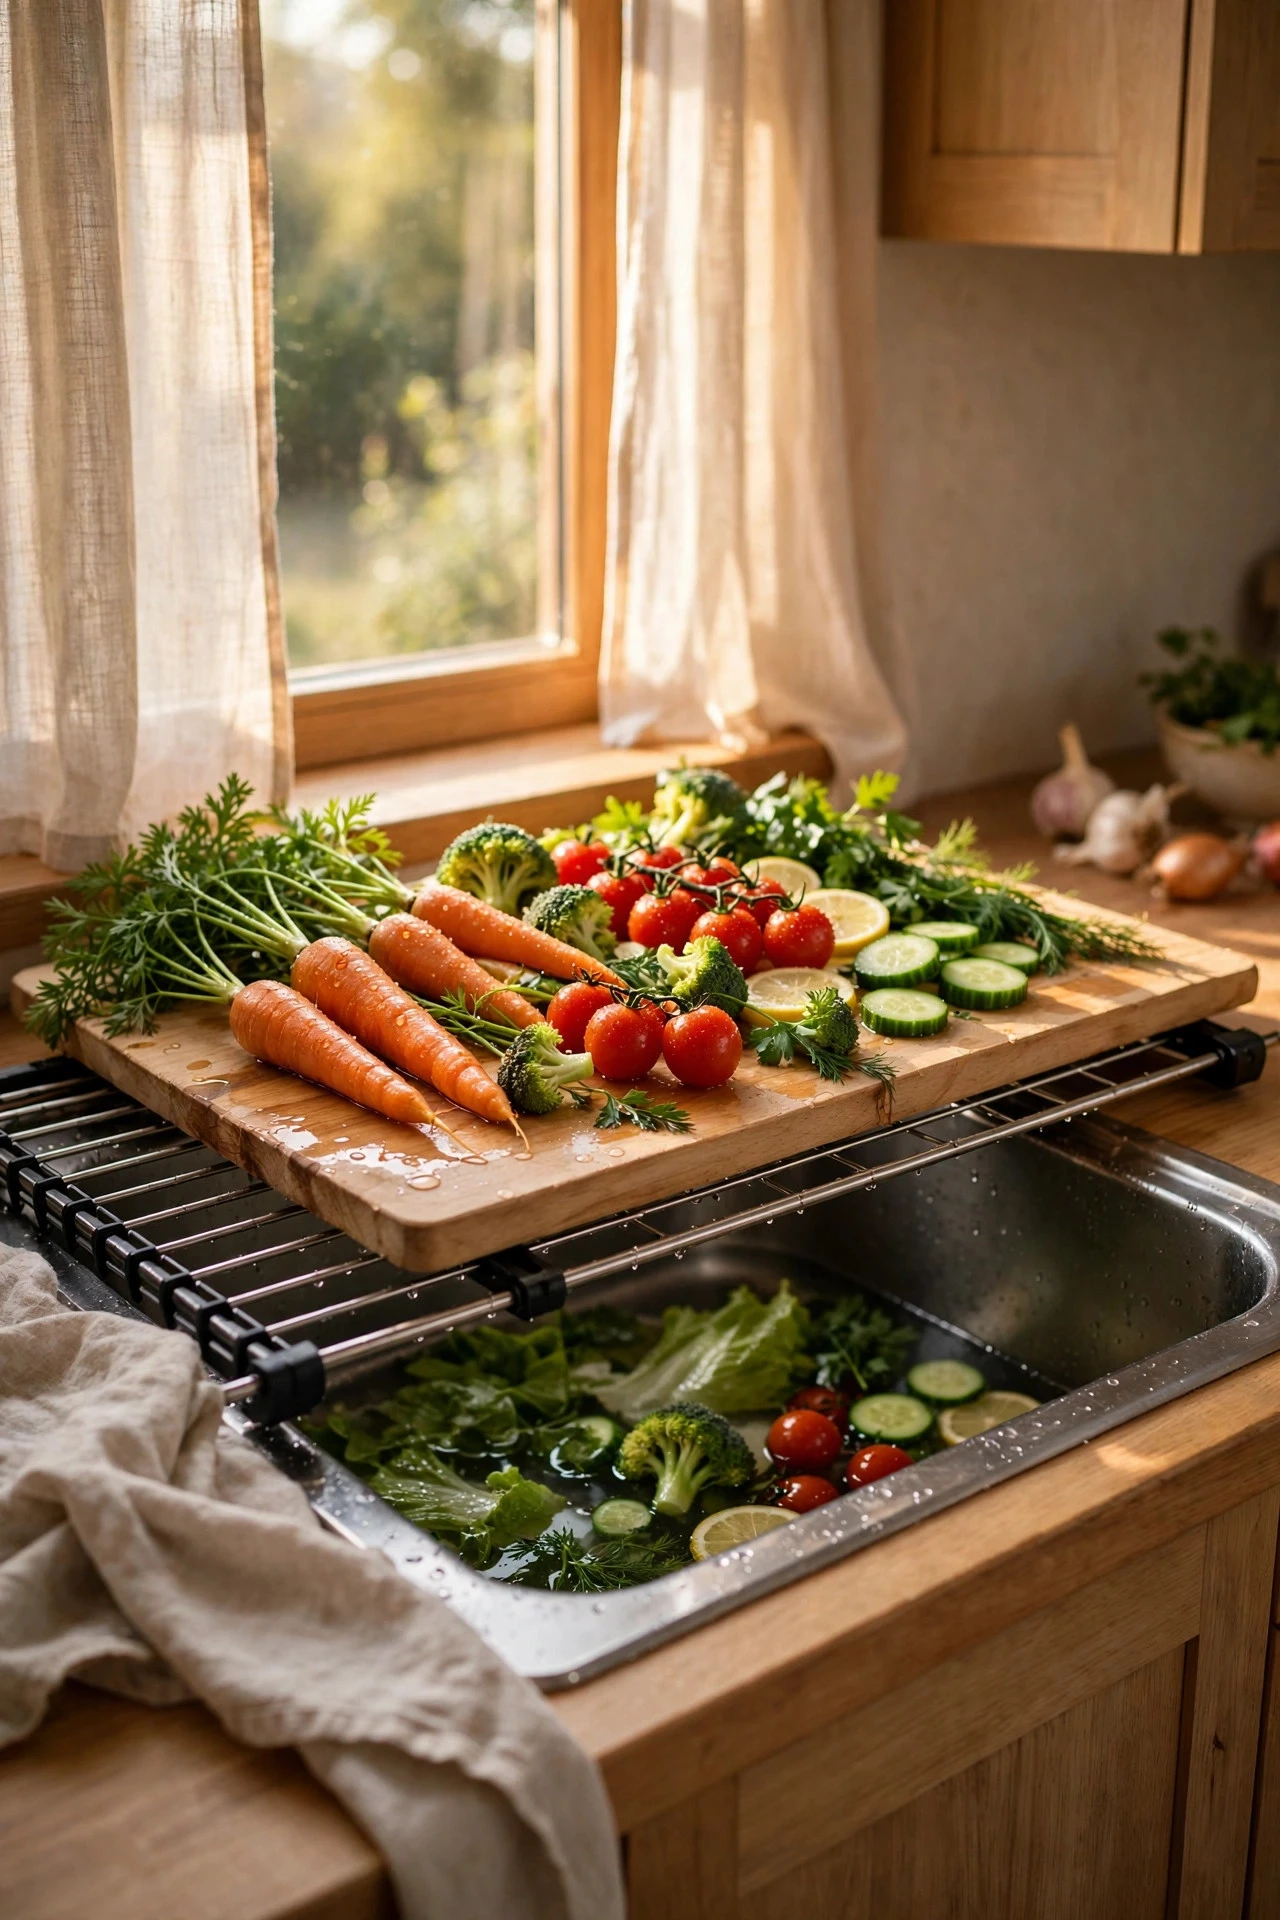
An over-the-sink board and roll-up drying rack reclaim the sink basin as counter space for prep, drying, and serving without adding a single cabinet. Measure the sink interior, then choose a cutting board 15 to 20 inches long that rests on the sink rim, and a silicone-coated steel roll-up rack 17 to 20 inches long that spans the basin and supports up to 15 pounds of dishes or produce. Use the board for chopping over the sink so scraps fall straight into the basin, roll the rack out for rinsing vegetables and air-drying mugs, and roll it up for storage in a 2-inch gap beside the sink when dinner is done. A hardwood over-sink board costs approximately $25 to $60, and a roll-up rack costs $20 to $45. Oil the board monthly with food-safe mineral oil. The mistake to avoid is buying a board or rack wider than the sink opening, which rocks, slides, and dumps dishes into the basin at the worst moment.
12. Corner Carousel and Blind-Corner Pull-Outs
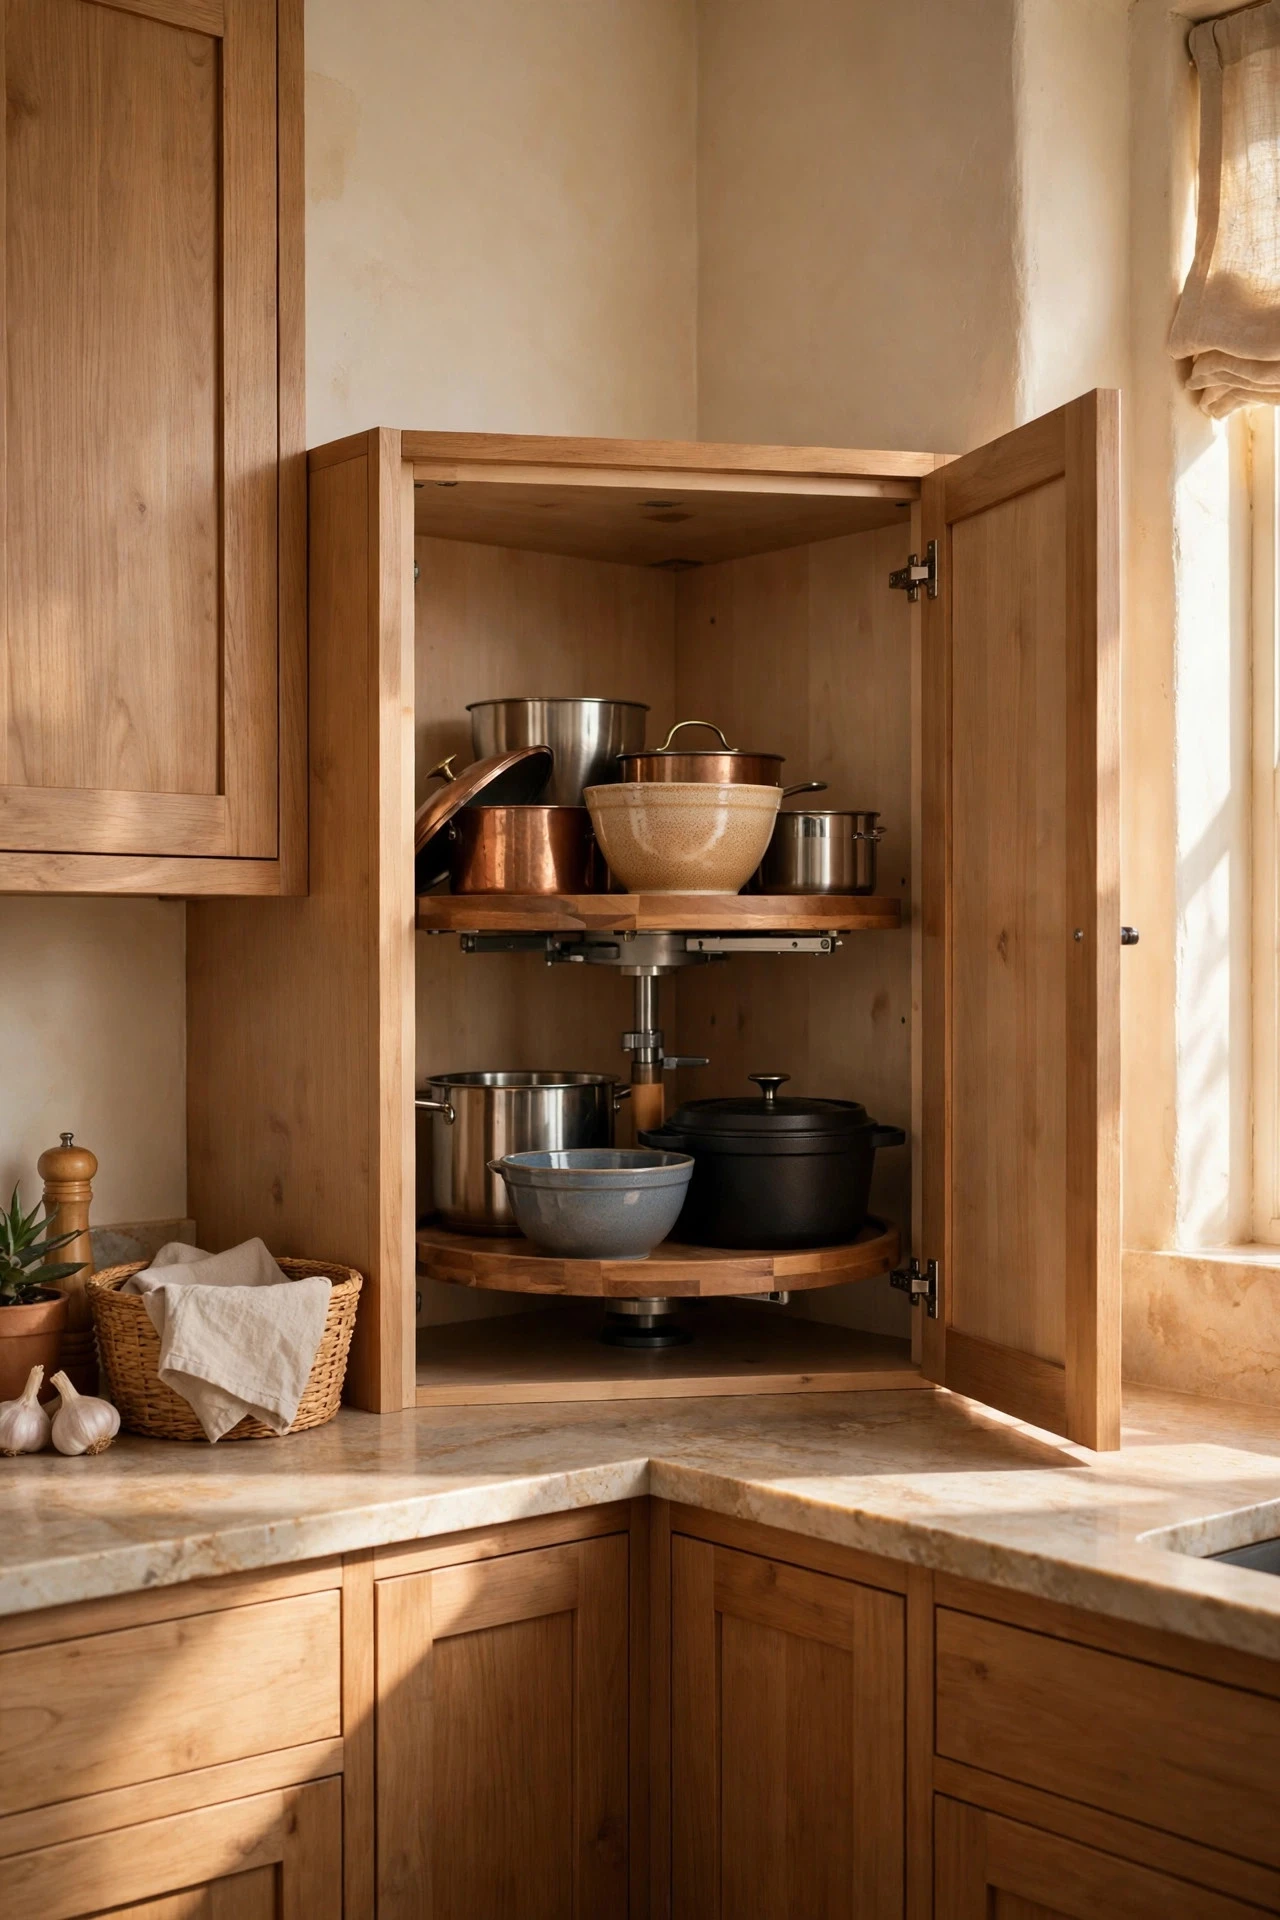
Corner cabinets waste the most space in small kitchens because the back corner sits 24 to 36 inches from the door, far beyond comfortable reach. A lazy Susan carousel, 28 to 32 inches in diameter for a standard corner base cabinet, brings the back of the cabinet to you in one spin, while a blind-corner pull-out uses two sliding shelves to deliver items stored in the hidden section. Carousels suit round items such as pots, mixing bowls, and small appliances, and a two-tier unit costs approximately $60 to $180 plus $100 to $250 for installation. Blind-corner pull-outs suit heavier items, and cost $150 to $400 installed. Store the heaviest pots on the lowest tier and leave 2 inches of clearance above each tier. The mistake to avoid is filling a carousel to the brim, which jams the rotation, chips dish edges, and turns the corner back into the dead space you were trying to fix.
13. Hang Pots From a Ceiling or Wall Rack
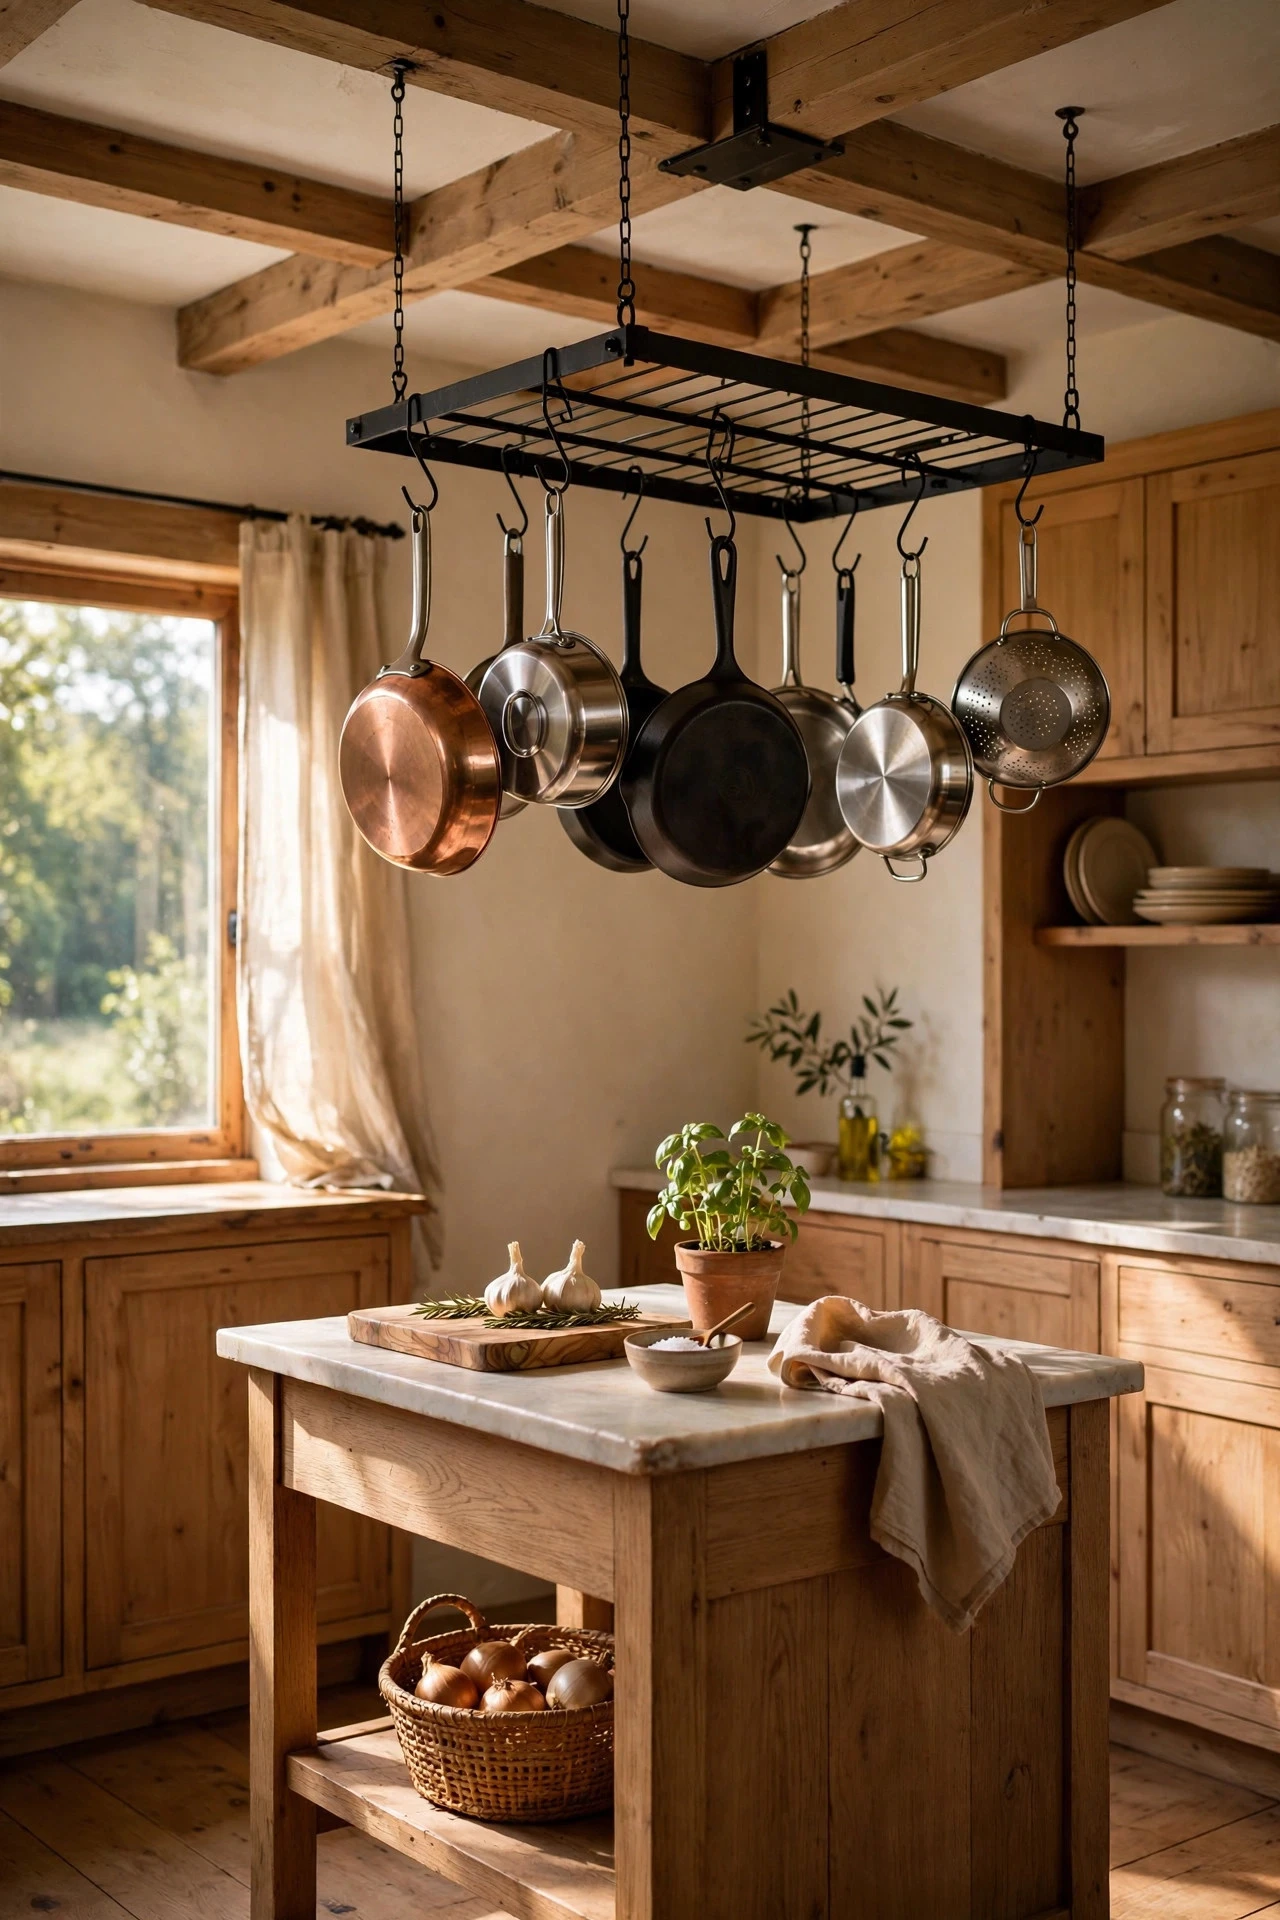
Hanging pots from a ceiling or wall rack frees an entire base cabinet and keeps the pans you use most within one reach of the stove. A wall-mounted rack should sit 60 to 66 inches from the floor, while a ceiling rack hangs 24 to 30 inches above a kitchen island or peninsula and at least 72 inches above the floor so no one bumps their head. Choose a rack rated for 50 to 100 pounds, anchor it into ceiling joists or wall studs, and hang pans by their handles with the heaviest skillet nearest a support point. Wall racks cost approximately $30 to $90, ceiling racks cost $60 to $200, and hooks add $10 to $25. Wipe pan bottoms before hanging so grease does not drip below. The mistake to avoid is hanging a full set of pans, including rarely used stockpots, which creates visual clutter, overloads the rack, and makes the one pan you need hardest to reach.
14. A Slim Cart Between Appliances
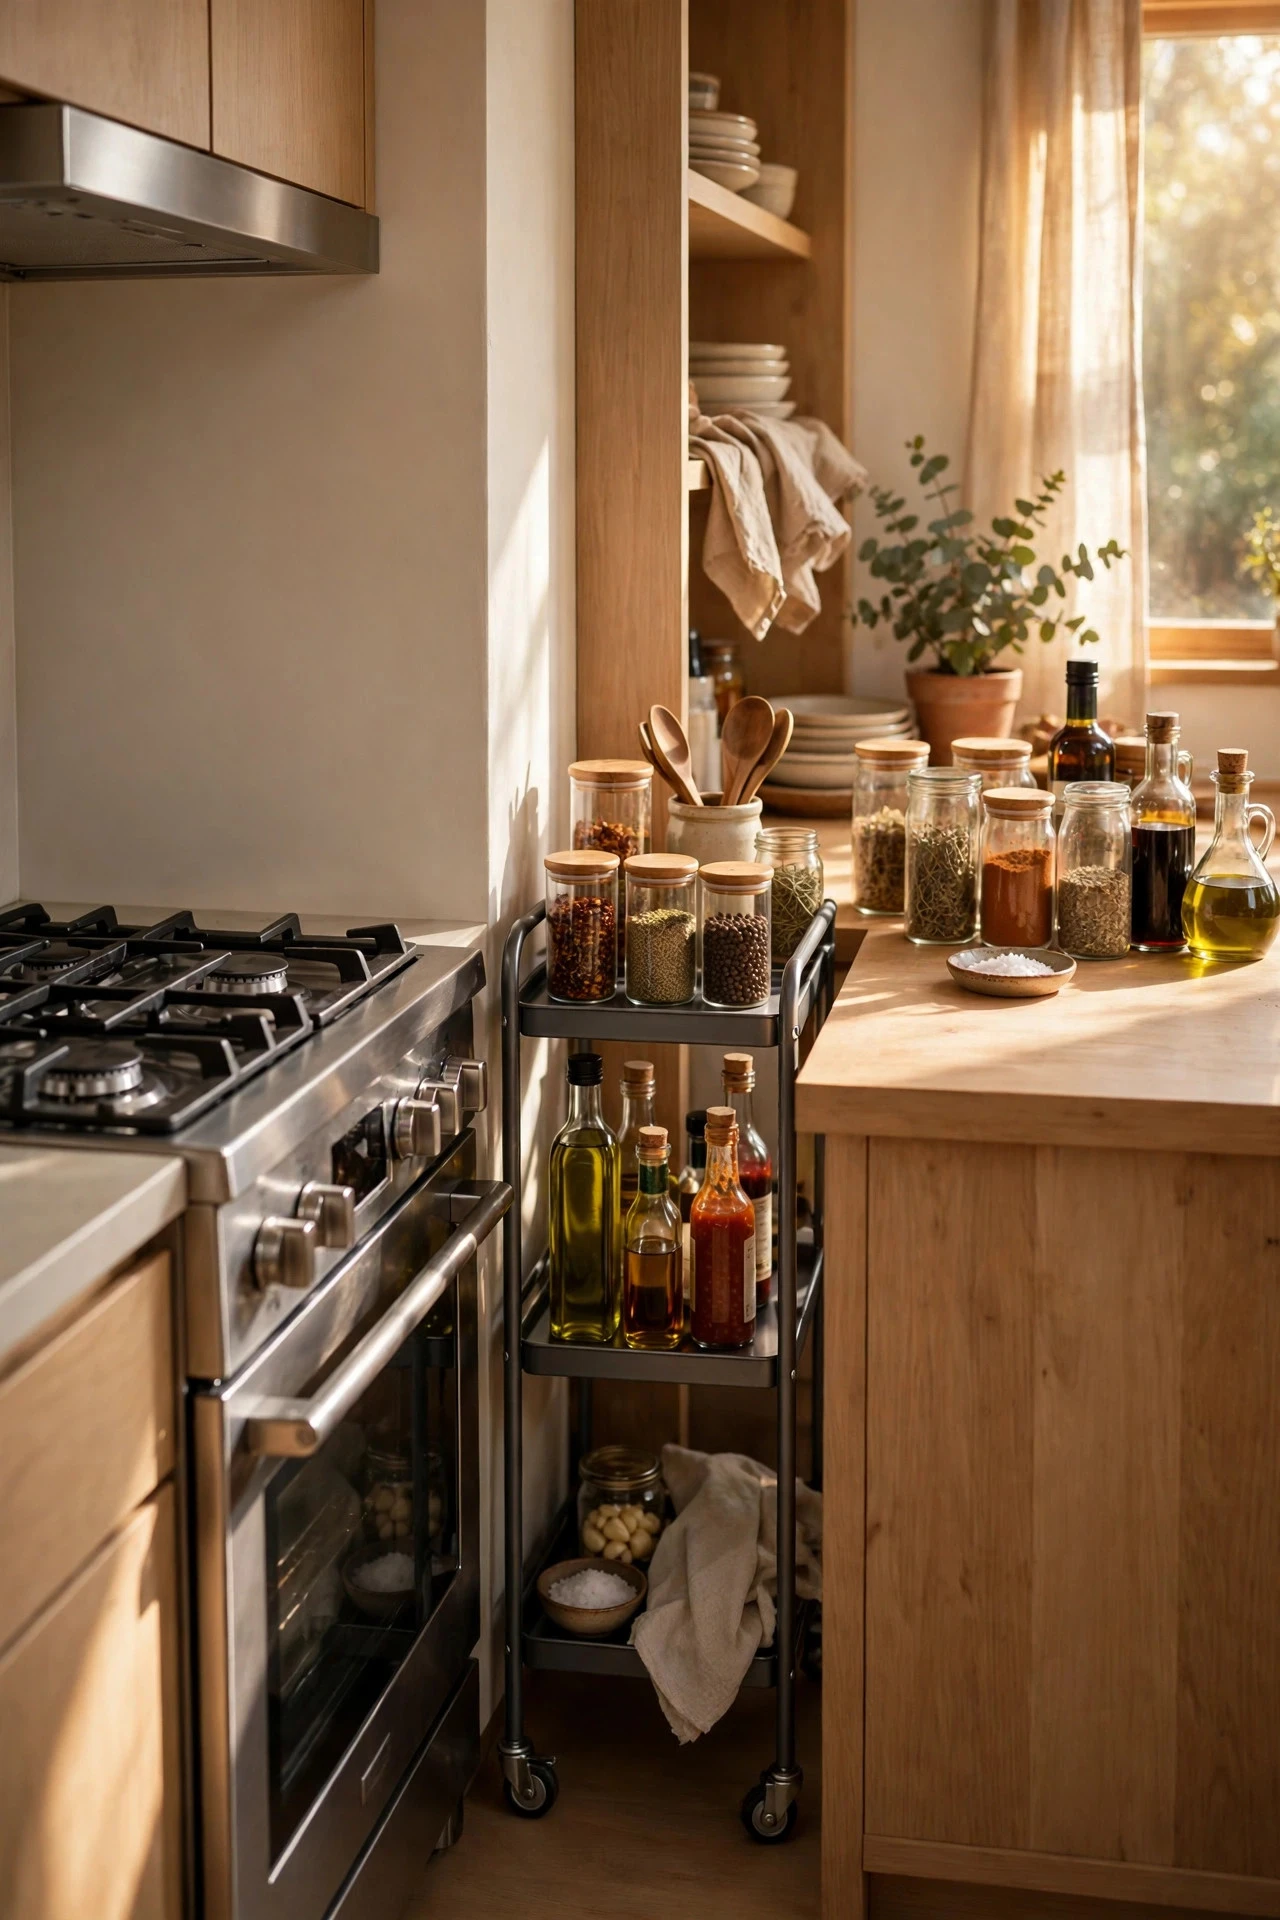
A slim cart between the stove and the counter, or between the refrigerator and the wall, turns a 5- to 8-inch gap into three tiers of reachable storage. Measure the gap at the floor, the counter, and the top, then choose a cart 4 to 7 inches wide, 15 to 20 inches deep, and 28 to 34 inches tall with locking wheels. The top tier suits spice jars and oil bottles used at the stove, the middle holds sauces and canned goods, and the bottom carries cleaning sprays and spare sponges, with a total load under 25 pounds so the cart rolls smoothly. Slim carts cost approximately $25 to $60. Check that oven and refrigerator doors still open fully, and wipe beneath the cart weekly. The mistake to avoid is forcing a cart into a gap narrower than its wheels, which scratches appliance finishes, traps the cart, and blocks the ventilation space the appliance needs.
15. Under-Shelf Baskets for Mugs and Produce

Under-shelf baskets clip beneath an existing shelf and add a hanging layer for mugs, onions, garlic, fruit, and small packets without drilling or new shelving. Choose a wire basket 10 to 14 inches wide, 10 to 12 inches deep, and 4 to 6 inches tall, with arms that grip a shelf 3/4 to 1 inch thick, and keep the load under 5 to 8 pounds so the shelf does not bow. In a pantry, one basket holds mugs below a shelf of plates; in a cabinet, a basket holds produce off the counter. Wire under-shelf baskets cost approximately $8 to $18 each, and three baskets usually cover a small pantry. Keep onions and potatoes in separate baskets, since onions shorten potato storage life. The mistake to avoid is hanging a basket from a thin, overloaded shelf already sagging under dishes, which increases the bow and can pull the shelf brackets loose.
16. Decant, Donate, Declutter First
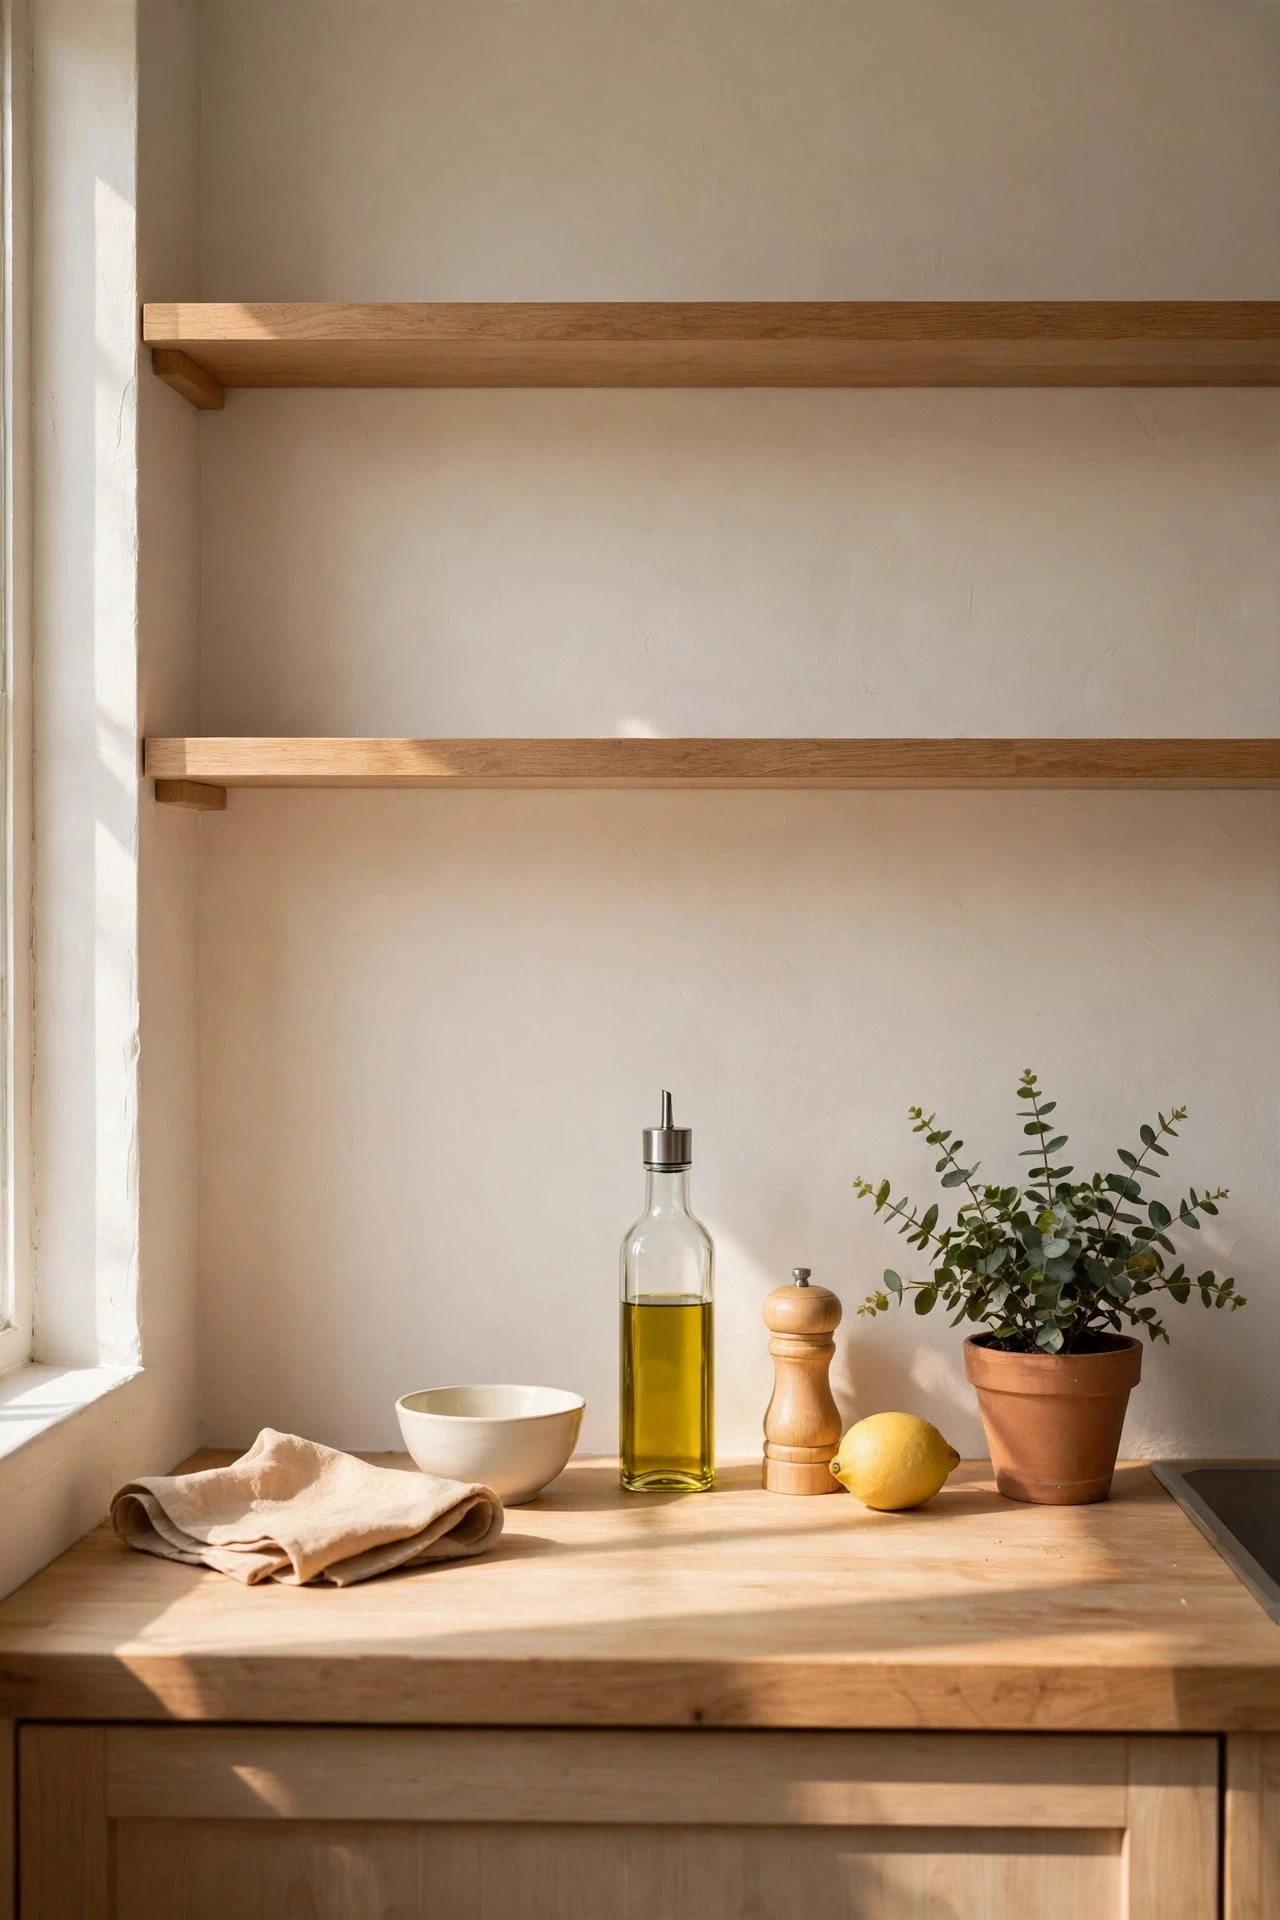
Decluttering before buying storage is the cheapest idea in this list, because every item removed frees space that no container can create. Empty one cabinet or shelf at a time onto the counter, sort items into keep, donate, and discard, and be honest about duplicates: most small kitchens need one large pot, one skillet, one saucepan, and one baking sheet for daily cooking, not three of each. Donate sealed, unexpired pantry food to a local food bank, recycle chipped dishes and warped containers, and return borrowed items promptly. A full-kitchen declutter takes three to five hours spread over a weekend, costs nothing but trash bags and donation boxes at $5 to $15, and typically frees 20 to 30 percent of cabinet space. Set a one-in-one-out rule for new purchases afterward. The mistake to avoid is decluttering straight into shopping for containers, which refills the freed space with new products before you have learned what the kitchen actually needs.
17. Vertical Dividers for Baking Sheets

Vertical dividers store baking sheets, cutting boards, muffin tins, and cooling racks upright in a narrow cabinet, where each item slides out without lifting a stack. Choose dividers spaced 2 to 3 inches apart for sheet pans and 1 to 1.5 inches apart for cutting boards, inside a cabinet at least 9 inches wide and 12 inches deep, with a tension rod or fixed plywood divider holding each slot. A 12-inch-wide base cabinet beside the oven is ideal, because pans travel the shortest distance from storage to use. Metal divider racks cost approximately $15 to $35, plywood divider sets cost $20 to $45 in materials, and installation takes 30 to 60 minutes. Store the largest sheet pan nearest the cabinet opening, keep lids and trays in separate slots, and wipe crumbs from the cabinet floor so dividers stay upright. The mistake to avoid is spacing dividers wide enough for two pans per slot, which recreates the leaning stack, scratches nonstick coatings, and makes the bottom pan nearly impossible to remove.
18. Appliance Garage to Clear Counters
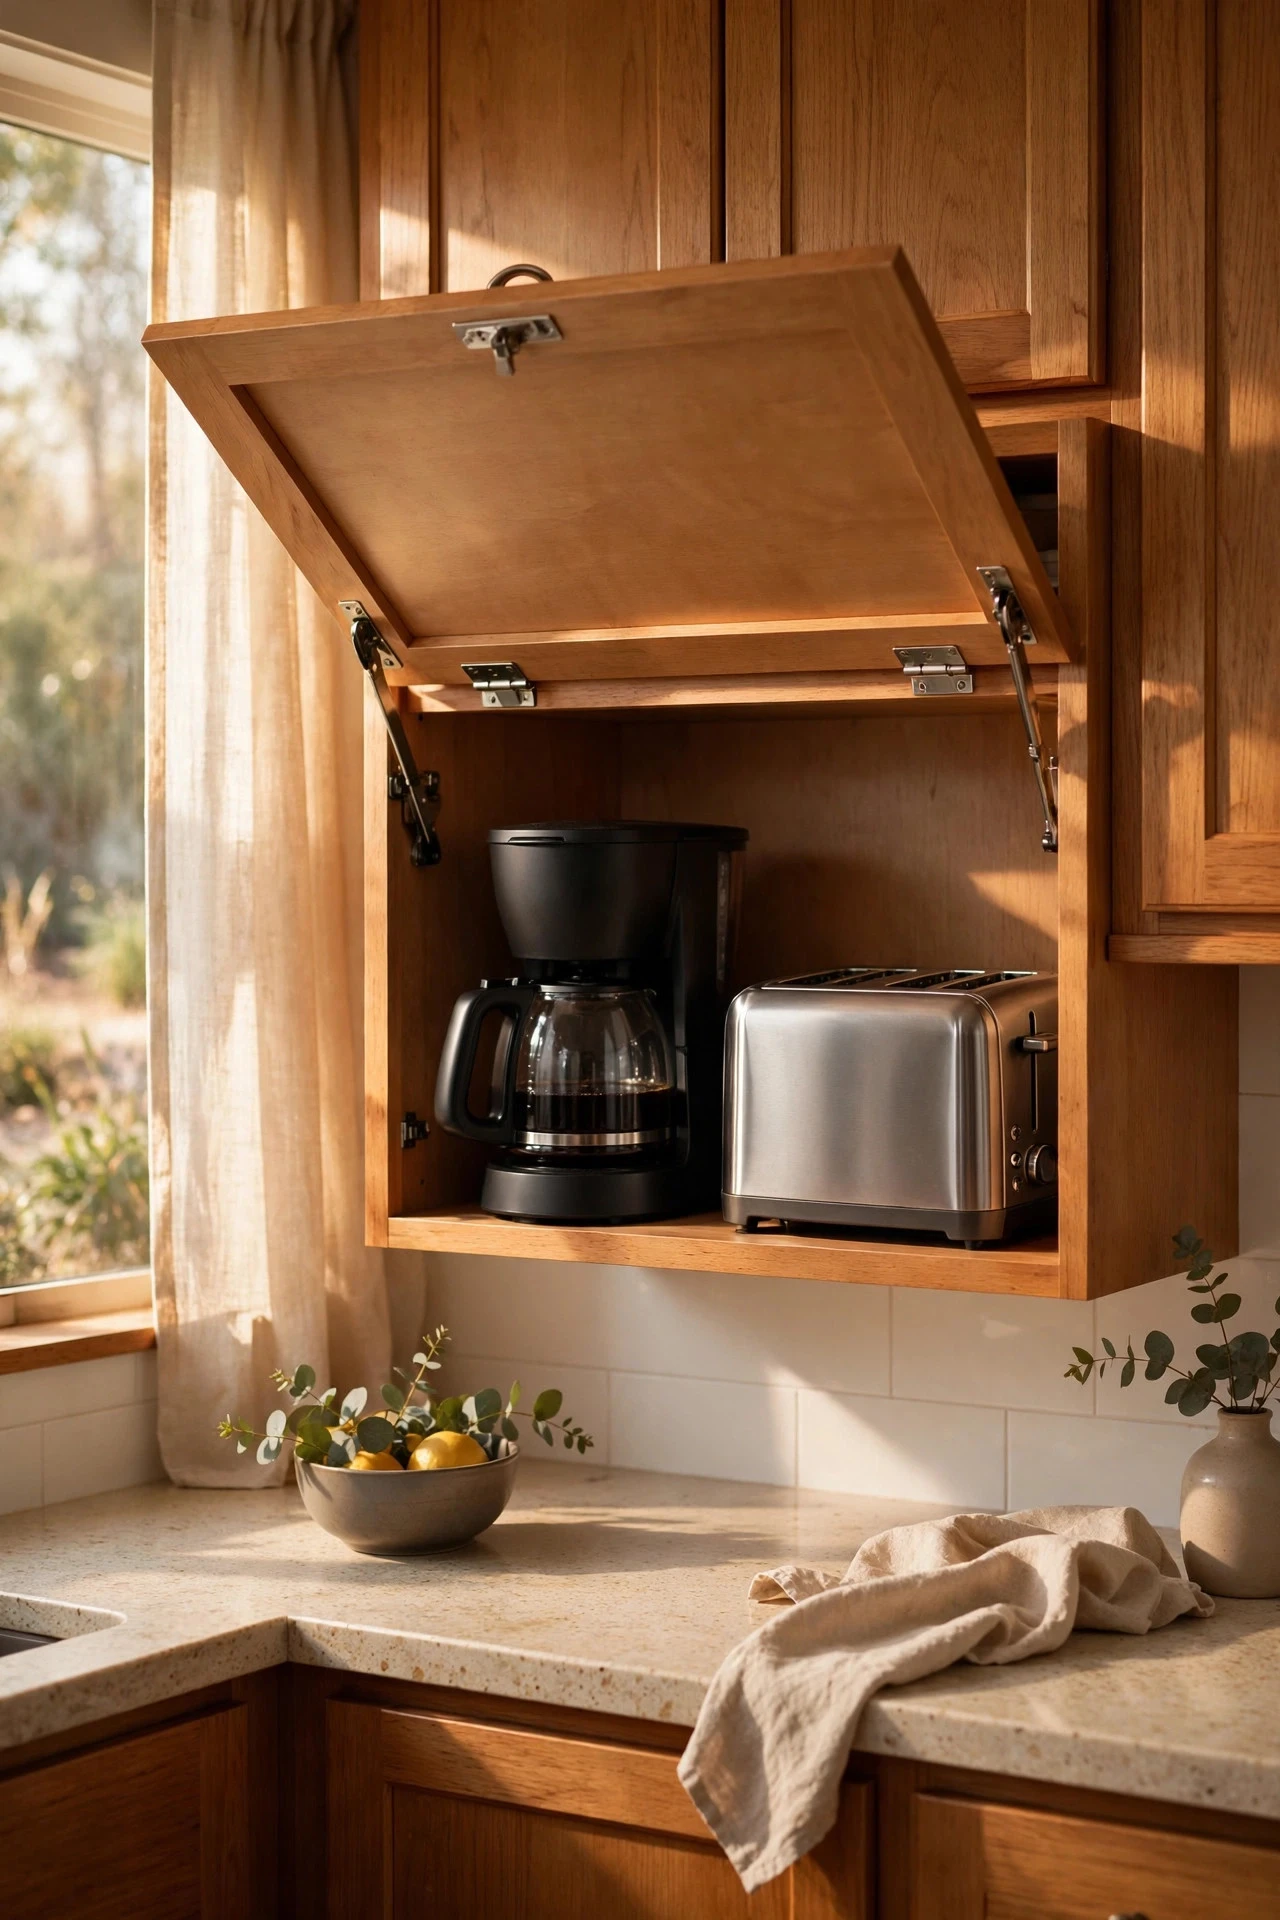
An appliance garage is a cabinet with a lift-up or roll-top door that hides the toaster, coffee maker, and blender while keeping them plugged in and ready to use. Standard appliance garages measure 18 to 24 inches wide, 15 to 18 inches deep, and 16 to 20 inches tall inside, which fits most toasters and coffee makers, and the cabinet needs a duplex outlet inside plus at least 2 inches of ventilation space around heat-producing appliances. Place the garage at the end of a counter run so the door opens without blocking the work triangle. Ready-made appliance garage cabinets cost approximately $200 to $600, roll-top doors add $100 to $250, and electrical work adds $100 to $250 if no outlet exists. Dark cabinetry makes a garage read as intentional furniture; see these black kitchen ideas. The mistake to avoid is sealing a hot toaster or coffee maker inside a closed garage with no ventilation, which traps heat, shortens appliance life, and can scorch the cabinet interior.
19. A Fold-Down Table With Storage Beneath

A fold-down table gives a small kitchen a dining spot, a homework surface, and a prep extension that disappears when the meal is over. Mount a wall table 24 to 30 inches deep and 36 to 48 inches wide at standard table height, 29 to 30 inches, on a wall with at least 36 inches of clear floor space in front, and support it with folding brackets rated for 50 to 75 pounds each. Beneath it, add a shallow 6- to 8-inch shelf for placemats and napkins. Wall-mounted fold-down tables cost approximately $80 to $250, heavy-duty brackets add $30 to $60 per pair, and installation into studs costs $80 to $180. Fold the table up after every meal and keep chairs stackable or folding. The mistake to avoid is mounting the table to drywall with light anchors instead of studs, which pulls the brackets out under a normal dinner load and damages the wall beyond a simple patch.
20. Store by Zone: Cook, Prep, Serve
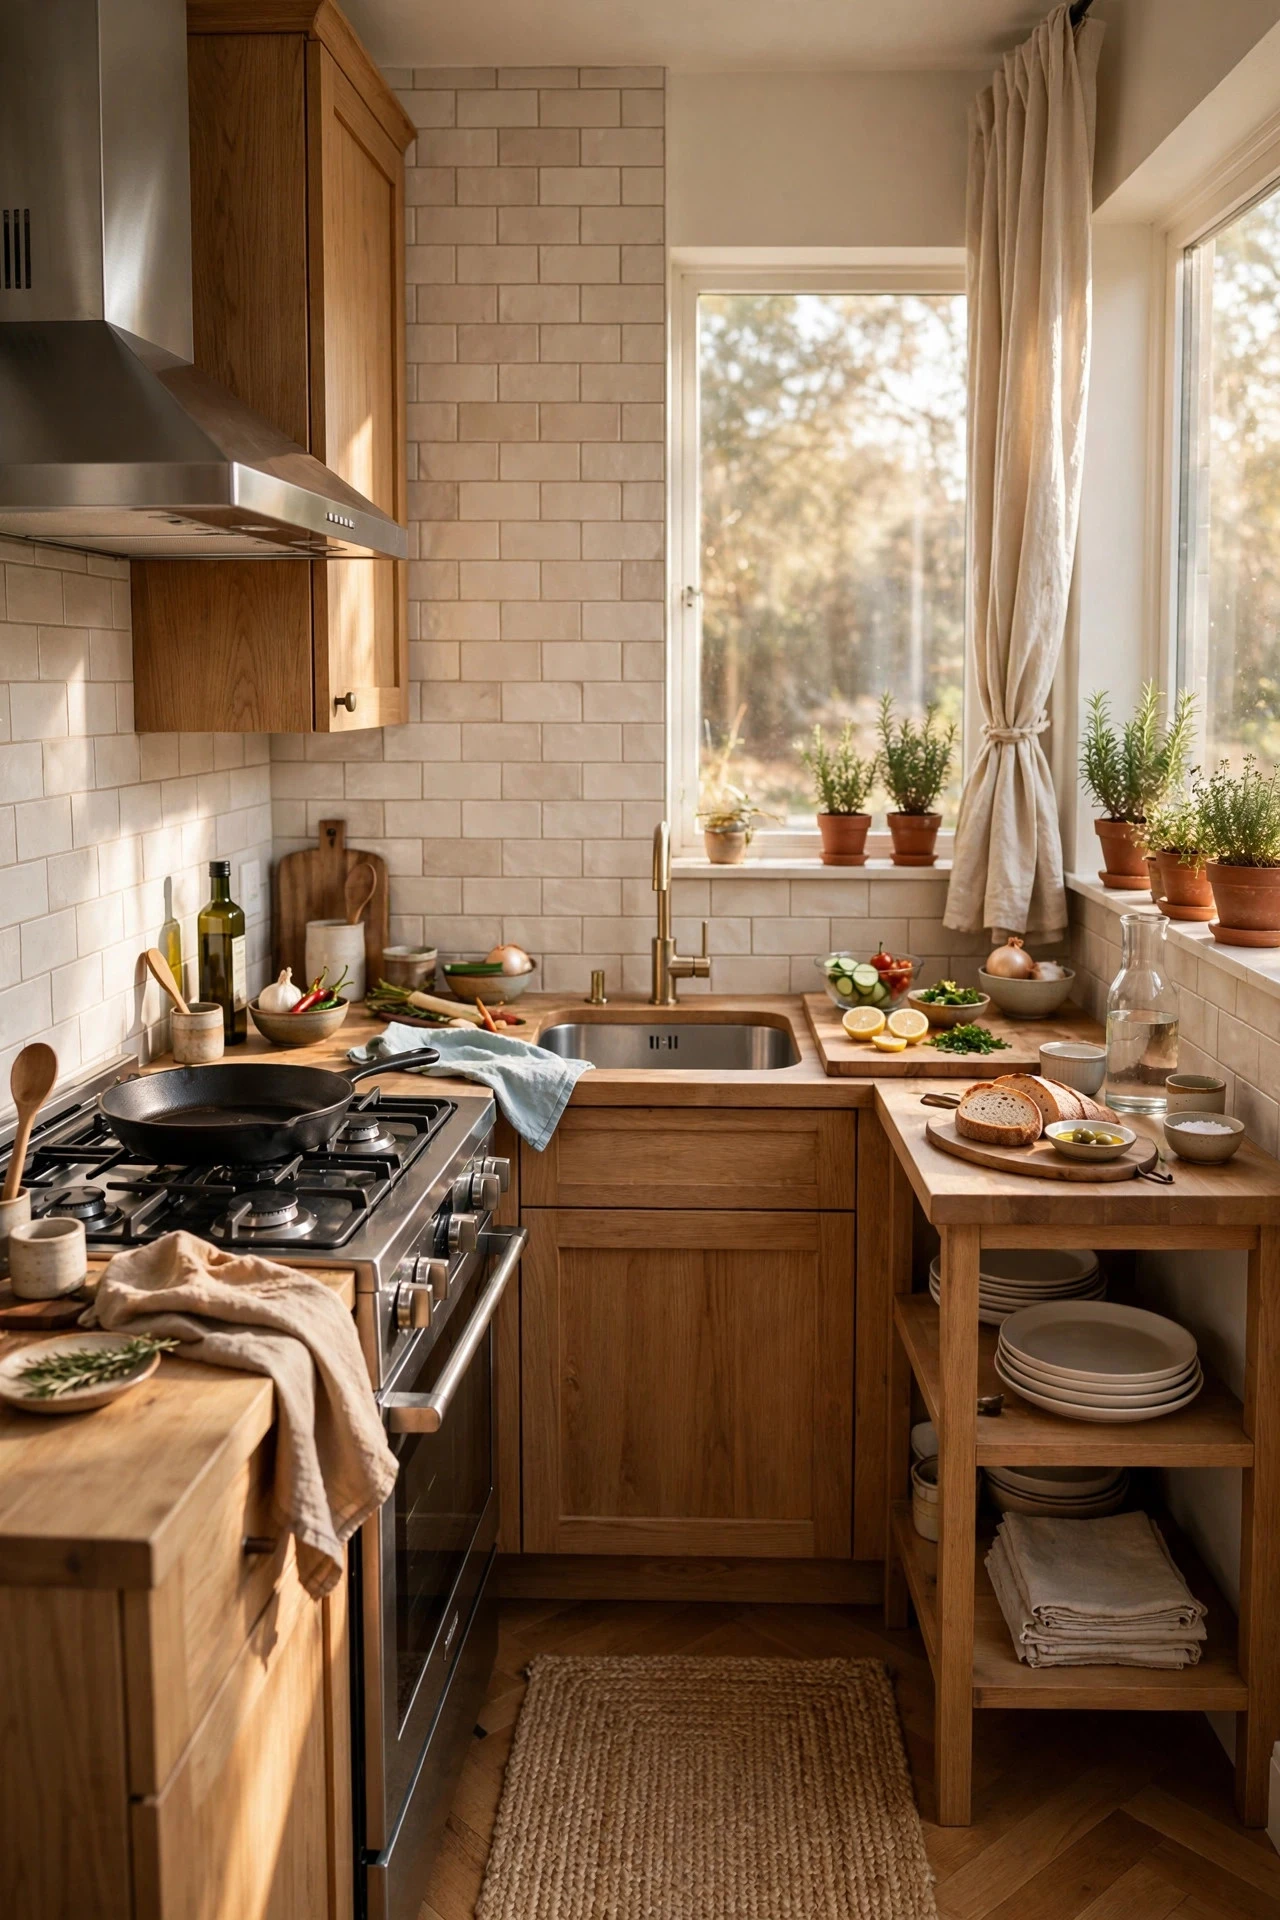
Storing by zone groups every item with the task it serves, so cooking, prep, and serving each have their own territory and nothing travels across the whole kitchen. The cook zone, beside the stove, holds pots, pans, oils, spices, and utensils within 24 inches of the burners; the prep zone, beside the sink and the largest clear counter, holds knives, cutting boards, mixing bowls, and produce; and the serve zone, nearest the table or dining area, holds plates, glasses, placemats, and serving dishes. Label shelf edges for the first two weeks until the layout becomes habit. Zoning costs nothing if you reuse existing shelves, and $30 to $80 if you add risers and dividers to support the new groupings. The mistake to avoid is zoning by item type alone, such as all glassware together regardless of use, which scatters each meal's tools across three cabinets and wastes the very steps zoning is meant to save.
21. Small-Space Pantry in a Cupboard or Closet

A small-space pantry converts one cupboard, closet, or hallway niche into dedicated food storage when the kitchen itself has no pantry cabinet. Choose a cupboard at least 18 inches wide and 12 inches deep, add adjustable shelves spaced 10 to 14 inches apart for cans and boxes, and use the door back for a spice rack and small baskets. A closet pantry needs a motion-sensor light, since closet corners stay dark. Shelf boards, brackets, and a door rack for a single cupboard cost approximately $40 to $120, while a full closet conversion with lighting costs $150 to $400. Keep the pantry within 10 steps of the stove, store food away from cleaning products and heat, and check the temperature if the closet shares a wall with an oven. The mistake to avoid is turning a damp, unventilated closet into a pantry without checking for moisture, which spoils dry goods, warps shelf boards, and leaves a musty smell that spreads to stored food.
22. A Weekly Reset That Keeps Storage Working
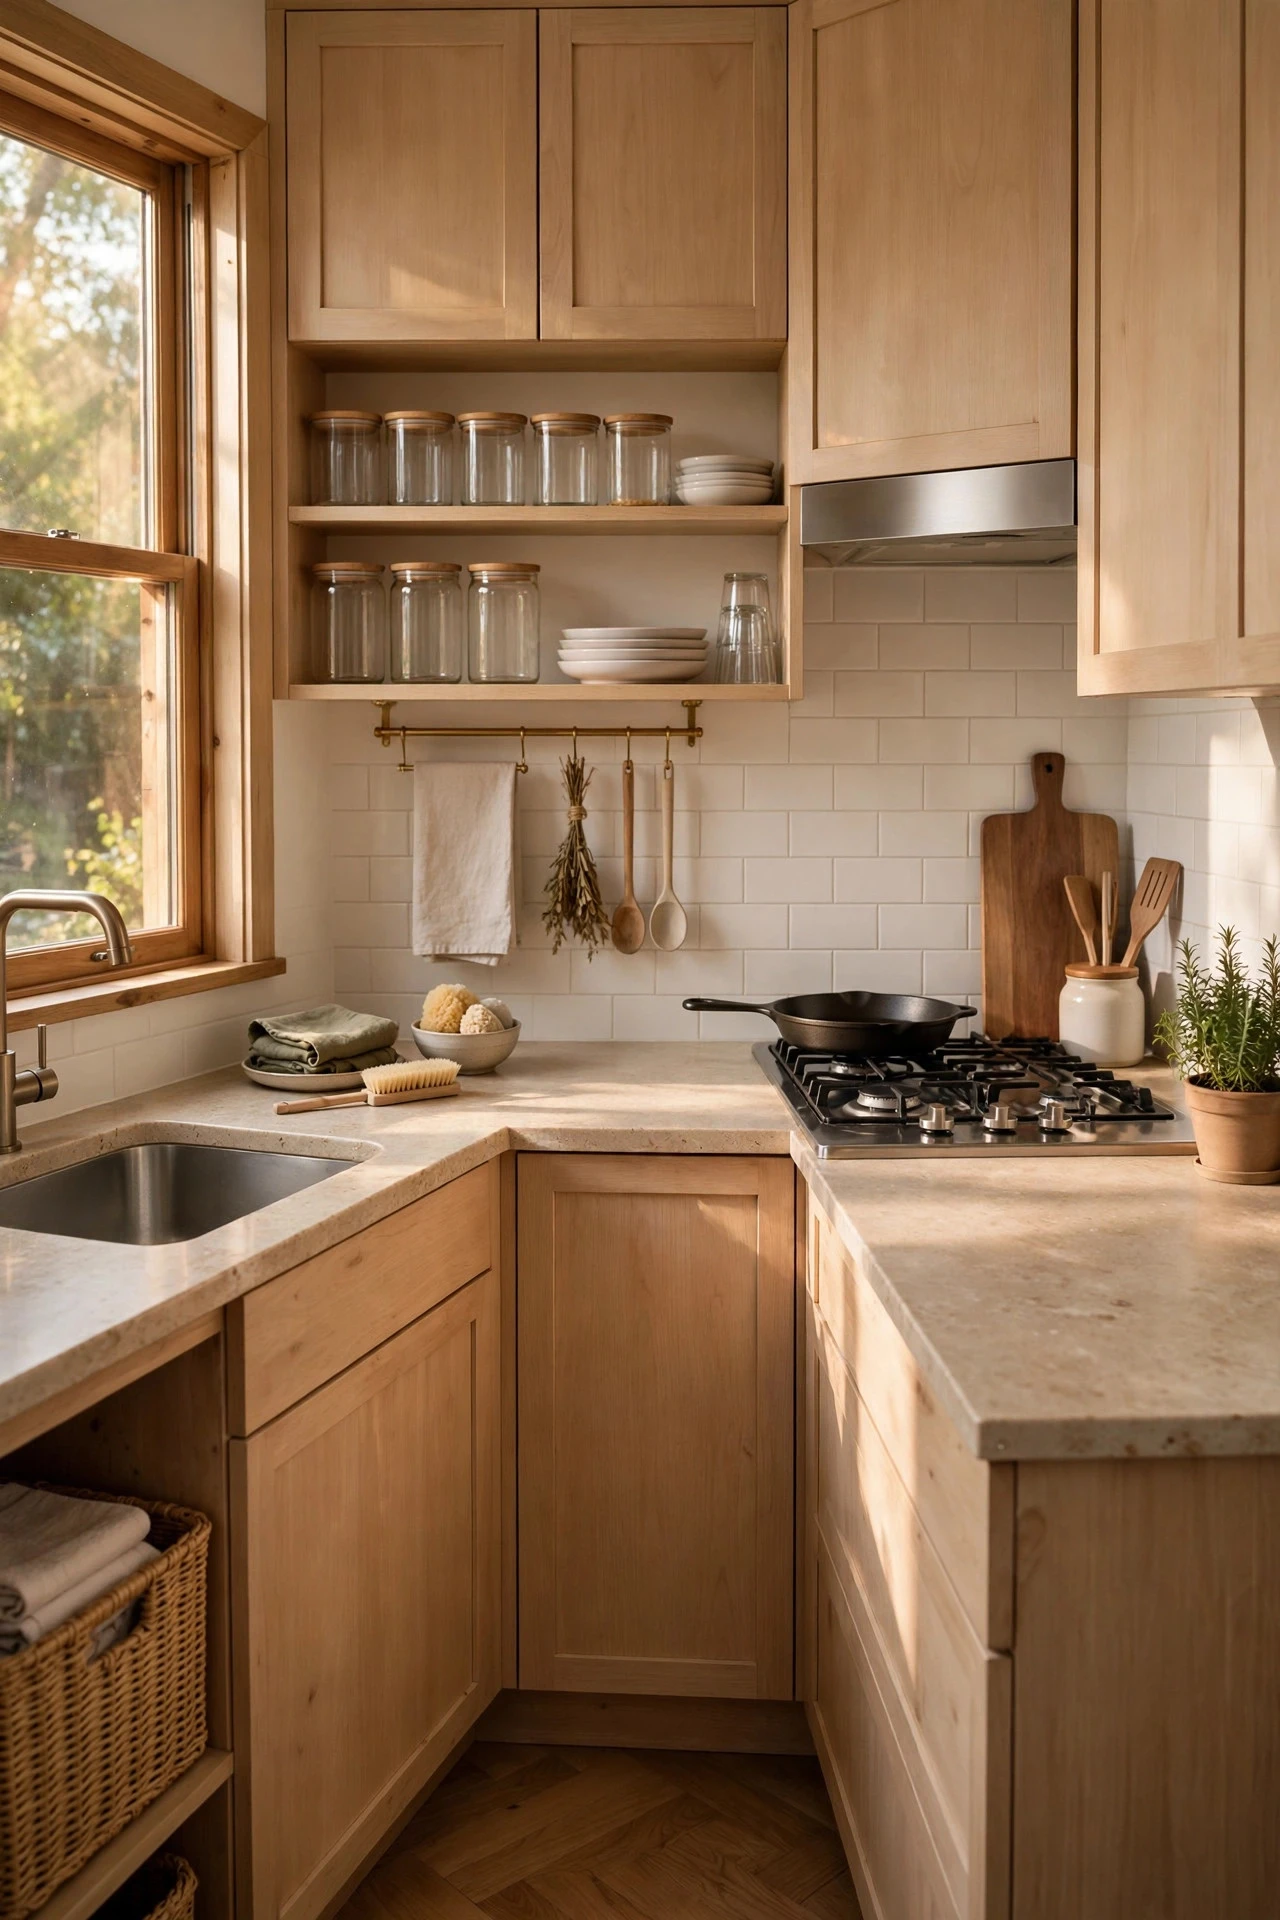
A weekly reset is the habit that protects every storage idea in this post, because even the best dividers and pull-outs drift out of order without a short, regular review. Schedule ten minutes once a week, ideally before grocery shopping, to return stray items to their zones, wipe one shelf, check three expiry dates, and move anything without a home into a small holding box on the counter. Once a month, empty the holding box, donate or discard what never earned a home, and adjust one shelf height or divider that is not working. Keep a short list on the refrigerator of items running low. The reset costs nothing and prevents the slow slide back to cluttered counters. The mistake to avoid is treating the reset as a major seasonal clear-out that you keep postponing, because small kitchens drift out of order in days, and a skipped month usually means starting the whole organization project again from scratch.
Practical Tips
Work in this order and the storage will fit the kitchen instead of fighting it: measure first, declutter second, zone third, and buy containers last, because measurements and zones decide which products actually help. Record every cabinet interior, door thickness, gap width, and ceiling height in one notebook or phone note, photograph each shelf before emptying it, and buy only one test product, such as a single shelf riser or door rack, before committing to a full set. Budget in tiers: under $75 for risers, racks, and baskets; $100 to $350 for carts, pull-outs, and carousel inserts; and $500 to $2,500 for full-height cabinets, toe-kick drawers, and appliance garages installed by a professional. Renters should favour freestanding carts, over-sink racks, and removable door hooks that leave no holes, while owners can invest in pull-outs and ceiling racks anchored into studs and joists.
Materials and finishes matter as much as measurements in a hard-working kitchen, so choose coated steel or bamboo for risers and baskets that will be wiped down often, solid wood or stainless steel for wall rails that carry weight, and airtight glass or BPA-free plastic for food containers. Warm wood tones, matte black hardware, and cream or sage cabinet paint keep storage looking like decor rather than clutter, and the same colour logic runs through these kitchen color ideas that show how a calm palette makes a small room feel larger. For broader small-space planning and material guidance, the room guides at The Spruce are a useful second opinion before a large purchase, and House Beautiful offers wider kitchen and dining inspiration to help you place storage choices within the rest of the home. Avoid uncoated raw steel near the sink, where it rusts, and avoid fabric baskets for food, where they trap crumbs and moisture.
Safety and upkeep decide whether storage stays useful for years, so anchor every tall, heavy, or wall-mounted unit into studs or joists, keep knives and heavy pans out of children's reach, and never block a stove, oven door, or refrigerator vent with a cart or rack. Wipe shelves and dividers monthly, check that drawer slides and casters still lock, re-seal wood boards with food-safe oil, and replace any hook, anchor, or slide that bends or loosens rather than trusting it with another load. Keep a small step stool with a non-slip top for high shelves, keep cleaning products on a low, separate shelf away from food, and leave at least 36 inches of clear walkway through the main work triangle so two people can pass safely. A storage system that is safe, clean, and easy to reset will be used every day; one that fights back will be abandoned, however beautiful it looked on installation day.
Final Thoughts
Small kitchen storage works when height, doors, corners, and gaps all carry their share, when daily items stay low and visible, and when a weekly reset keeps every zone honest. Start with one vertical fix and one declutter, live with the new layout for a week, then add the next idea only where a real problem remains, because a kitchen that gains space gradually stays organized far longer than one rebuilt in a single exhausting weekend.
You May Also Like: – 22 Kitchen Decor Ideas That Make a Hard-Working Kitchen Feel Warm – 24 Cozy Farmhouse Kitchen Designs That Feel Like Home – 22 Dining Room Decor Ideas for Everyday Gatherings and Special Occasions
Frequently Asked Questions
How do I start organizing a very small kitchen with almost no storage?
Start by emptying one cabinet at a time, removing duplicates and expired food, then measure every interior, door, and gap before buying anything. Add one vertical fix first, such as a door rack or shelf riser, assign each zone a job, and keep daily items between waist and shoulder height so the system is easy to maintain.
What is the cheapest way to add storage to a small kitchen?
Use what you already own first: declutter, move daily items to the easiest shelves, and add shelf risers, door racks, and under-shelf baskets, which together usually cost under $75. A rolling cart or slim gap cart is the next cheapest large gain, and full-height cabinets should wait until the low-cost fixes are working.
How deep should kitchen cabinets and pull-outs be in a small kitchen?
Standard base cabinets are 24 inches deep and wall cabinets are 12 to 15 inches deep. Pull-out shelves should use nearly the full depth, with full-extension slides, so items at the back slide out to you. Slim gap carts should stay 4 to 7 inches wide, and door racks should stay 3 to 4 inches deep so doors still close.
Where should heavy items go in a small kitchen?
Store heavy items low, between knee and waist height, where you can lift with your legs and shelves bear the load best. Keep cast-iron pans, stand mixers, and large cans in base cabinets or on the bottom tier of a cart, never above shoulder height. Light, bulky items belong on high shelves and in toe-kick drawers.
How do I keep a small pantry organized without buying lots of containers?
Group food by zone, such as breakfast, baking, and weeknight cooking, and keep each group on one shelf with the most-used items at the front. Use clear containers only for staples you buy repeatedly, label them with contents and date, and leave cans and boxes visible in rows. A weekly five-minute check for expired food prevents most pantry clutter.
How often should I reset small kitchen storage so it stays working?
Do a two-minute reset after cooking and a ten-minute reset once a week. Return items to their zones, wipe shelves, check expiry dates, and move anything homeless to a small holding box. Empty that box monthly, donating or discarding what never earned a home. The weekly rhythm matters more than a seasonal clear-out, because small kitchens drift out of order.