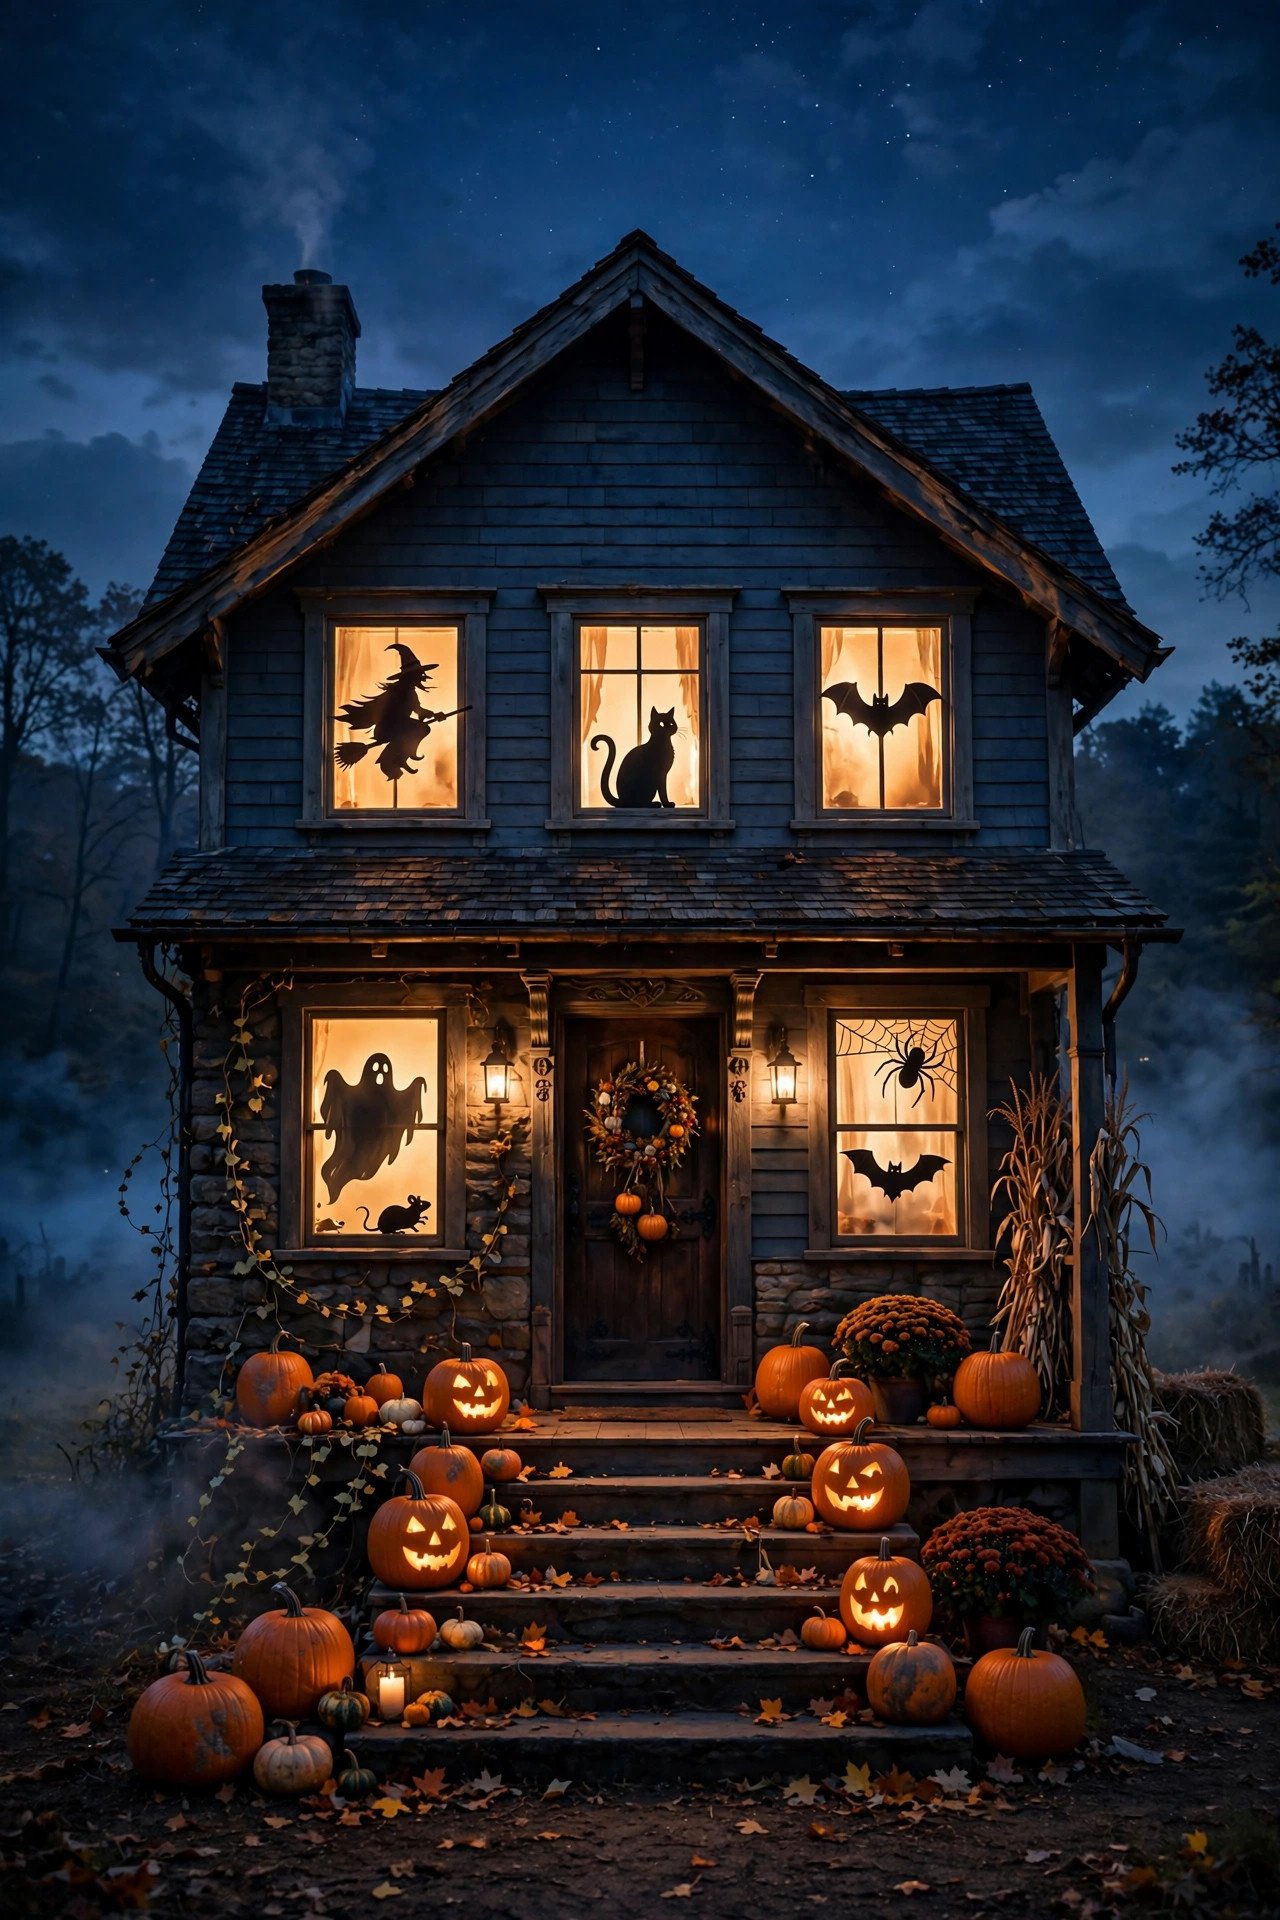
22 Halloween Window Decor Ideas That Glow After Dark
Your windows are the one Halloween canvas every passerby sees — yet most people decorate them last and light them wrong. Halloween window decor is simply decoration designed to be read from the street at night: dark shapes, glowing backdrops, and light placed *behind* the design rather than in front of it.
That single principle — backlight, don't front-light — separates windows that stop traffic from windows that look like a cluttered shelf behind glass. This guide builds the whole system: silhouettes, clings, garlands, projectors, windowsill vignettes, color temperature choices, renter-safe methods, and pet-and-kid safety.
Unlike the thin roundups currently ranking, every idea below includes exact materials, placement, and what to avoid — plus how each design behaves in daylight versus after dark.
Looking for more inspiration? Our Nest Decorz homepage gathers the latest home decor ideas, seasonal decorating guides and room-by-room styling tips in one place — start there and explore.
Quick Answers
– The golden rule of Halloween windows: place dark shapes between the street and a light source. Glow comes from contrast, not brightness. – Best backlight: warm-white or amber LED (around 2700K) behind black paper silhouettes gives the classic haunted-house look; orange and green read campier. – Fastest renter-safe option: static-cling vinyl decals — they grip with water, peel off cleanly, and survive October weather on the inside of glass. – Decorate from the inside, judge from the outside. Keep the room's overhead lights off so the window light dominates, then walk to the sidewalk at night to check the real effect. – Daylight designs and nighttime designs are different jobs. The strongest windows use layered silhouettes that read as art by day and as shadow theater after dark.
1. How Do Black Paper Silhouettes Make Windows Glow?
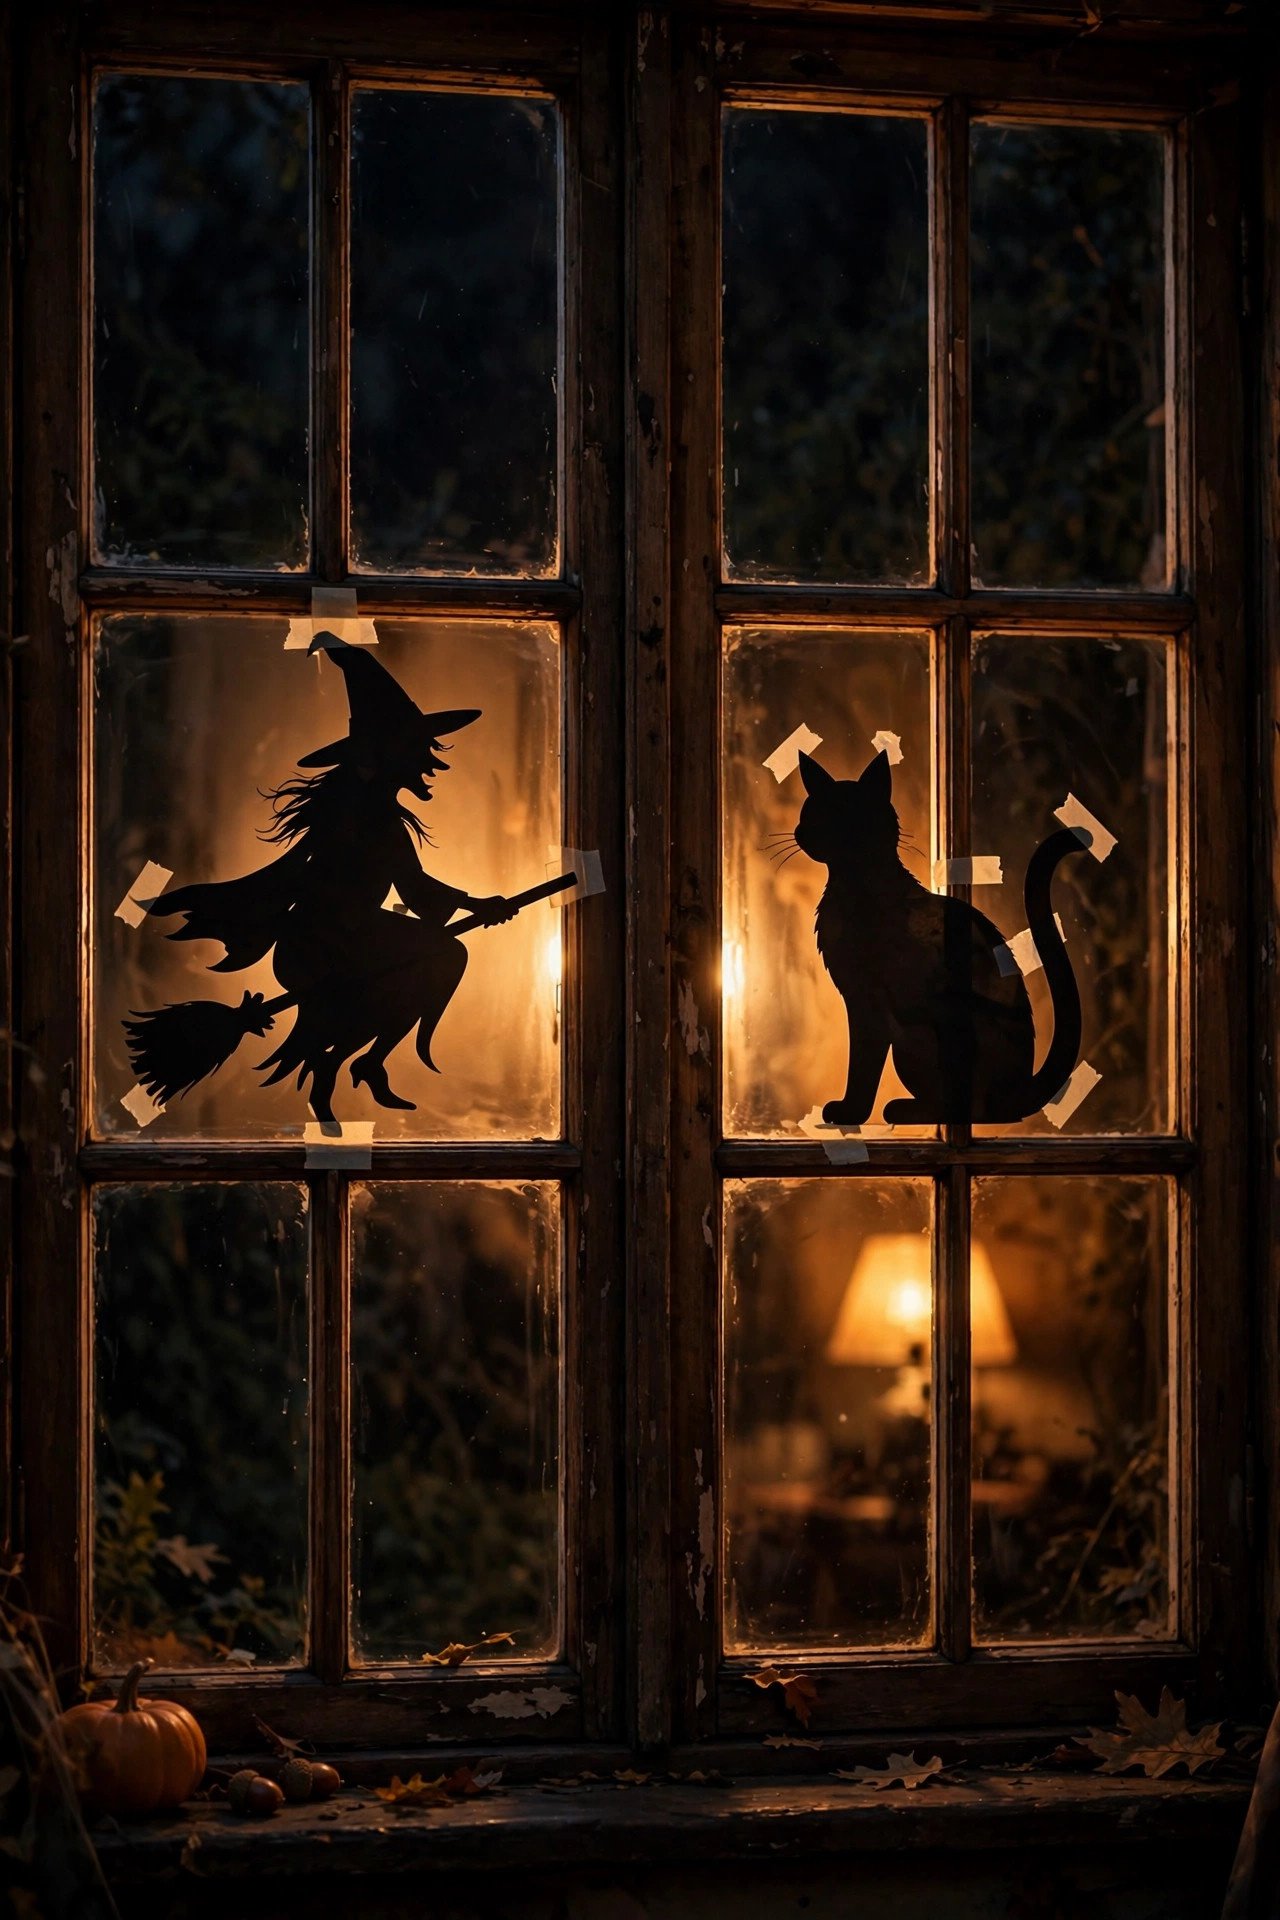
Cut bold shapes from black cardstock, tape them inside the glass, and place a warm light behind them. From the street, the shapes read as pure black against a glowing amber field — the classic haunted-house window. This works because backlit high-contrast shapes trigger the same visual response as a sunset behind bare trees: your eye reads the silhouette before the details.
Use 65–80 lb black cardstock or black poster board, which blocks light fully without curling. Classic subjects — witches on broomsticks, black cats with arched backs, bare-branched trees, flying bats — work best as single-color shapes with no interior detail, because fine detail disappears at distance. Keep each silhouette at least 8–10 inches tall on a standard window; anything smaller blurs into noise from the sidewalk. The silhouette art form has centuries of history behind it, which is exactly why our brains read these shapes so fast. Attach with painter's tape loops or removable mounting squares — never packing tape, which bakes onto glass in sun. For under $5 and an evening with scissors, you can fill three windows, which is why this remains the foundation of budget Halloween decorating; see more DIY Halloween decorations on a budget that look expensive for the full cheap-but-chic playbook.
2. What Color Light Looks Scariest Behind a Window?
Warm amber (2700K) reads haunted and cinematic; orange reads playful; green and purple read campy-horror. The "scariest" choice depends on your theme, but color temperature matters more than most decorators realize. Amber mimics candlelight and moonlight simultaneously, so black silhouettes against it look like a scene from a Victorian ghost story.
Cool-white LEDs (5000K+) are the most common mistake — they make windows look like an office after hours, not a haunted house. Swap the bulb in the nearest table lamp for a warm-white smart bulb, or tuck an LED strip behind the sill in amber. If you want color, use it as an accent: a green wash low behind a witch silhouette, or a slow-fading orange behind pumpkin cutouts. Avoid red unless you want the house to look alarming rather than festive — from the street, red reads as "emergency" before it reads as Halloween. Dim to 40–60% brightness; overpowering light flattens silhouettes into gray shapes instead of crisp black cutouts.
3. Are Static-Cling Window Decals Worth It for Halloween?

Yes — clings are the fastest, cleanest way to dress a window, and they're the top choice for renters and anyone decorating with kids. Static-cling vinyl sticks to glass with just water and surface tension, peels off without residue, and can be repositioned or stored on their backing sheets for next year.
Look for clings printed in saturated black or jewel tones; pale pastel clings disappear at night unless backlit. Layer two depths for a pro look: small bats and spiders on the glass itself, larger ghost or moon clings on the room side of the window — the slight parallax between layers creates real depth from the sidewalk. Mist the glass lightly, smooth with a credit card to chase out bubbles, and trim any overlapping edges with a craft knife. A sheet of 20–30 clings costs less than a takeout dinner and dresses two windows. At night, add a soft backlight and the translucent clings glow like stained glass. Come November 1st, they peel off in minutes with zero scraping — no razor blades, no adhesive remover, no landlord drama.
4. How Do You Hang Ghosts So They Float in a Window?

Suspend cheesecloth or gauze ghosts from the curtain rod or window frame with clear fishing line so they hover mid-window, then backlight them softly. The trick is invisibility: the line must disappear and the ghosts must hang at slightly different heights and angles, so they read as drifting rather than displayed.
Build each ghost over a foam ball head and a wire or string armature for shoulders, draping two layers of cheesecloth so light filters through the fabric instead of hitting a flat sheet. Dab black fabric paint eyes — asymmetrical, slightly too large — because perfect symmetry reads cartoonish. Hang from a tension rod mounted inside the frame or from small removable hooks on the top trim; clear monofilament line at 6–8 lb test vanishes in dim light. Place a low-wattage warm LED puck light on the sill behind and slightly below the ghosts so their fabric edges catch a rim glow. Avoid real candles anywhere near fabric ghosts. Three ghosts at staggered heights beat a crowded dozen — negative space is what makes them look like they're actually floating.
5. Can a Cheap Projector Turn Your Window Into a Movie Screen?
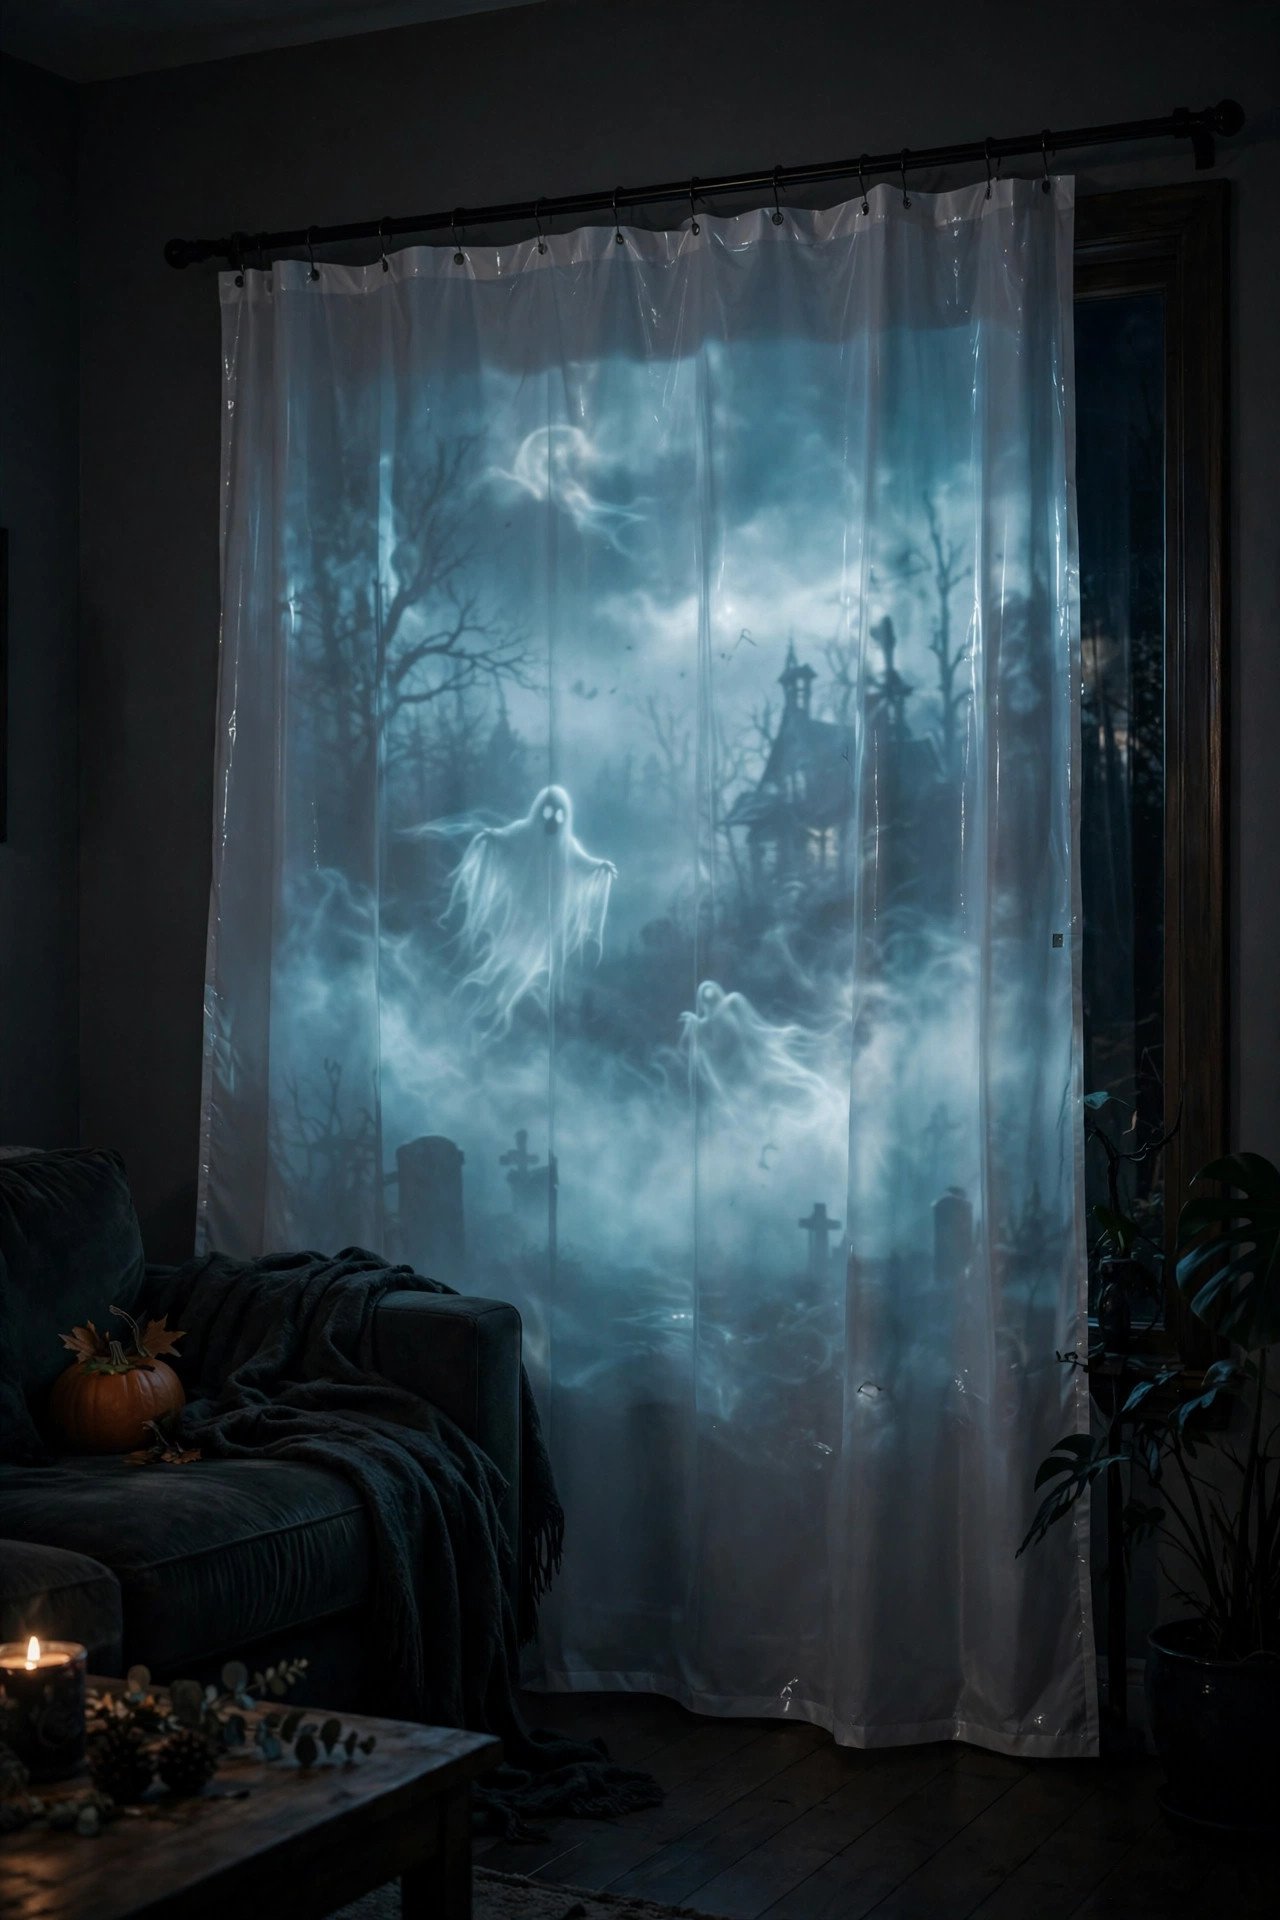
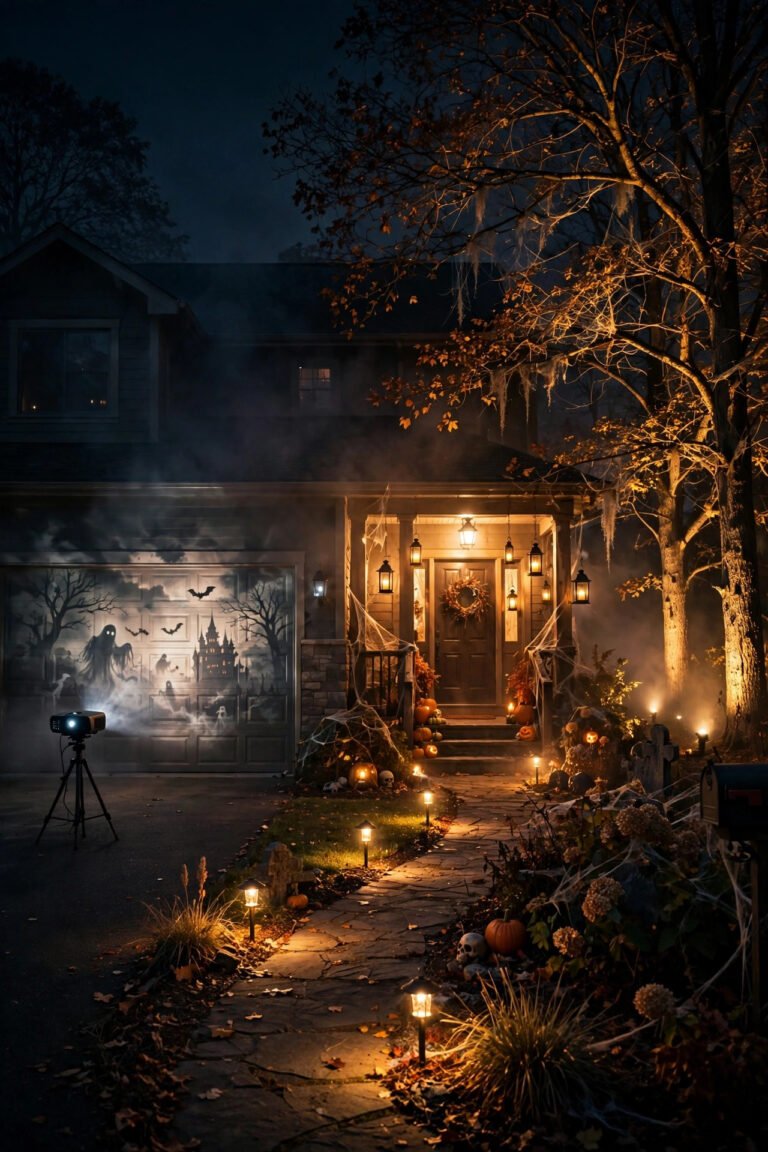
Absolutely — a basic mini projector aimed at a white shower-curtain liner taped inside the window creates a glowing animated scene visible from the street. This is the single highest-impact upgrade in Halloween window decor: looping ghosts, flickering candles, or a haunted library that "lives" behind your glass.
Use a frosted white shower curtain liner (not clear) as a rear-projection screen — it diffuses the image so it reads evenly from outside while hiding the room behind it. Mount the projector 6–10 feet back, centered on the window, and set the image to fill the liner edge to edge. Free or cheap Halloween projection loops are widely available; pick scenes with dark backgrounds and bright subjects so the window glows without lighting up your whole living room. The shower curtain doubles as a daytime privacy screen, and the whole rig costs less than a bag of premium candy. Pair this with your yard display and the house tells one continuous story — our outdoor Halloween decor ideas for a spooktacular yard shows how to carry the theme from the lawn to the glass.
6. How Do You Make a Bat Swarm Fly Across Your Windows?

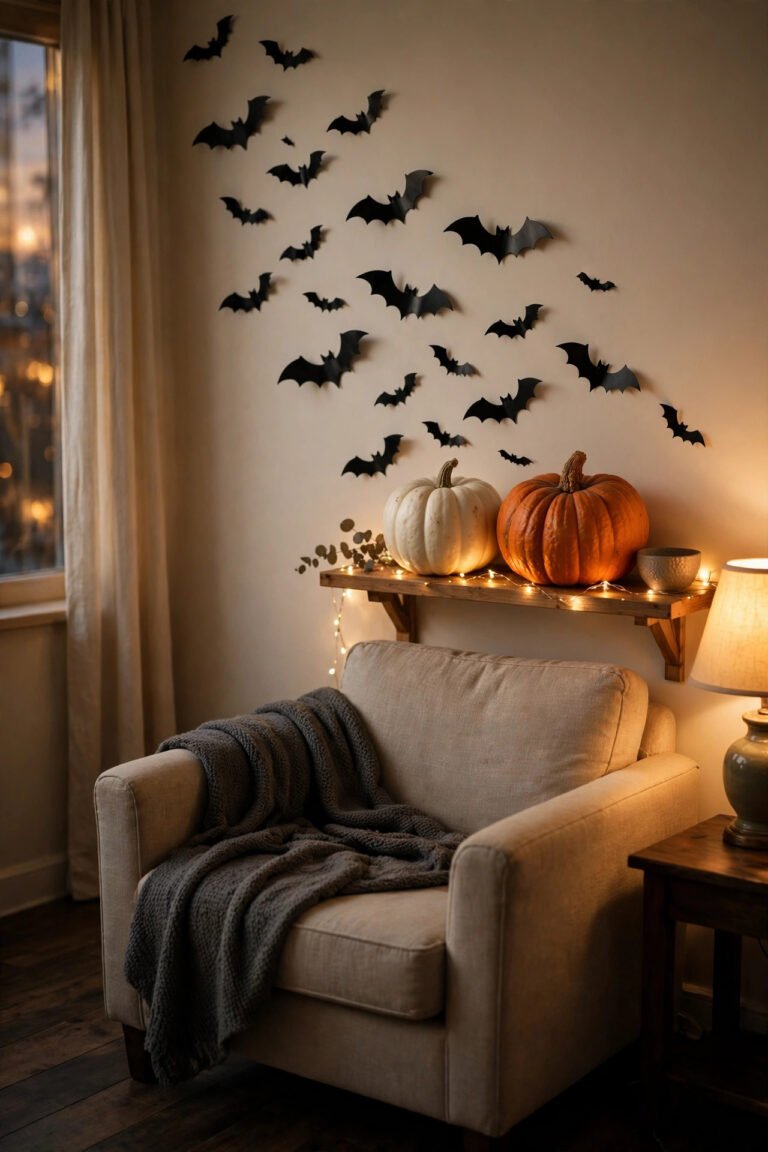
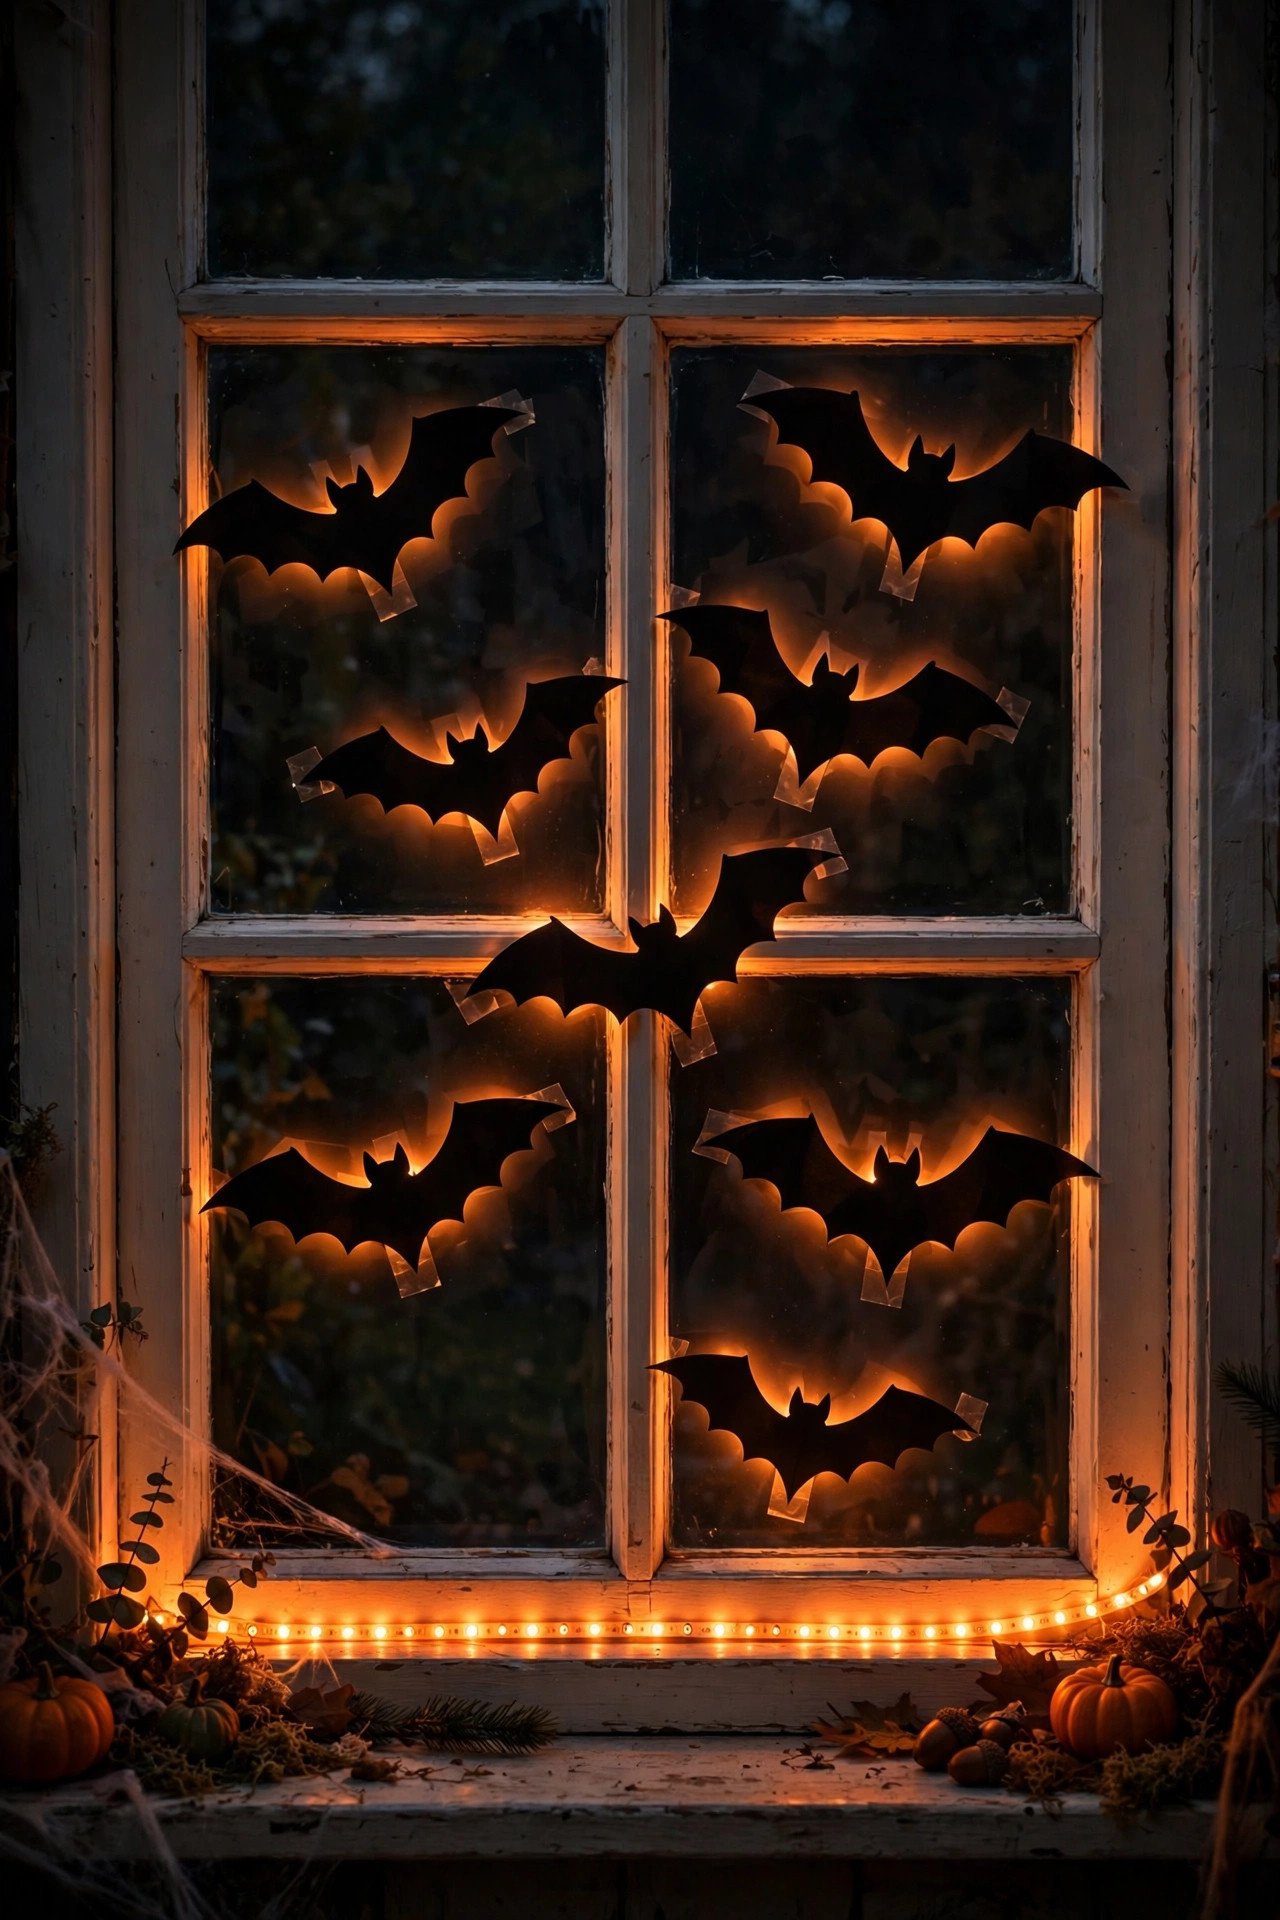
Cut 15–25 bats in graduated sizes from matte black cardstock, fold each in half for a 3D wing effect, and scatter them across the glass so they stream from one corner like a flock taking flight. The magic is in the flight path: bats clustered at a dense origin point and thinning as they spread create motion that flat rows never achieve.
Use a simple two-wing template and cut three sizes — large (6-inch wingspan) near the "origin," medium, then small near the edges so perspective sells the distance. Fold each bat along its body line and attach only the body to the glass with a foam mounting square, leaving the wings lifted; at night, backlighting throws tiny wing shadows that double the effect. Matte paper is essential — glossy paper catches streetlight glare and the swarm looks like trash bags. Start the swarm at a pumpkin, chimney silhouette, or upper corner and let it sweep diagonally across two adjacent windows for a wraparound effect. This is a pure-paper project: one evening, zero dollars if you raid the craft drawer, and it photographs beautifully for the 'gram.
7. What Is a Haunted Skyline Silhouette?
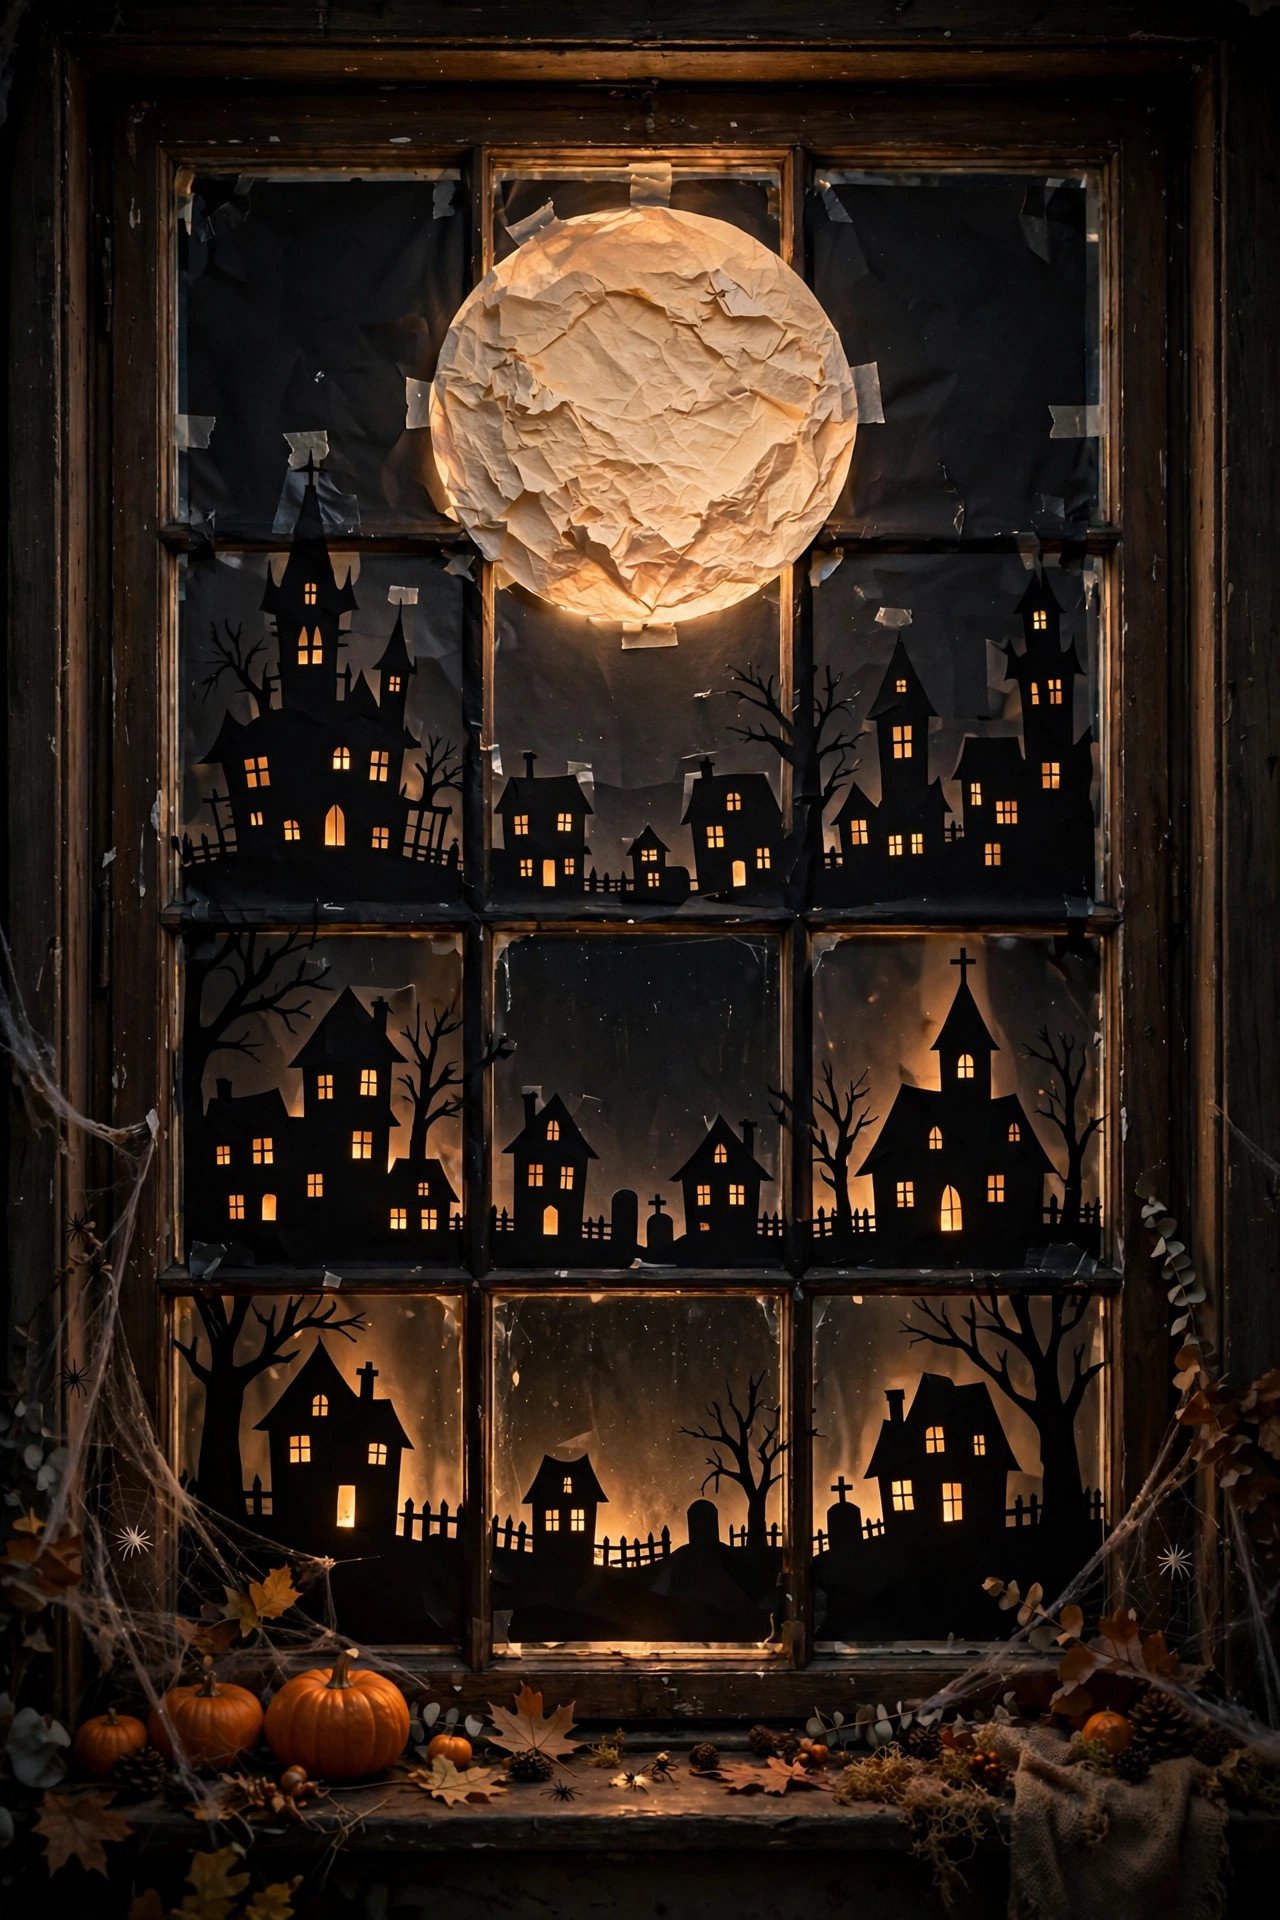
It's a full-window black paper skyline — crooked haunted houses, a church steeple, dead trees — with tiny window shapes cut out so backlighting shines through them like lit rooms. While single silhouettes decorate, a skyline *tells a story*: from the street, your window becomes a miniature haunted village glowing against the night.
Build it on a roll of black craft paper cut to your window's exact width, drawing the skyline in chalk first so you can adjust rooflines and tower heights. Vary building heights and add leaning angles; perfect symmetry kills the haunted effect. The crucial detail: cut out small rectangles and arched shapes for lit windows, then tape amber or yellow tissue paper behind the openings — when backlit, every tiny window glows while the buildings stay pitch black. Add a large cut-paper moon (backed with white tissue) and a few cut-out bats in the "sky" above the rooftops. Because the paper covers the whole window, daytime privacy is a bonus — from inside it reads as a dramatic dark screen, from outside it's the neighborhood's most photographed window.
8. How Do You Frame a Window With Orange String Lights?
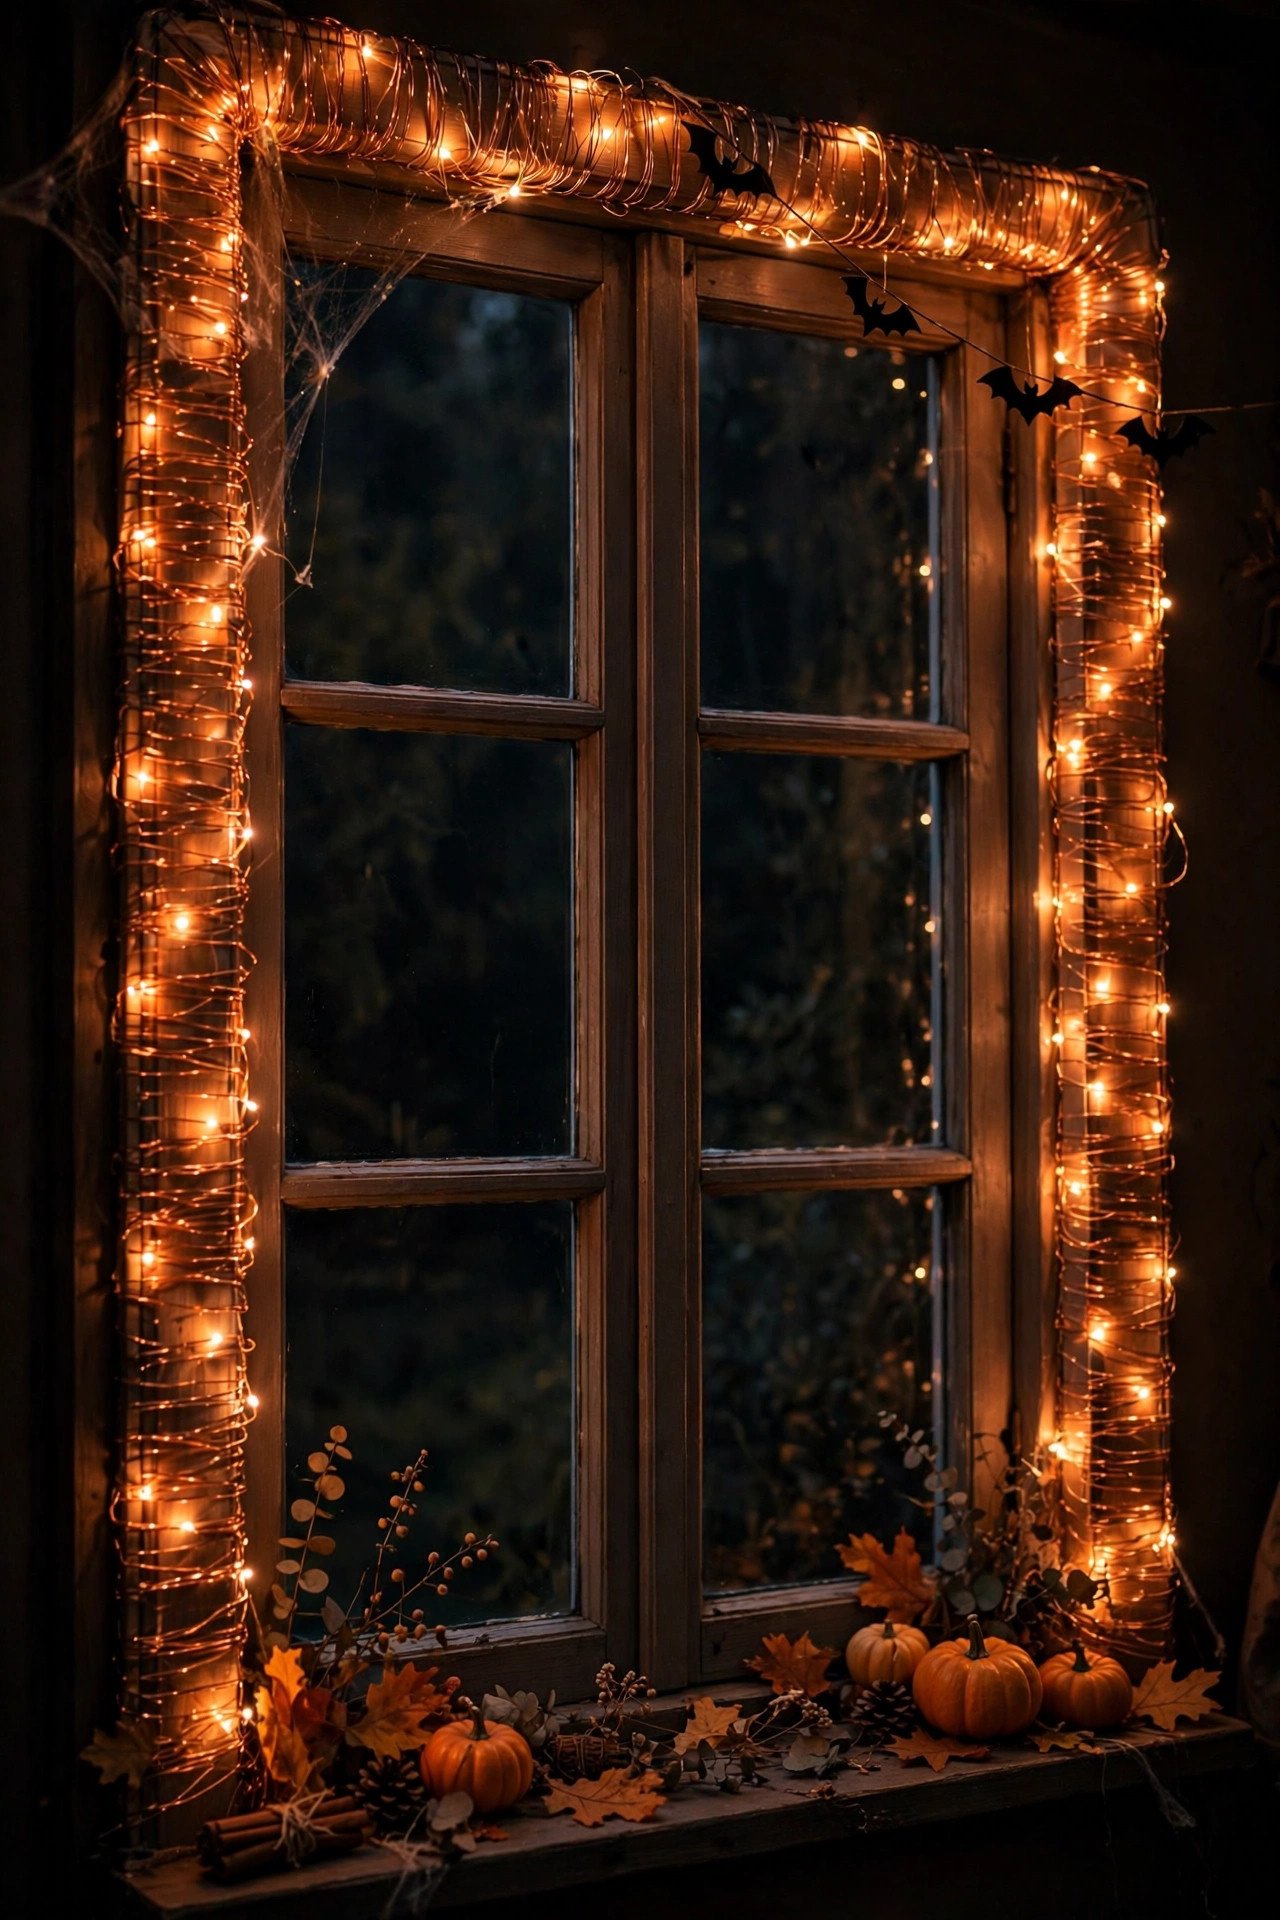
Run a strand of orange or warm-white fairy lights around the inside of the window frame, tucking the wire into the trim's edge so only the bulbs show. A lit frame defines the window's shape from the street and makes even simple silhouettes look intentional — it's the difference between "stuff taped to glass" and "a display."
Use copper-wire fairy lights (they bend to follow corners cleanly) or LED rope light for a bolder outline; 20–30 bulbs per window is plenty. Attach with small clear removable clips or a bead of museum putty every 8 inches — never nails or staples near glass. For double-hung windows, outline each sash separately rather than the whole frame, which echoes the window's architecture. Orange reads classic Halloween; warm white reads elegant autumn and pairs beautifully with pumpkin displays. Keep the strand just inside the glass, not pressed against it, or individual bulbs create hot spots instead of an even glow. Put the strand on the same timer as your backlighting so the frame and the scene switch on together at dusk.
9. How Do You Fake Eerie Fog Behind Glass?
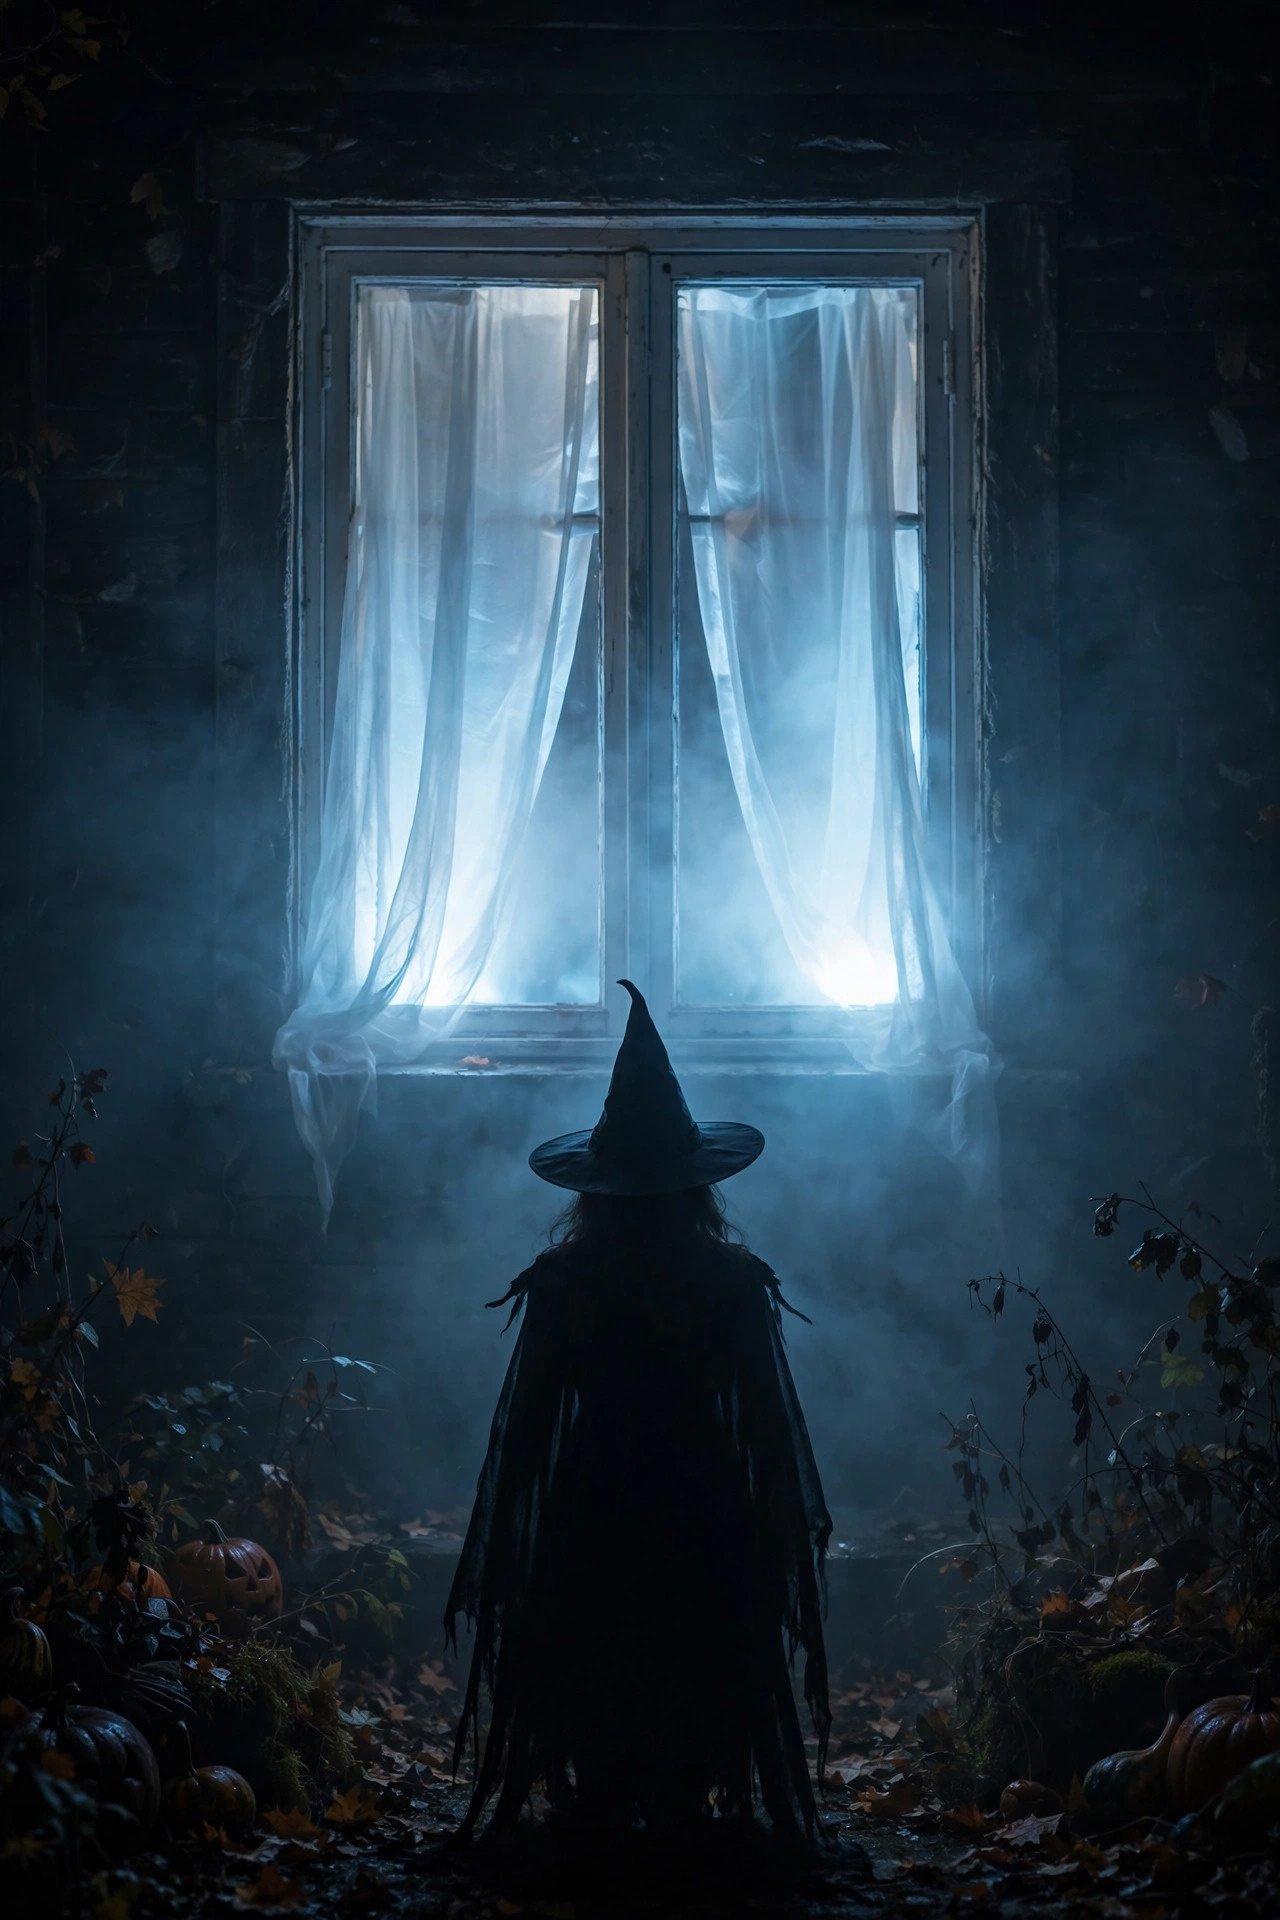
Hang a panel of white or pale-gray sheer fabric a few inches inside the window and wash it with a cool LED strip from below. The fabric diffuses the light into a soft, depthless glow — the visual equivalent of fog rolling behind glass — and silhouettes mounted in front of it gain a dreamy, half-seen menace.
Use voile or inexpensive sheer curtain panels, hung from a tension rod so they billow slightly rather than hanging flat; gentle folds catch light unevenly, which is exactly the uneven texture real fog has. Place an LED strip or puck lights on the sill aimed *up* behind the sheer — light from below is unnatural and therefore unsettling, the same reason horror films light faces from underneath. Cool white or pale blue sells "graveyard mist"; switch to amber behind pumpkin or witch silhouettes for a "haunted harvest" variant. Keep the sheer at least 6 inches from any heat source and use LEDs only. This technique also softens harsh streetlight glare on bare windows, and it costs less than a real fog machine's single night of fluid.
10. What Belongs in a Halloween Windowsill Vignette?
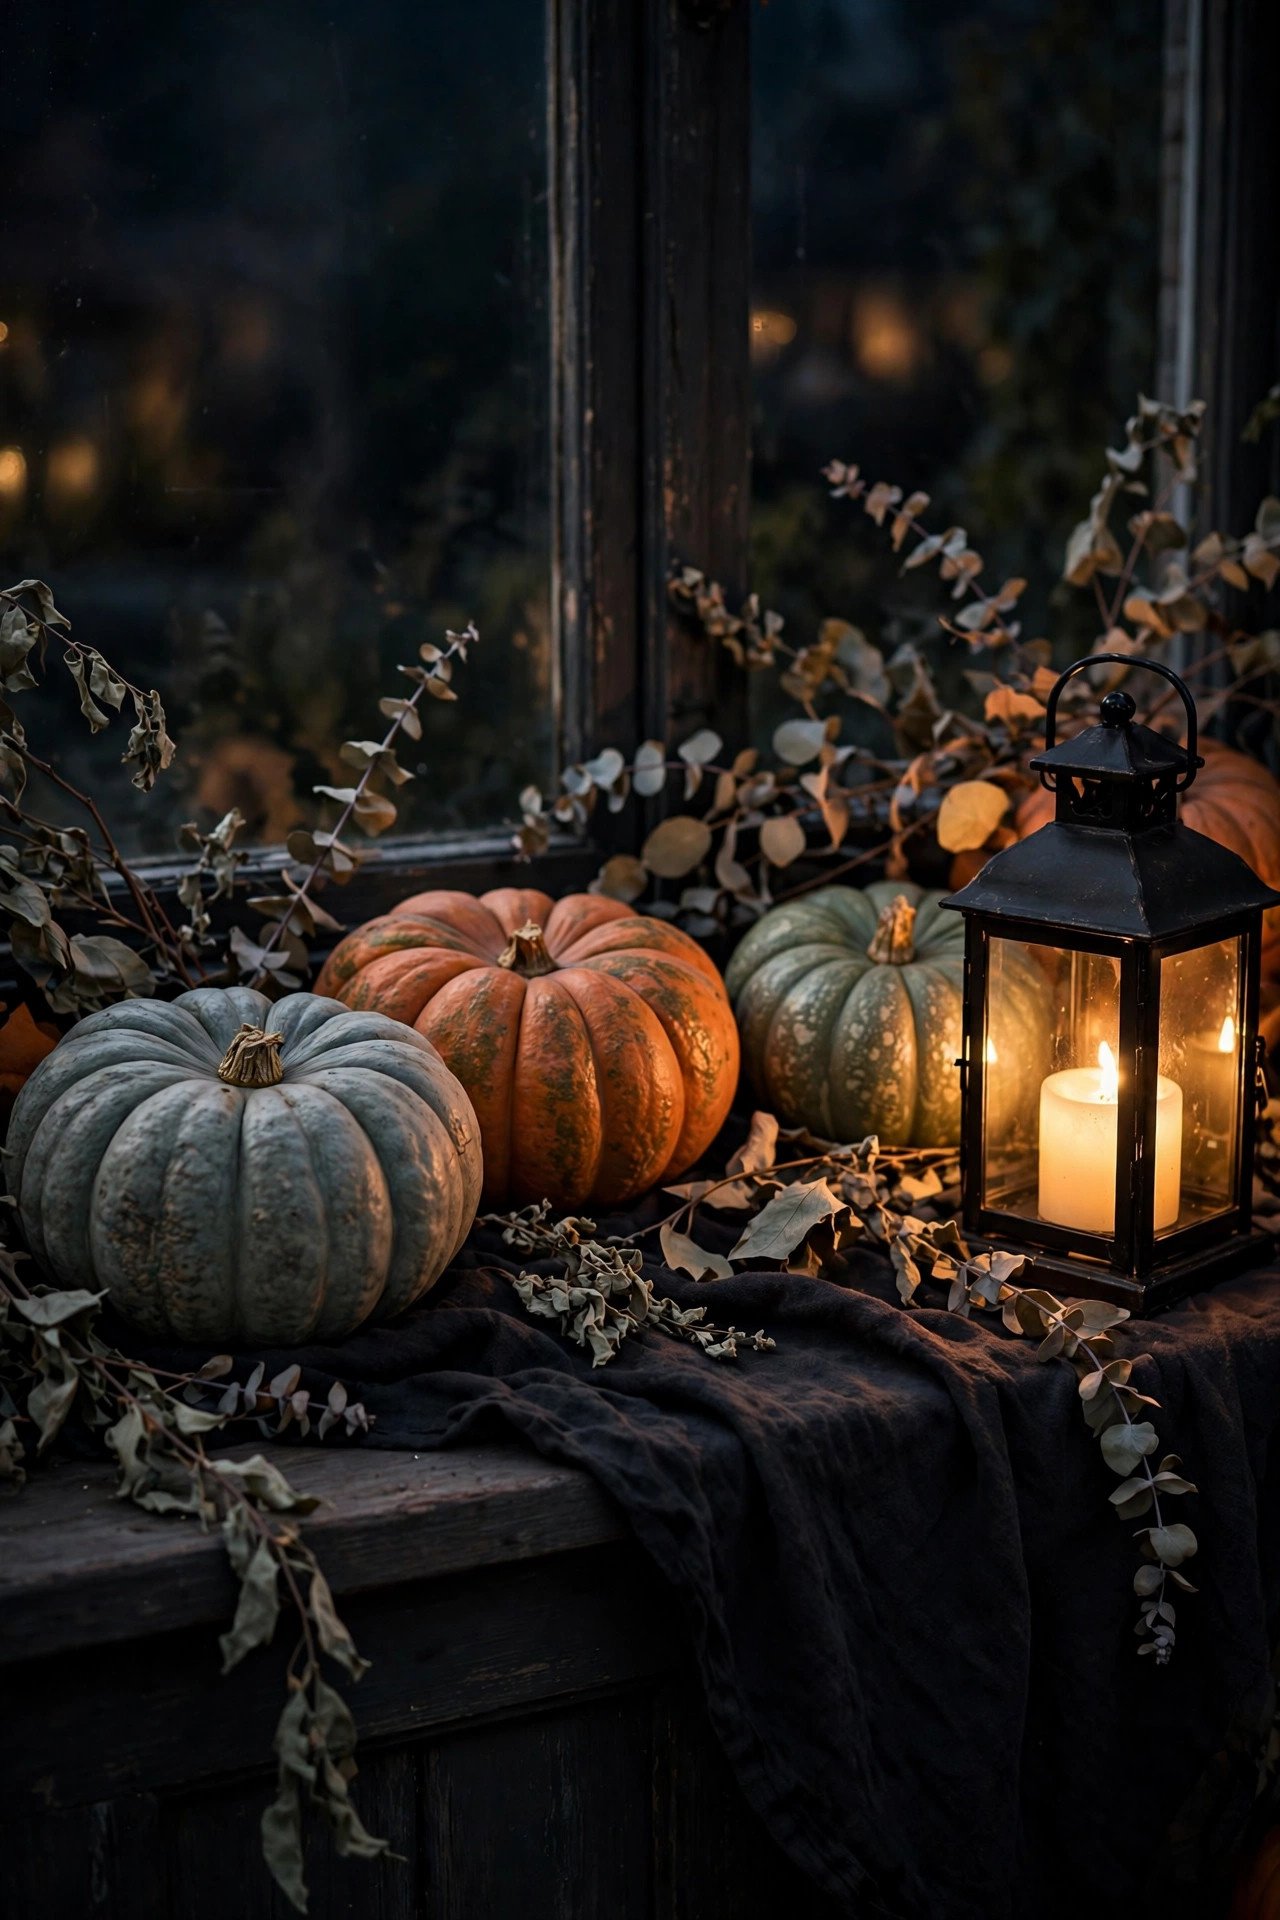
A windowsill vignette is a small still life built on the sill: 3–5 objects at varying heights, lit from within the grouping. Think heirloom pumpkins in Cinderella and Lumina varieties, a black lantern with an LED candle, a stack of vintage-look spell books, and a sprig of dried eucalyptus — composed in odd numbers, tallest at the back.
Work in layers: a runner or strip of black cheesecloth as the base, tall elements (lantern, branches) at the back near the glass, medium pumpkins mid-sill, and one small detail (a brass key, a tiny skull) at the front for discovery. Every light source should be LED — flameless taper candles and tea lights give the flicker without the fire risk near curtains. The vignette reads as a styled interior moment by day and, with the lantern glowing, as a mysterious lit scene by night. The same layering instincts apply to bigger surfaces — our Halloween mantel decor ideas for a haunted fireplace scale this exact formula up to mantel width. Refresh the vignette weekly: swap a pumpkin, add a crow figurine, keep it feeling alive.
11. How Do You Build a Giant Spider Web on a Window?

Stretch white or gray yarn from a center point to 8–12 anchor points around the window frame, then spiral-connect the spokes to form the web, and perch an oversized spider where two strands meet. A full-frame web turns the entire window into the decoration — no glass space wasted.
Anchor with small removable hooks on the trim (never on the glass, where tape fails as temperatures drop). Run the radial spokes first, keeping gentle tension — sagging spokes read as sloppy, not spooky. Then weave the spiral from the center outward, tying each intersection with a simple overhand knot; leave wider gaps between spiral rings near the edges like a real orb weaver. Chunky yarn or clothesline reads better from the street than thin thread, which vanishes beyond ten feet. The spider should be at least 8 inches across — a black craft-store spider with bent pipe-cleaner legs, or a balloon-and-yarn DIY. Mist the web very lightly with water and let it dry for a natural droop. One web per window is the limit; two compete and the effect turns to clutter.
12. Are LED Candles or Real Candles Better in Windows?

LED candles win for windows — no open flame near curtains, no wax on sills, and they can burn (safely) all evening on a timer. Real candles photograph beautifully but belong on a supervised dining table, not an unattended sill. Modern flameless candles have solved the old problems: warm 2200K color temperature, realistic flicker algorithms, and melted-edge wax shells.
Group them in odd numbers at staggered heights — a tall black taper, a mid ivory pillar, a short votive — on a black tray that catches the glow and protects the sill. Place the cluster toward the back of a deep sill so the flames (LED tips) sit below the window's sightline from the street; viewers see the glow haloing the candles rather than the plastic tips. For a chic, grown-up Halloween, skip the orange and go monochrome: black and ivory candles with a single dark pumpkin, which glows elegantly rather than screaming October. Our elegant Halloween decor ideas that are chic, not scary build entire rooms on this restrained palette. Set the whole group on one timer so the window "lights itself" at dusk.
13. How Do You Design Windows That Look Good Day and Night?

Design in two layers: a decorative daytime layer (garlands, clings, sill vignettes) plus a backlight layer that switches on at dusk. Most Halloween windows fail because they're designed for only one lighting condition — bare by day, washed out by night, or invisible until dark.
The pro method is reversible thinking. By day, black silhouettes on glass read as bold graphic art against daylight; by night, the same shapes become shadow theater once backlit. Build every window with this dual test: check it at noon and at 9 PM from the sidewalk. Sheer curtains are the day-night bridge — by day they soften silhouettes into elegant shadows; by night they diffuse backlight into glow. Keep the daytime palette intentional (black, amber, deep purple reads "autumn chic" in sunlight) and let the lighting do the spooky transformation after dark. The single biggest upgrade: put every light on a dusk timer so the window never sits in the awkward half-lit state — it's either a styled daytime display or a glowing nighttime scene, never a muddle.
14. What Halloween Window Decor Is 100% Renter-Safe?
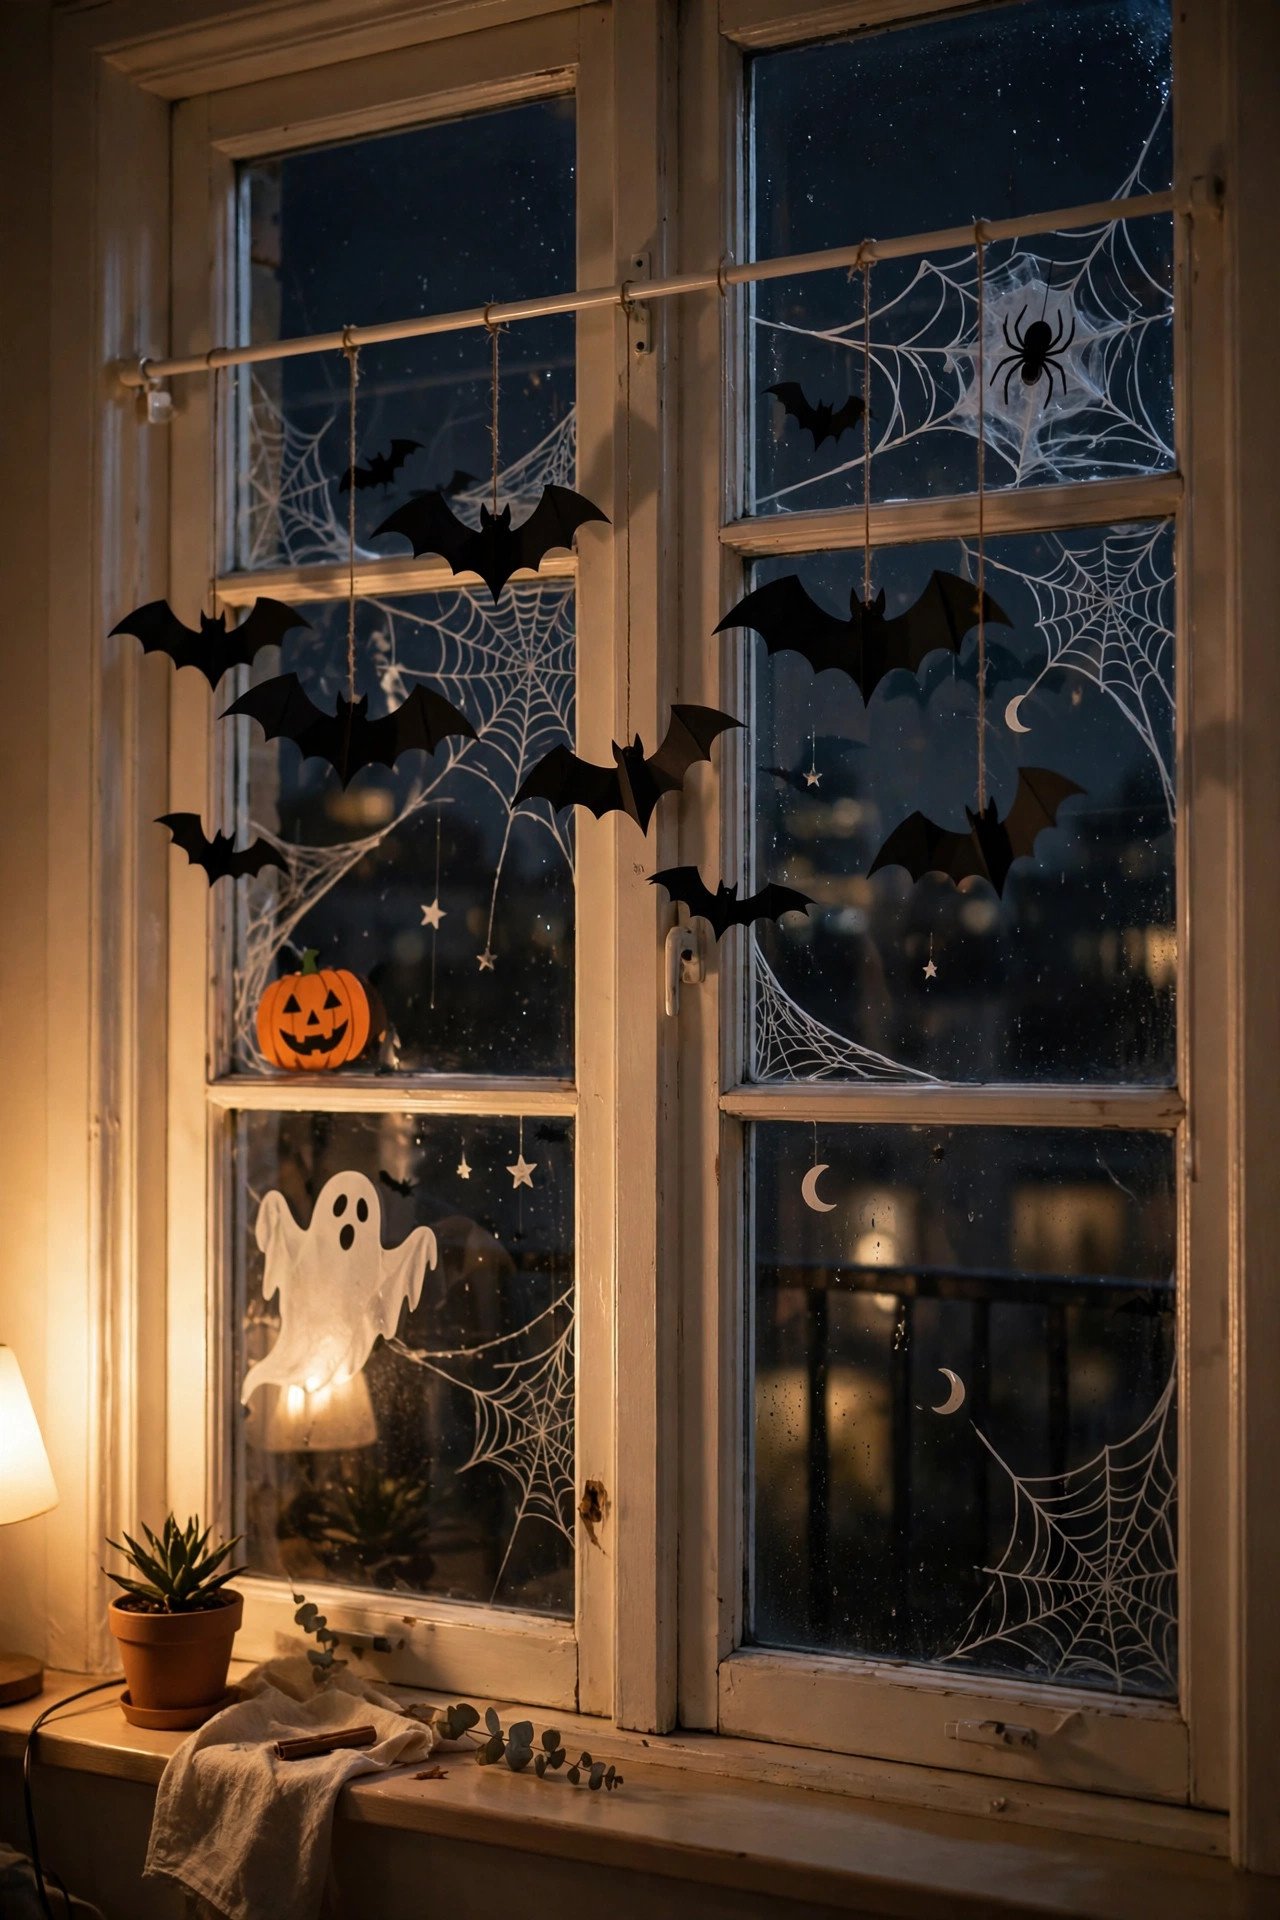
Static clings, suction-cup hooks, tension rods, and removable adhesive strips — used correctly, these leave zero trace. The renter's rule: nothing that pierces, nothing that bonds permanently, and nothing on the landlord's paint. Glass itself is forgiving; it's the trim, sills, and walls that get you.
Map your methods: clings and water-soluble window markers go directly on glass; suction cups hold lightweight garlands and hanging ghosts from the glass or frame; a tension rod inside the frame carries sheers, fog fabric, or a curtain of hanging bats with no hardware at all; removable strips handle string lights on trim. Test every adhesive on a hidden spot for 24 hours first — cheap "removable" products vary wildly. Document the window's condition with phone photos before you decorate; it's your deposit's best defense. Avoid spray snow, adhesive vinyl lettering, and anything requiring a heat gun to remove. When October ends, the whole display should come down in under an hour with nothing but a damp cloth and a trash bag — that constraint actually forces cleaner, more intentional design.
15. How Do You Keep Window Decor Safe With Pets and Kids?

Put every light, cord, and small detachable piece out of reach: lights on the sill behind the glass plane's inner edge, cords routed down behind furniture, and nothing dangling at tail or toddler height. The window is a display case, not a toy shelf — design it like one.
Specific rules that matter: LED lights only (cool to the touch — cats will absolutely sit on a warm sill); battery compartments screwed shut and taped, because button batteries are a genuine emergency if swallowed; no dangling cords at cat-batting height — run fairy-light wires along the top trim and down the far side of the frame; skip small plastic spiders and skeleton pieces on low sills where toddlers grab; keep real pumpkins (which mold) and any scented candles out of the pet zone. If your cat claims every windowsill in the house, decorate the upper two-thirds of the window and leave the sill itself clear — a floating-ghost or bat-swarm design survives cat ownership far better than a styled vignette. A baby gate-style clear acrylic sill guard also works for determined climbers. Spooky for the street, boring and unreachable for the household.
16. Does Glow-in-the-Dark Paint Work on Windows?
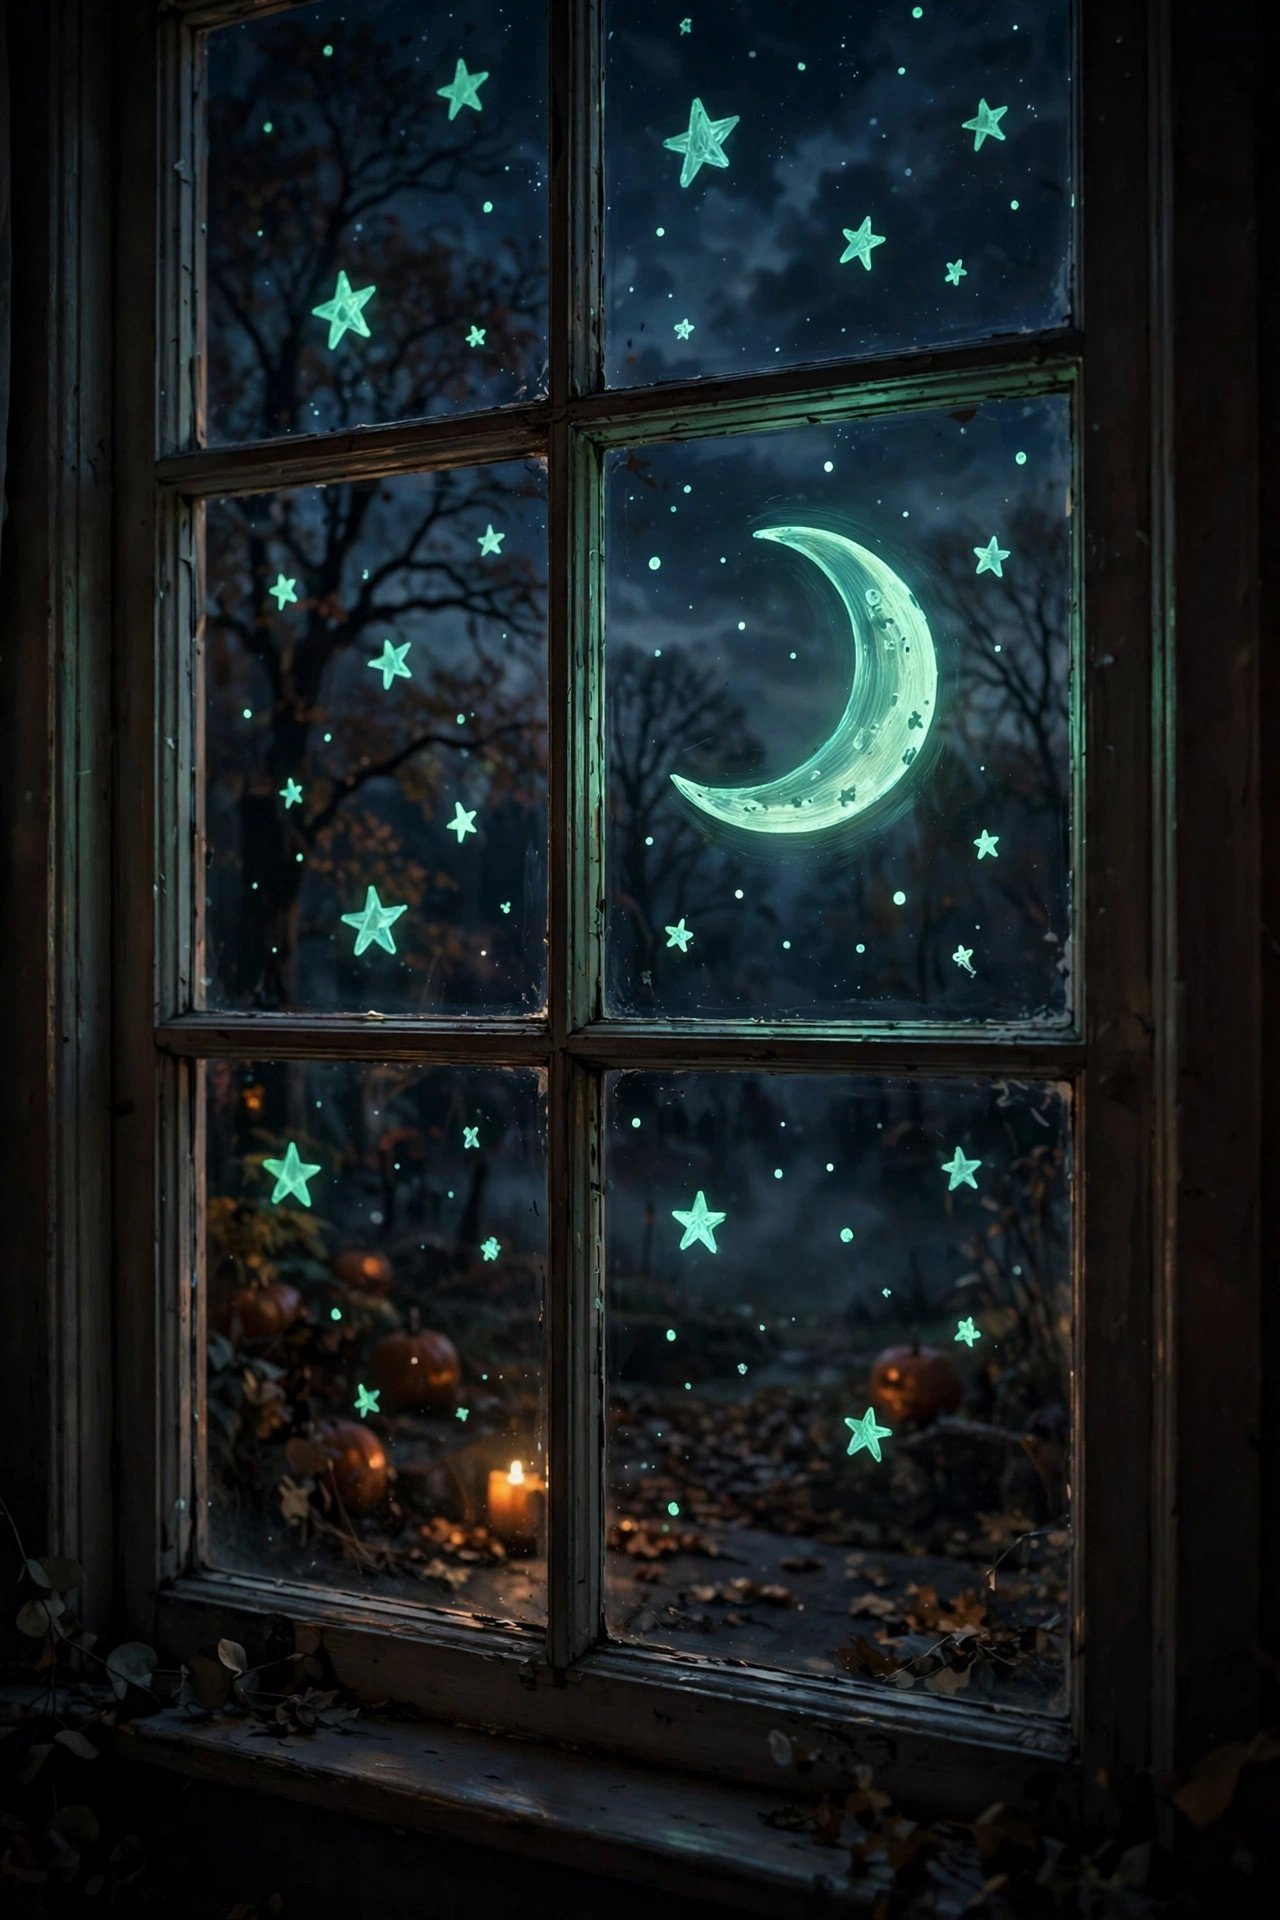
Yes — phosphorescent paint charged by daylight or a UV blacklight glows softly on glass for hours, perfect for stars, moons, and constellation patterns that appear as if by magic after dark. It's the subtlest window technique here: invisible-ish by day, gently luminous at night, with zero wiring.
Use paint formulated for glass or multi-surface craft paint labeled phosphorescent (not just "glow" glitter paint, which barely glows). Paint on the *inside* of the glass so weather never touches it: a crescent moon, scattered stars, a spider web outline, or tiny bats. Charge it with direct daylight or, for a stronger charge, a brief pass with a UV flashlight at dusk. Removal is the catch — test your specific paint on a corner of glass first; most craft phosphorescent paints scrape off with a razor blade and glass cleaner, but "permanent" formulas don't. Keep designs sparse: a night sky of 20–30 small stars beats a dense mural, because each glowing dot needs darkness around it to register. Layer it under a moonlit silhouette scene and the window gains a second, secret layer only night reveals.
17. How Do You Stick a Spider Climbing Up the Glass?
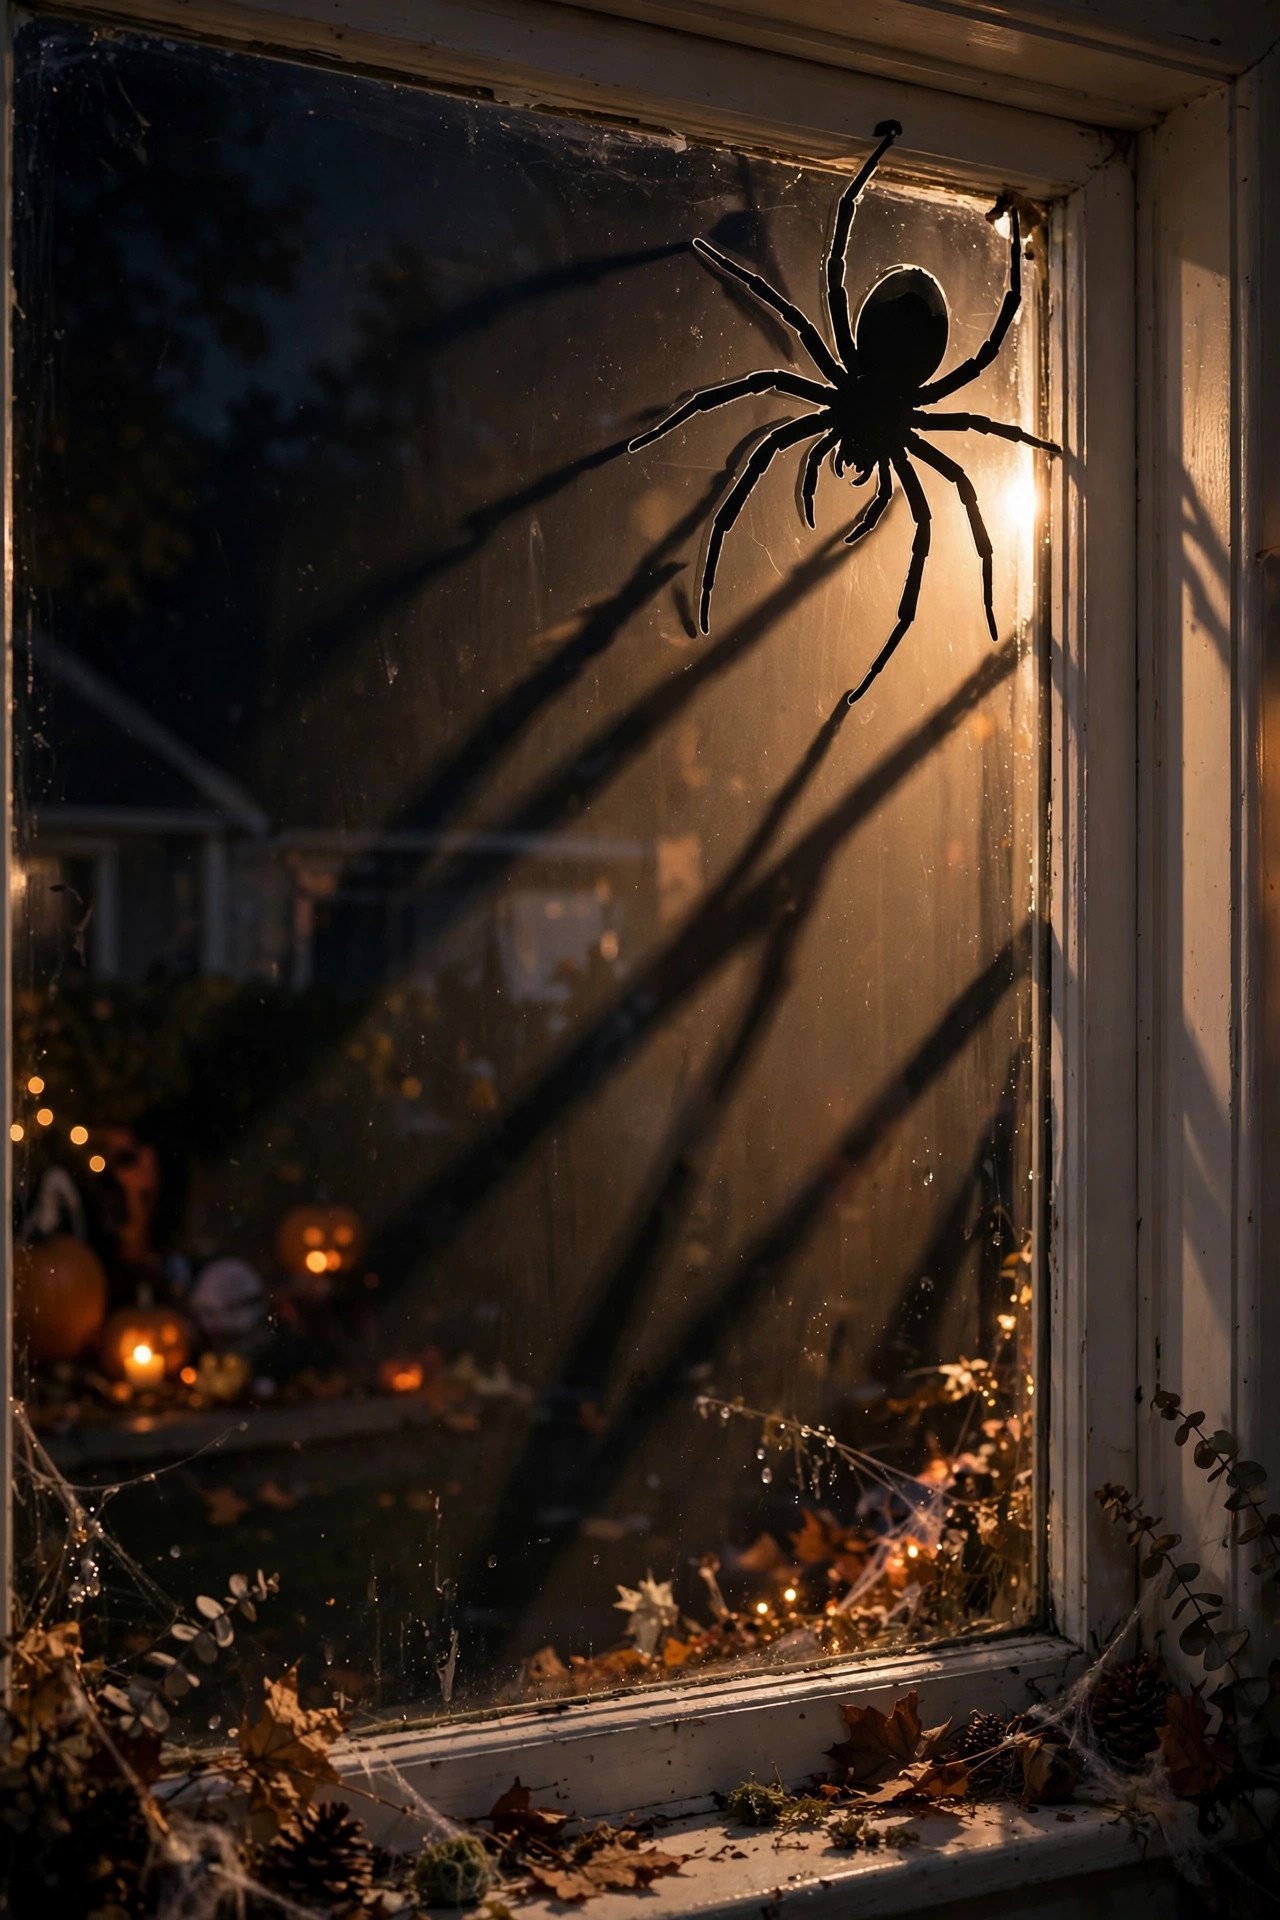
Use a large vinyl spider decal or a lightweight 3D spider on a suction cup, placed off-center and climbing upward — position sells the scare more than size. A spider dead-center reads as decoration; a spider scaling the upper corner, legs splayed, reads as an intruder.
For decals: clean the glass with rubbing alcohol first, apply wet with a squeegee, and choose a matte black spider at least 10 inches across — small spiders vanish from the sidewalk. For 3D impact, mount a fuzzy craft-store spider on a clear suction cup; add a few strands of monofilament "web" trailing behind it for motion. Pair the climber with a web in the opposite corner (see the giant-web technique above) so the window tells a micro-story: web built, spider patrolling. At night, a single low side-light rakes across the spider's legs and throws long shadows — far creepier than flat front light. If you have arachnophobic neighbors, keep it to one spider; restraint is what separates a classy scare from a haunted-house pile-on. The Spruce's fall harvest home decor ideas are a good reminder that autumn styling can stay elegant even with a giant spider involved.
18. How Do You Hang a Garland Across a Window?
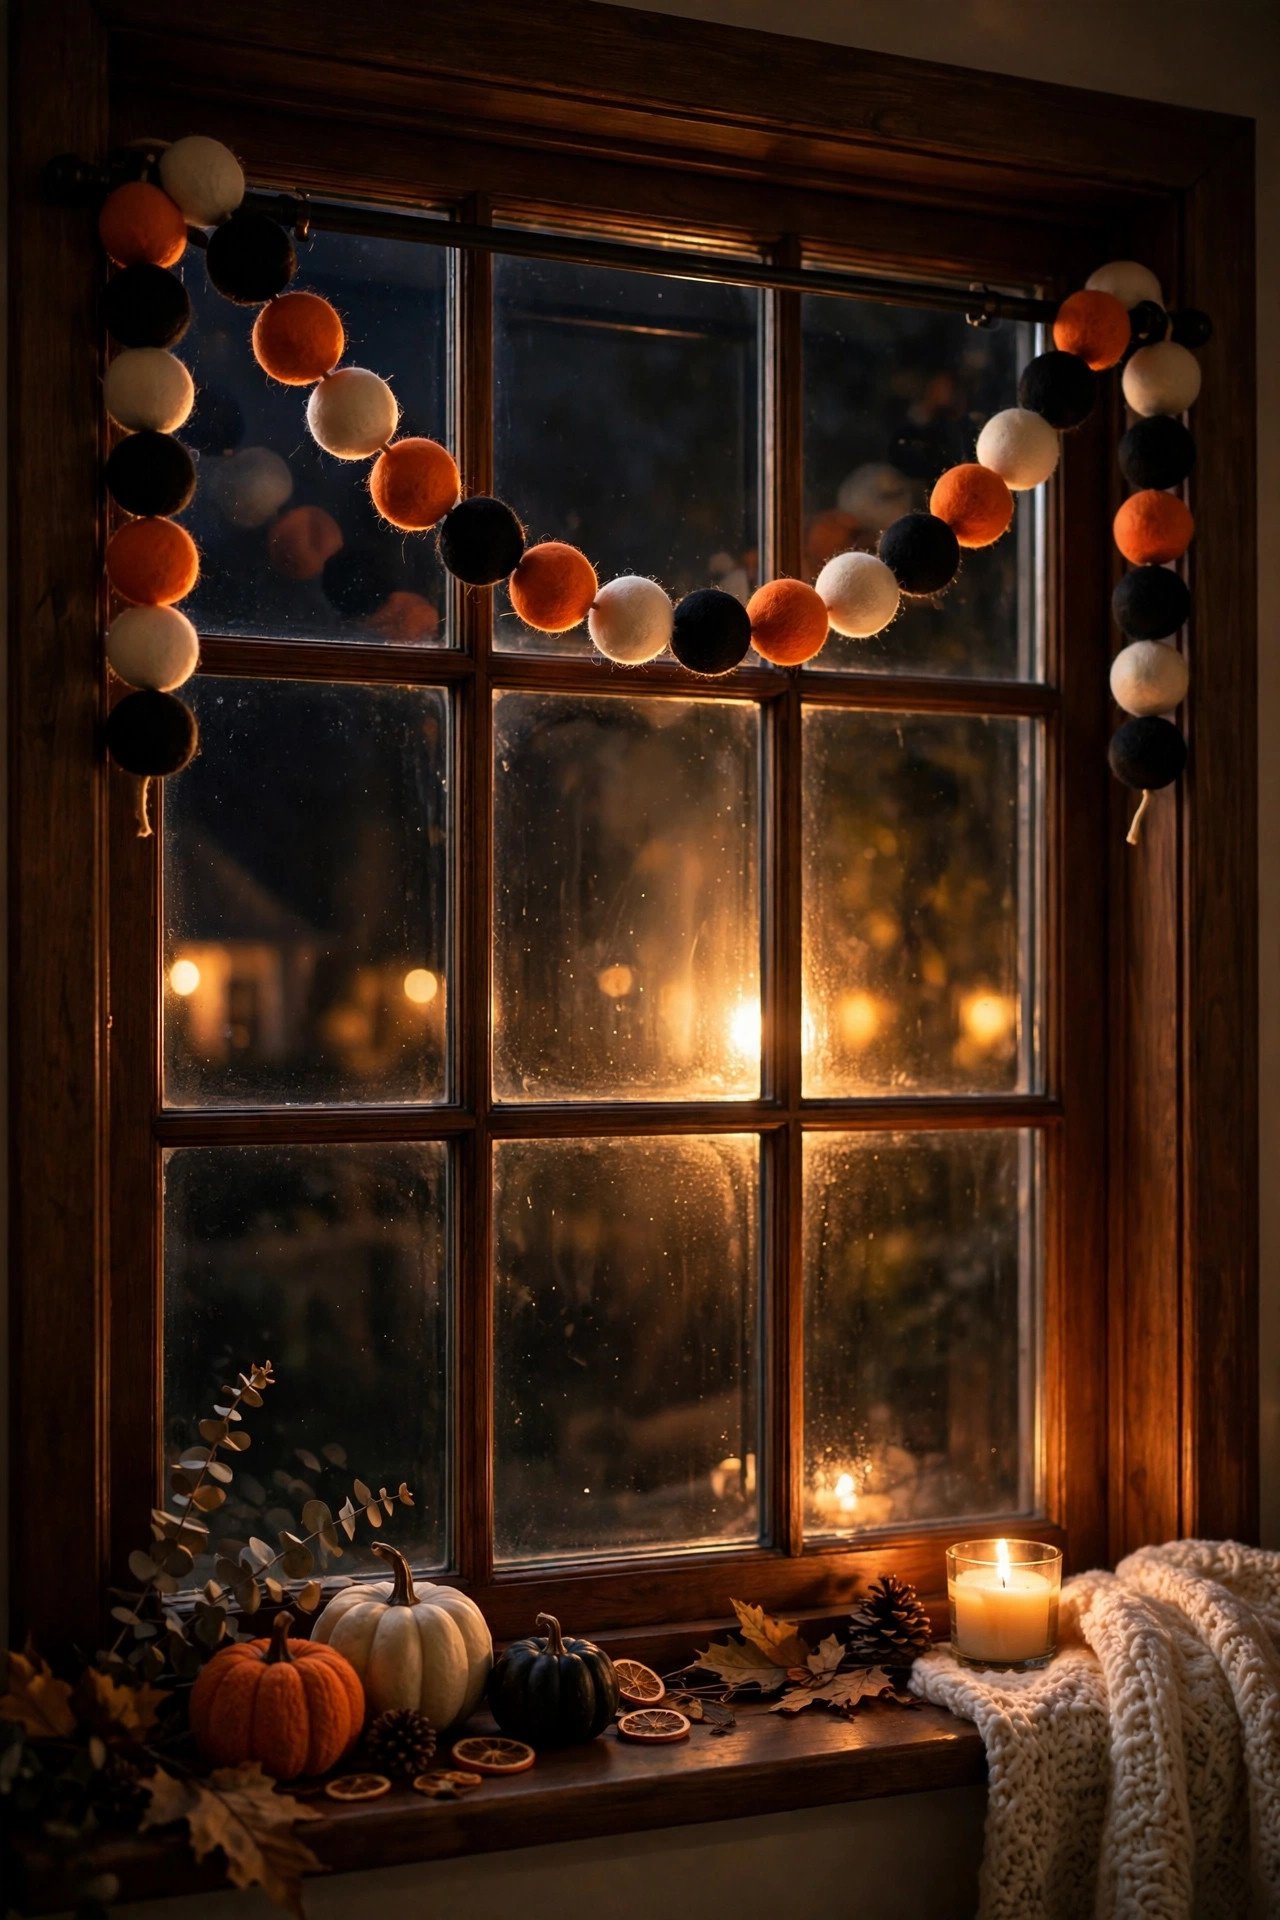
Drape the garland from a tension rod mounted inside the frame or from two small removable hooks on the upper trim, letting it swag in a gentle catenary curve — never pulled taut. The swag is the whole design: a taut garland looks like a clothesline; a draped one looks like decor.
For Halloween windows, felt-ball garlands in black/orange/cream, mini-pumpkin strings, or dried-orange-slice garlands all work; hang the garland on the *room* side of the glass so it reads as interior styling by day and a glowing border by night when backlit. A 6-foot garland suits a standard 3-foot window with a 6–8 inch center dip — measure the swag by holding it up before committing hooks. Layer two garlands at different depths (one on the glass, one a foot inside the room) for dimensional richness. Secure the center dip with a nearly invisible pin or dot of museum putty so it holds its curve instead of sliding. Avoid heavy wooden-bead garlands on suction cups — the weight always wins by week two. When the season ends, felt garlands roll up and store flat in a zip bag, ready for next October.
19. Can Framed Vintage Halloween Art Glow Like a Stained Window?
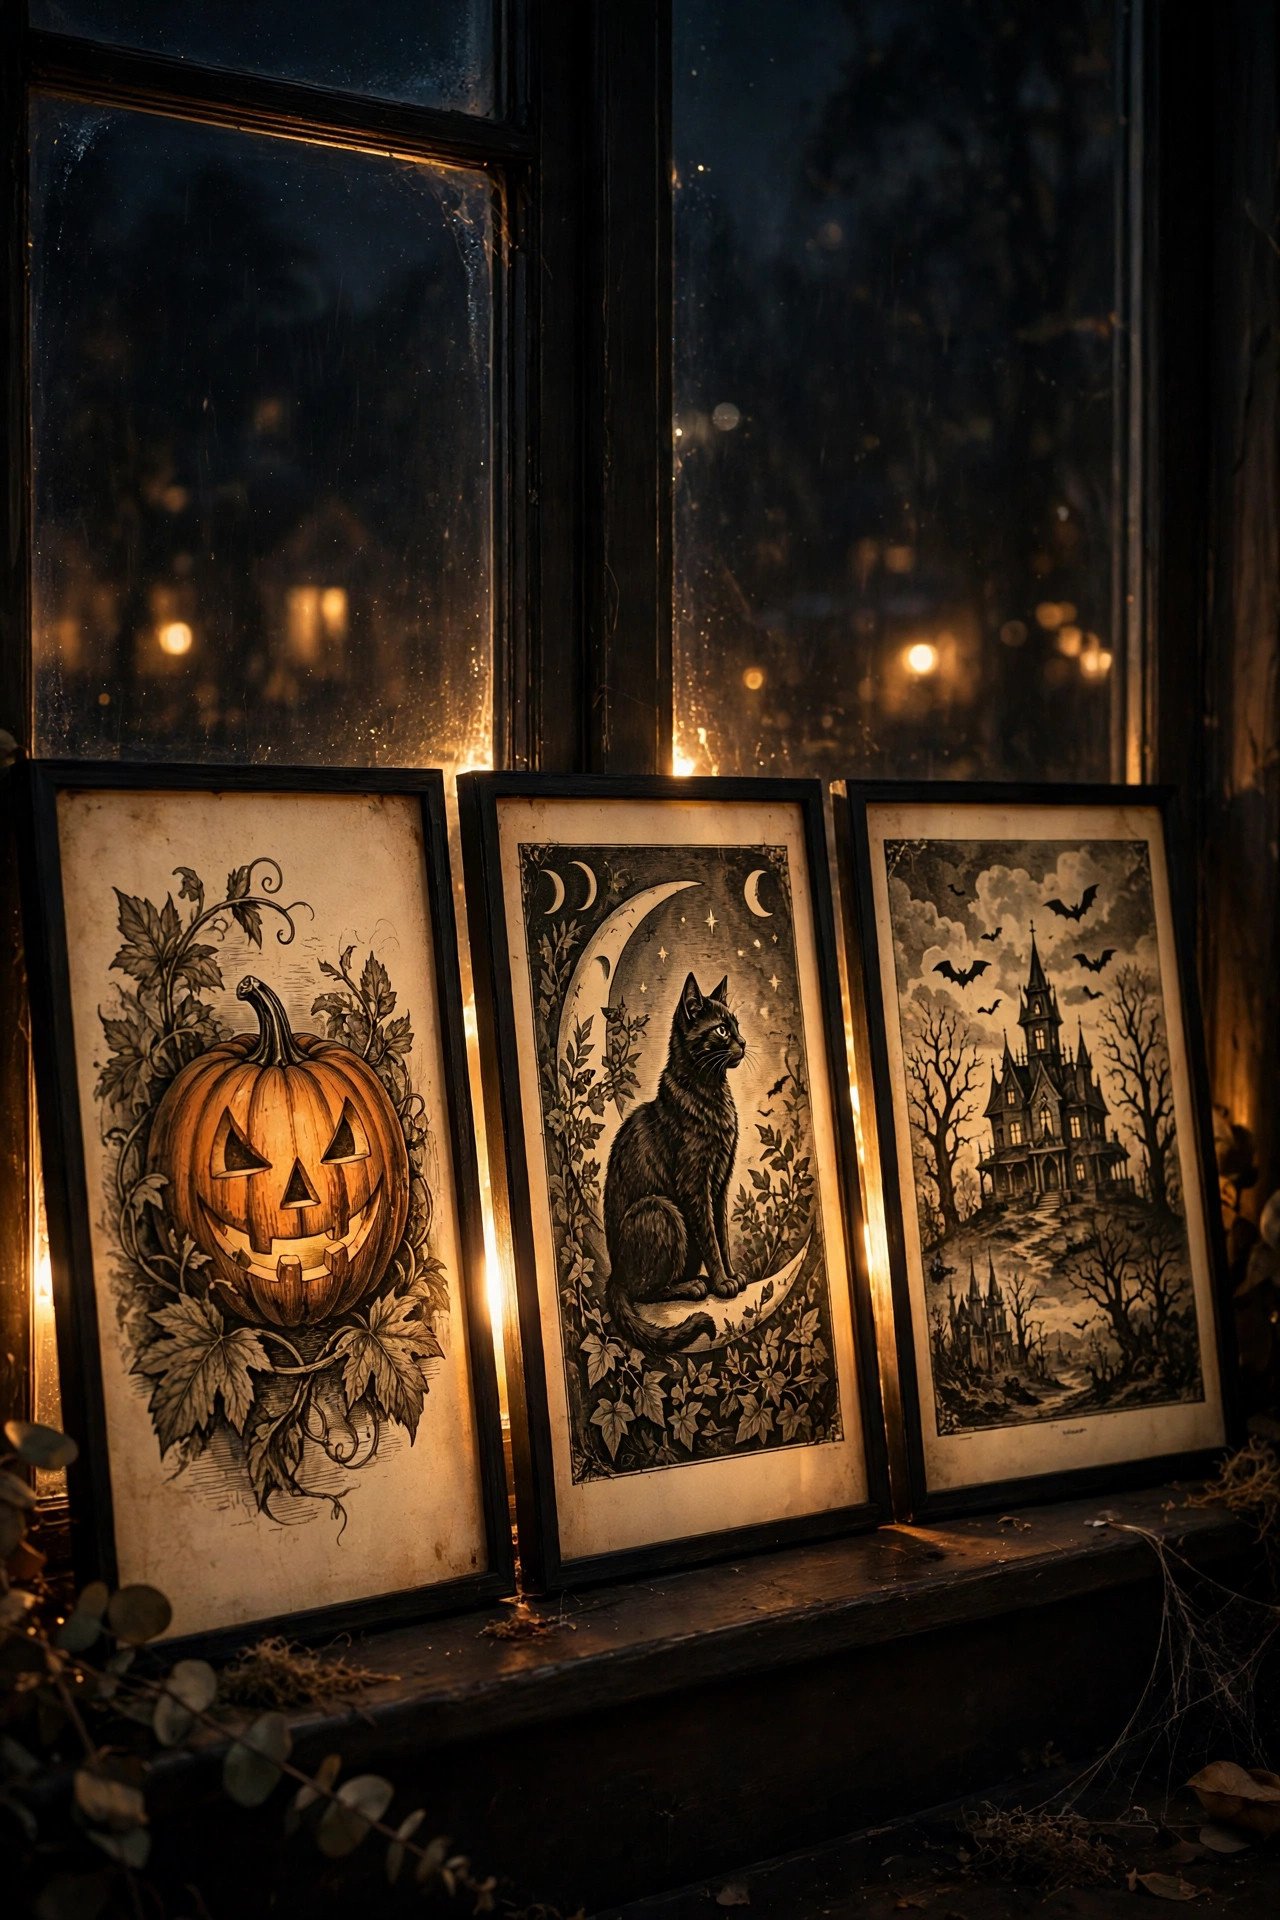
Yes — place vintage-style Halloween prints in simple black frames directly against the glass and backlight them, and the paper glows like a lightbox. Old Halloween postcard art, with its saturated oranges and inky blacks, was practically designed for this: the colors are bold enough to survive transmitted light.
Print public-domain vintage Halloween images (pre-1930s postcards are widely available from archives) on translucent vellum or backlit film rather than standard paper — regular paper blocks too much light and the image goes muddy. Frame in thin black gallery frames and stand them on the sill leaning against the glass, or hang from the top trim with ribbon. A single large print (16×20) centered in a picture window beats a gallery wall of small ones, because transmitted light needs scale to impress from the street. Mix one framed piece with silhouettes rather than framing the whole window — the contrast between the glowing "painting" and the black cutouts around it is what makes the composition sing. This is also the most weatherproof option here: everything sits safely indoors.
20. How Do You Make Portraits That Change When Lights Shift?
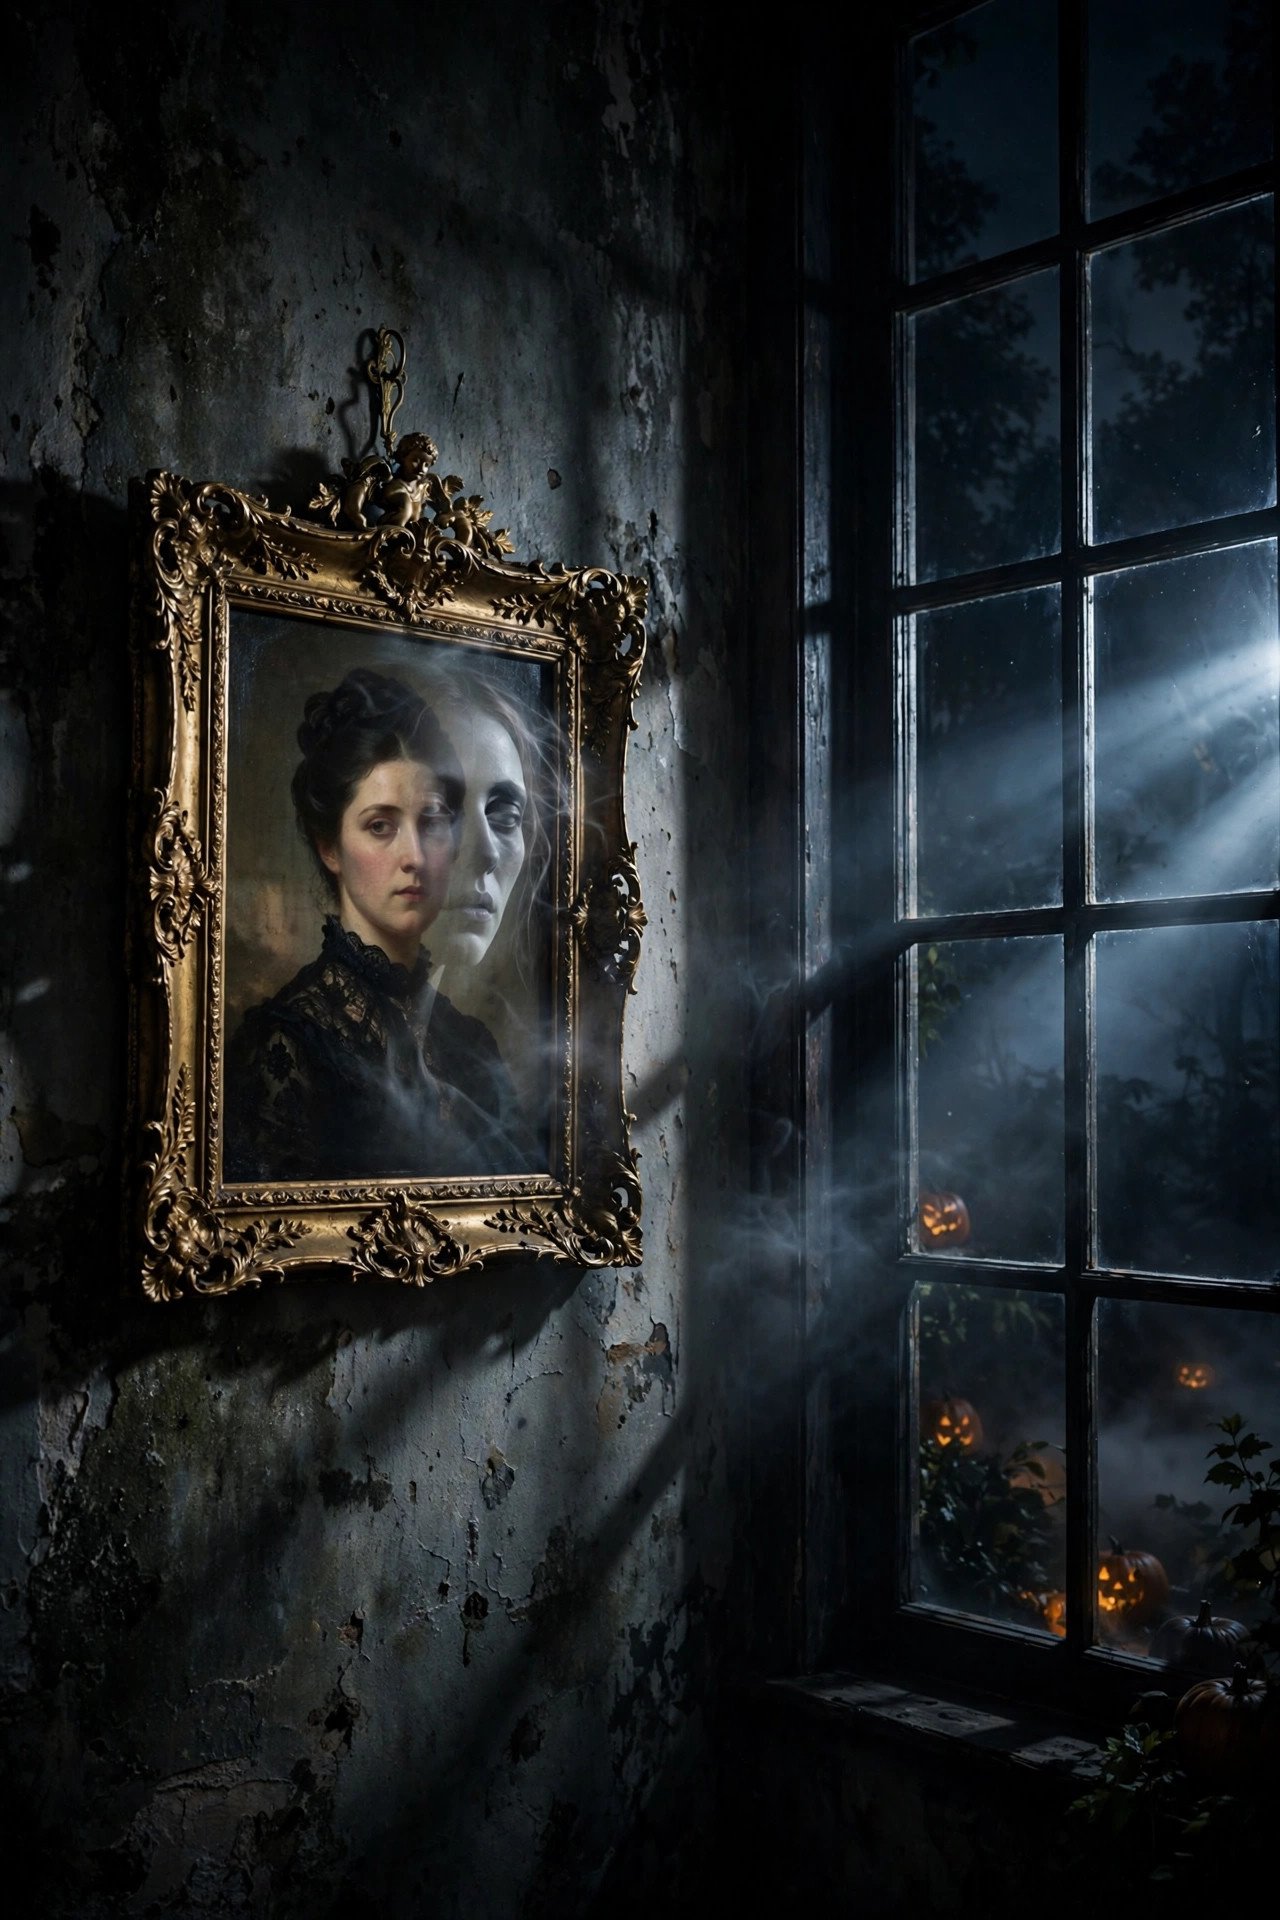
Mount two images in one frame — a normal vintage portrait and a "haunted" version (hollow eyes, aged cracks) — and light each from a different angle, or use lenticular prints that flip the image as viewers walk past. The effect: trick-or-treaters see a prim ancestor, then a ghoul, depending on where they stand.
The DIY version: print the haunted version on translucent vellum and mount it *behind* the normal print in a deep shadow-box frame. By day, the front print dominates. At night, a light placed behind the frame shines through the vellum's dark areas — the ghostly face bleeds through the normal one like a double exposure. The store-bought version: lenticular "changing portrait" prints, which flip between two images with viewing angle; mount at adult eye height on the window-adjacent wall where sidewalk foot traffic creates the angle shift naturally. Keep the room behind the window dark so the portraits are the brightest thing in the frame — contrast does the haunting, not the print alone. One changing portrait per window; a wall of them dilutes the surprise.
21. What About Sidelights and Transom Windows?
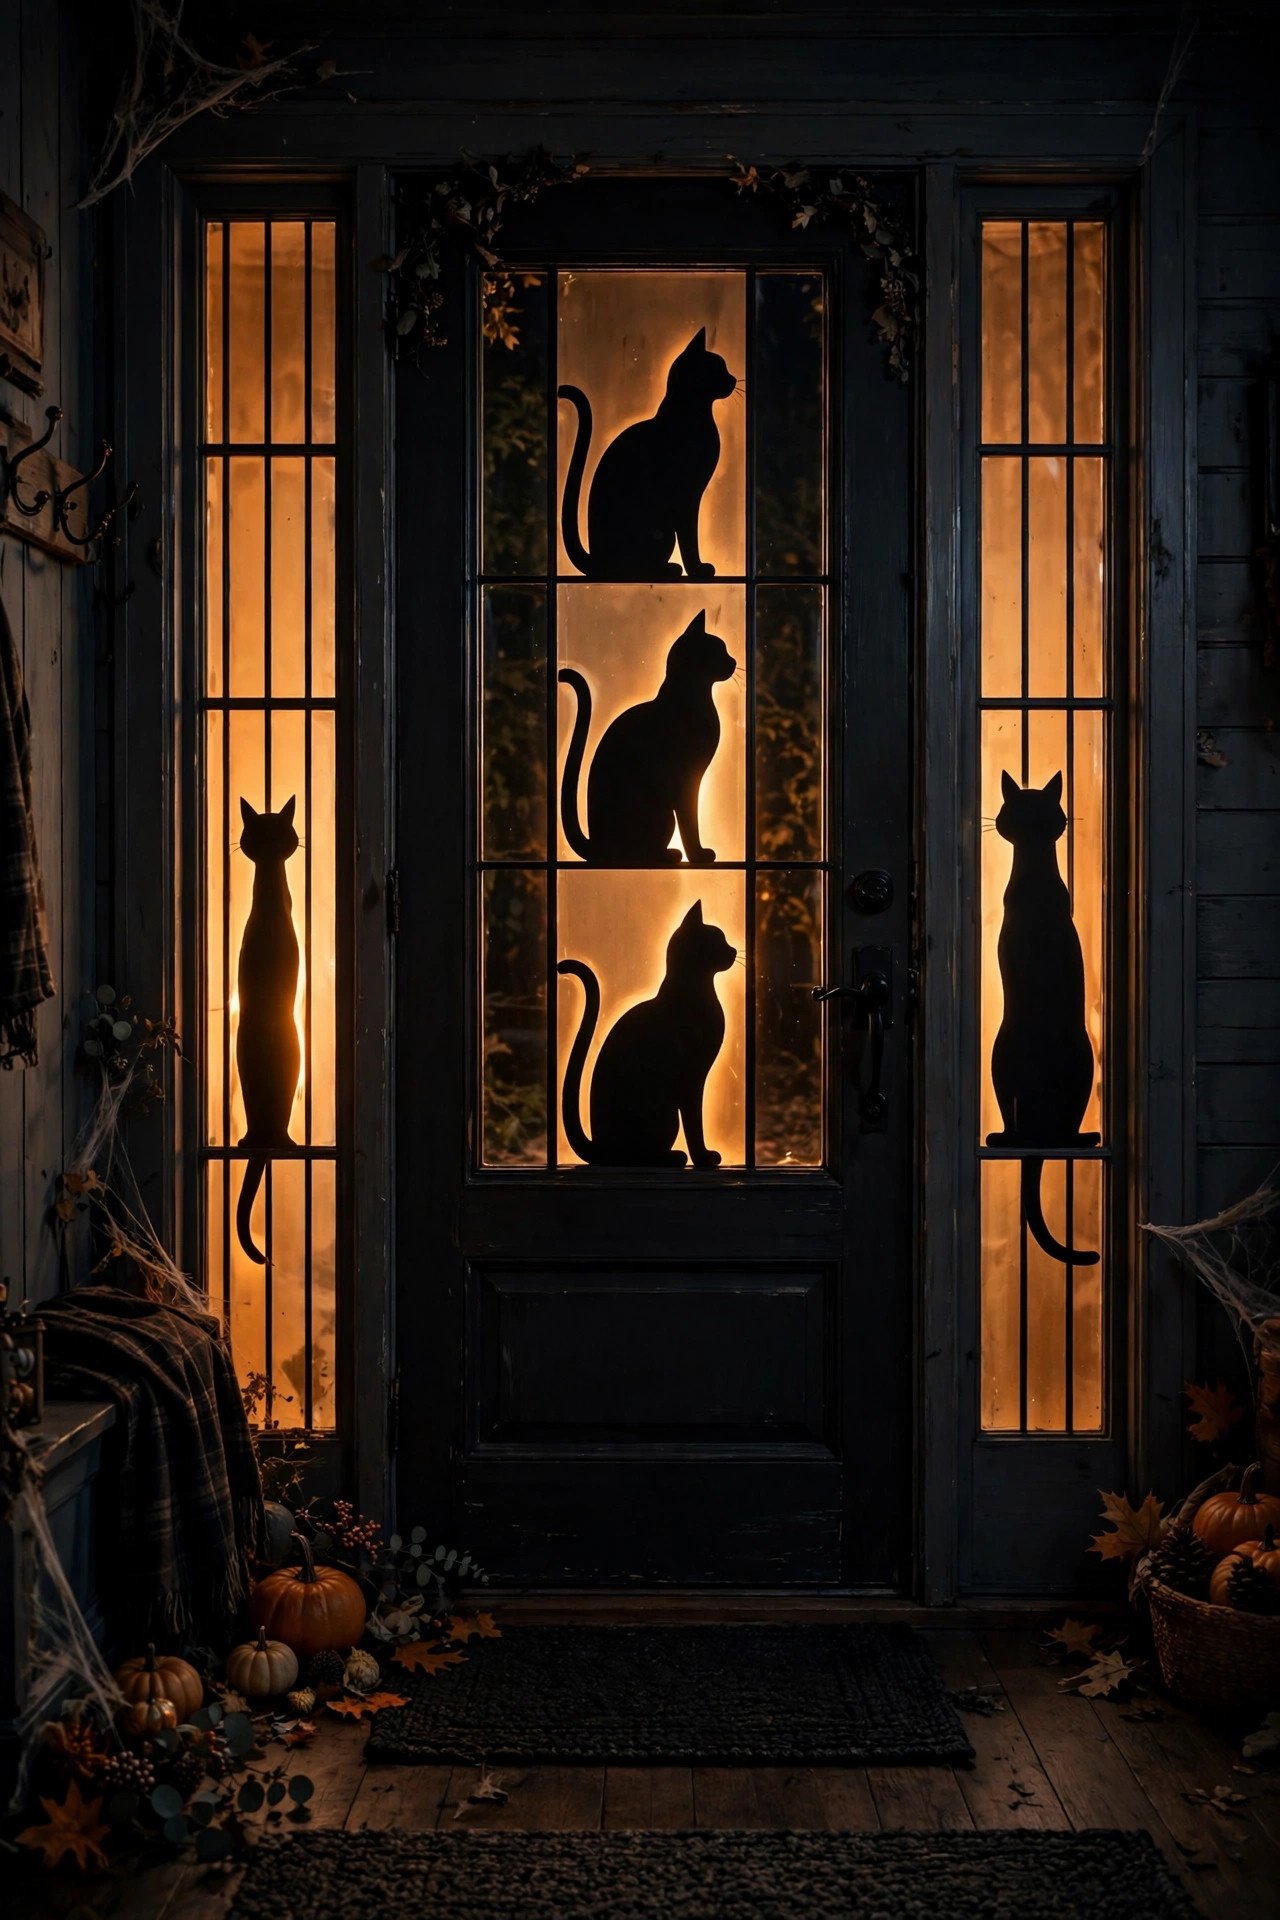
Treat narrow sidelights and transoms as jewelry, not billboards — one strong motif per pane. These slim windows flank the front door, so they're the first decor visitors see up close; they reward detail that big windows can't carry.
A single tall silhouette (a black cat, a witch's profile) running the height of a sidelight, backlit amber, is devastatingly effective at arm's length. Transoms — the horizontal windows above doors — suit a row of small glowing pumpkins or a single line of text-free banner silhouettes. Because sidelights sit beside the door, coordinate them with your entry styling: if the porch carries pumpkins and lanterns, echo one element (the lantern glow, the pumpkin orange) in the sidelight so door and windows read as one composition. Keep designs simple here — intricate cutouts blur at close range and the glass is often textured or frosted, which diffuses fine detail anyway. Our Halloween entryway decor ideas for a spooky welcome and Halloween porch decor ideas for a spooky stylish entry show how to make the door zone and windows work as a single scene.
22. How Do You Automate Halloween Window Lights?
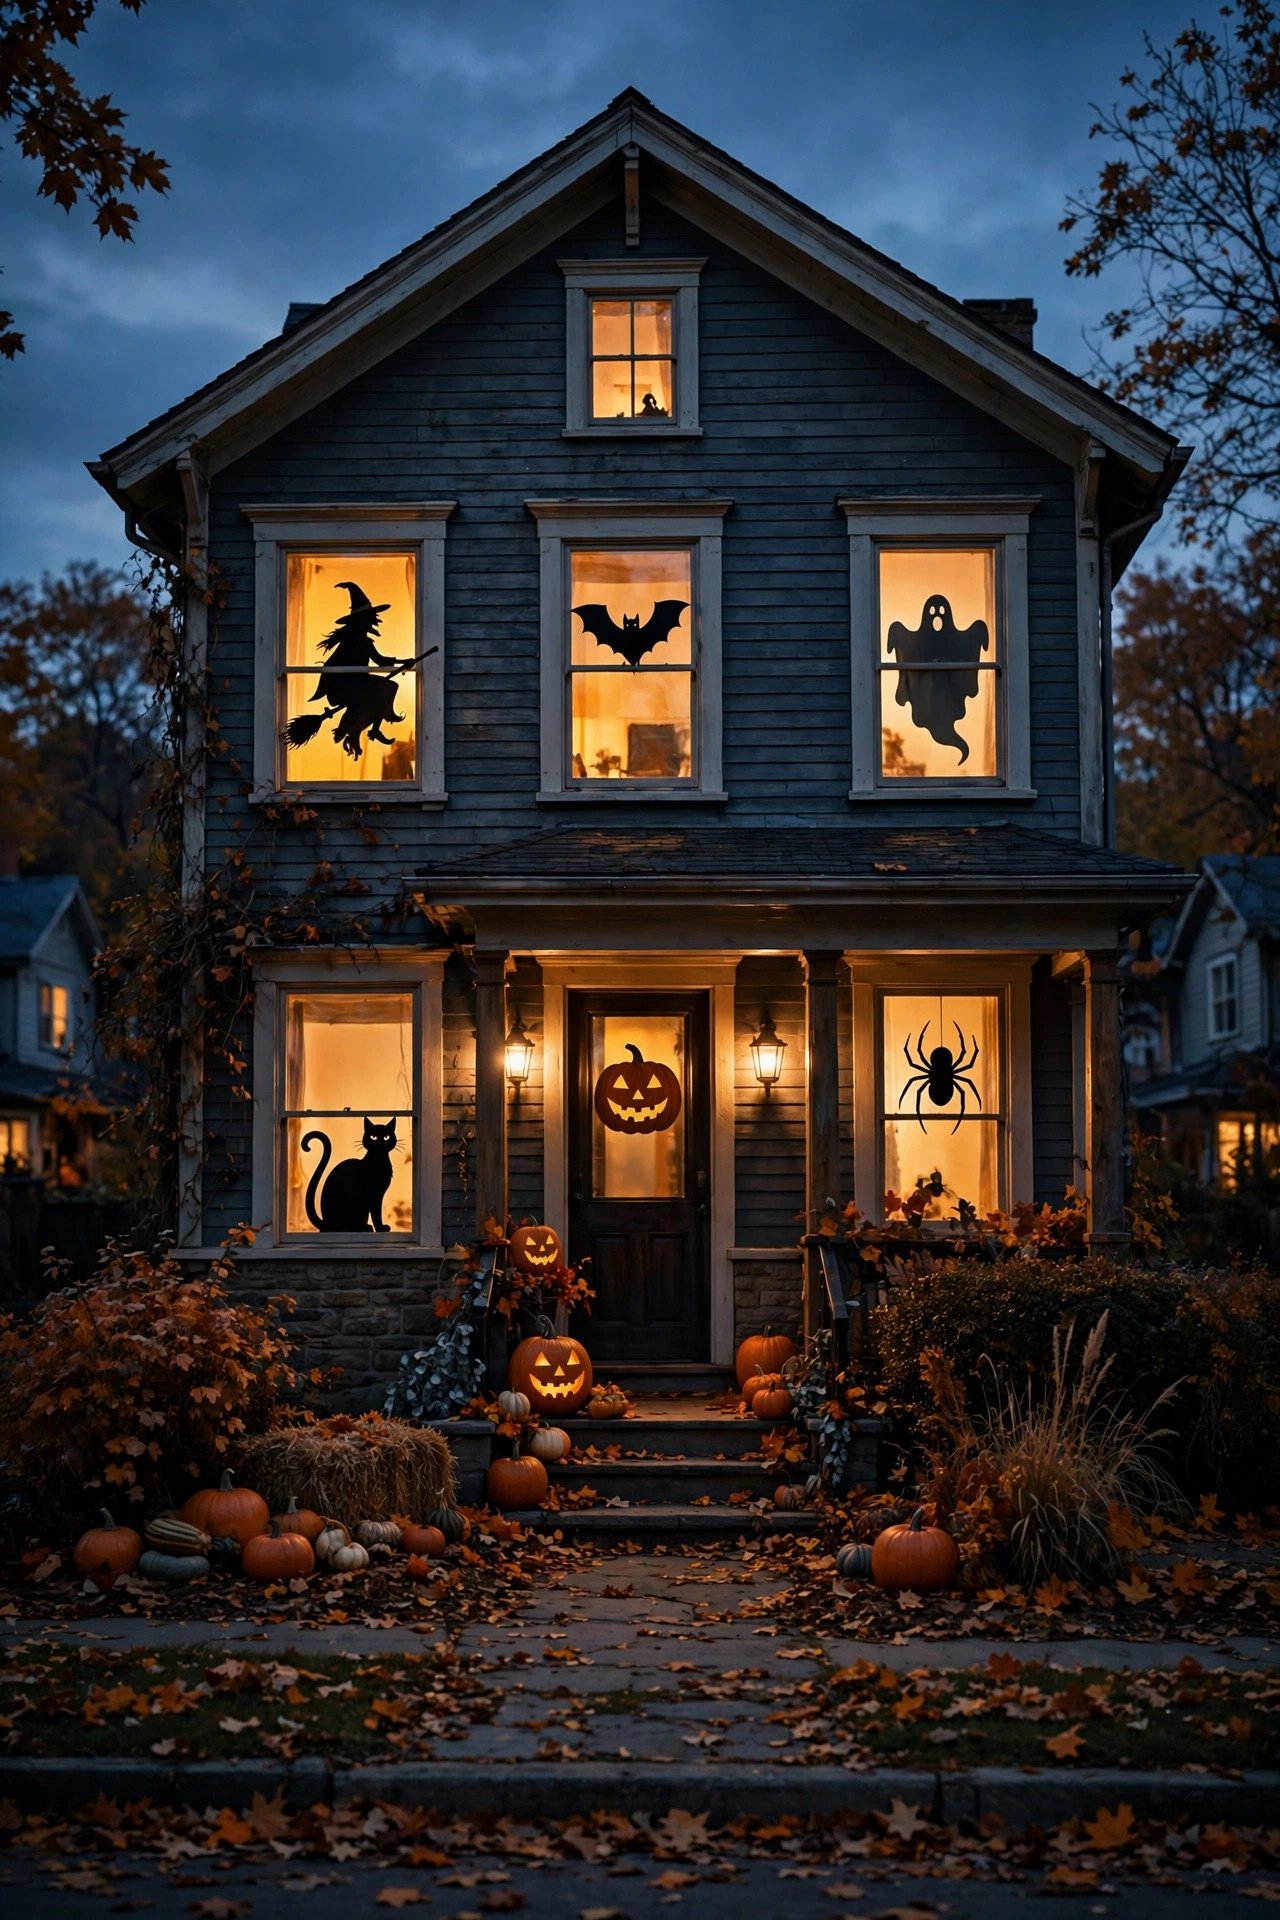
Plug every window light into smart plugs or dusk-to-dawn timers so the whole display switches on at sunset and off at bedtime with zero daily effort. Automation is what separates a display you enjoy all October from one you abandon by week two — consistency is the entire game.
The simple setup: one outdoor-rated smart plug per room (or a power strip on a single plug for multiple windows in one room), scheduled for sunset-to-11 PM. The better setup: a smart plug with an astronomical timer that tracks actual sunset, so the windows light as the sky darkens rather than at a fixed hour that drifts wrong by late October. Group all Halloween plugs in one app scene ("Spooky Mode") so one tap — or one voice command — runs the house. Battery-operated pieces (tea lights, puck lights) should have built-in 6-hours-on/18-off timers, the standard in flameless candles. Test the full automation at dusk once, from the sidewalk, then forget it. Come November 1st, delete the schedule and pack the plugs with the decorations — they'll run the Christmas windows next.
Practical Tips for Halloween Windows
Backlight, don't front-light. Every design in this guide assumes the light sits behind the decoration, between it and the room. Front-lit windows just show your curtains.
Test from the sidewalk at night. Indoor judging lies — brightness, scale, and spacing all read differently from 30 feet away in the dark. Check every window at 9 PM at least once.
Layer sheer behind opaque. A sheer panel behind silhouettes turns harsh bulbs into atmospheric glow and hides the mechanics (tape, wires, curtain rods) from outside eyes.
Mind the heat. LEDs only near paper, fabric, and dried botanicals. If a bulb feels warm on your palm after ten minutes, it's too close to anything flammable.
Put everything on timers. Dusk-to-11 PM covers trick-or-treat traffic and your own evening enjoyment without wasting power or annoying neighbors at 2 AM.
Budget in tiers. Paper silhouettes and clings dress a window for under $10; a projector setup runs $40–80 and transforms the whole facade. Spend the money where the street sees it most — the front-facing windows.
Store flat, label everything. Silhouettes go between sheets of tissue in a portfolio; clings return to their backing sheets; garlands coil into zip bags. Label each bag by window — next October you'll thank yourself.
Photograph at blue hour. The 20 minutes after sunset, when the sky is deep blue and your windows glow amber, is when Halloween windows photograph best — for memories and for Pinterest.
Frequently Asked Questions
Should Halloween window decorations be placed inside or outside the glass?
Inside, almost always. Interior placement protects paper, fabric, and electronics from rain and wind, keeps every light source near an outlet, and still reads perfectly from the street because glass is transparent at night when the inside is brighter than the outside. The only common exception is exterior window boxes or shutters, which are built for weather. Designing from the inside also means you enjoy the display too — it glows into your room, not just onto the sidewalk.
What kind of lights work best for backlighting window silhouettes?
Warm-white LED strips, puck lights, or a simple table lamp with a 2700K bulb placed 1–3 feet behind the glass. LEDs are ideal because they run cool against paper and fabric, sip power on a timer, and come in amber, orange, and color-changing options. Avoid cool-white bulbs, which flatten the spooky mood into office lighting, and avoid placing any bulb directly against paper — even LEDs need an inch of clearance for even diffusion.
Will Halloween window clings damage my glass or window frames?
Static clings won't — they grip with water and surface tension and peel off cleanly. Adhesive vinyl decals are the risky ones: cheap vinyl can leave residue or pull paint off wooden trim, especially after weeks in sun. Stick to true static-cling products on the glass itself, keep all adhesives off painted trim, and test any "removable" product on a hidden spot for 24 hours first. When in doubt, clings plus suction cups cover every renter-safe need.
How do you keep paper silhouettes from curling or falling off the window?
Use heavyweight cardstock (65 lb or more), which resists humidity curl, and attach with painter's tape loops or removable mounting squares rather than single strips of tape. Condensation is the real enemy: it forms where warm room air meets cold glass, so leave a small gap between the paper and the glass rather than pressing shapes flat — airflow prevents the damp edge-curl. For a full month of display, laminate key pieces or switch to black craft foam, which never curls.
Can renters decorate windows for Halloween without risking the security deposit?
Yes, with a strict no-damage toolkit: static clings on glass, suction cups for hanging pieces, tension rods inside the frame for fabrics and garlands, and removable adhesive strips on trim. Photograph every window before decorating so you have proof of its original condition. Avoid spray snow, adhesive vinyl lettering, nails, and anything needing heat to remove. A full renter-safe display comes down in under an hour with a damp cloth.
How early in October should Halloween window decorations go up?
The first weekend of October is the sweet spot — early enough to enjoy the display for a full month, late enough that paper and clings survive until the 31st without fading. If you're using a projector or full skyline scene, give yourself the last weekend of September for a test run; projection alignment and light placement always need one round of nighttime tweaking. Take everything down within a few days after Halloween: sun-faded silhouettes left into November read as neglect, not festivity.
Do projector Halloween displays work on windows with screens or textured glass?
Window screens blur and dim projected images noticeably — remove the screen for October if you can, or project onto a white shower-curtain liner hung just inside the screen so the liner becomes the projection surface. Textured or frosted glass diffuses the image into a soft glow: still atmospheric, but fine details like faces get lost, so choose bold high-contrast loops. In both cases, the fix is the same: a smooth white liner as your screen, hung inside the glass, which also hides your living room from the street.
What is the cheapest way to make a window glow for Halloween?
Black paper silhouettes backlit by a lamp you already own — total cost under $5 for cardstock and tape. Cut bats, a witch, or a haunted tree, tape them inside the glass, turn off the room's overhead light, and switch on a warm table lamp behind them. The contrast does all the work; no special equipment needed. Static clings are the second-cheapest upgrade at a few dollars per sheet, and both store flat for next year.
Final Thoughts
Halloween windows reward a simple discipline: design for the street, light from behind, and judge the result at night from the sidewalk. Whether you spend five dollars on paper silhouettes or eighty on a projector rig, the windows that haunt the neighborhood all share the same secret — darkness in front, glow behind.
Start with one front-facing window this weekend, get the backlighting right, then expand. By Halloween night, your whole facade can tell one glowing story.
You May Also Like:
– Halloween porch decor ideas for a spooky stylish entry – Outdoor Halloween decor ideas for a spooktacular yard – Halloween mantel decor ideas for a haunted fireplace – Elegant Halloween decor ideas that are chic, not scary