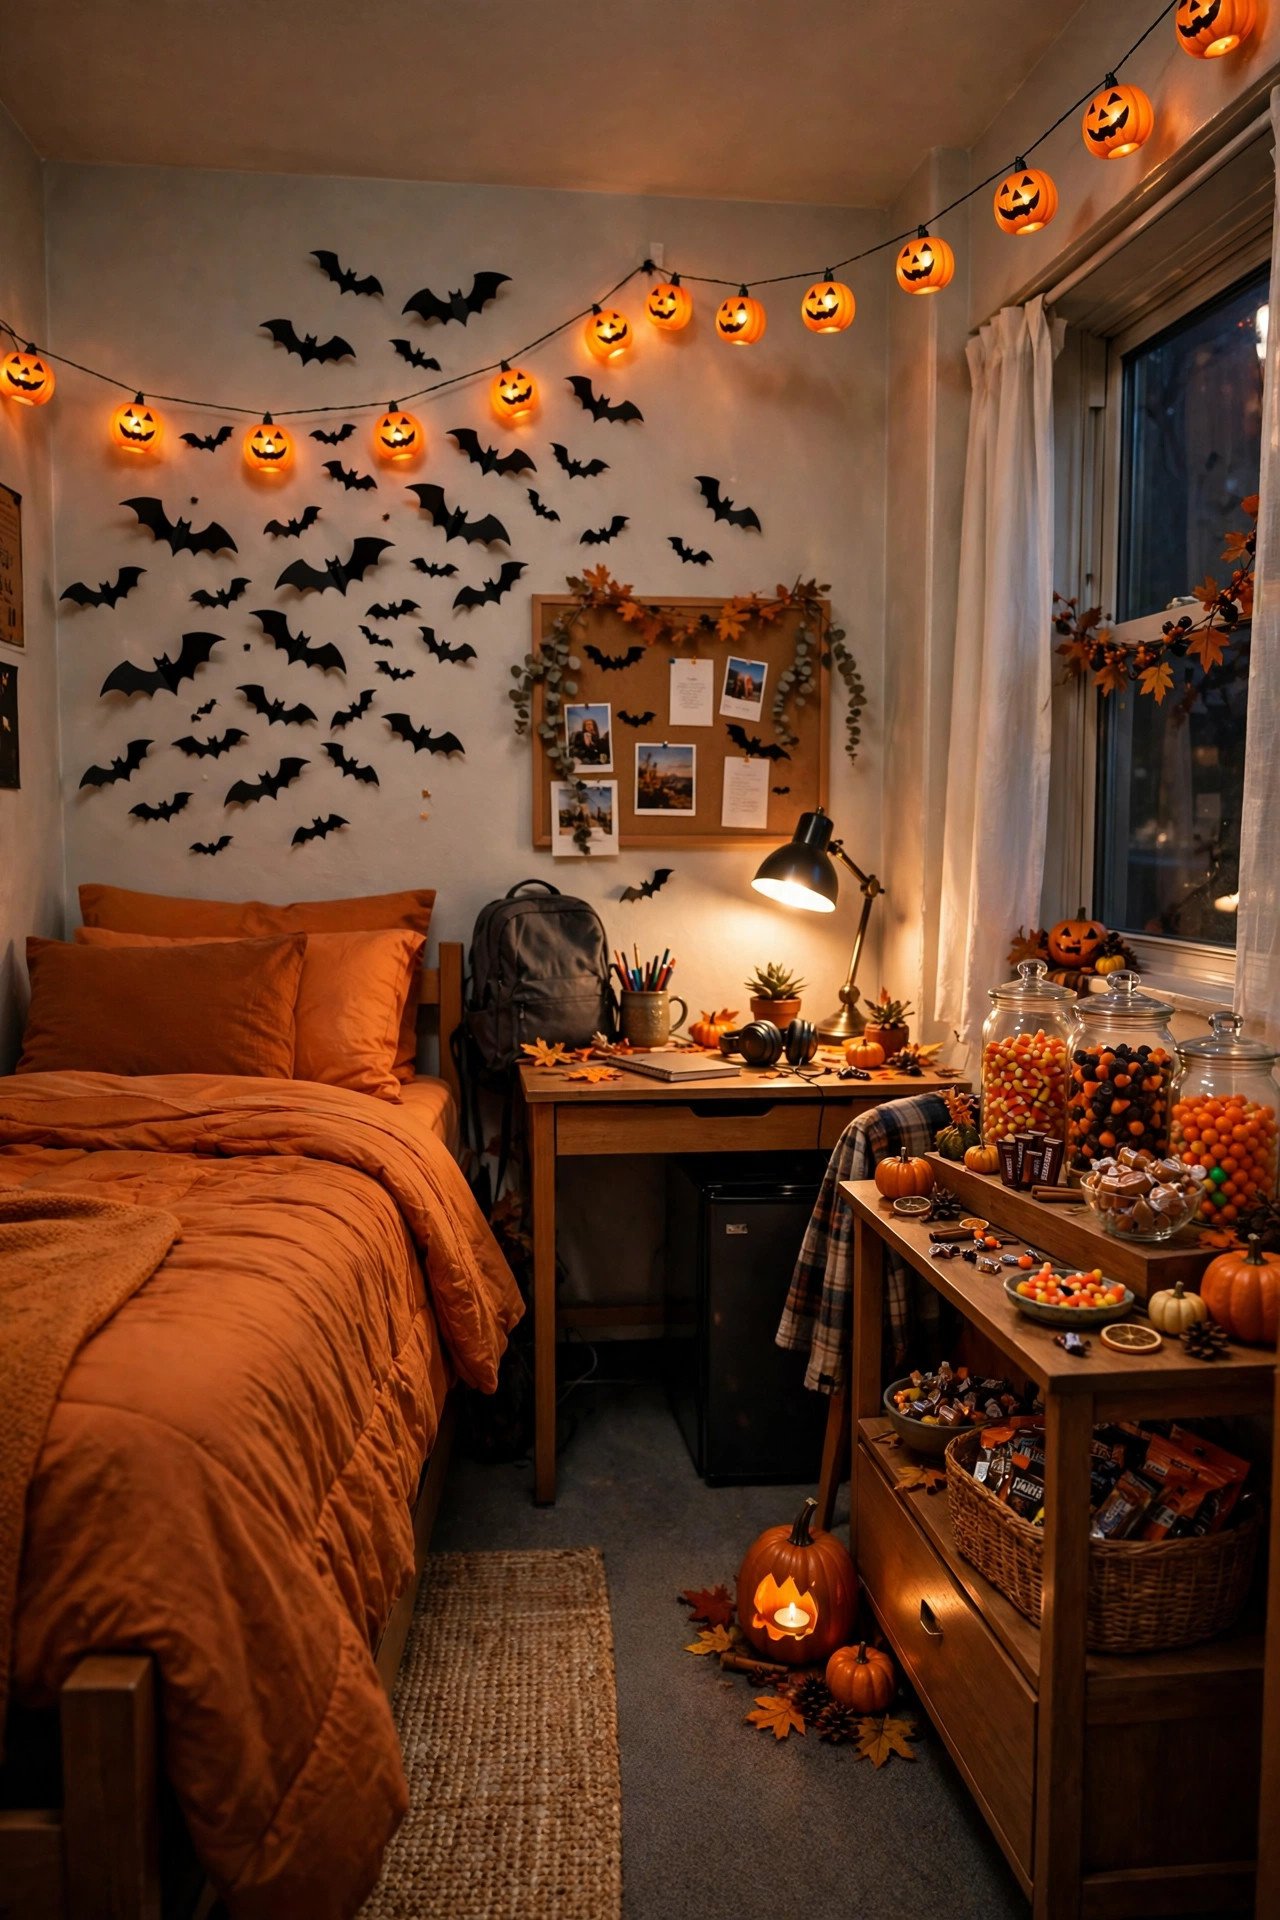
22 Halloween Dorm Room Decor Ideas for a Spooky Small Space
A dorm room in October is a decorating puzzle: one small shared room, a strict housing contract, a roommate with opinions, and a budget that mostly goes to coffee and textbooks. The good news is that Halloween is the easiest holiday to do well in a tiny space, because the whole aesthetic runs on shadows, silhouettes, and a few well-placed pops of orange and black rather than big furniture or permanent changes. Every idea in this guide is removable, damage-free, and cheap enough for a student budget.
Looking for more inspiration? Our Nest Decorz homepage gathers the latest home decor ideas, seasonal decorating guides and room-by-room styling tips in one place — start there and explore.
Below you will find 22 ideas grouped the way a dorm actually works: walls and doors first, then the bed, the desk, the shelves, and finally the finishing touches that make the whole room feel haunted without a single nail, real flame, or awkward conversation with your resident advisor. Most ideas cost under $15, several cost nothing at all, and all of them come down in under an hour on November 1st. If you are starting from zero, begin with the paper bat swarm, the pumpkin string lights, and the bedding swap — those three alone transform the room for roughly $30 total, and you can layer in the desk, shelf, and door ideas over the following weekends as your budget allows. Students in shared rooms should skim the roommate and fire-safety tips near the end before buying anything, since one quick conversation now prevents most of the decorating disputes that flare up in small spaces every October.
1. Paper Bat Swarm on the Wall
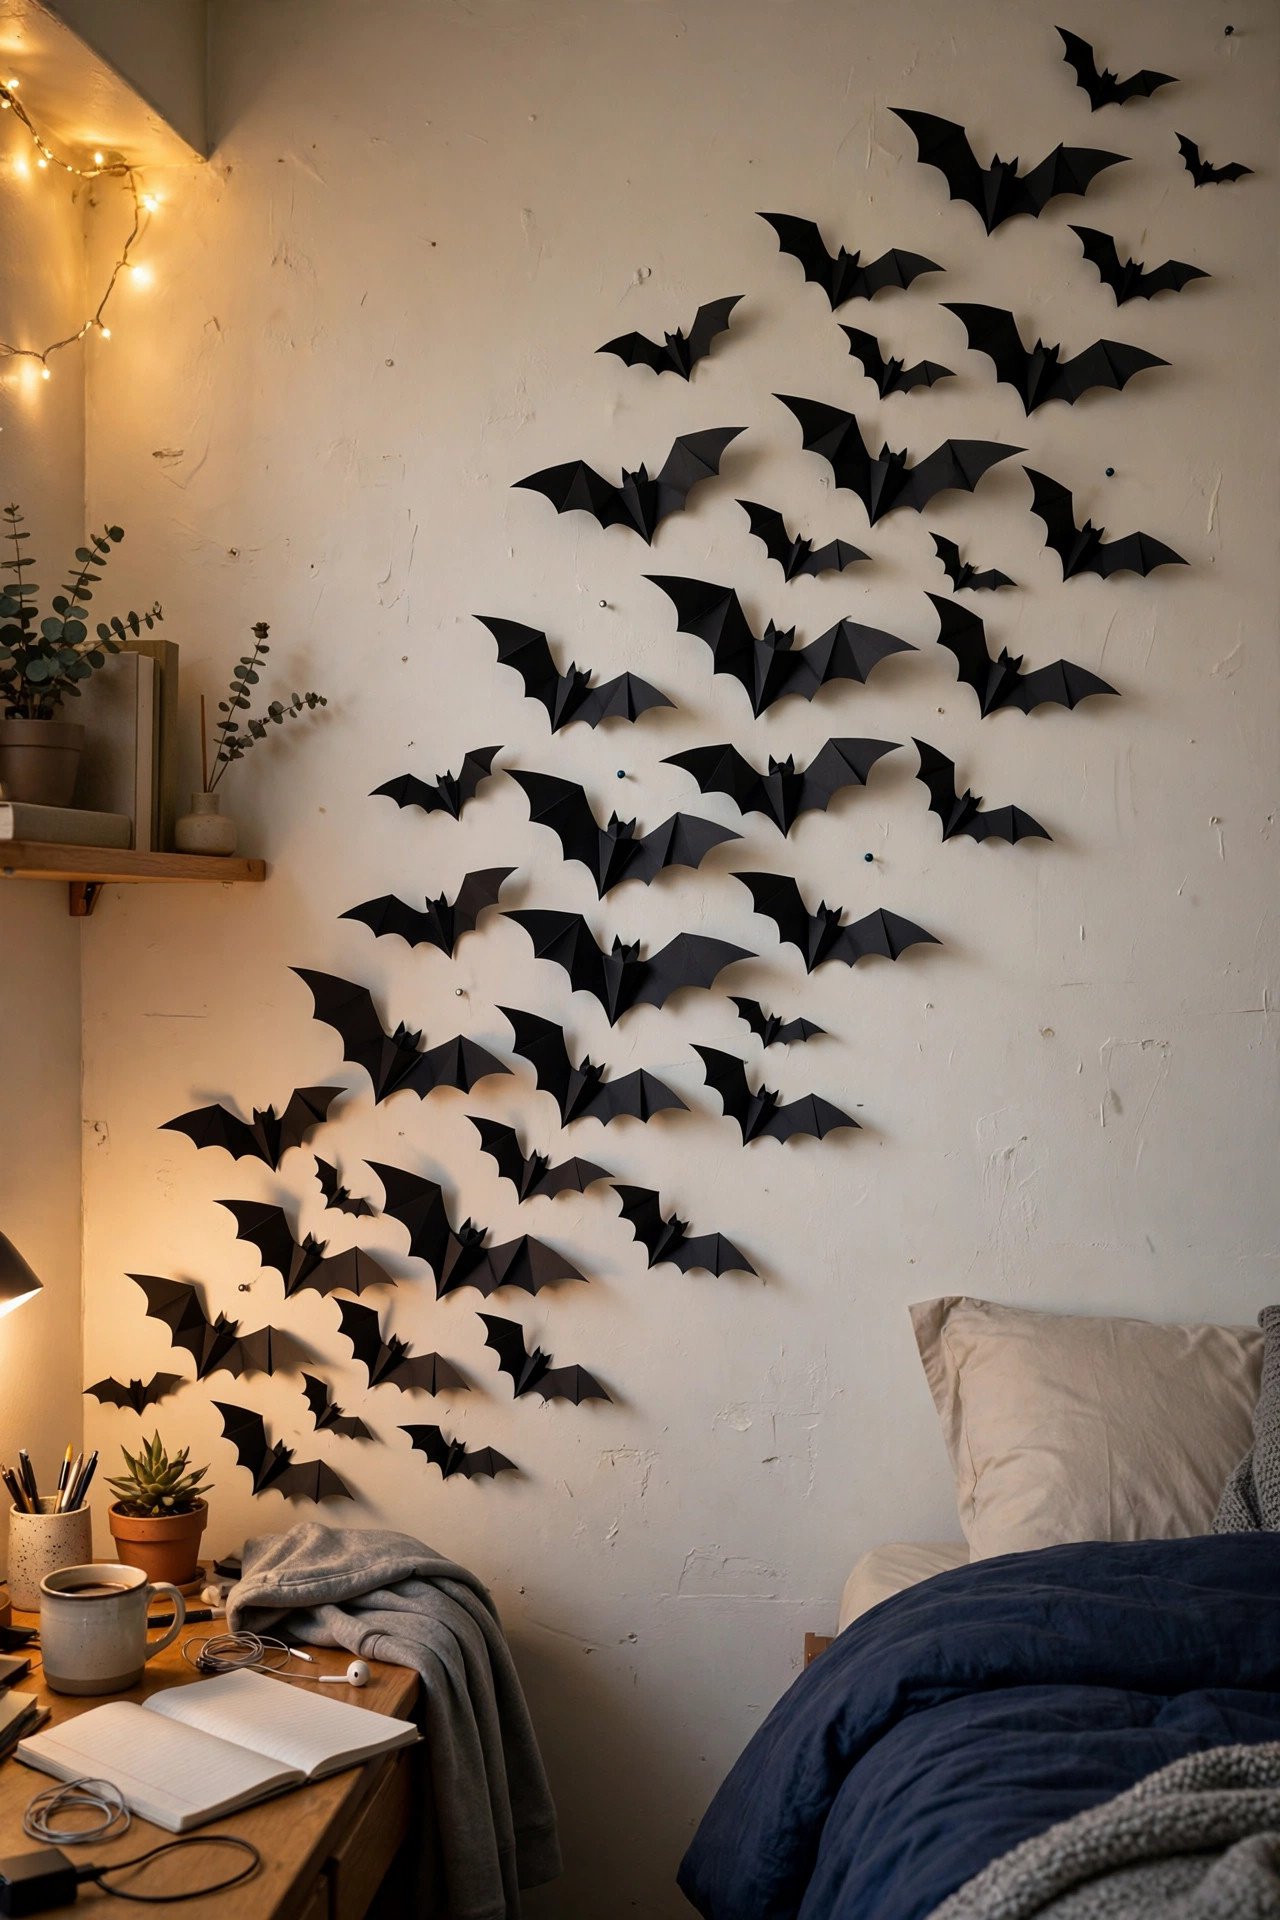
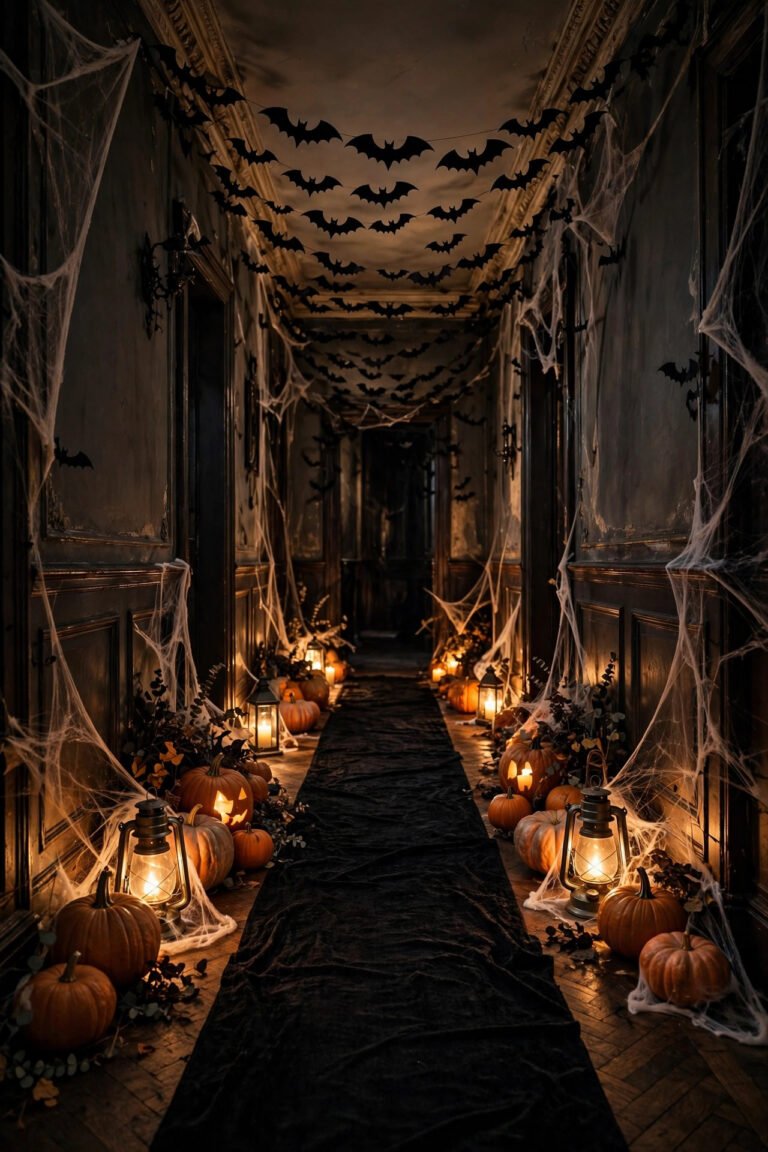
A swarm of black paper bats flying up one wall is the single highest-impact, lowest-cost Halloween dorm room decor idea you can do, because a whole flock costs under $5 in cardstock and fills an entire blank wall in one evening. Cut 25 to 40 bats in three sizes (roughly 4, 6, and 8 inches wide) from black construction paper, fold each one slightly down the middle so the wings lift off the wall, and stick them with small rolled loops of painter's tape or removable mounting putty in a rising diagonal path from your desk toward the ceiling. Vary the spacing so the swarm looks dense at the bottom and scattered at the top, like bats actually dispersing. For a shared room, keep the swarm on your side of the room and agree the flight path with your roommate first. Avoid gluing bats directly to painted walls or using duct tape, since both can peel paint and cost you deposit money at move-out.
2. Pumpkin String Lights Along the Bed Frame

Pumpkin string lights turn a plain dorm bed into the glowing centerpiece of the room for about $8 to $12, because warm orange light against bedding reads as festive instantly without taking up a single inch of floor or desk space. Drape one 10-foot strand of 20 LED pumpkin lights along the headboard or the bed frame rail, securing the wire with small adhesive clips (the kind made for string lights) rather than tape, which can leave residue on metal frames. Choose battery-operated lights with a timer so they switch off after six hours and you never have to remember them at 2 a.m. Pair them with a dark throw so the orange glow pops. Avoid plug-in strands that force an extension cord across a walkway, since that is both a tripping hazard and a common dorm fire-code violation.
3. Halloween Bedding Swap
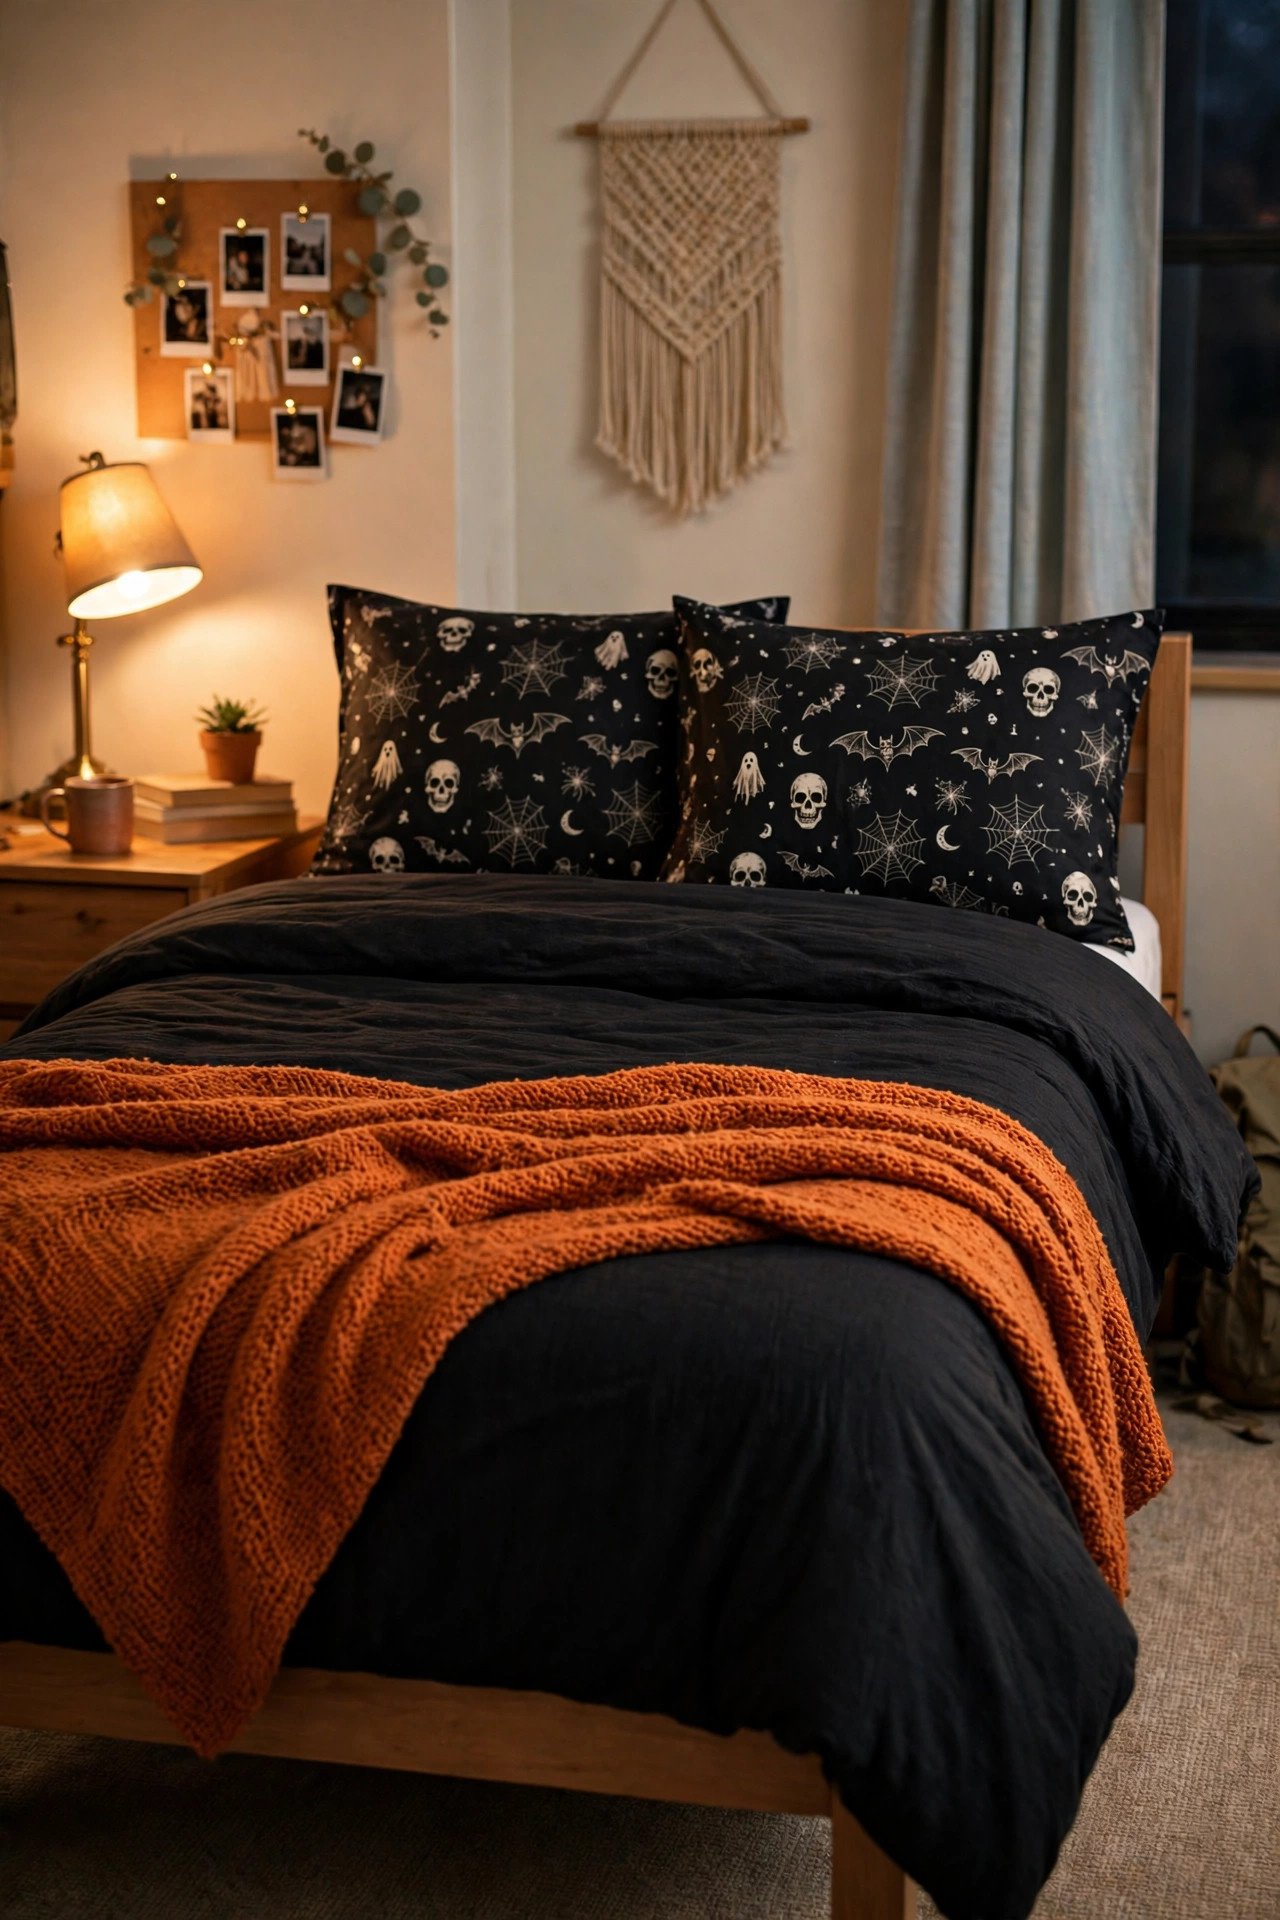
Swapping your everyday bedding for a Halloween set is the fastest way to make the whole room feel seasonal, because the bed takes up nearly half of a dorm room and a black, orange, or ghost-print duvet cover changes the entire color story in five minutes. A budget-friendly route is one black flat sheet as a top layer plus two orange or patterned pillowcases, which usually totals $15 to $25 at a discount store and packs flat for storage later. Add a single spooky throw — think spiderweb knit or pumpkin orange fleece — folded across the foot of the bed for texture. If you want a cozier, more grown-up version of the same trick, the same bedding-swap logic works in a full bedroom too, as shown in these 22 Halloween bedroom decor ideas for a cozy spooky retreat. Avoid buying a whole themed comforter set you will only use for three weeks; layers you can mix back into everyday use are a much better spend.
4. Removable Window Clings
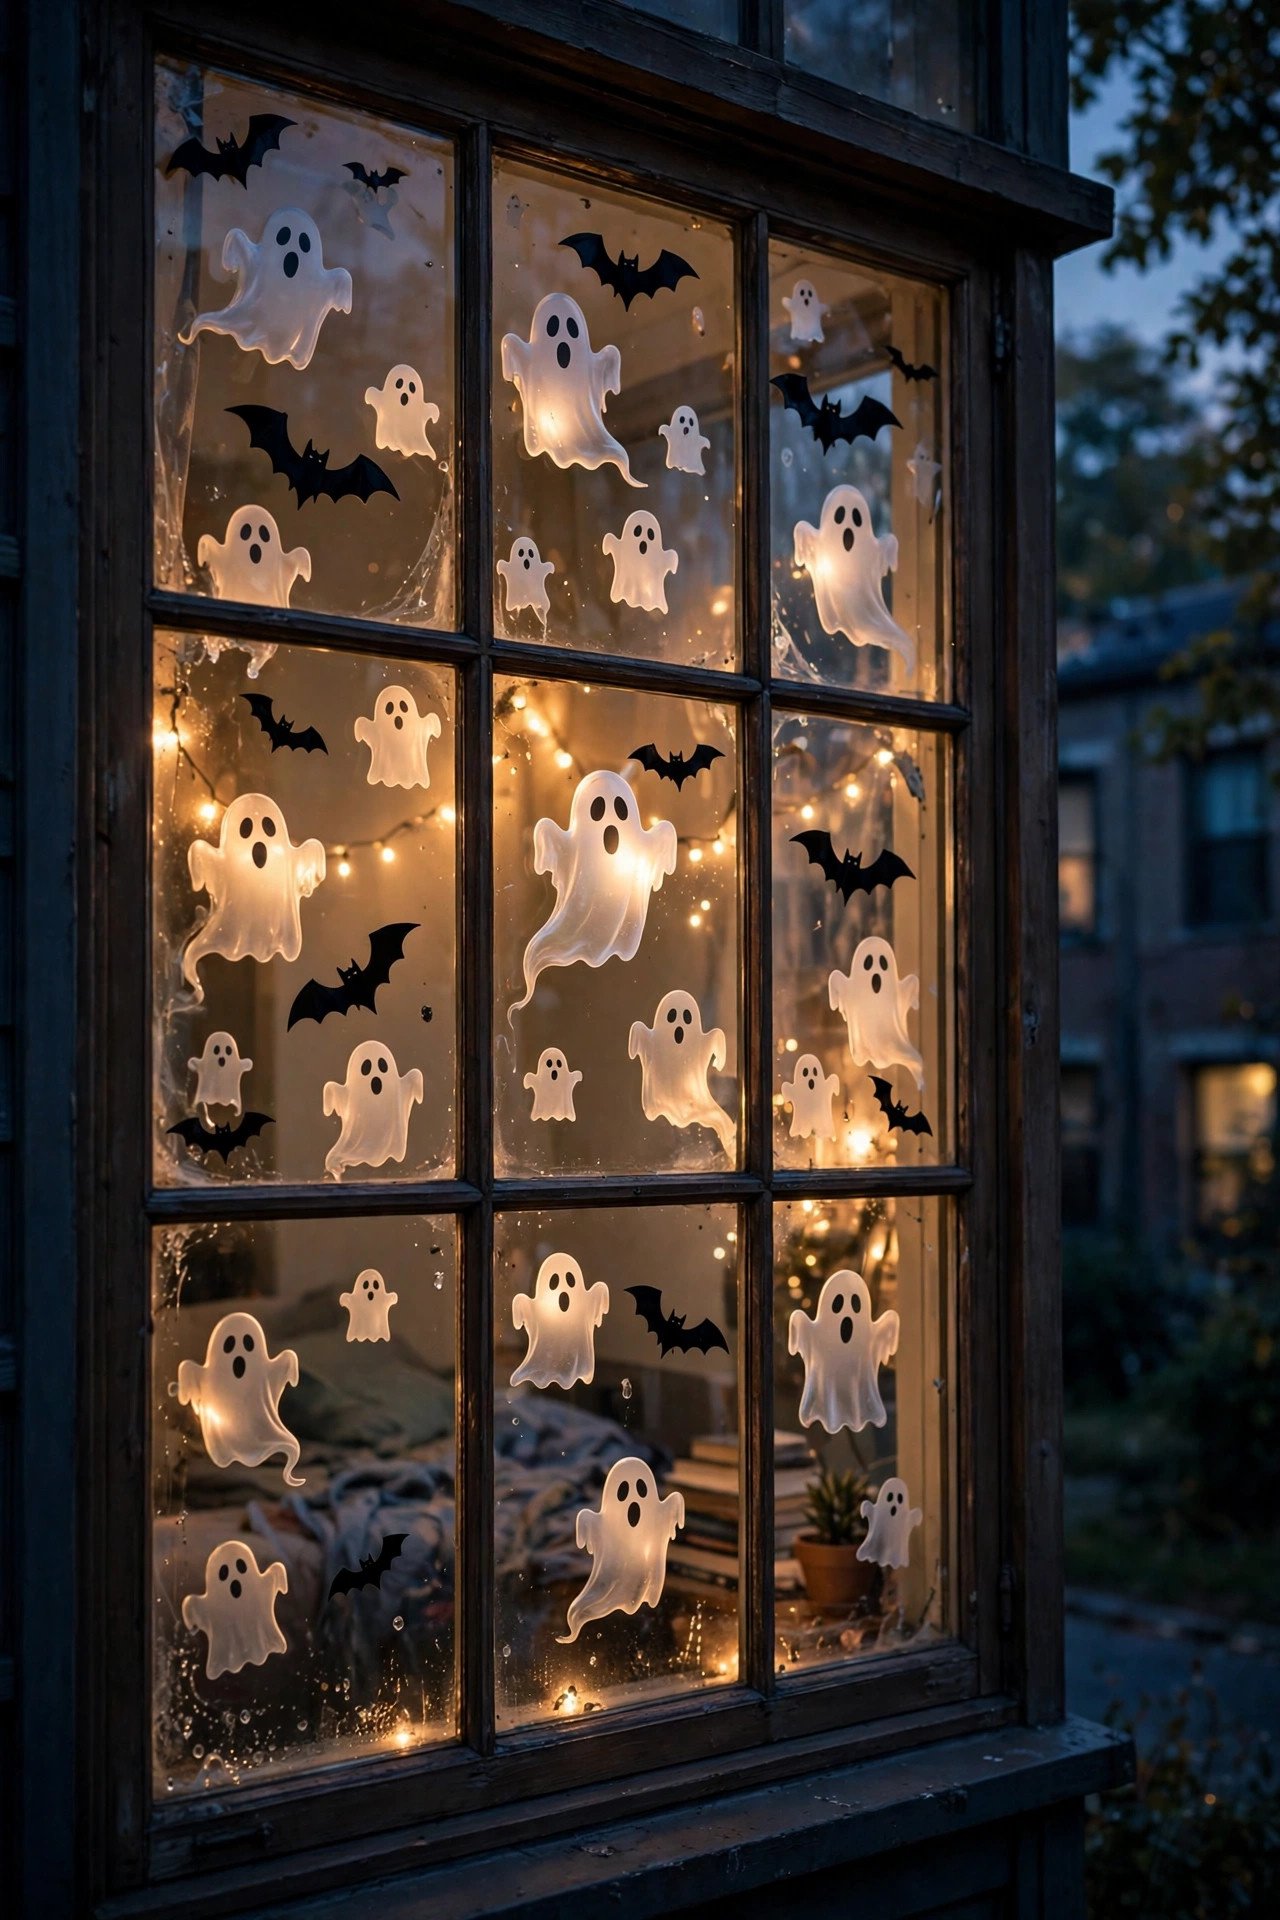
Static-cling window decorations give you a haunted view from inside and outside the room with zero adhesive, because they stick to glass using static alone, peel off cleanly whenever you want them gone, and cost only a few dollars per sheet while storing flat in a folder afterward. A sheet of ghost, bat, or haunted-tree clings costs $3 to $7 and covers a standard dorm window, and you can reposition them endlessly until the arrangement looks right. Press them onto clean, dry glass, smooth out air bubbles with a credit card, and layer a few silhouettes at different heights so the window reads as a scene rather than a sticker collection. They also glow nicely at night when your room lights are on, turning your window into a display for everyone walking past the building. Avoid suction-cup hangers or tape on the glass frame, which can crack older window putty or leave marks that housing will notice.
5. Haunted Door Decoration
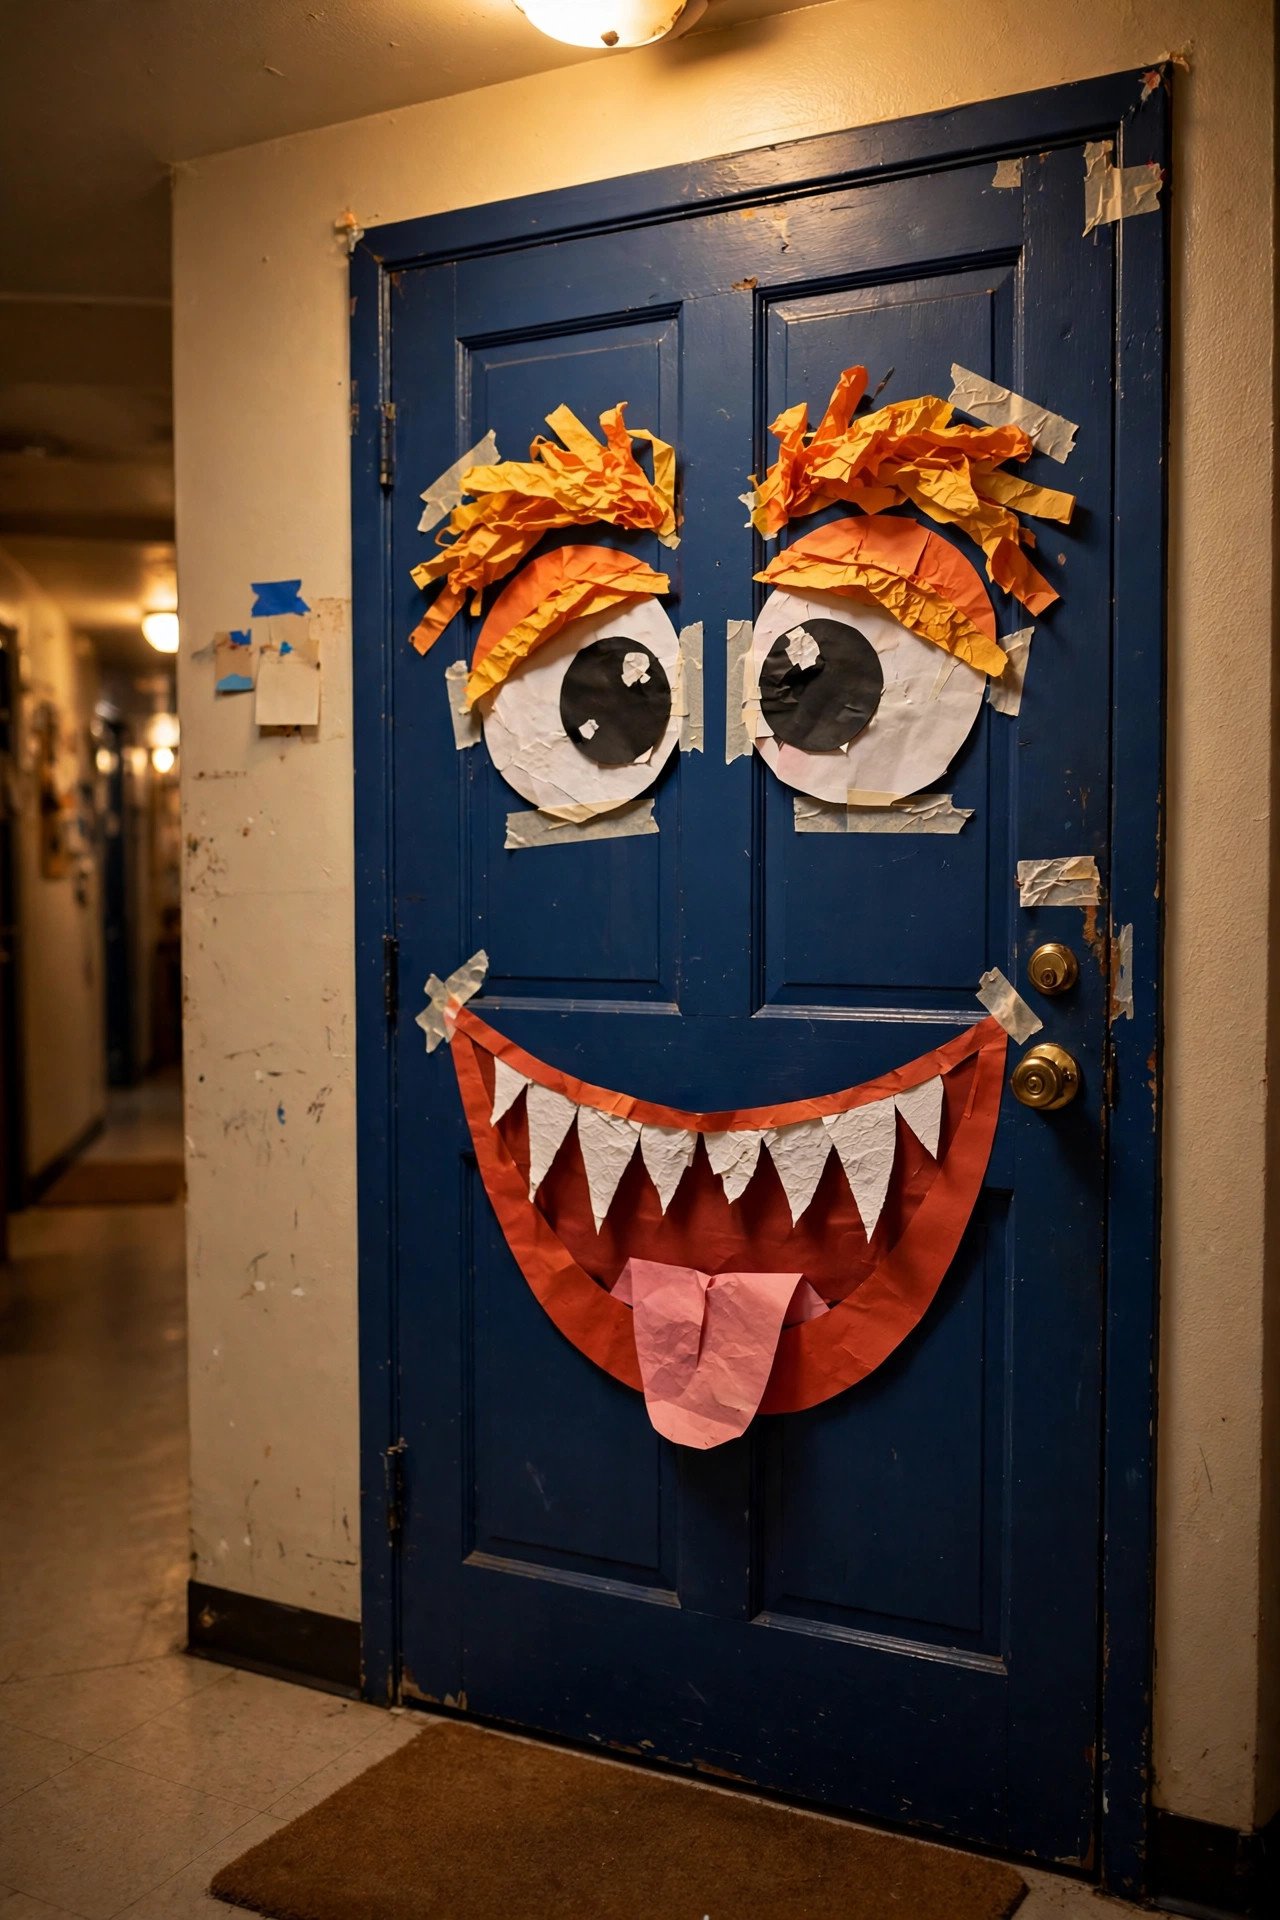
Your dorm door is the one surface everyone sees, so dressing it up gives you maximum Halloween visibility for minimum effort, and a removable door cover plus a few cutouts can turn a plain door into a monster, a mummy, or a haunted entrance for under $10. Use a lightweight plastic or paper door cover held by painter's tape on the frame (never on the door's painted face if your housing is strict) and add googly eyes, paper fangs, or a "Beware" sign cut from cardstock. Keep the decoration flat and flush so the door still closes fully and the hallway stays clear, since anything that blocks the corridor or the door swing can be flagged in a fire inspection. Check your building's door-decorating rules first — some halls limit coverage to one side or ban anything over the peephole. Avoid covering the peephole, the room number, or the fire-exit signage, since those three things are almost always protected by housing policy.
6. Mini Pumpkin Cluster on the Desk
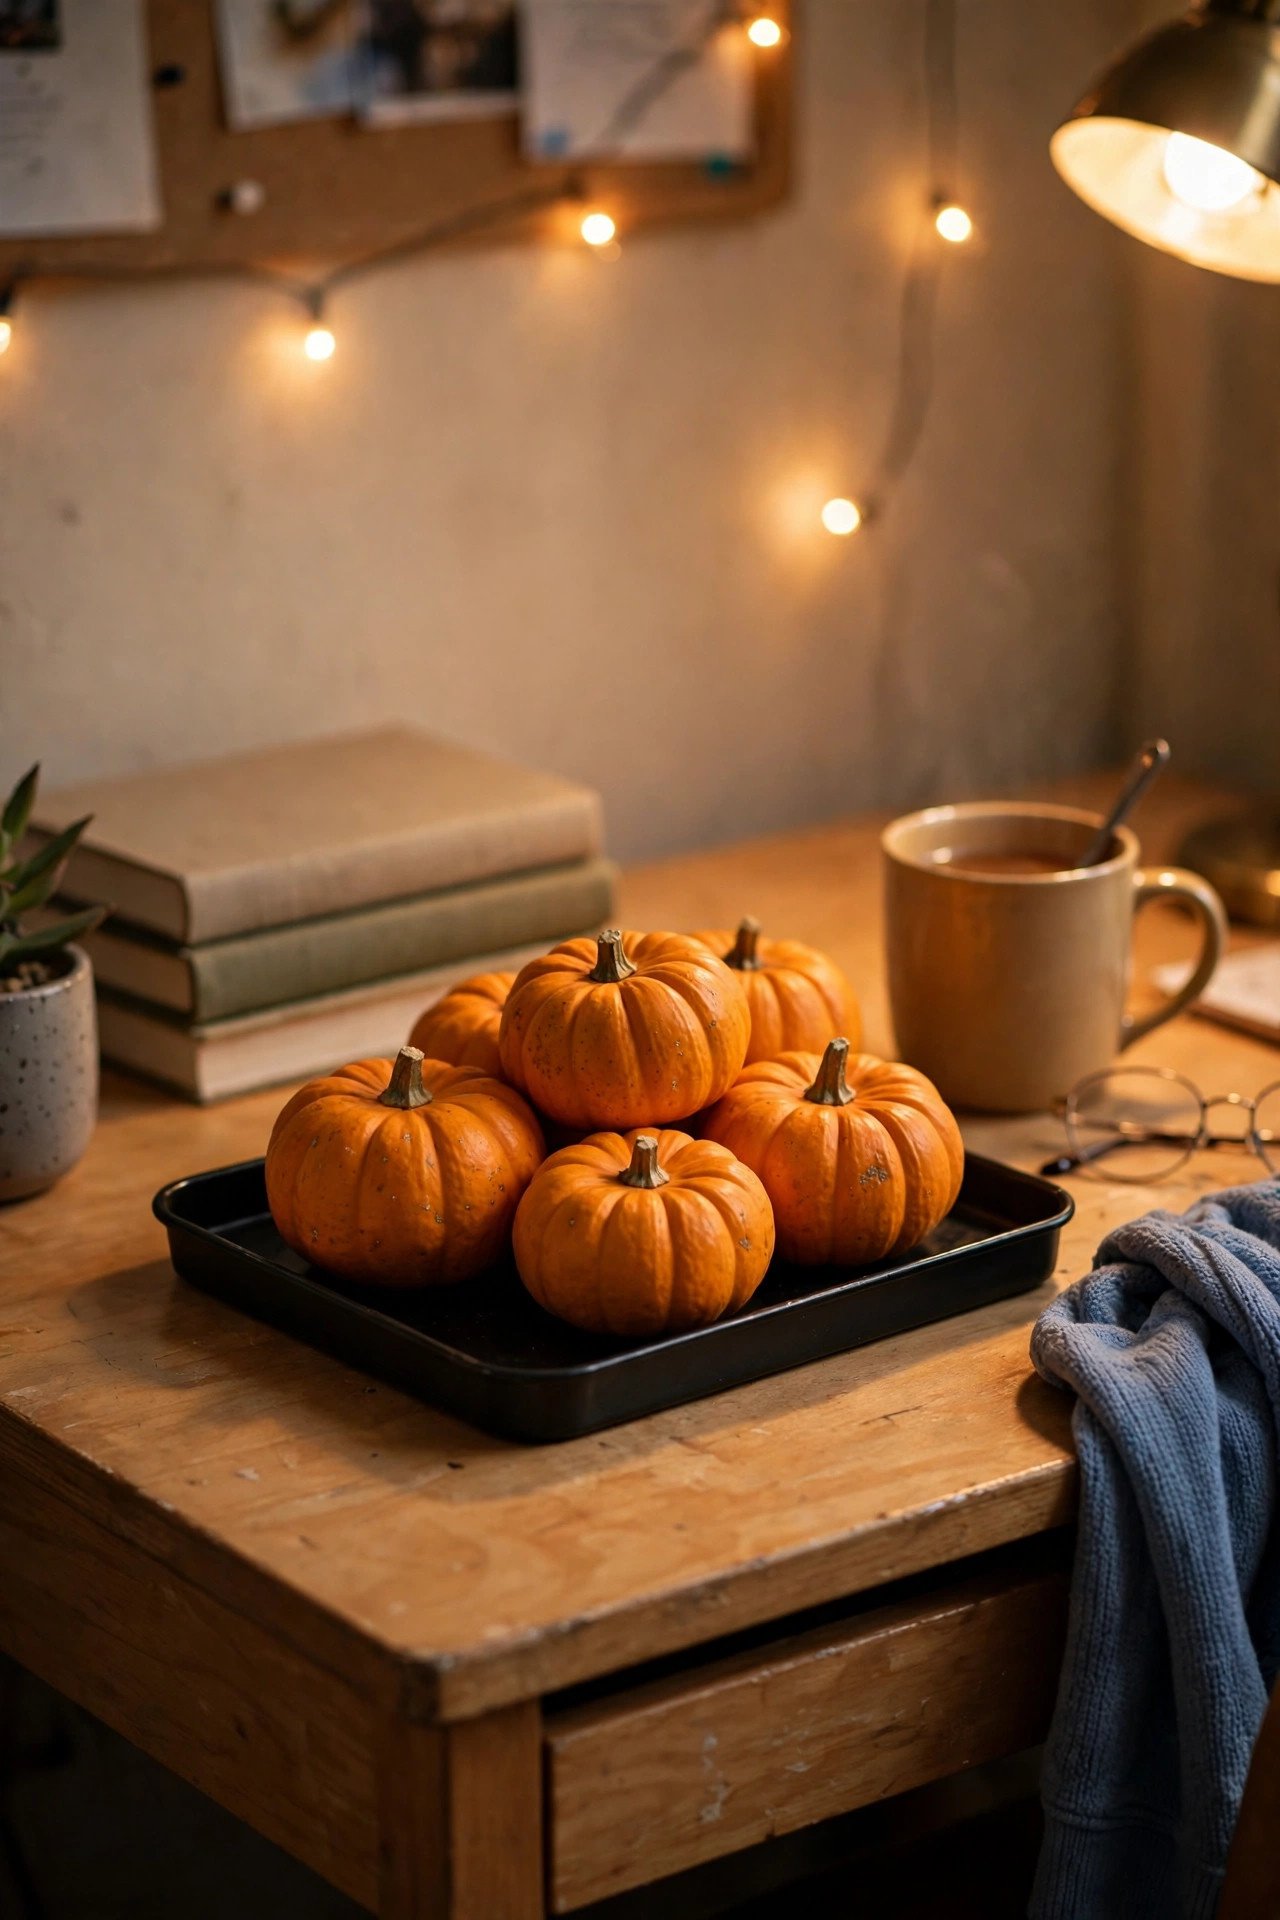
A cluster of three to five mini pumpkins on your desk is the easiest Halloween dorm room decor idea that also survives midterms, because it needs no power, no hanging, and no explanation, and it instantly makes your study corner feel seasonal. Buy real mini pumpkins for about $0.50 to $1 each from a grocery store, or pick up foam ones for $1 to $2 each if you want them to last until Thanksgiving. Group them in odd numbers on a small tray or a piece of black fabric so they read as one intentional arrangement instead of scattered clutter, and tuck one tiny pumpkin next to your laptop as a photo-ready accent. Real pumpkins last two to three weeks indoors away from radiators, so buy them in mid-October rather than early in the month. Avoid carving mini pumpkins for a desk display, since carved pumpkins rot in days and the smell in a small shared room is something your roommate will never forgive.
7. Glow-in-the-Dark Ghosts on the Ceiling
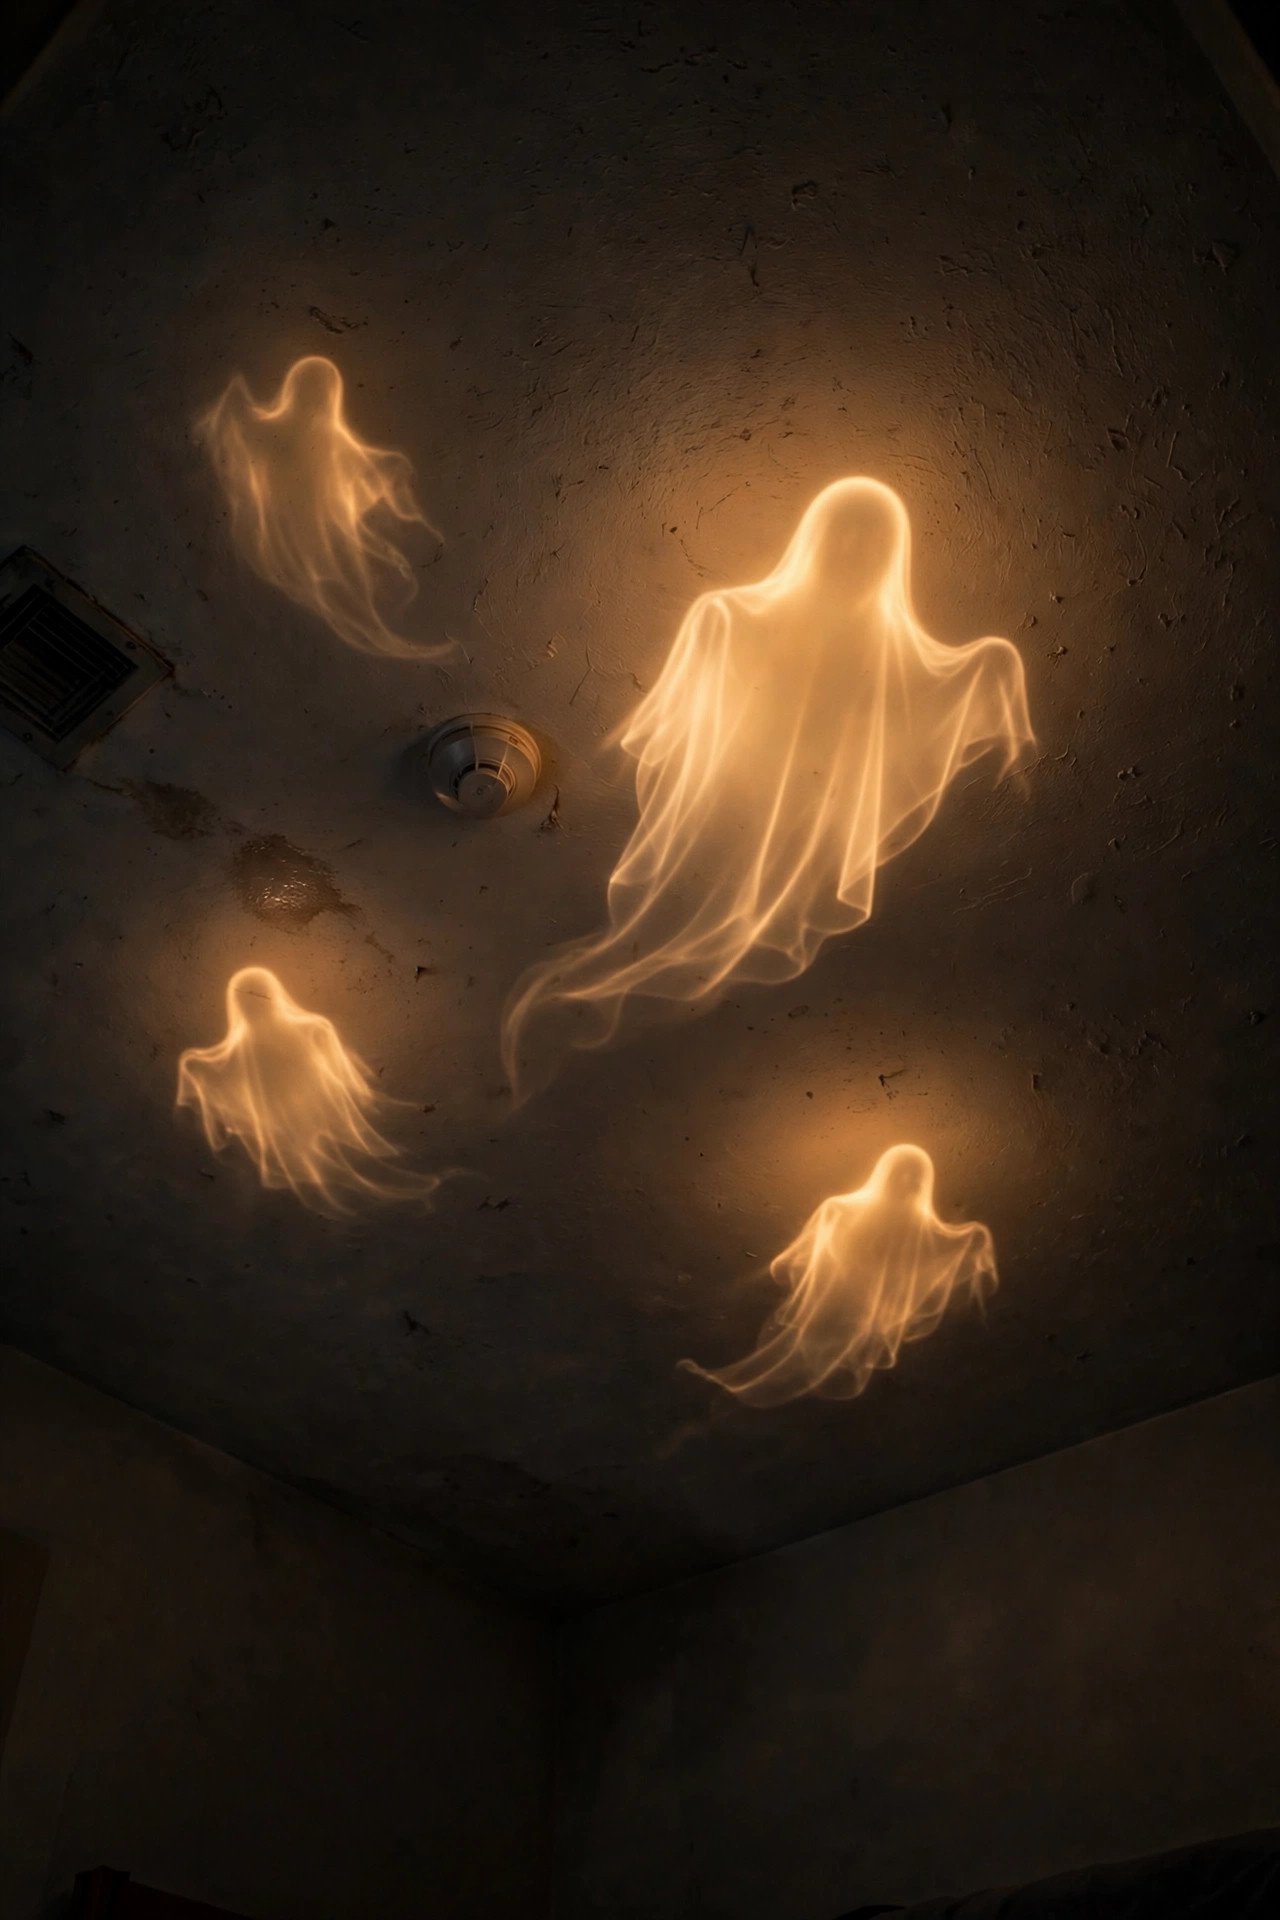
Glow-in-the-dark ghosts stuck to the ceiling turn lights-out into the best part of the night, because after you switch off the lamp, soft green-white ghost shapes hover overhead and the room feels haunted in the most low-effort way possible. Buy a pack of glow stars and ghost shapes for $4 to $6, charge them under your desk lamp for 20 minutes before bed, and stick them with removable putty in a loose constellation above your bed — never directly over a smoke detector or sprinkler head. Mix a few ghost shapes in among stars so the ceiling reads as a spooky sky rather than a child's bedroom. They recharge every day and cost nothing to run, which makes them one of the few decorations that is genuinely free after purchase. Avoid adhesive foam stars that bond permanently to ceiling paint; putty-only products are the only ceiling-safe option in a dorm.
8. Spooky Photo Wall with Black Frames
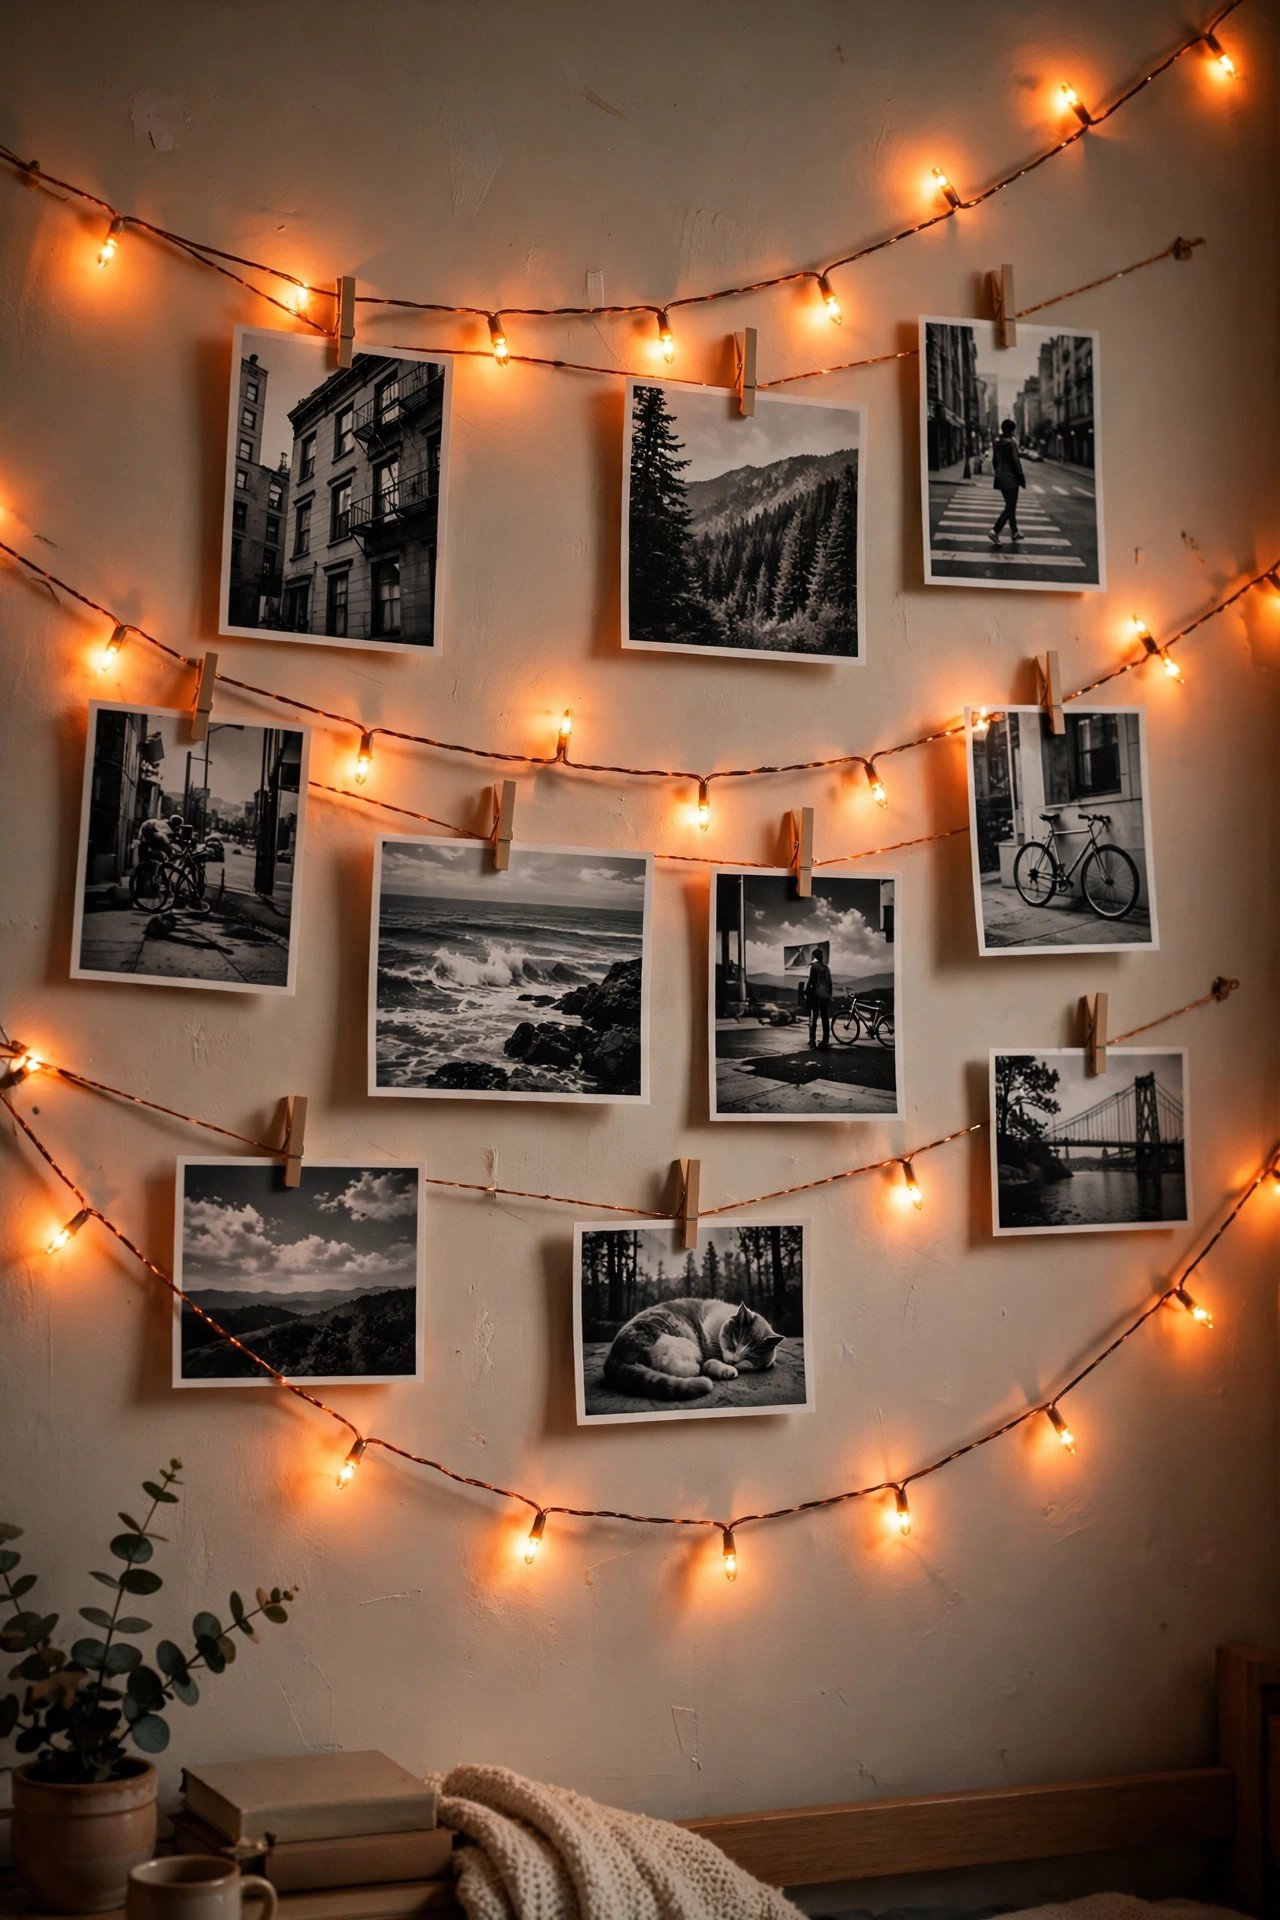
A Halloween photo wall lets you decorate with memories instead of store-bought props, because printing your favorite photos in black and white, clipping them with mini clothespins to a string of orange fairy lights, and adding a few paper bats turns a bare wall into a personal haunted gallery. Print 10 to 15 photos at a campus library or pharmacy kiosk for about $0.25 each, hang two or three strands of twine with removable adhesive hooks rated for at least a pound, and clip the photos along the twine with small wooden or black-painted clothespins. Swap a few prints for Halloween night photos as October goes on, and the wall becomes a living display rather than a one-time decoration. Keep the total weight light and the hooks within their rated limit so nothing falls at 3 a.m. Avoid hammering nails or pushing pins into dorm walls, since even tiny holes can trigger repair charges at checkout.
9. Witch Hat and Broom Corner Display

A single witch hat on a wall hook and a small decorative broom leaning in the corner creates an instant witchy vignette for under $10, because one strong silhouette reads as a deliberate theme while a pile of random props just reads as clutter. Hang the hat from a removable adhesive hook near your desk or closet door, prop a miniature broom beside it, and add one small black candle holder with a flameless LED candle underneath to complete the scene. This works especially well in the narrow dead space beside a wardrobe or mini-fridge that otherwise collects laundry. Keep the broom's handle clear of walkways and the hat high enough that it does not get knocked off every time someone grabs a jacket. Avoid real broomsticks with straw that sheds everywhere or tall props that block light switches and outlets, since dorm rooms have almost no spare floor space to waste.
10. Potion Bottles on the Shelf

A row of potion bottles on a shelf is the most Instagram-ready Halloween dorm room decor idea, because colored water, a few dried herbs, and handwritten labels turn ordinary jars into a witch's apothecary for almost no money. Save three to five small glass jars or bottles, fill them with water tinted with food coloring (green, purple, and deep red work best), add a pinch of dried herbs or glitter, and label them with masking tape marked "Witch Hazel," "Moon Water," or "Spider Venom" in your own handwriting. Set them on a shelf where they catch light from a nearby lamp, and tuck a single LED fairy light behind them so the colors glow in the evening. Seal every lid tightly with a ring of clear tape if the shelf sits above electronics. Avoid open containers of colored liquid anywhere near laptops or textbooks, since one knocked-over bottle can ruin a semester's notes.
11. Cotton Spider Web in the Corner
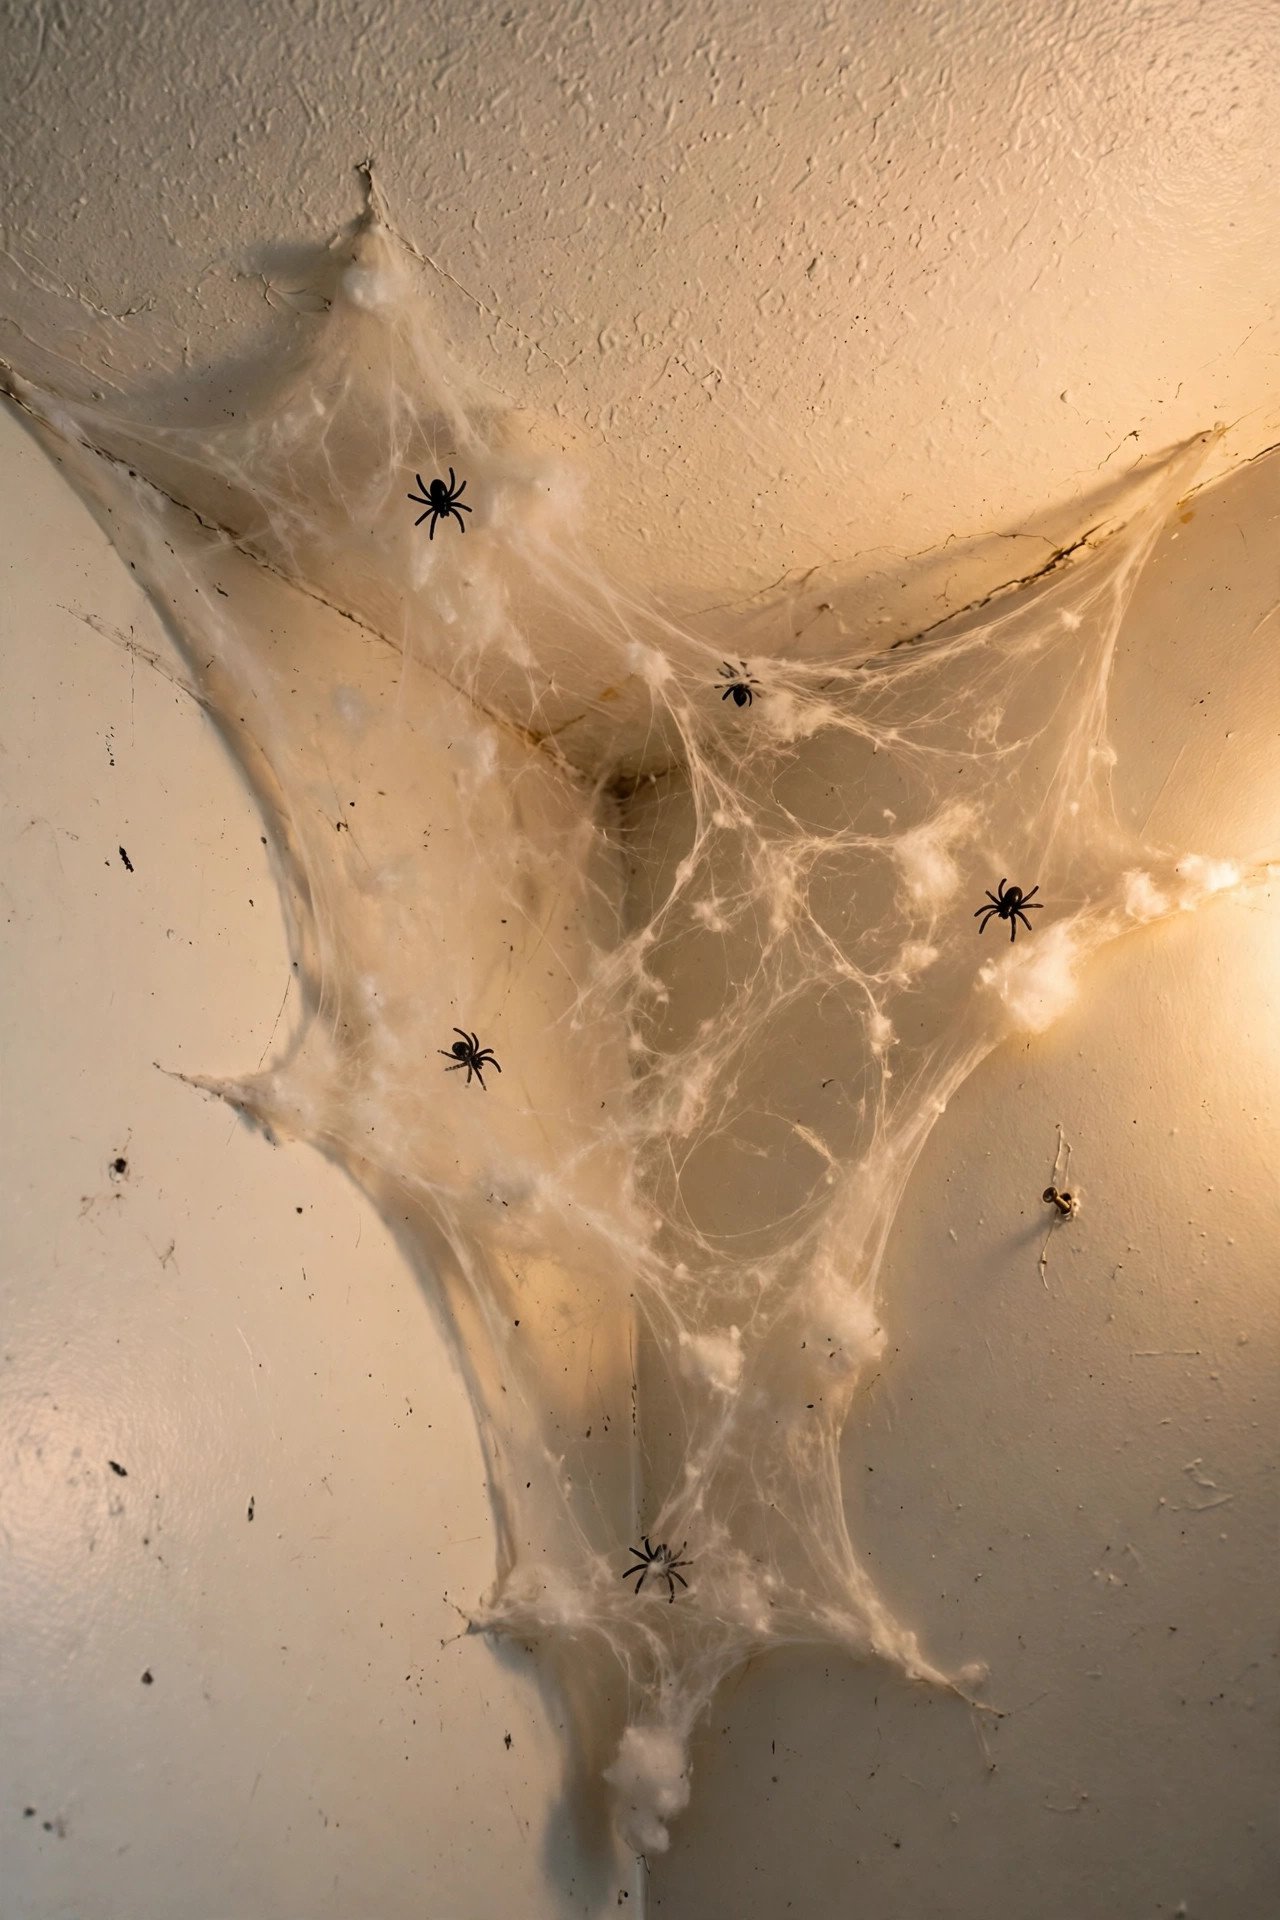
A stretched cotton spider web across one ceiling corner is the classic haunted-house look scaled down to dorm size, because a $3 bag of webbing covers an entire corner and instantly makes the room feel abandoned in the best way. Stretch the web thin — the biggest beginner mistake is leaving it in a thick clump — anchor the corners with small pieces of removable putty, and pull the strands outward until they look wispy rather than cottony. Add two or three small plastic spiders for scale, placing one near the middle and one near the edge so the eye travels across the web. Choose one corner only, ideally above a bookshelf or beside the door, so the room still feels livable rather than fully cobwebbed. Avoid draping webbing over smoke detectors, sprinklers, or light fixtures, since covering safety equipment is a fire-code violation in nearly every dorm.
12. Halloween Reading Nook with a Throw and Lights

Turning your bed or desk chair into a Halloween reading nook gives you a cozy place to actually enjoy the season, because a chunky throw, a string of warm fairy lights, and a stack of spooky books make October evenings feel intentional rather than just decorated. Drape a dark orange or charcoal throw over your chair or the foot of your bed, wind one strand of warm-white fairy lights around the headboard or a nearby shelf, and stack two or three Halloween reads — a horror novel, a ghost-story collection, or a pumpkin-spice cookbook — where they double as decor. Total cost runs $12 to $20 if you already own a throw, and everything folds away into one drawer after Halloween. Avoid string lights with exposed bulbs resting directly against fabric for hours, since even LEDs generate a little warmth and bedding contact should always be checked before you leave the room.
13. Mini Haunted Terrarium on the Dresser
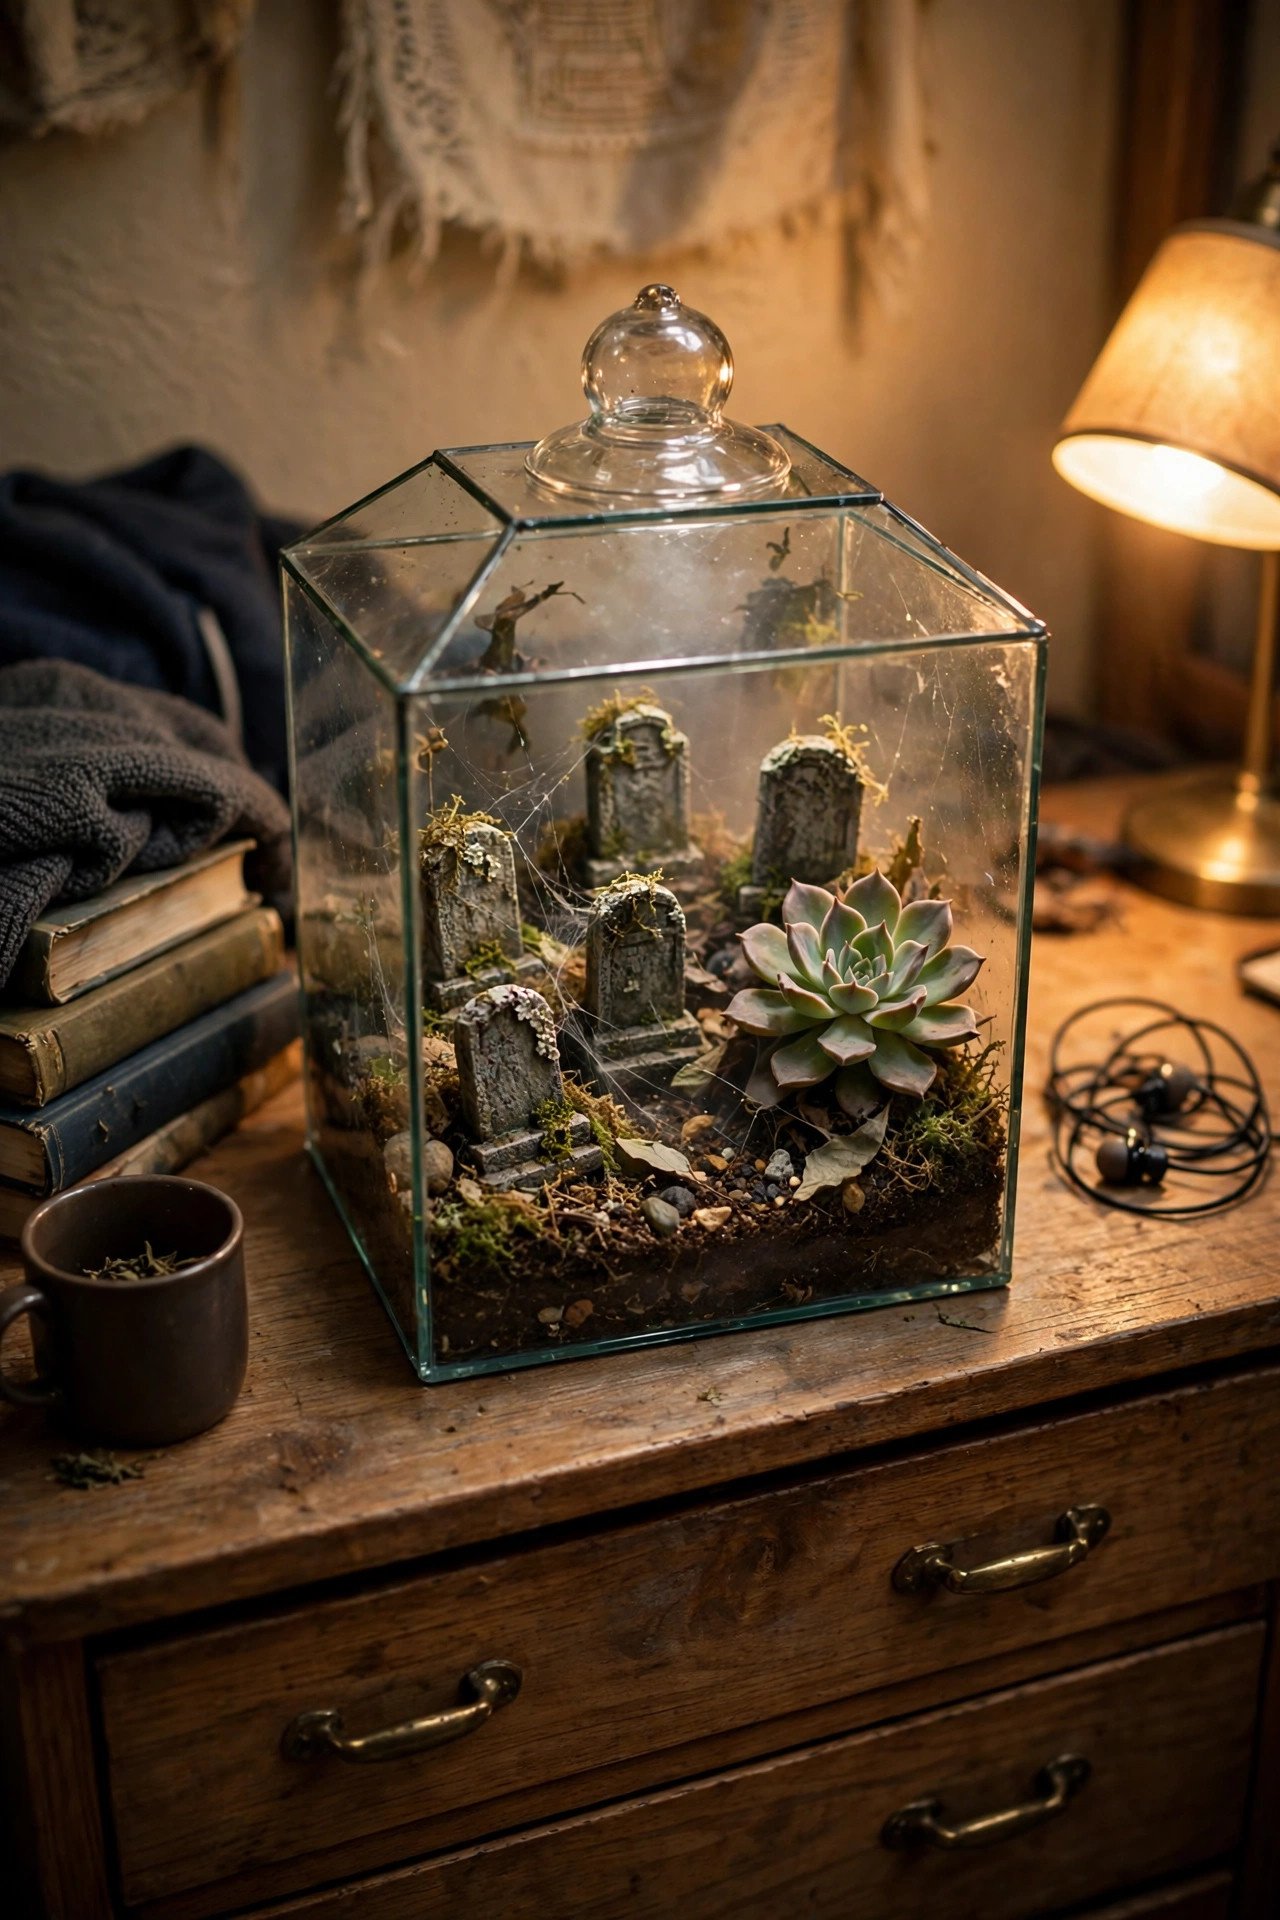
A mini haunted terrarium turns a dresser plant into a tiny graveyard scene, because a small glass container, a layer of dark soil, a few pebbles, and miniature tombstones made from gray polymer clay or painted cardboard create a whole haunted landscape in a space smaller than a textbook. Start with a jar or small open container you already own, add a succulent or air plant as the living centerpiece, then place two or three tiny tombstones and one miniature dead tree (a painted twig works perfectly) around it. Mist sparingly — succulents need very little water — and keep the terrarium where it gets indirect light but will not be knocked over when you reach for your keys. The whole project costs $5 to $10 if you already have a plant, and it stays on display well past Halloween. Avoid sealing a live plant in an airtight jar with no drainage, since trapped moisture rots roots fast and the smell will betray the project within days.
14. Trick-or-Treat Candy Station
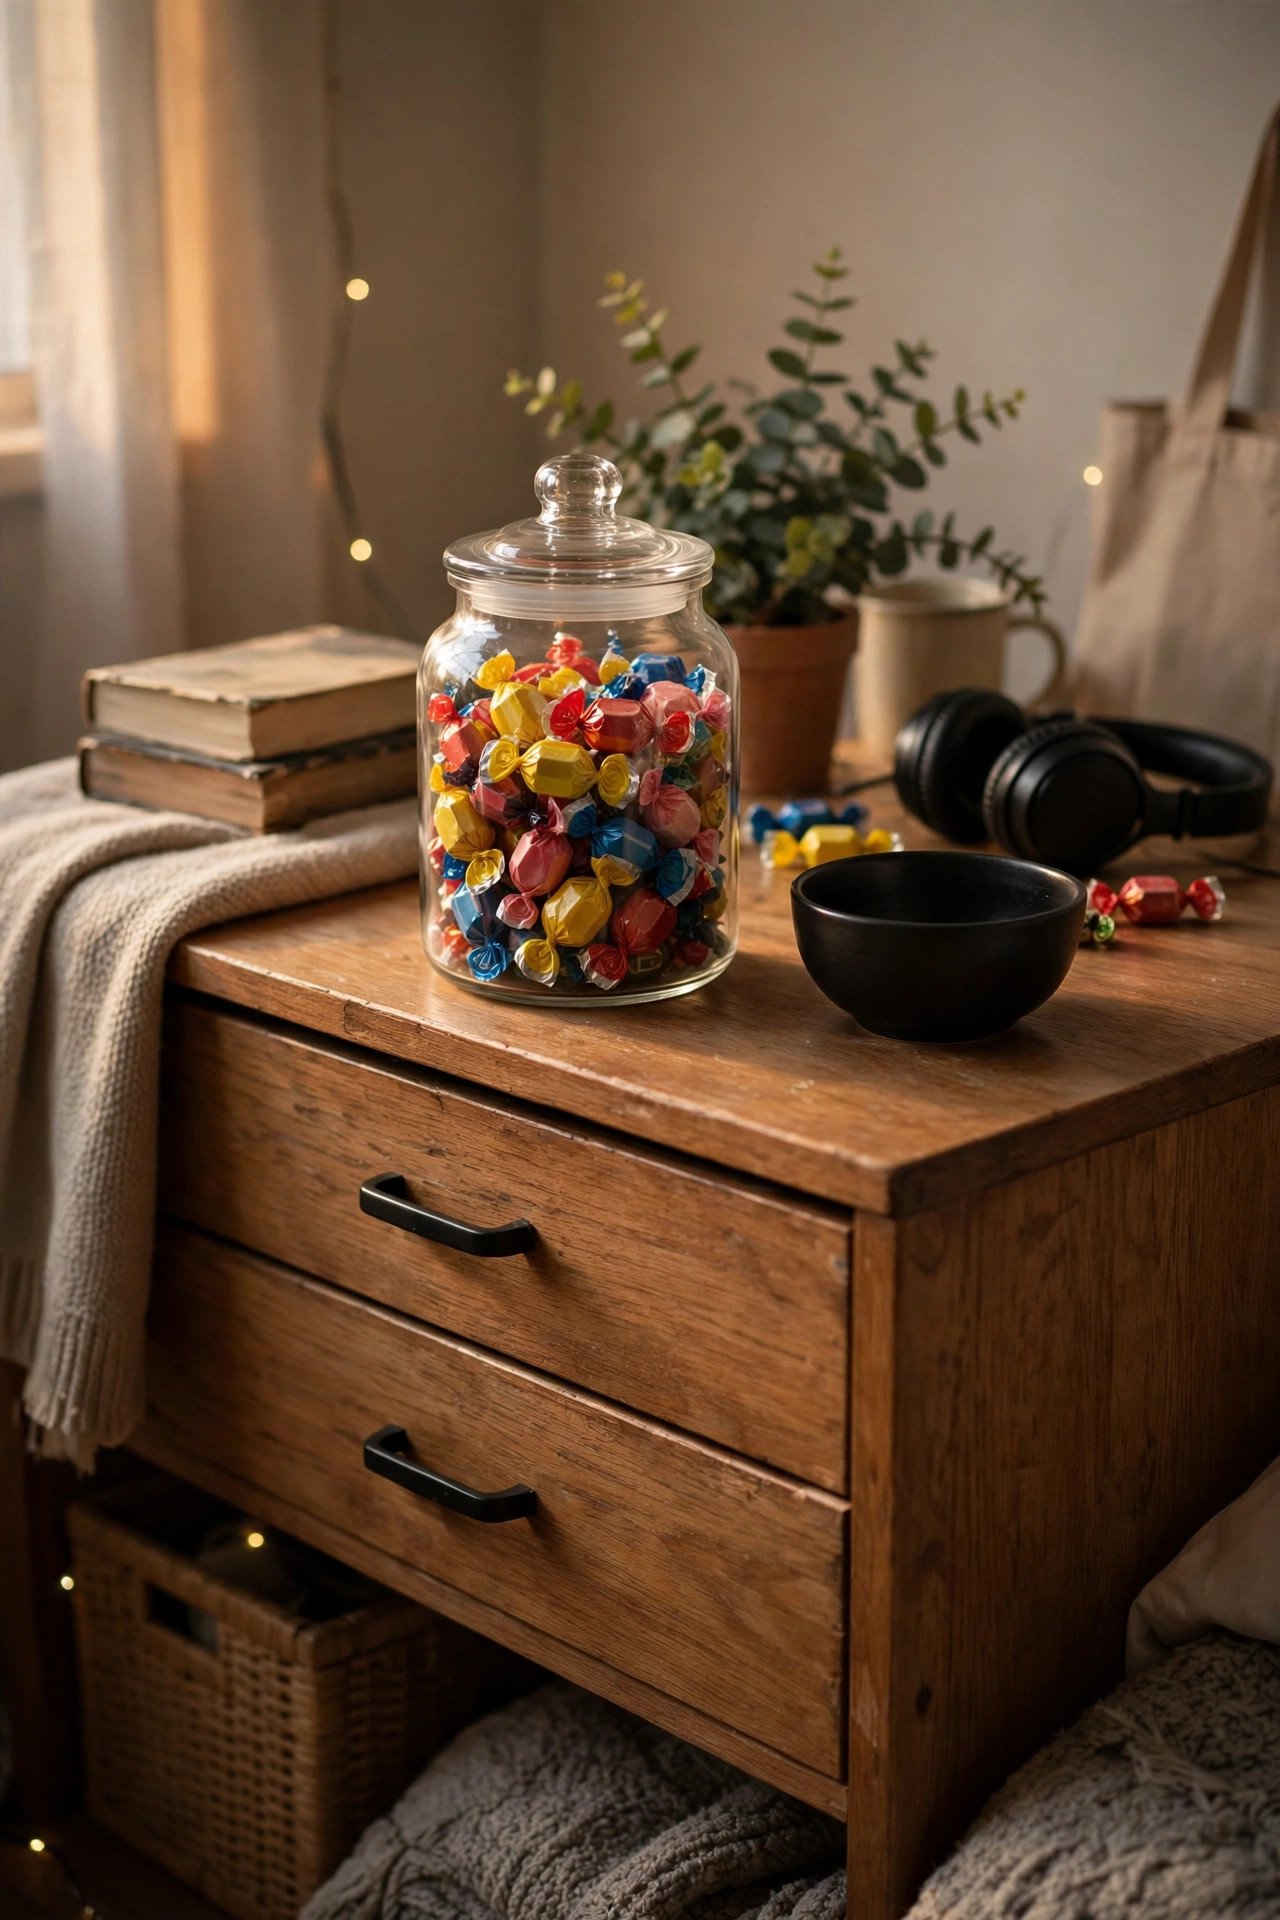
A candy station by the door does double duty as decoration and hospitality, because a glass jar or black bowl filled with wrapped candy, a small "Take One" sign, and a few scattered plastic spiders turns a plain mini-fridge top or dresser into the most popular corner of the hall. Use a container you already own, fill it with individually wrapped candy for $5 to $8, and set it near the door so friends can grab a piece without wandering into your study space. Refill it weekly rather than buying a giant bag upfront, since an open candy stash in a dorm has a way of disappearing before Halloween night even arrives. Keep the sign friendly and the bowl high enough that it is not a tripping hazard for anyone entering the room. Avoid unwrapped candy or homemade treats in a shared bowl, since allergies and hygiene make wrapped candy the only polite option in a communal building.
15. Spooky Mirror Messages

Writing spooky messages on your mirror with a dry-erase marker is the most reversible Halloween decoration in existence, because the message appears when the mirror fogs or catches the light, and it wipes off completely with a tissue when you are done. Use a white or orange dry-erase marker to write "Beware," "Boo," or a small ghost doodle in the corner of your mirror, keeping the writing near the edges so the mirror stays usable for getting ready. The effect is especially good on a bathroom-adjacent mirror, where steam makes the message appear dramatically after a shower. Test one small mark first to confirm your marker is truly dry-erase and not permanent, since that distinction matters a lot on a dorm mirror. Avoid window markers or paint pens on mirrors, which can stain or require scraping and will absolutely show up on a move-out inspection.
16. Ghost Curtain Over the Bed
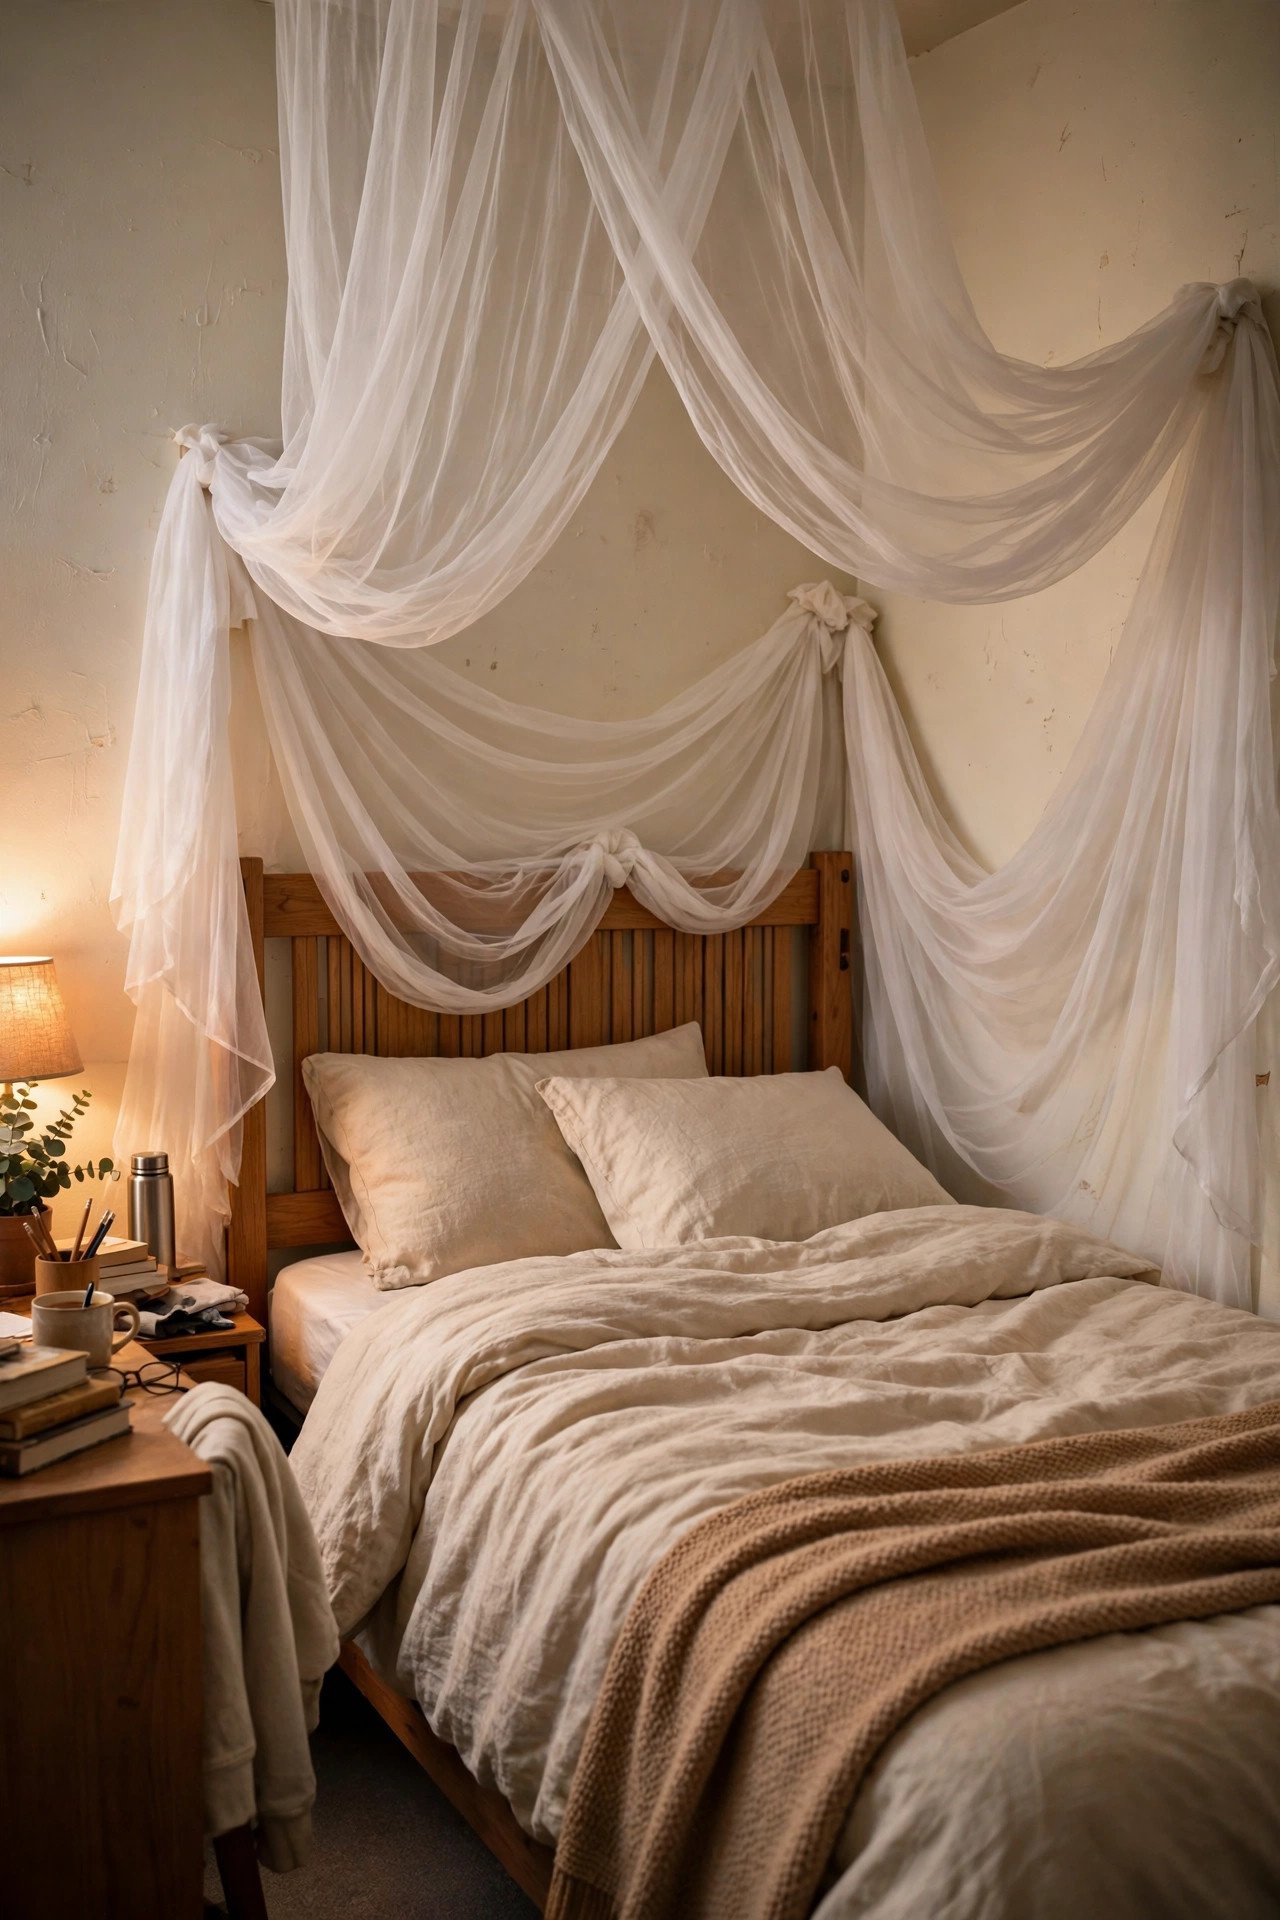
Hanging a sheer white curtain panel above your bed and cutting a ghost face into it is a dorm-friendly canopy trick, because a $5 sheer panel on a tension rod or adhesive hooks creates a floating ghost effect without drilling, sewing, or buying anything bulky. Hang the panel from the ceiling above the headboard using removable hooks, or drape it from a tension rod wedged between a wardrobe and the wall, and let it fall loosely behind your pillows. Cut two eye holes near the top if you want a literal ghost, or leave it plain for a dreamy, haunted-canopy look that works even after October. Keep the fabric clear of lamps and chargers, and take it down before any fire inspection if your housing bans hanging fabric near ceilings. Avoid heavy curtains or anything that drapes over a light fixture, since fabric and heat are a combination no dorm allows.
17. Spooky Book Stack Display

A stack of Halloween books with a mini pumpkin on top is the easiest shelf decoration that also makes you look well-read, because four or five books in black, orange, and deep purple spines, arranged largest to smallest, read as a deliberate display rather than clutter. Pull horror novels, folklore collections, or even dark-covered textbooks from your own shelf, stack them on your desk or dresser, and top the pile with one mini pumpkin or a small plastic skull. Wrap one book in black paper if its cover clashes, and tie the stack loosely with orange ribbon for a finished look. The whole display costs nothing if you already own the books, and it takes thirty seconds to dismantle when you need the desk back. Avoid stacking books so high that the pile topples onto electronics, and keep the pumpkin off any book you still need for class to prevent dents and stains.
18. Costume Corner Display

Hanging your Halloween costume on the wall turns the outfit itself into decoration for the whole month, because a witch cloak, vampire cape, or skeleton jacket on a removable hook looks like intentional decor and saves closet space at the same time. Hang the costume on a sturdy adhesive hook rated for at least three pounds near your door or wardrobe, add the matching hat or mask on a second hook beside it, and let the display build anticipation for Halloween night. This trick works best for costumes with strong silhouettes — capes, cloaks, and structured jackets photograph beautifully against a plain wall. Keep the costume away from radiators and direct sunlight so fabrics do not fade or warp before the party. Avoid hanging anything heavy from a single small hook or draping a costume over a smoke detector or sprinkler, since both are safety violations and a falling costume at midnight is a genuinely startling experience.
19. Halloween Corkboard or Bulletin Board

A Halloween bulletin board gives you a contained space to go all-out without touching the walls, because a corkboard or felt board you already own becomes a collage of Halloween postcards, photos, ticket stubs, and paper cutouts that you can rearrange daily. Cover the board in black or orange felt for $3 to $4, pin up 8 to 12 items — party invitations, printed ghost illustrations, candy wrappers from favorites, and a mini countdown to Halloween — and add a border of washi tape in a Halloween pattern. The board doubles as a planning hub for costumes and parties, so it earns its wall space functionally as well as decoratively. Mount it with the same removable strips you would use for a poster, and keep pins inside the board rather than on the wall. Avoid pinning anything directly into dorm walls or covering your room's official notices, since both can earn you a housing warning.
20. No-Sew Ghost Pillows
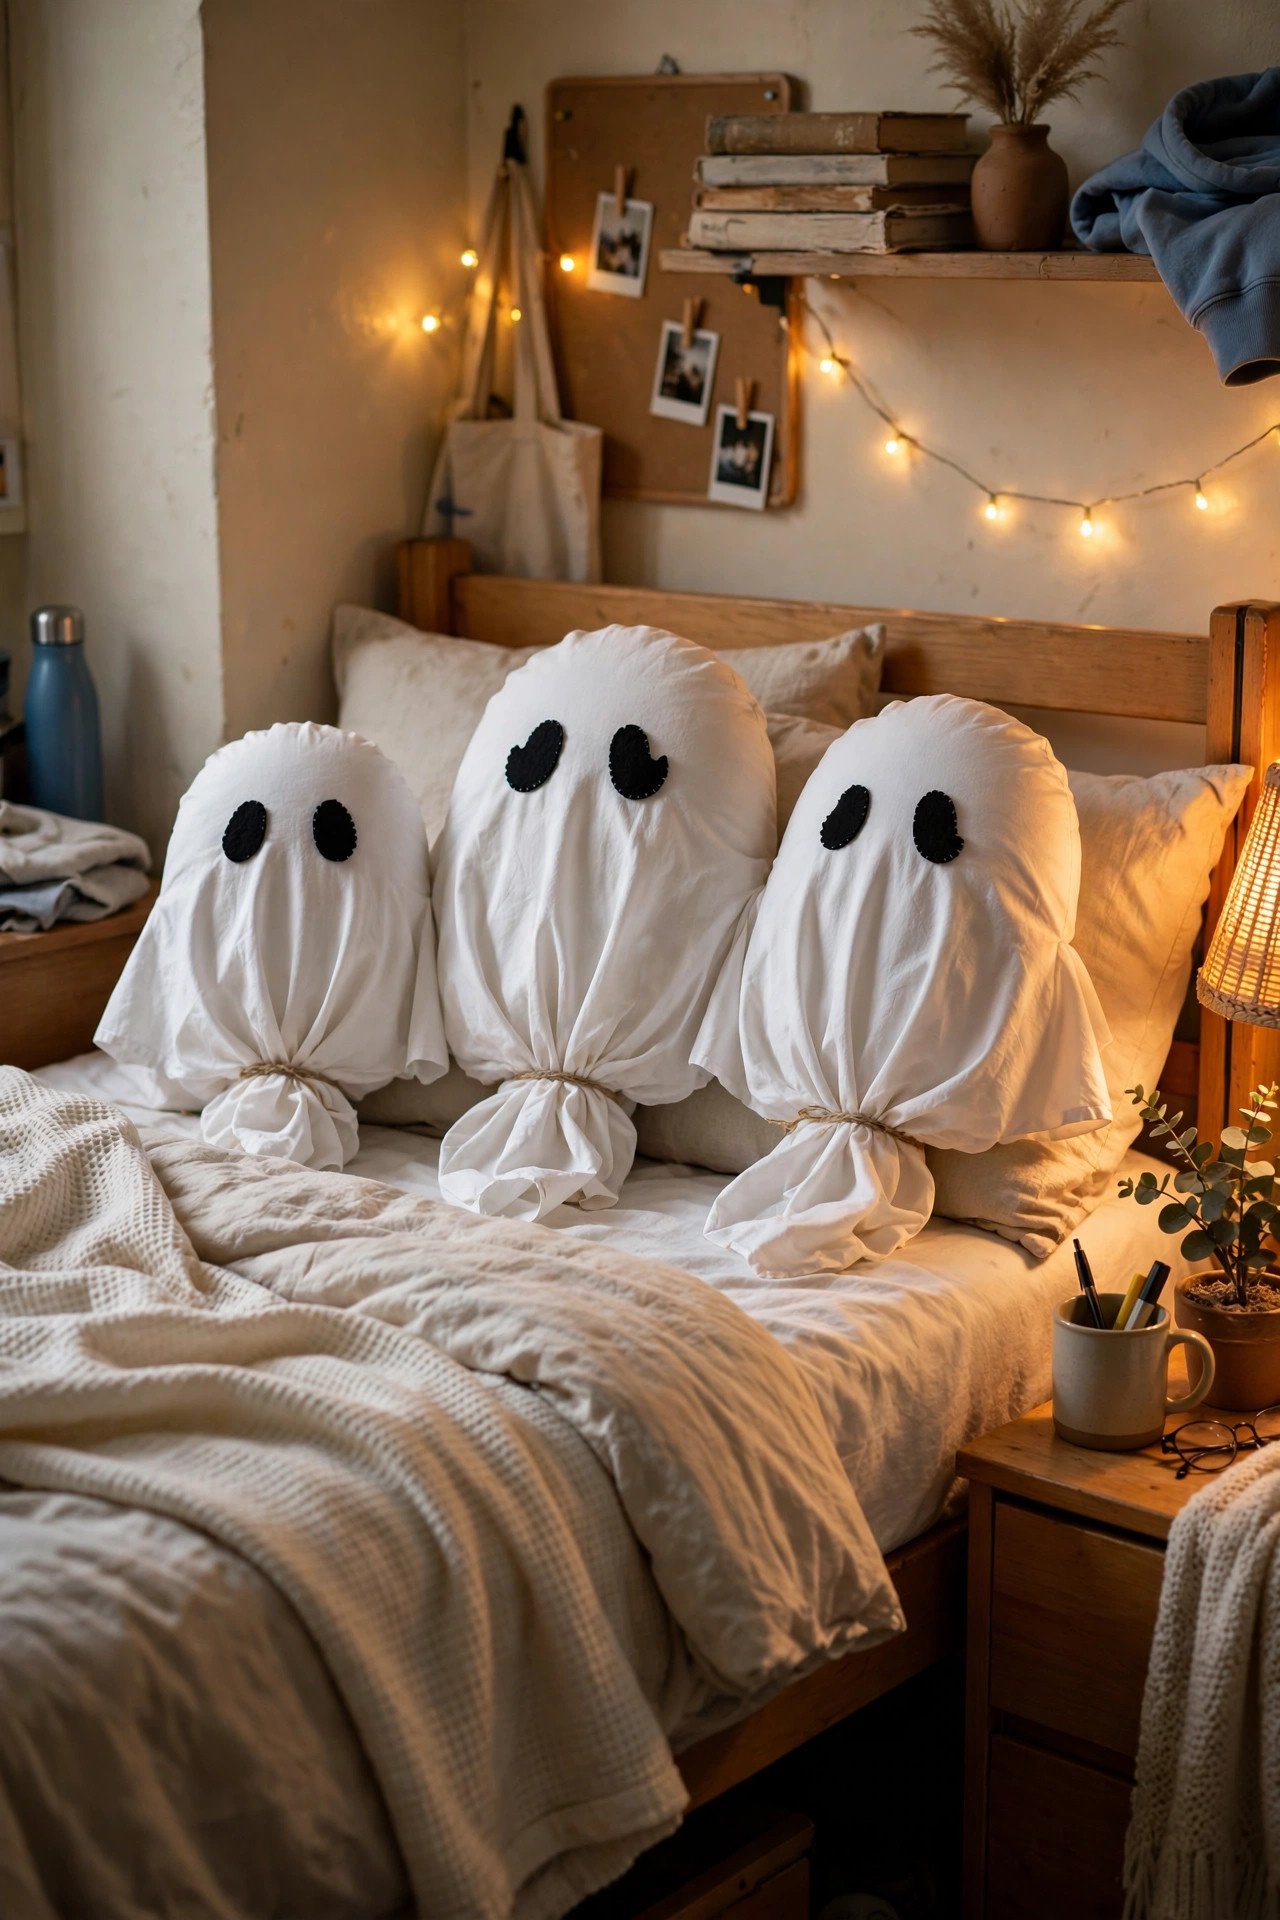
No-sew ghost pillows are the cutest Halloween dorm room decor idea you can make in under ten minutes, because a white pillowcase, two black felt circles for eyes, and a little stuffing turn an ordinary pillow into a friendly ghost that lives on your bed all month. Take a spare white pillowcase, stuff it loosely with a pillow insert or old t-shirts, tie the bottom loosely with orange ribbon to suggest a ghost's tail, and attach felt eyes with fabric glue or safety pins from the inside. Make two ghosts in different sizes for a little ghost family on the bed, and remove the eyes after Halloween to return the pillowcases to normal use. Total cost is under $5 if you already have a spare pillowcase. Avoid hot glue on fabric you want to reuse, since it leaves hard spots that never fully wash out, and skip permanent markers for the eyes unless the pillowcase is already destined for the rag pile.
21. Tabletop Graveyard on the Dresser
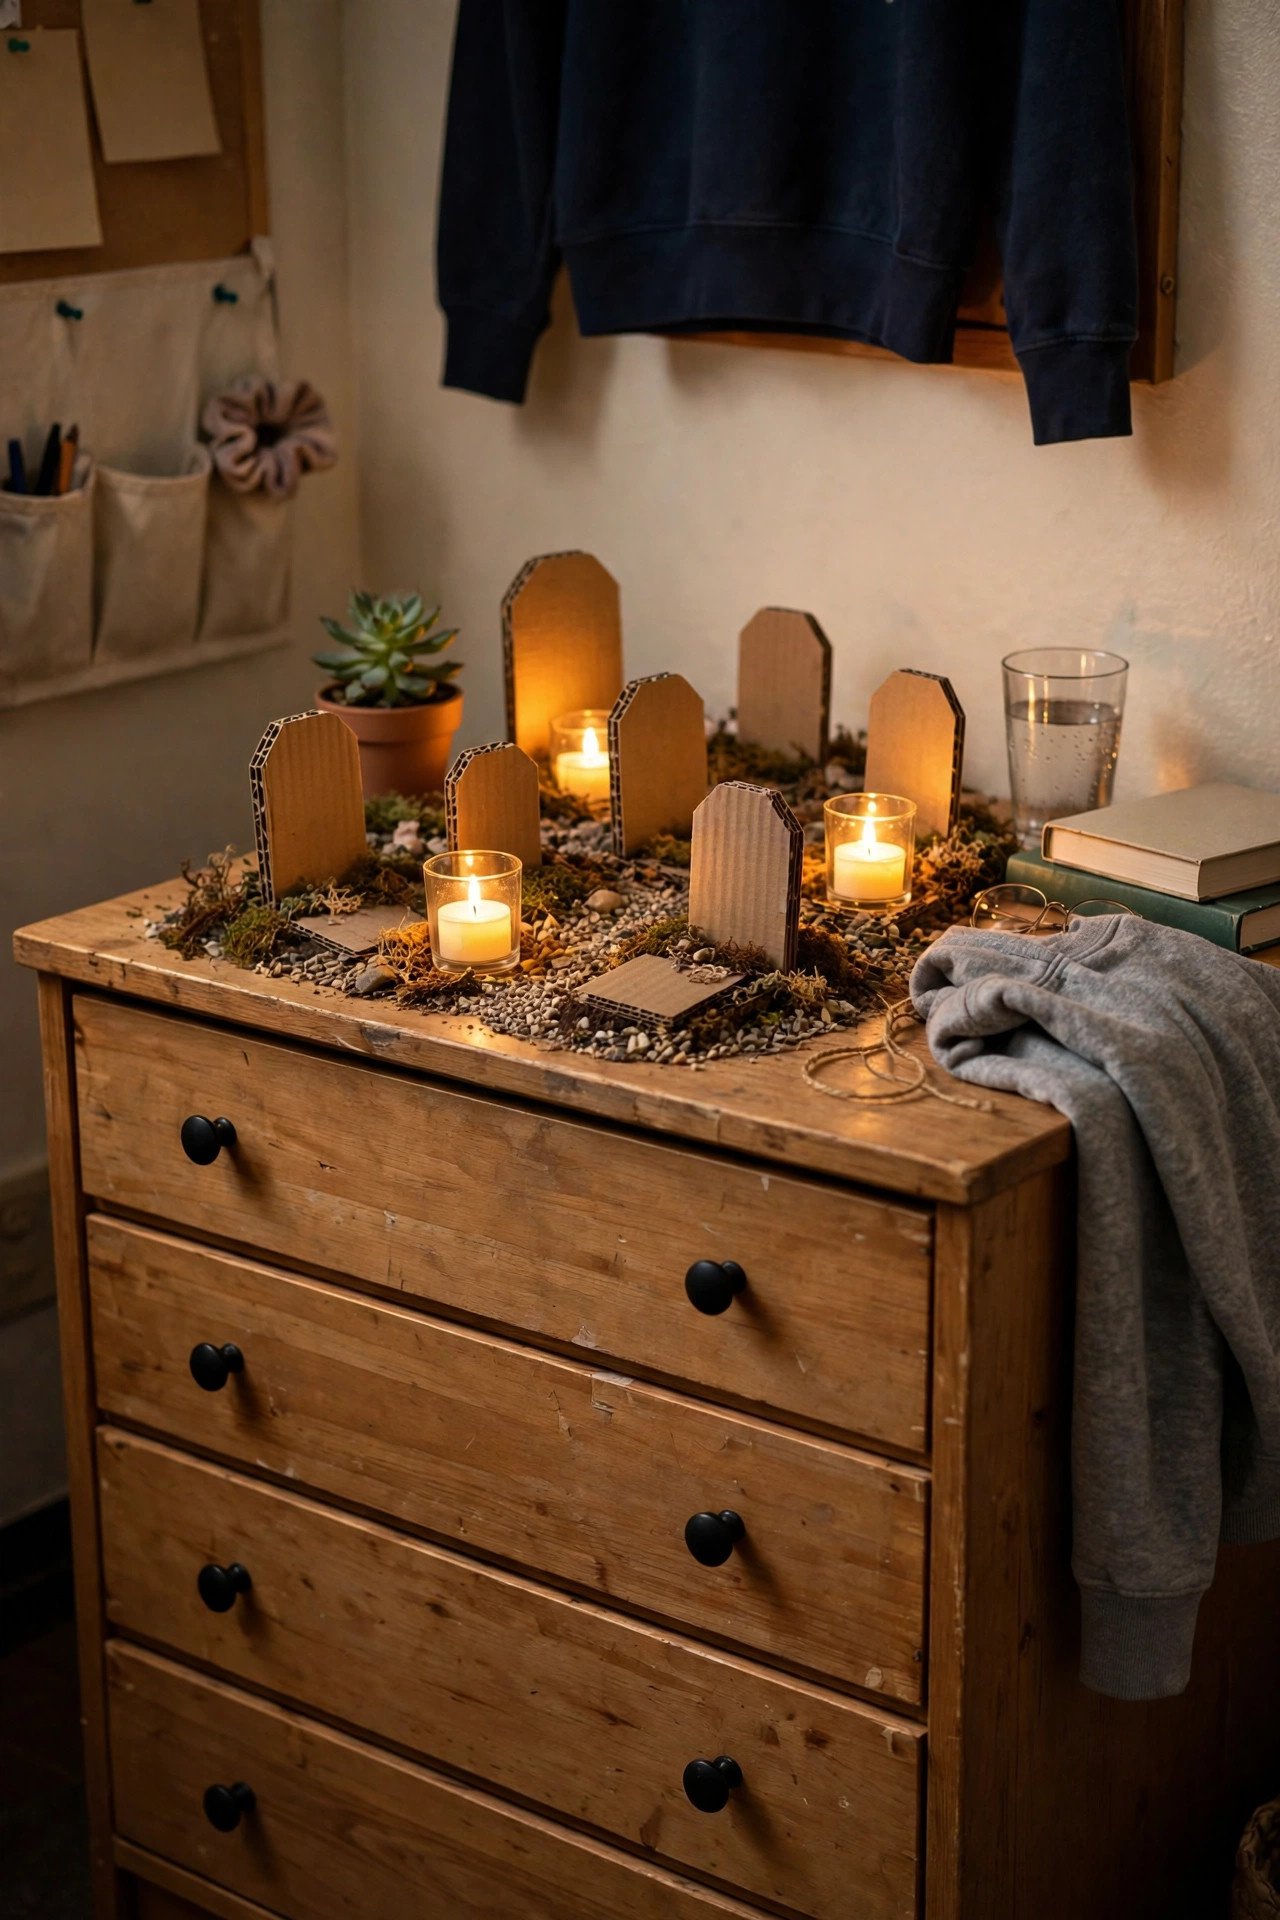
A tabletop graveyard on your dresser is a miniature haunted scene that costs almost nothing, because gray cardboard tombstones, a strip of black fabric as "soil," and a few plastic skeletons create a full cemetery in a space no bigger than a laptop. Cut five or six tombstone shapes from gray cardstock, write funny epitaphs like "RIP My GPA" or "Here Lies My Sleep Schedule" in black marker, and stand them upright in a row along the back of the dresser using folded cardstock bases or small binder clips. Scatter a few plastic bones or spiders in front, and add one flameless tea light behind the stones so the scene glows at night. The humor makes it roommate-friendly and very shareable on social media. Avoid real dirt or sand on a dresser, since it gets into drawers and electronics, and keep the tea light flameless — real candles are banned in nearly every dorm for good reason.
22. Flameless Candle Ambience and Halloween Scent
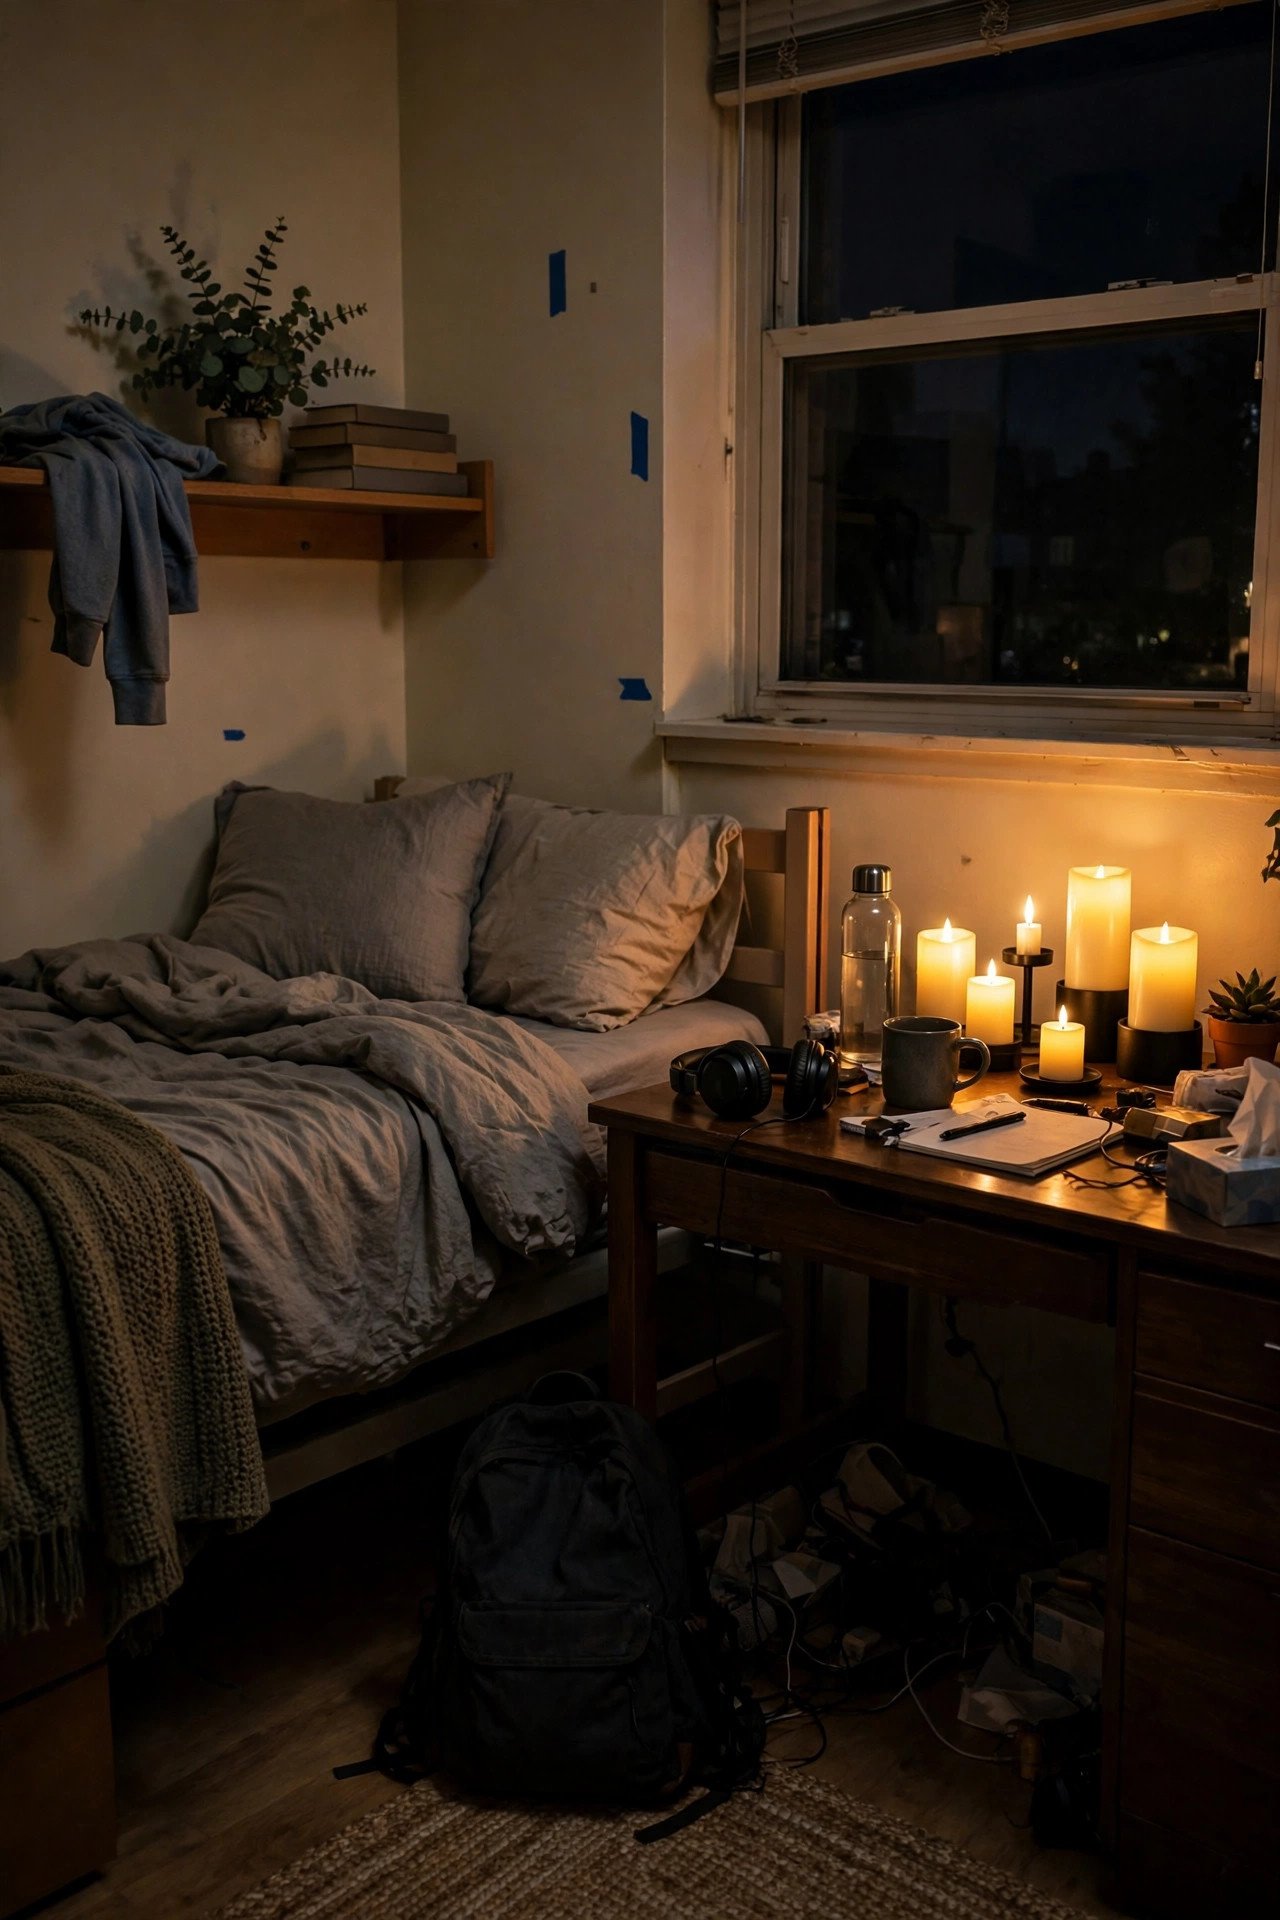
Flameless candles and a seasonal scent are the finishing touches that make a decorated dorm room actually feel haunted, because flickering LED candles in black holders plus a pumpkin-spice or apple-cider wax melt create atmosphere that lights and props alone cannot. Place three to five LED pillar candles of different heights on your desk or windowsill — battery-operated sets run $8 to $12 and many include a remote and timer — and add one plug-in or wax warmer with a Halloween scent if your housing allows warmers (check first, since some halls ban them). The flicker makes paper bats and spider webs look alive in the evening, which is when dorm Halloween decorating pays off most. Run the candles on their timer setting so they never stay on overnight. Avoid real candles, incense, and open flames entirely, since they are the single most common cause of dorm fire violations and can cost you far more than the decoration is worth — for the history behind why Halloween leans so hard into firelight and spooky glow, the Halloween traditions on Wikipedia are a fun rabbit hole.
Practical Tips
Hanging things without damage is the skill that makes all 22 ideas possible, so stock up on the right supplies before you start: removable adhesive hooks and strips rated for the weight you are hanging, painter's tape for paper decorations, and mounting putty for lightweight items on walls and ceilings. Test every adhesive on a hidden spot first, press firmly for thirty seconds when applying, and remove strips slowly by pulling straight down along the wall rather than yanking outward. Keep the packaging for hooks and strips so you know the weight ratings, and photograph your walls on move-in day so you can prove any marks were already there.
Agreeing the plan with your roommate turns decorating from a potential argument into a shared project, so talk before you buy anything: agree which walls are yours, how much shared space Halloween can take, and a total budget you both contribute to. Splitting costs on shared items like string lights, the candy station, and a throw makes the room look better for half the money, and a shared Pinterest board or photo album of ideas keeps the plan visual and fun. Set a take-down date together — November 1st or 2nd — so decorations do not linger into exam season and become clutter.
Fire safety and storage decide whether your Halloween is remembered fondly or as a housing violation, so keep every decoration flameless, keep fabric and paper away from heaters and lamps, and never cover smoke detectors, sprinklers, or exit signs. When Halloween ends, fold paper decorations flat into a single folder, coil string lights without kinking them, and pack small props into one shoebox labeled by year. If you want more seasonal inspiration for the rest of the year, the dorm decorating ideas on The Spruce and the Halloween decorating guides on BHG are both worth browsing before your next holiday project.
Final Thoughts
A great Halloween dorm room is not about spending the most money or covering every surface — it is about picking five or six ideas from this list that fit your room, your roommate, and your budget, and doing those few things really well. Start with the paper bats and the string lights, add the bedding swap and the candy station, and your room will feel properly haunted by the weekend. Happy haunting, and may your deposit survive October intact. If your roommate is skeptical, start with just the lights and the candy station — both are hard to object to, and a shared win usually opens the door to the bats and the webs. And if you only have one free evening before Halloween, spend it on the wall swarm and the bed, since those two surfaces dominate what anyone sees when they walk in. Keep your receipts and packaging until move-out, photograph the finished room for your own portfolio of ideas, and enjoy the one month of the year when a tiny room is an advantage, not a limitation.
You May Also Like: – 22 Halloween Apartment Decor Ideas for Small Spaces – 22 Halloween Bedroom Decor Ideas for a Cozy Spooky Retreat – 22 Halloween Living Room Decor Ideas for a Spooky Yet Stylish Space – 22 Halloween Kids Room Decor Ideas That Are Playful, Not Scary – 22 Halloween Shelf Decor Ideas for Spooky Styling
Frequently Asked Questions
How do I decorate a dorm room for Halloween without damaging walls?
Use only removable methods: adhesive hooks and strips rated for the item's weight, painter's tape for paper decorations, and mounting putty for lightweight pieces. Test adhesives on a hidden spot first, remove strips by pulling slowly downward, and photograph your walls on move-in day so pre-existing marks are documented.
Are real candles allowed in a dorm room for Halloween?
Almost never — real candles, incense, and open flames are banned in nearly every dorm because they are a leading cause of campus fires. Use flameless LED candles instead: they flicker realistically, come with timers and remotes, cost $8 to $12 for a set, and give you the same spooky glow with zero fire risk.
How can I decorate my dorm for Halloween on a tiny budget?
Focus on paper and light: a bat swarm costs under $5 in cardstock, window clings run $3 to $7, and one string of pumpkin lights is $8 to $12. DIY projects like potion bottles, no-sew ghost pillows, and a cardboard graveyard cost almost nothing, and splitting shared items with your roommate halves the bill.
How do I share Halloween decorating with a roommate in a small room?
Talk before buying anything: agree which walls and surfaces belong to each person, set a shared budget, and split the cost of communal pieces like string lights and the candy station. Keep shared-space decorations neutral and friendly, and agree a take-down date — November 1st or 2nd — so the room resets before exams.
What Halloween decorations should I avoid in a dorm room?
Avoid anything that damages walls (nails, duct tape, hot glue on paint), anything with a real flame, and anything that covers smoke detectors, sprinklers, peepholes, room numbers, or exit signs. Also skip heavy props that block walkways and carved pumpkins indoors, since they rot quickly and smell in a small shared room.
How do I store Halloween decorations in a tiny dorm after October?
Pack flat: fold paper bats and garlands into a single folder, coil string lights loosely without kinking the wire, and fit small props into one labeled shoebox. Keep the box on top of your wardrobe or under the bed, and reuse the same kit next year instead of buying everything again.