
22 Thanksgiving Dessert Table Decor Ideas for a Show-Stopping Spread
Thanksgiving dessert deserves more than a crowded corner of the kitchen counter. After the turkey, the dessert table becomes the room everyone drifts toward, so it should look intentional, taste generous, and work smoothly when ten hungry people arrive at once. This guide is for hosts who want that warm, abundant feeling without spending a fortune or leaving pies to wilt in a warm room.
Looking for more inspiration? Our Nest Decorz homepage gathers the latest home decor ideas, seasonal decorating guides and room-by-room styling tips in one place — start there and explore.
What makes this guide different is the planning behind the pretty: stand heights, table-length math, serving flow, labels for allergies, and food-safety timing are built into every idea, not added as an afterthought. Whether you are working with a full sideboard, a six-foot folding table, or one small console, you will find a layout that fits your space, your menu, and your budget.
1. Anchor the Table With a Tiered Cake Stand
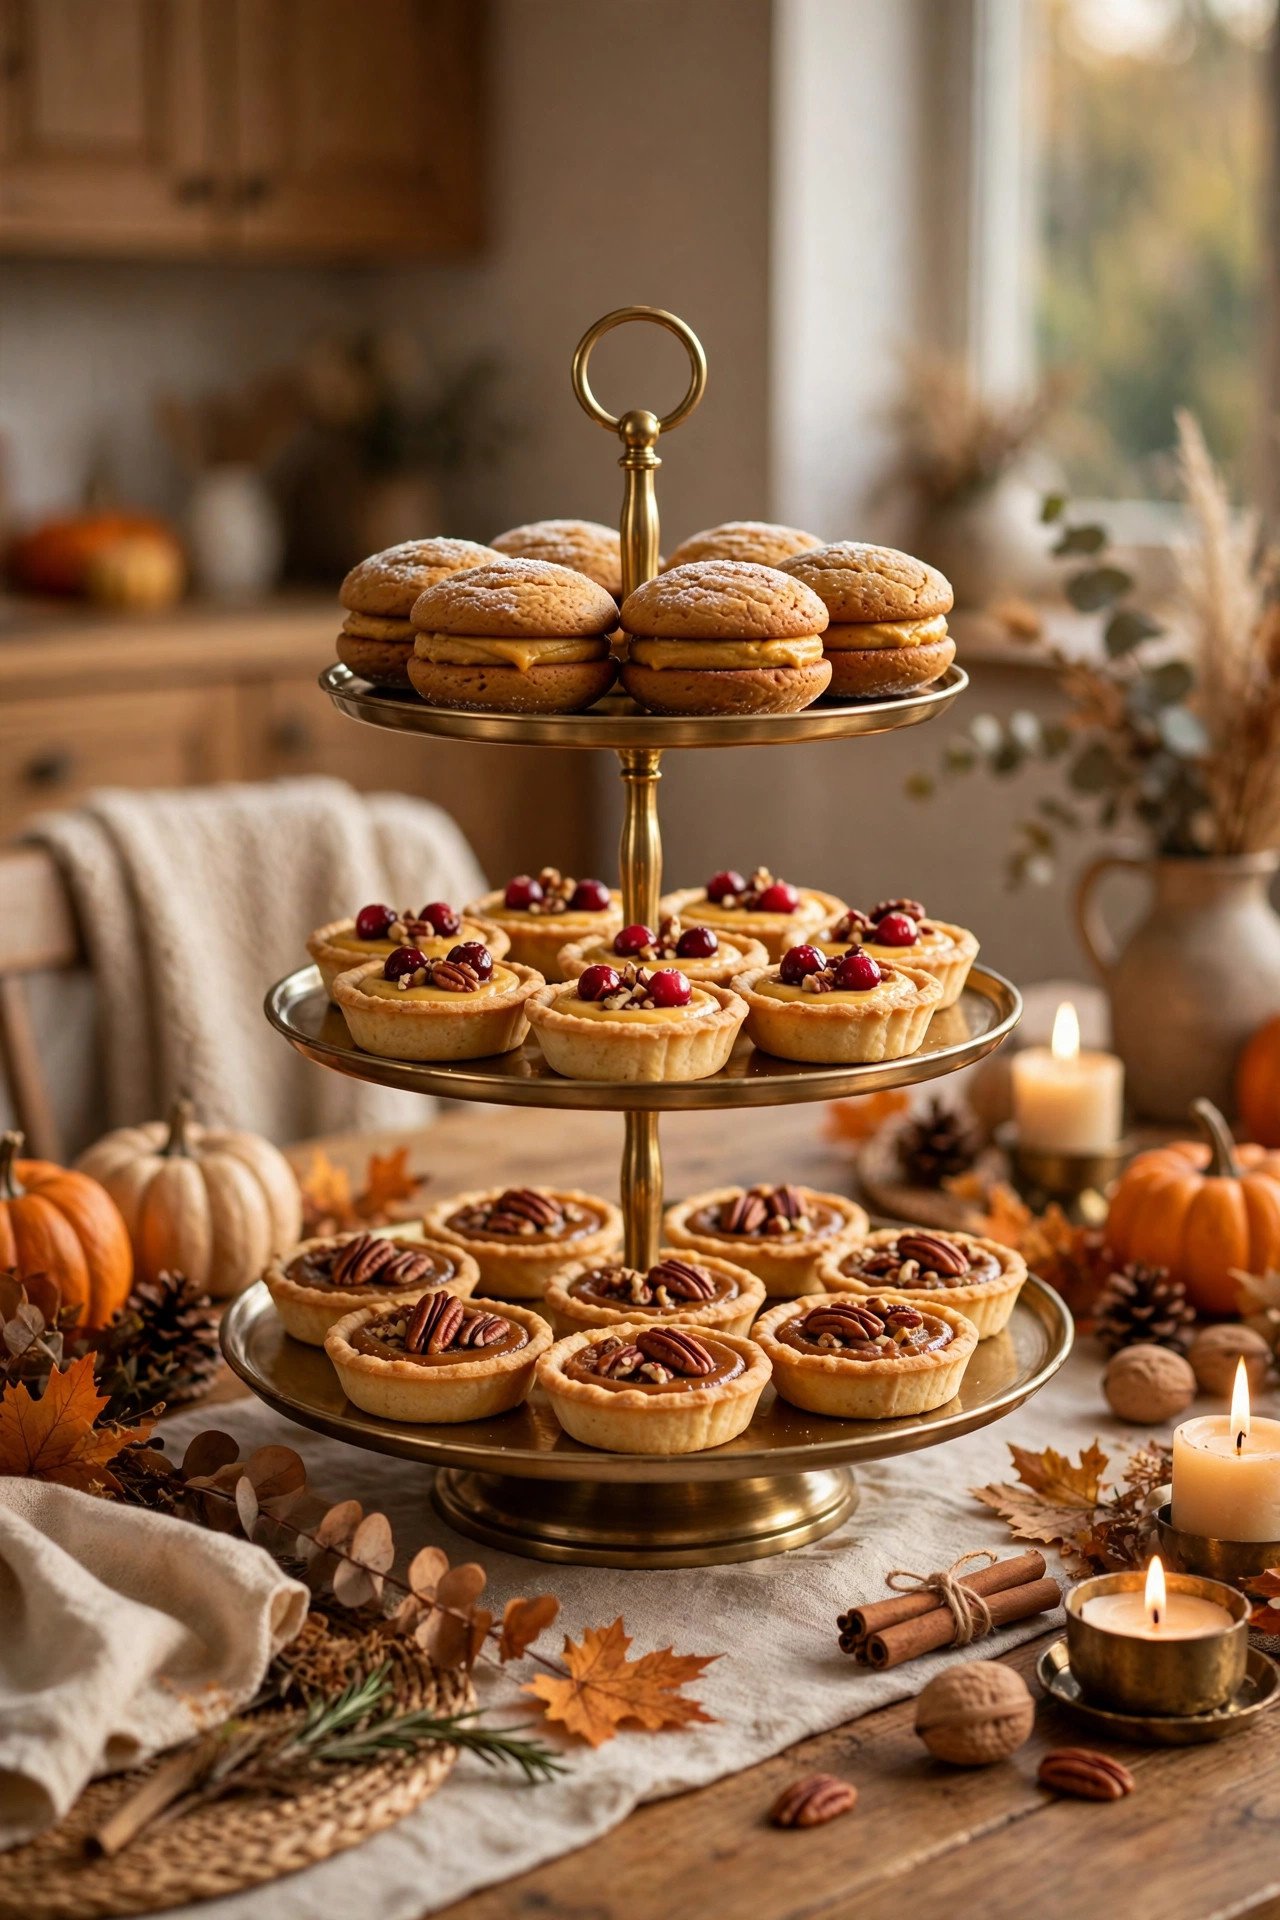
Start with one tall tiered stand as the visual anchor, because the eye needs a peak before it can enjoy the rest of the spread. A three-tier stand measuring roughly 12 to 14 inches across at the base and 16 to 18 inches tall creates height without blocking conversation, while leaving about 6 inches between tiers so cupcakes, mini tarts, and cookies sit without crowding. Place your showpiece on the top tier, such as a small frosted cake or a cluster of pumpkin whoopie pies, and step smaller items down the tiers by size and color. This trick instantly makes a modest menu look abundant, and it costs nothing if you borrow a stand or stack sturdy plates on a candle pillar you already own. Avoid piling soft-frosted items on the bottom tier where sleeves and serving hands brush past, and keep the stand at least 8 inches from the table edge so nothing topples when the room gets busy.
2. Build a Height Map Before You Set a Single Plate

Sketch a simple height map on paper before unpacking anything, marking tall, medium, and low zones across the table so the display rises and falls like a skyline instead of flattening into one level. Aim for a tall anchor every 24 to 30 inches along the table, medium stands and cake domes in between, and low platters of cookies and bars at the front edge where guests can reach easily. Wooden crates turned on their sides, stacked books wrapped in linen, and inverted bowls under a board can all add 3 to 6 inches of lift for free, but cover any makeshift riser with a cloth so it reads as decor rather than clutter. This planning step prevents the classic mistake of putting every tall item in the center, which hides food behind food and forces guests to reach over fragile displays. Test the map by standing at serving height and checking that every dish is visible from the front.
3. Style a Sideboard Dessert Station Away From the Dining Table
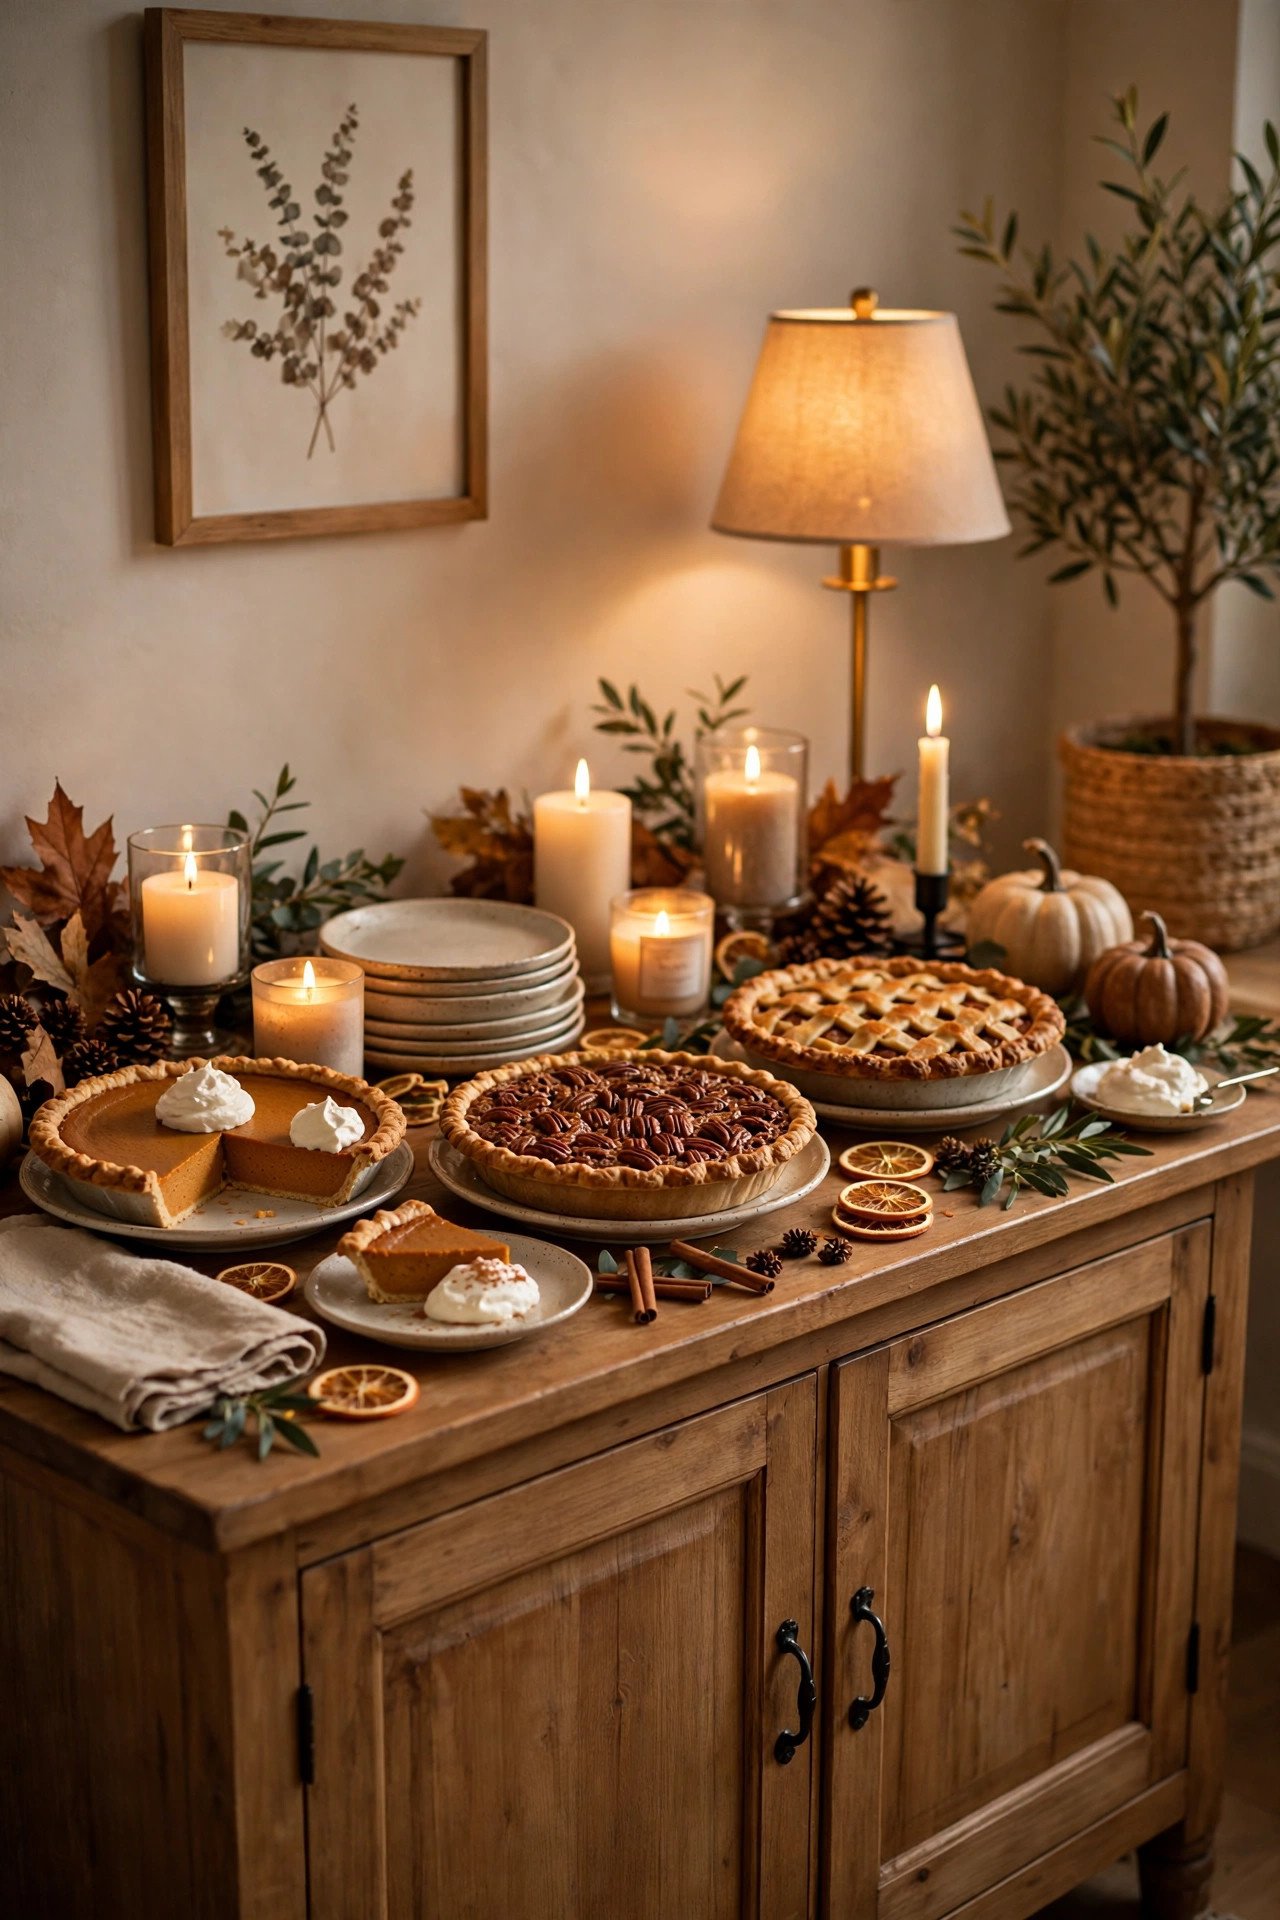
Move dessert to a sideboard, buffet, or console when the dining table is already full, because a separate station keeps traffic flowing and lets guests graze without interrupting the meal. A sideboard 48 to 60 inches long comfortably holds six to eight desserts if you stagger heights and leave a 12-inch serving zone in front for plates and tongs. Place drinks at one end and dessert plates at the other so guests move in one direction instead of crossing paths, and keep the center clear for your tallest display. Add a small mirror or framed print behind the station to bounce candlelight and make the spread feel deeper, but skip anything tall enough to cast shadows over the food. If your sideboard has drawers, tuck extra napkins, a spare server, and a trash bowl inside so tidying takes seconds, not a trip to the kitchen.
4. Let Pies Take Center Stage on Low Wooden Boards
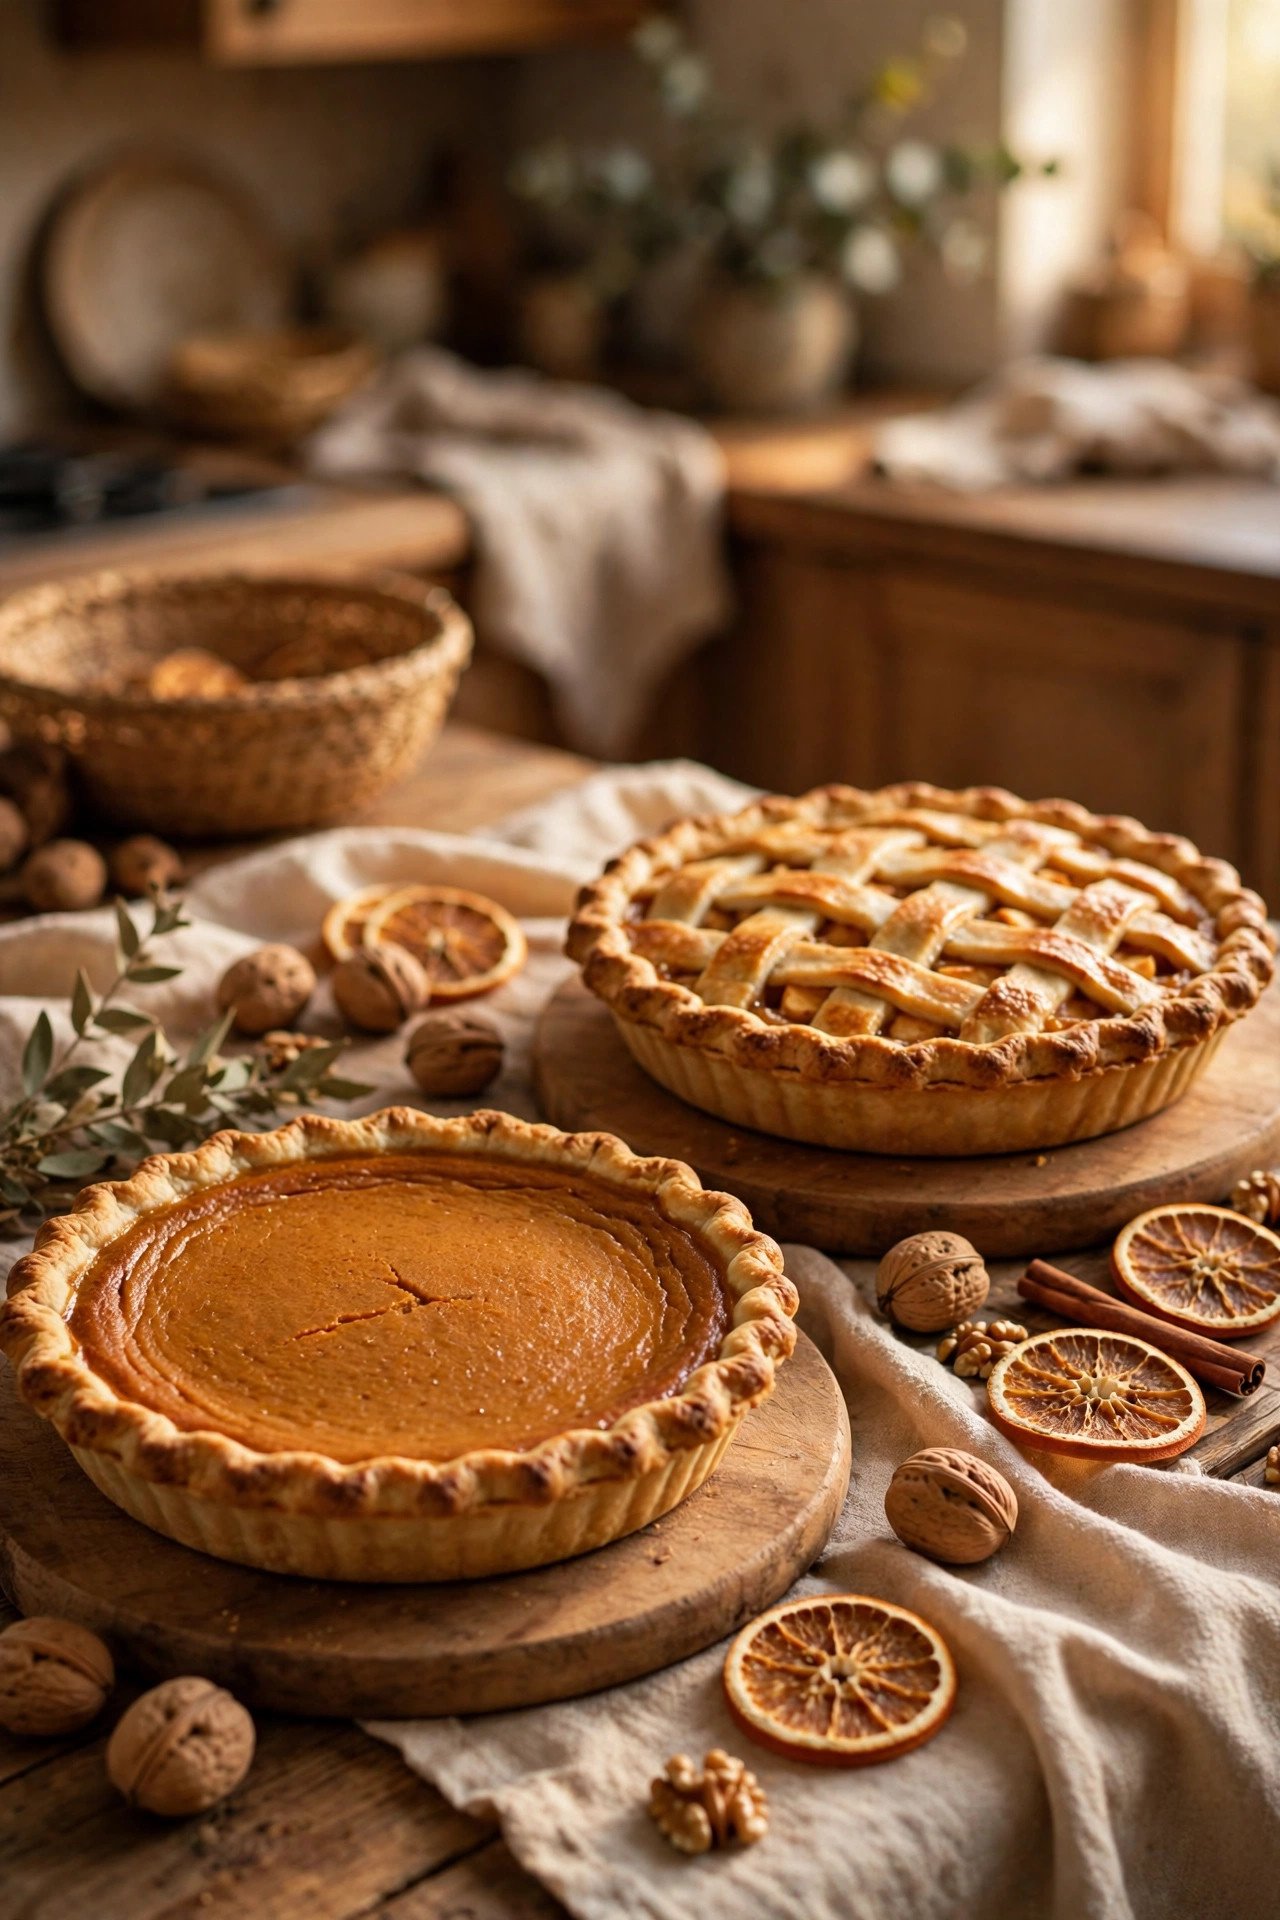
Pies are the Thanksgiving hero, so give them a low, wide stage rather than hiding them on a tall stand where slices slide and crusts crack. A round wooden board 14 to 16 inches across, set just 2 to 3 inches above the table on a trivet or folded towel, presents a whole pie beautifully while keeping it stable for slicing. Arrange two or three pies in a loose triangle with their prettiest lattice or crimped edge facing forward, and leave a 4-inch gap between boards for a pie server and a small stack of dessert plates. Scatter a few whole walnuts, dried orange slices, or cinnamon sticks around the boards, not on the pies themselves, so garnish never touches food. Avoid crowding more than three pies together, because guests need elbow room to cut a clean slice without bumping the next pie, and label each flavor on a small card placed behind the board.
5. Use a Tiered Tray for Mini Desserts and Bite-Size Treats
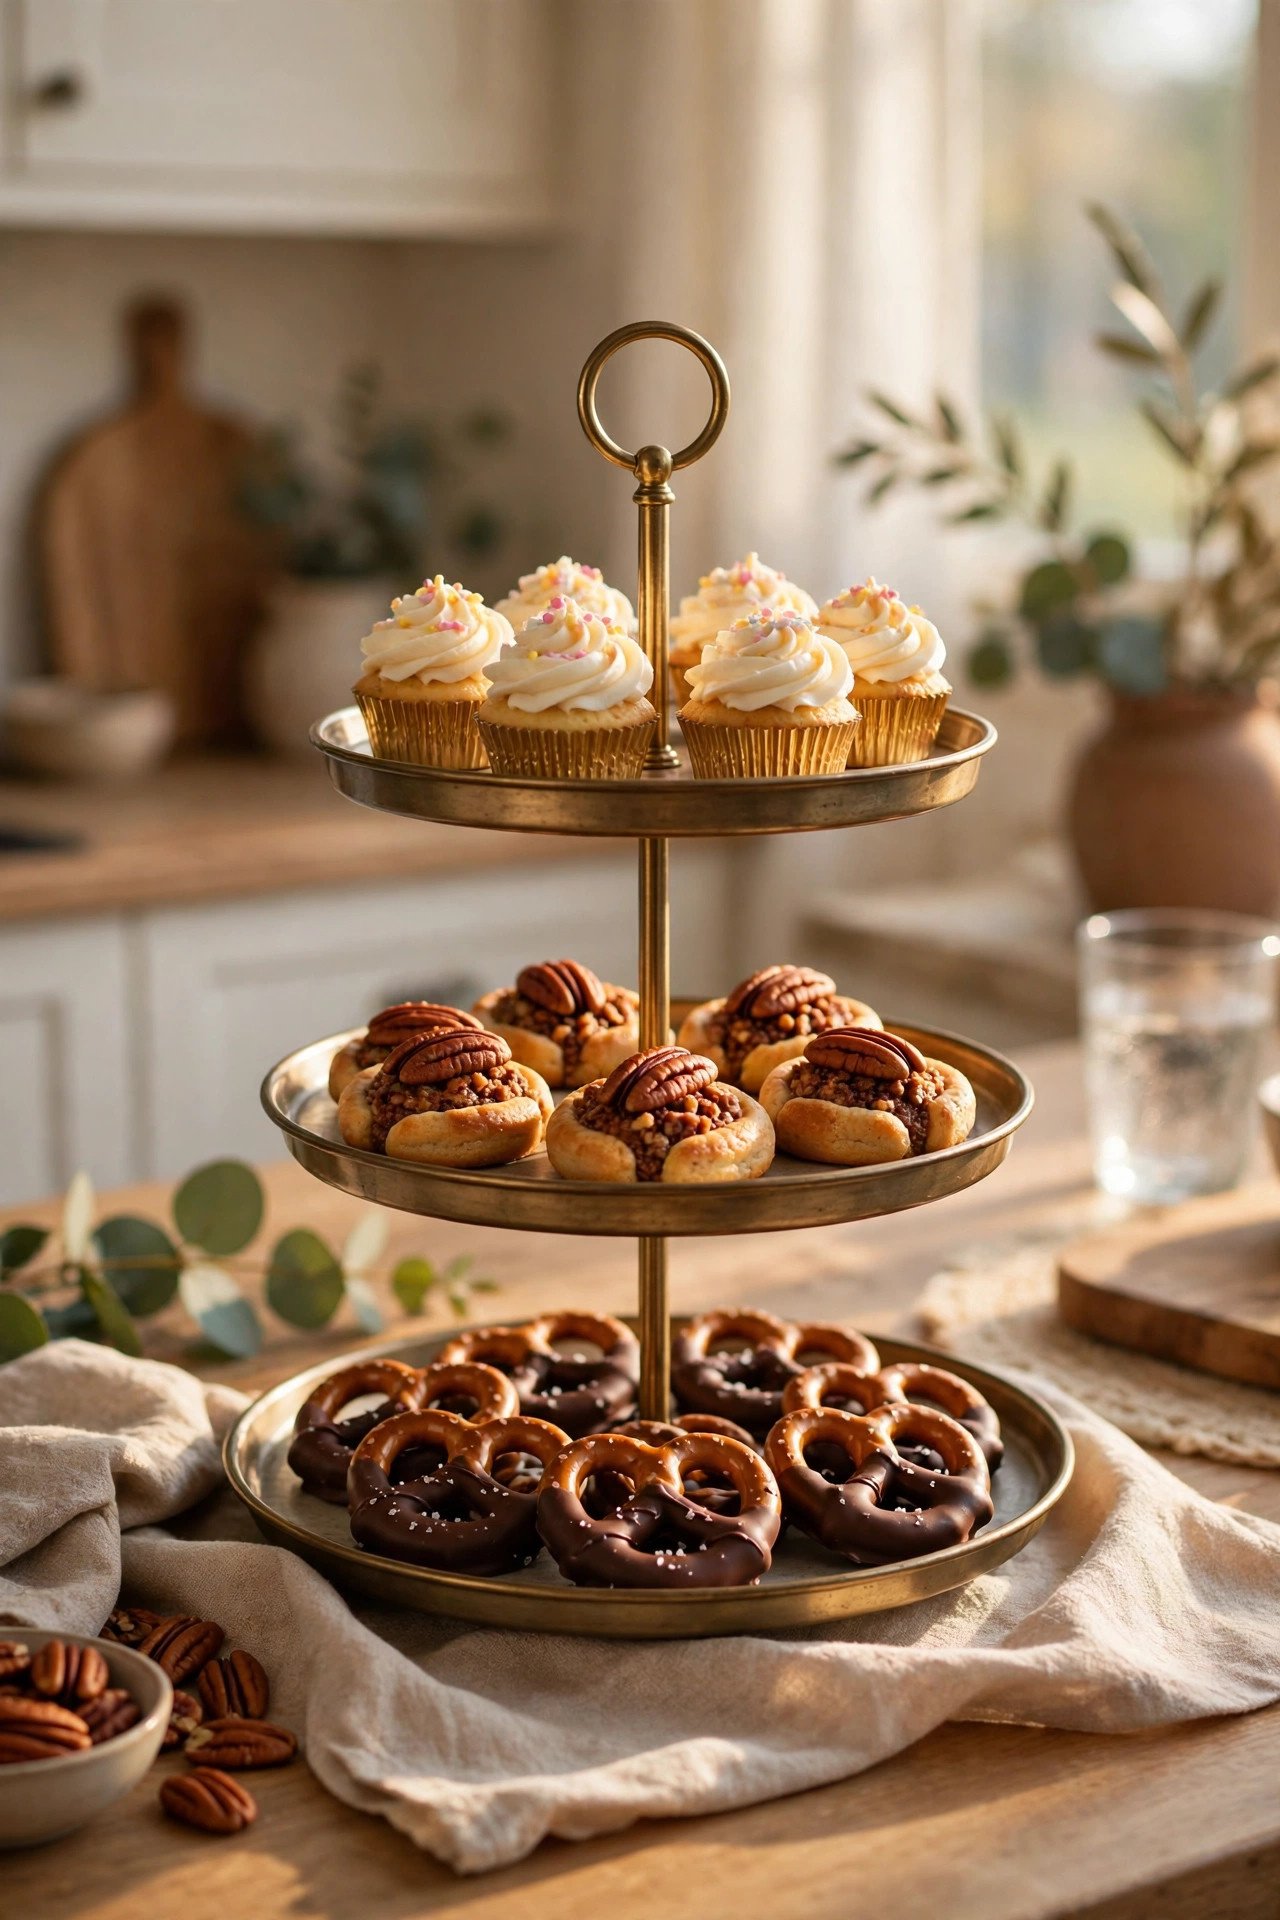
Mini desserts earn their keep on a tiered tray, where tiny portions look generous and guests can sample three flavors without committing to a full slice. Choose a tray with tiers 10 to 12 inches apart in diameter and at least 5 inches of vertical clearance so frosted mini cupcakes, pecan tassies, and chocolate-dipped pretzels do not smear on the tier above. Group by flavor family rather than scattering randomly, putting all pumpkin-spiced bites together and all chocolate together, which helps guests with preferences find their favorites fast. A tray of minis also solves the small-space problem beautifully, since one footprint of about 12 inches holds roughly 24 to 30 pieces. Keep a small pair of tongs on each tier, avoid stacking minis more than two layers deep, and refill from a backup tray in the kitchen so the display always looks full.
6. Create a Focal Point With a Naked or Lightly Frosted Cake
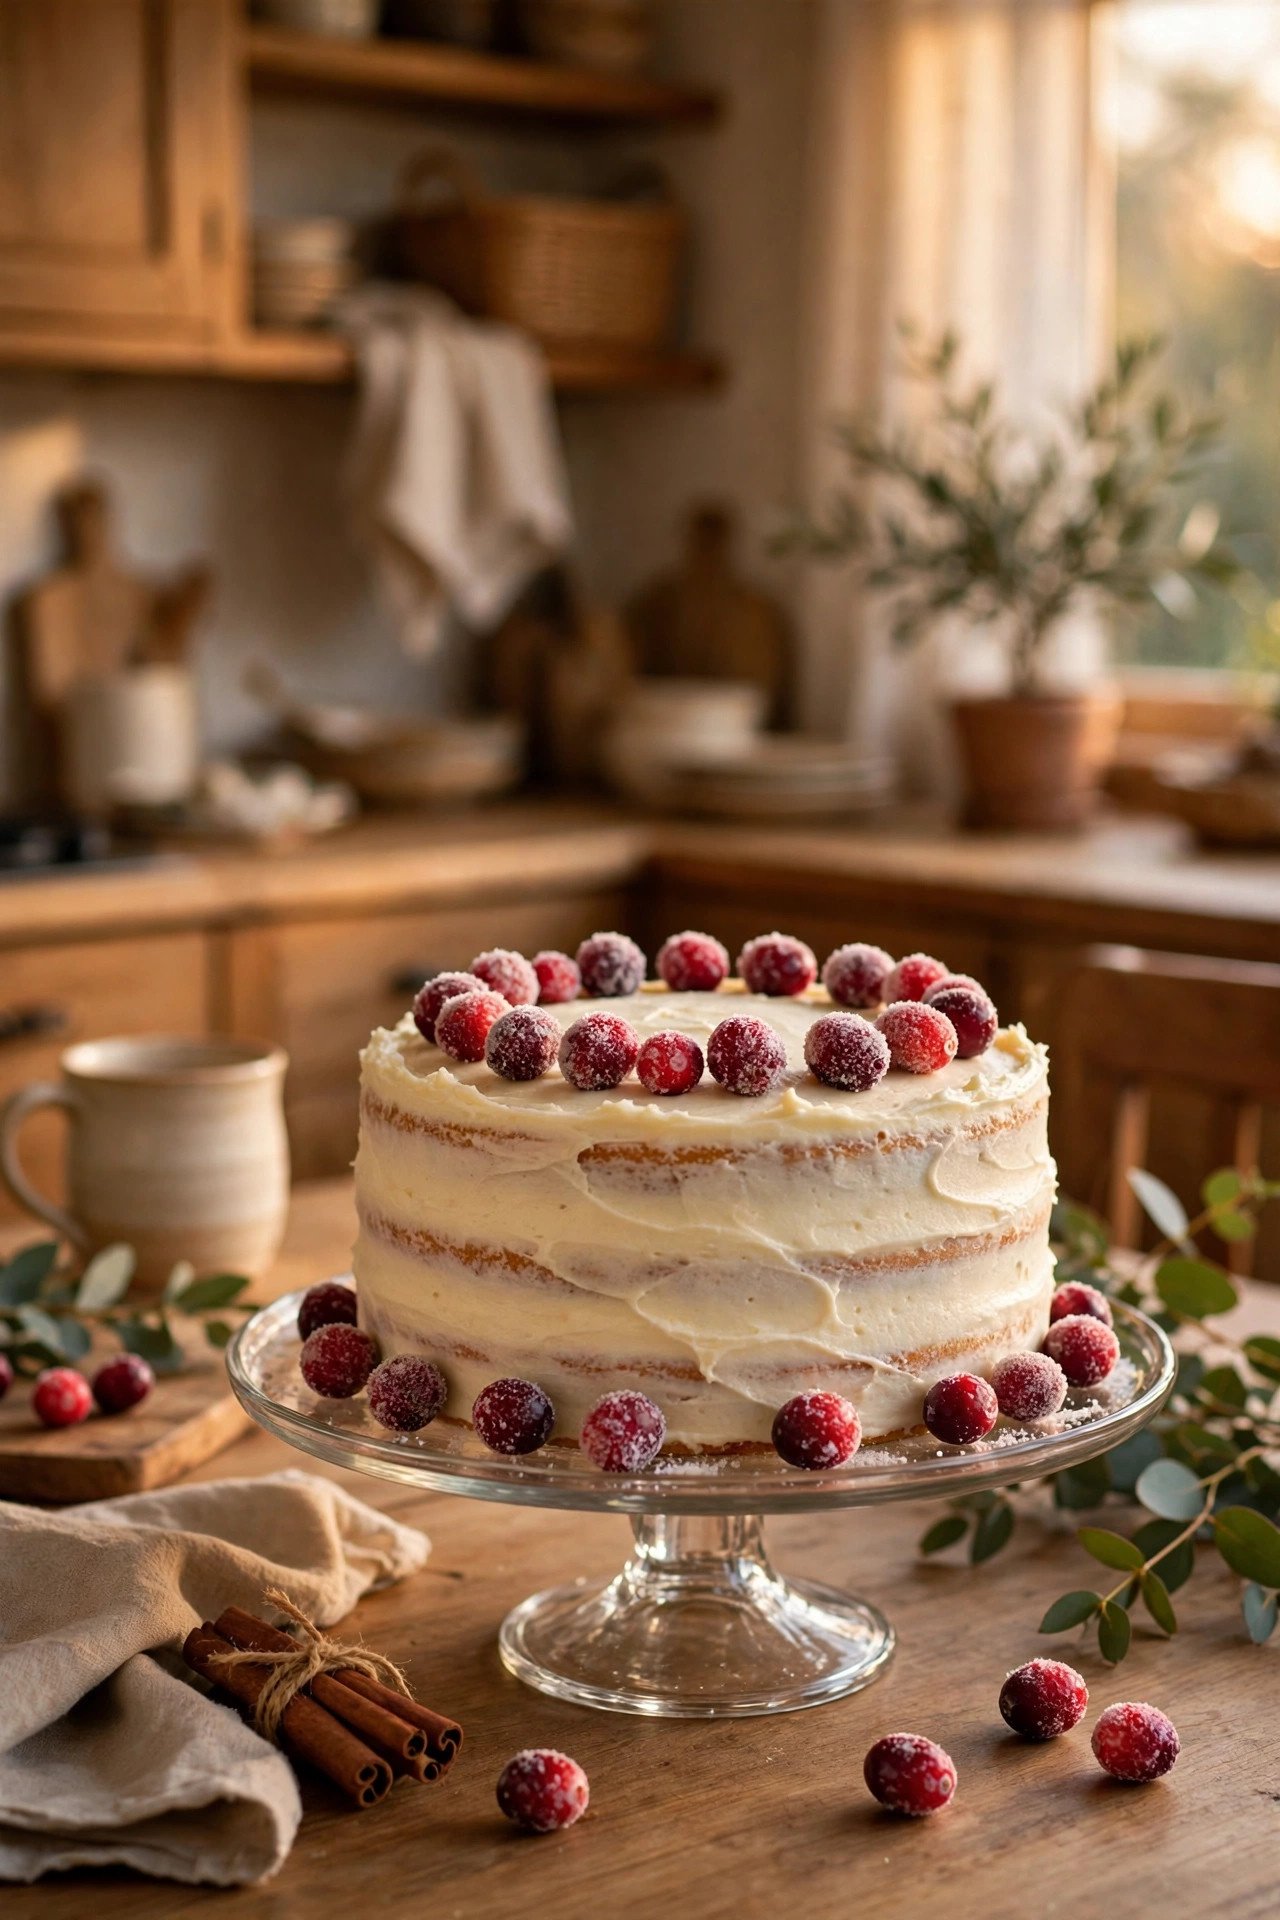
A lightly frosted cake with visible layers, dried citrus, and a few sugared cranberries makes a calmer, more elegant focal point than a heavily decorated cake competing with every other dish. Set the cake on a stand 10 to 12 inches across and 4 to 6 inches tall, centered slightly left or right of the table midpoint so the display feels styled rather than symmetrical and stiff. Keep decorations edible and food-safe, skipping glitter, fresh flowers that are not food-grade, and pine sprigs that shed needles near frosting. A cake this simple also photographs beautifully against a linen runner and warm candlelight, which matters when guests snap pictures before cutting. Budget-wise, a homemade two-layer cake costs far less than a bakery showpiece and tastes better the next day, so spend the savings on a proper stand you will reuse for every holiday.
7. Add a Hot Drinks Corner Beside the Desserts
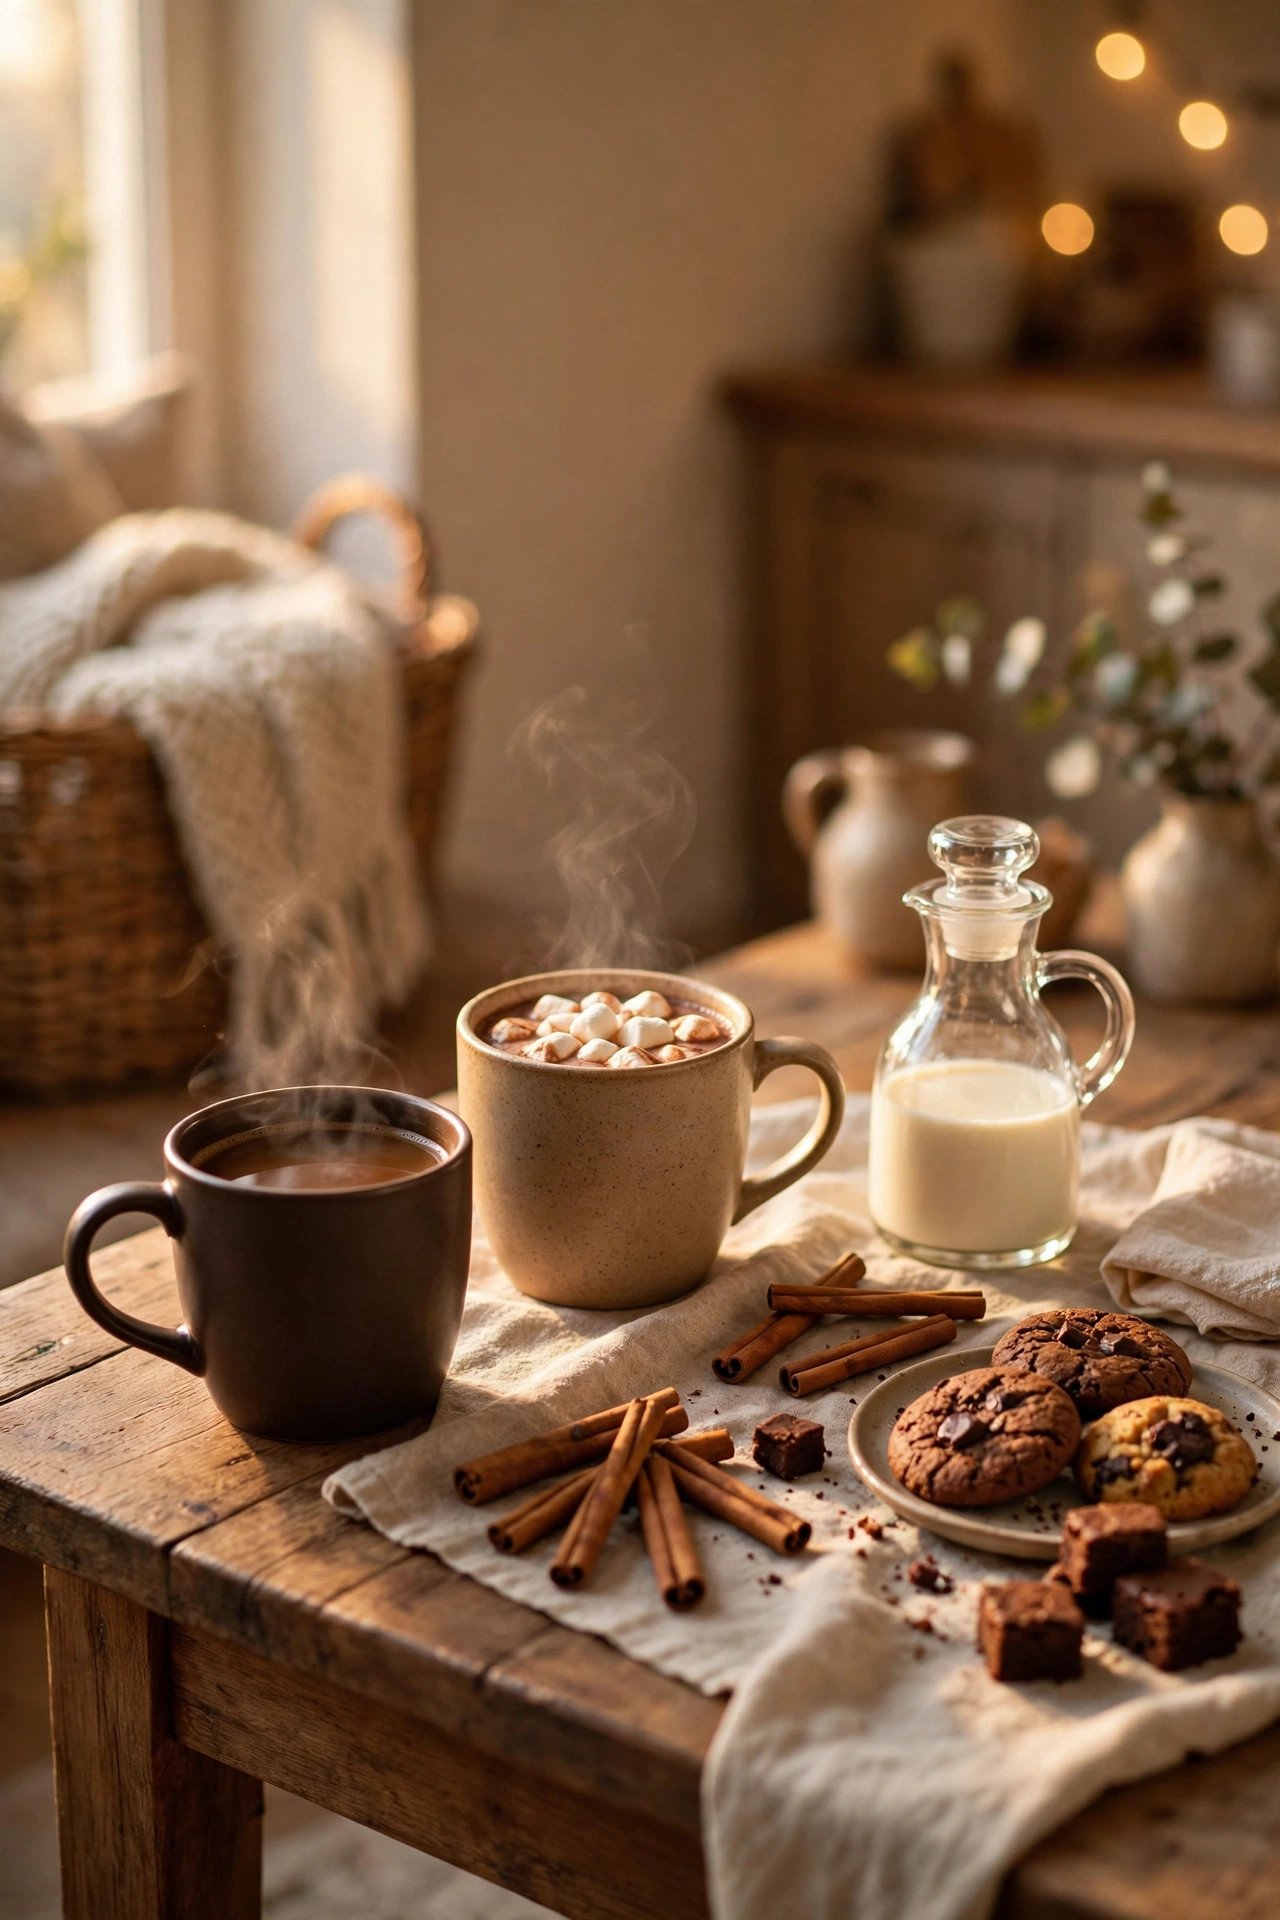
Coffee, cocoa, and spiced cider turn a dessert table into a lingering station, so dedicate 18 to 24 inches at one end to a drinks corner with mugs, a small carafe, and garnishes. Keep hot drinks on a heat-safe tray away from cold desserts, because steam softens frostings and melts chocolate within minutes, and place the coffee maker or kettle behind the table rather than in the serving lane. Offer two garnish jars, such as cinnamon sticks and mini marshmallows, plus a small pitcher of cream, and label decaf clearly so evening guests can choose without asking. Use sturdy mugs instead of delicate teacups when children are around, and set a folded towel under the tray to catch drips. This corner also gives early finishers somewhere to stand with a warm drink while others are still choosing dessert, which keeps the queue moving naturally.
8. Layer Linens, Runners, and Natural Texture
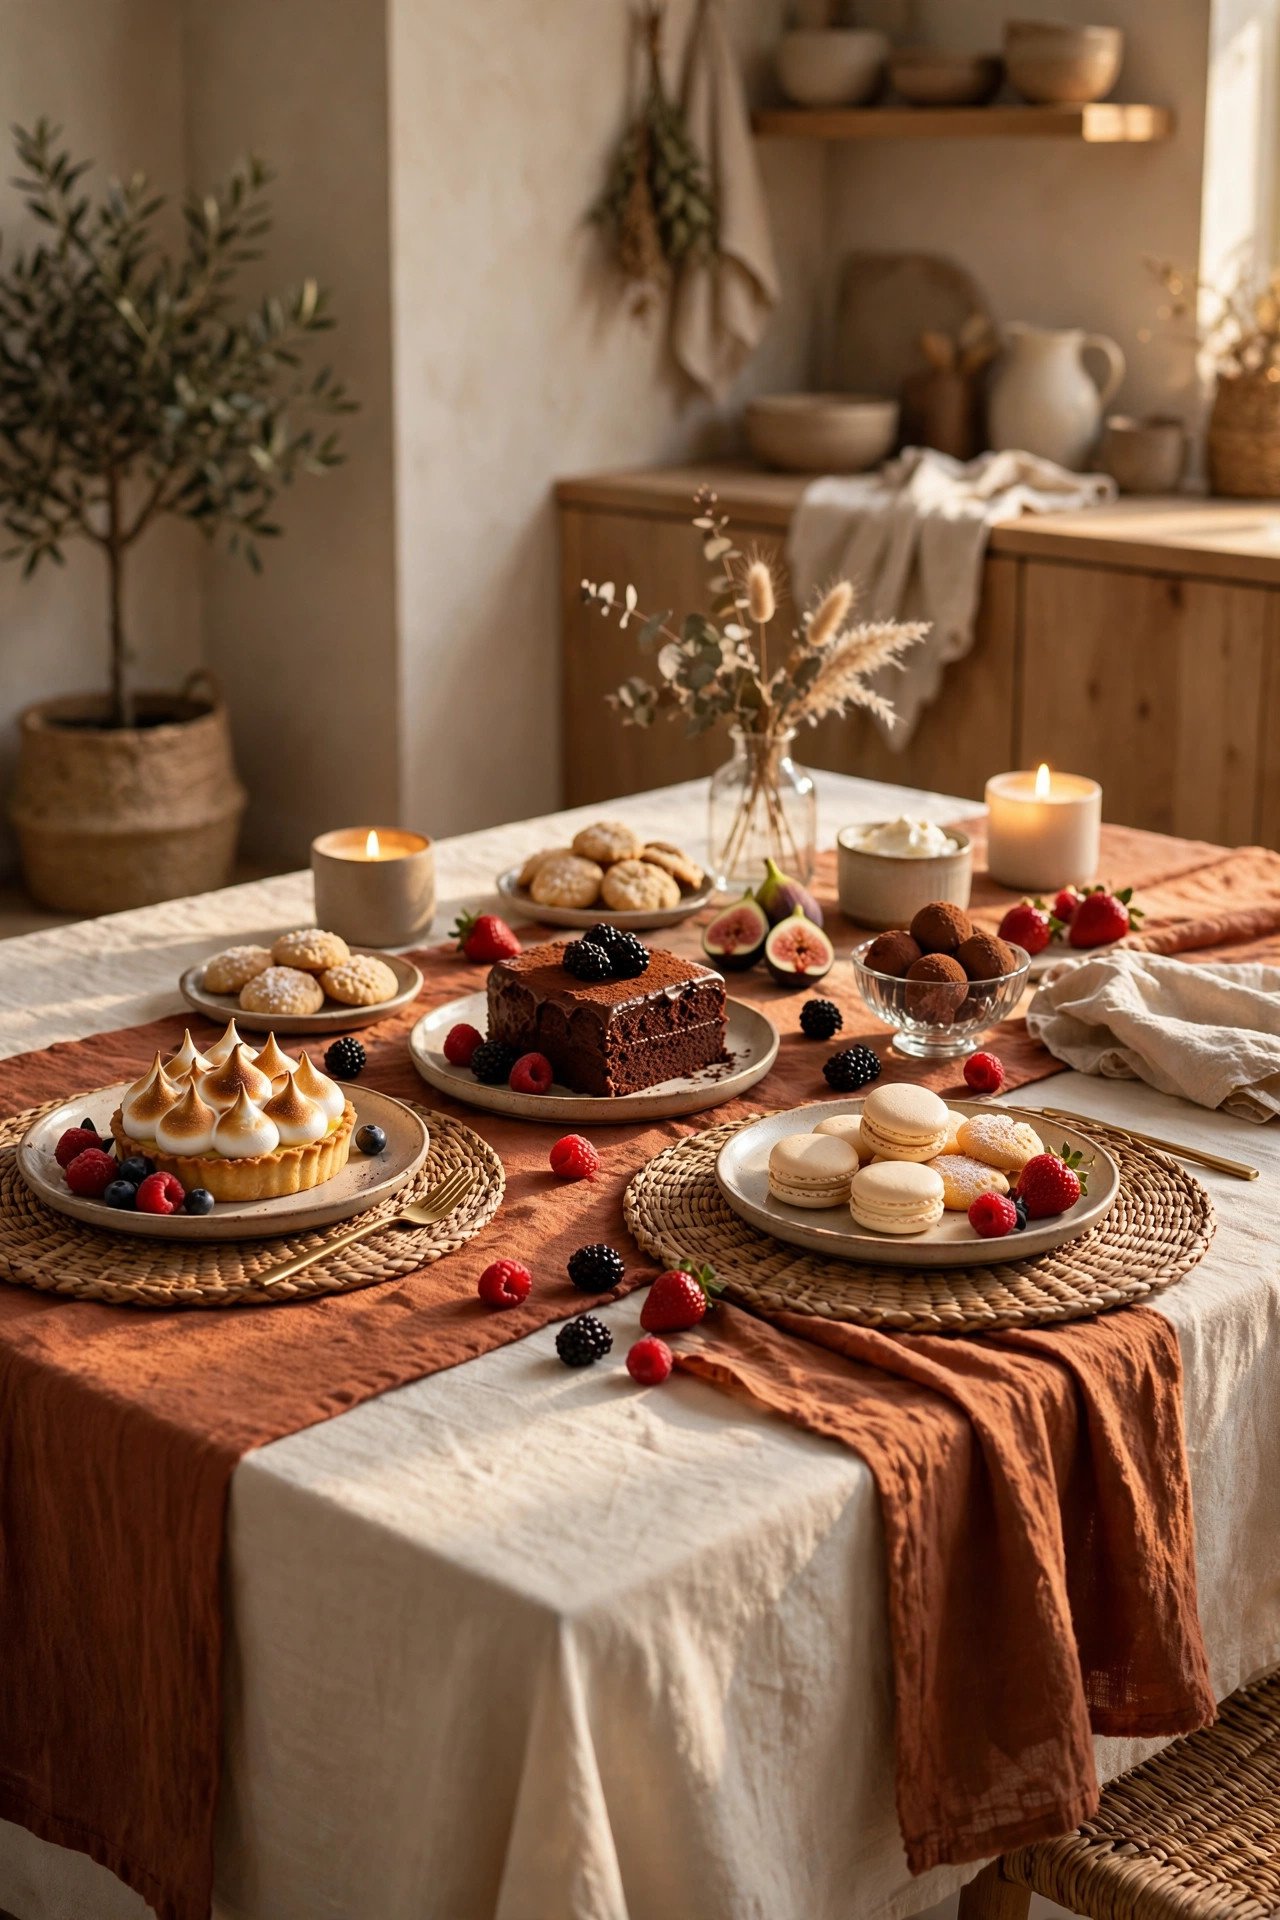
Texture does more work than color when a table is already full of food, so layer a neutral tablecloth, a narrow runner, and one natural element such as a woven placemat under each major dish. A runner 12 to 14 inches wide leaves enough bare table on each side for plates and serving tools, while a linen cloth in cream, oatmeal, or soft sage keeps the focus on the food instead of competing with it. Add warmth with a burlap or jute runner over the cloth for a farmhouse feel, or a velvet runner in rust or plum for a dressier evening, and press out wrinkles the day before so setup takes minutes. Avoid tablecloths that hang more than 10 inches over the edge in a tight walkway, because guests catch hems with hips and bags. If you love pattern, keep it to the runner alone and let dishes, stands, and garnishes supply the rest of the visual interest. For easy seasonal table styling inspiration, see 27 easy Thanksgiving table decorations.
9. Label Every Dessert With Charming Handwritten Cards
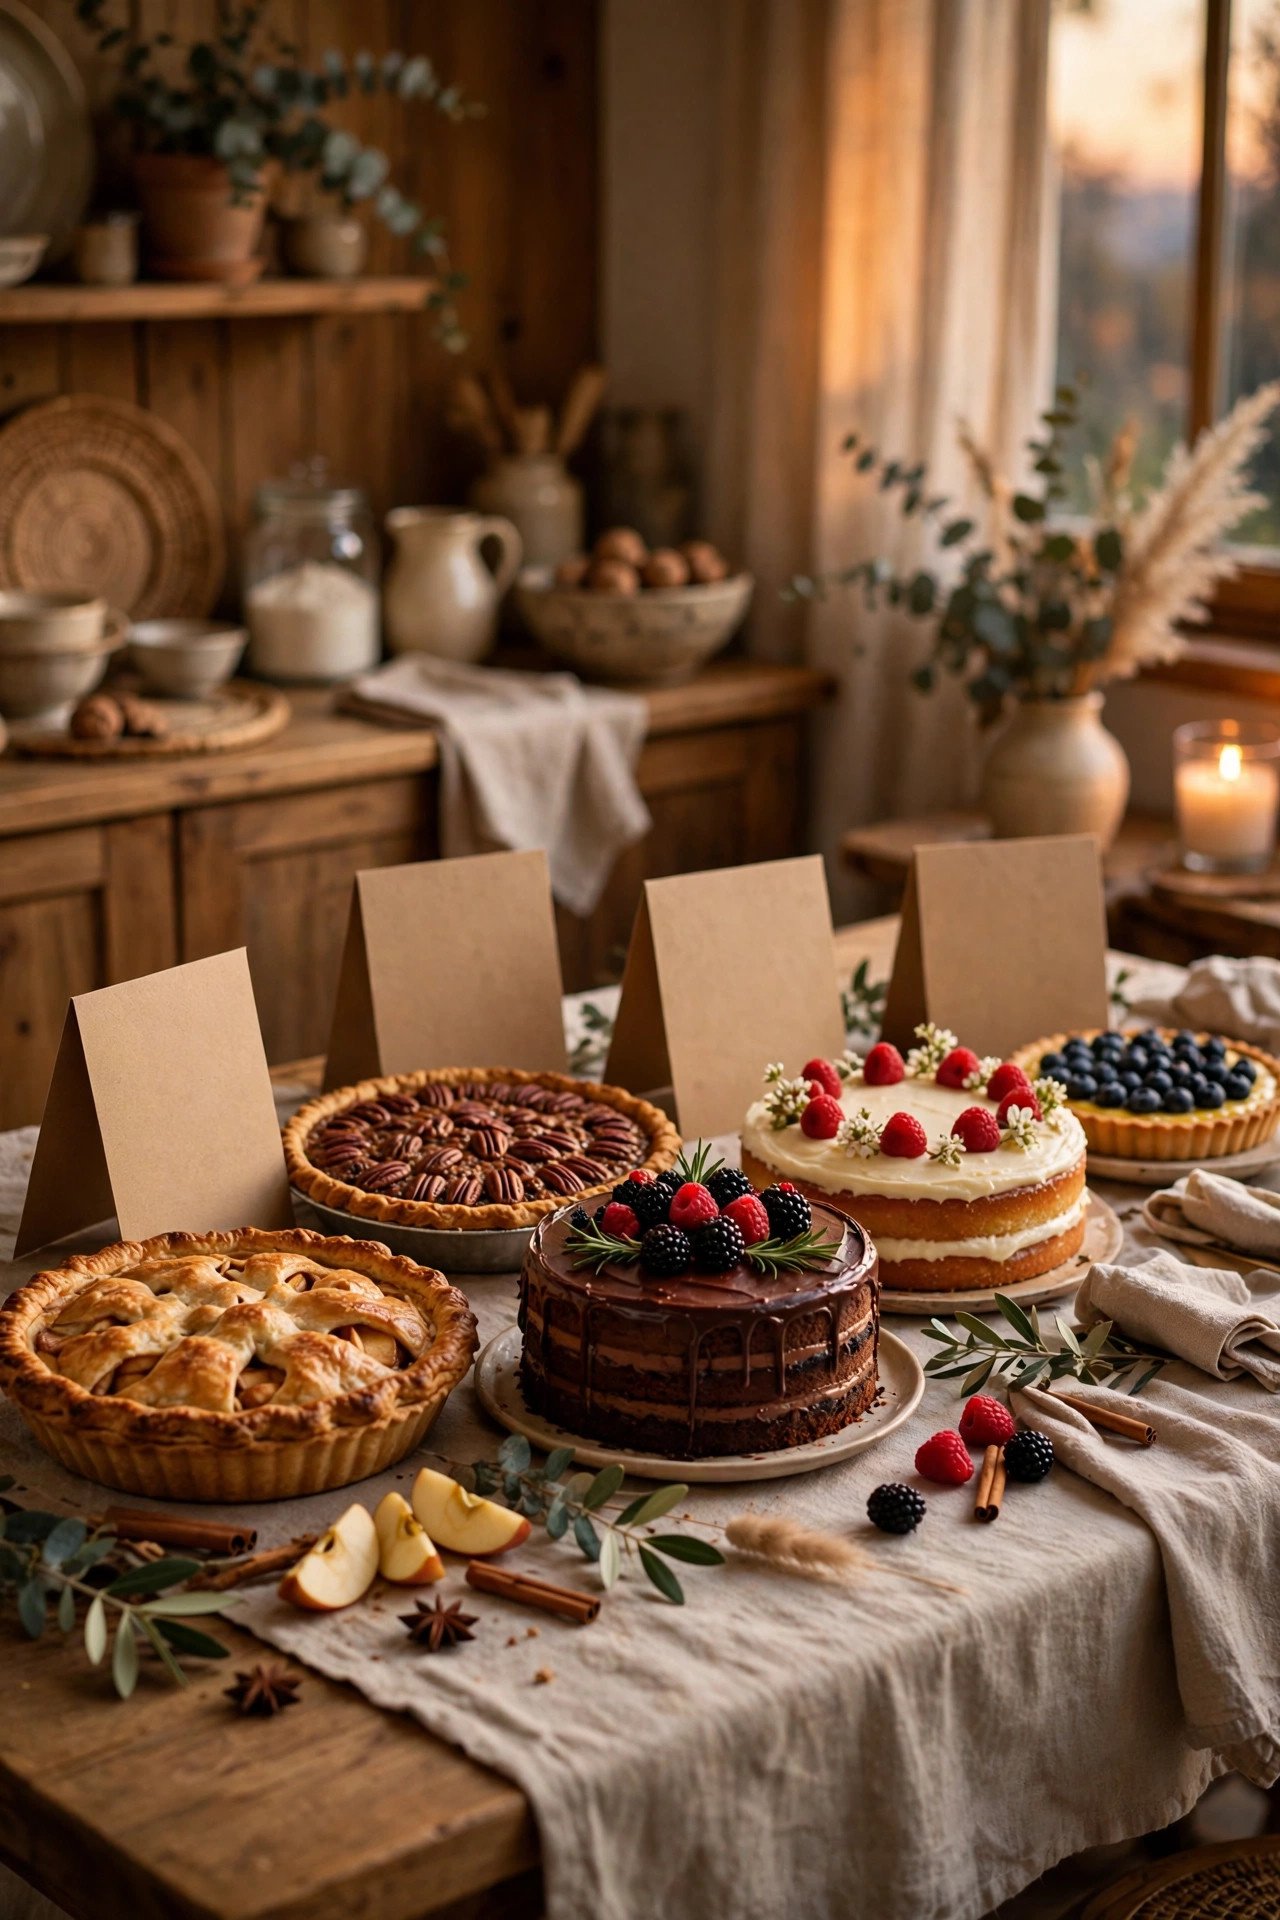
Labels are the kindest detail on a dessert table, because they answer the question every guest is too polite to ask: what is this, and can I eat it? Use tent cards 2 by 3 inches, placed behind each dish at a slight angle, with the dessert name in large print and a second line for key allergens such as nuts, dairy, gluten, or eggs. A gold pen on kraft card looks festive and costs pennies, while small wooden picks work for pies and cakes where a tent card would slide. Write labels the night before and store them in order with the serving dishes, so setup is a matter of matching cards to plates rather than remembering recipes under pressure. When in doubt, keep the ingredient list from the recipe beside the serving dish for the evening. Never guess at ingredients for a guest with an allergy; if you are unsure, write "ask host" rather than risking a wrong label.
10. Plan for Allergies and Dietary Needs Without Segregating Guests
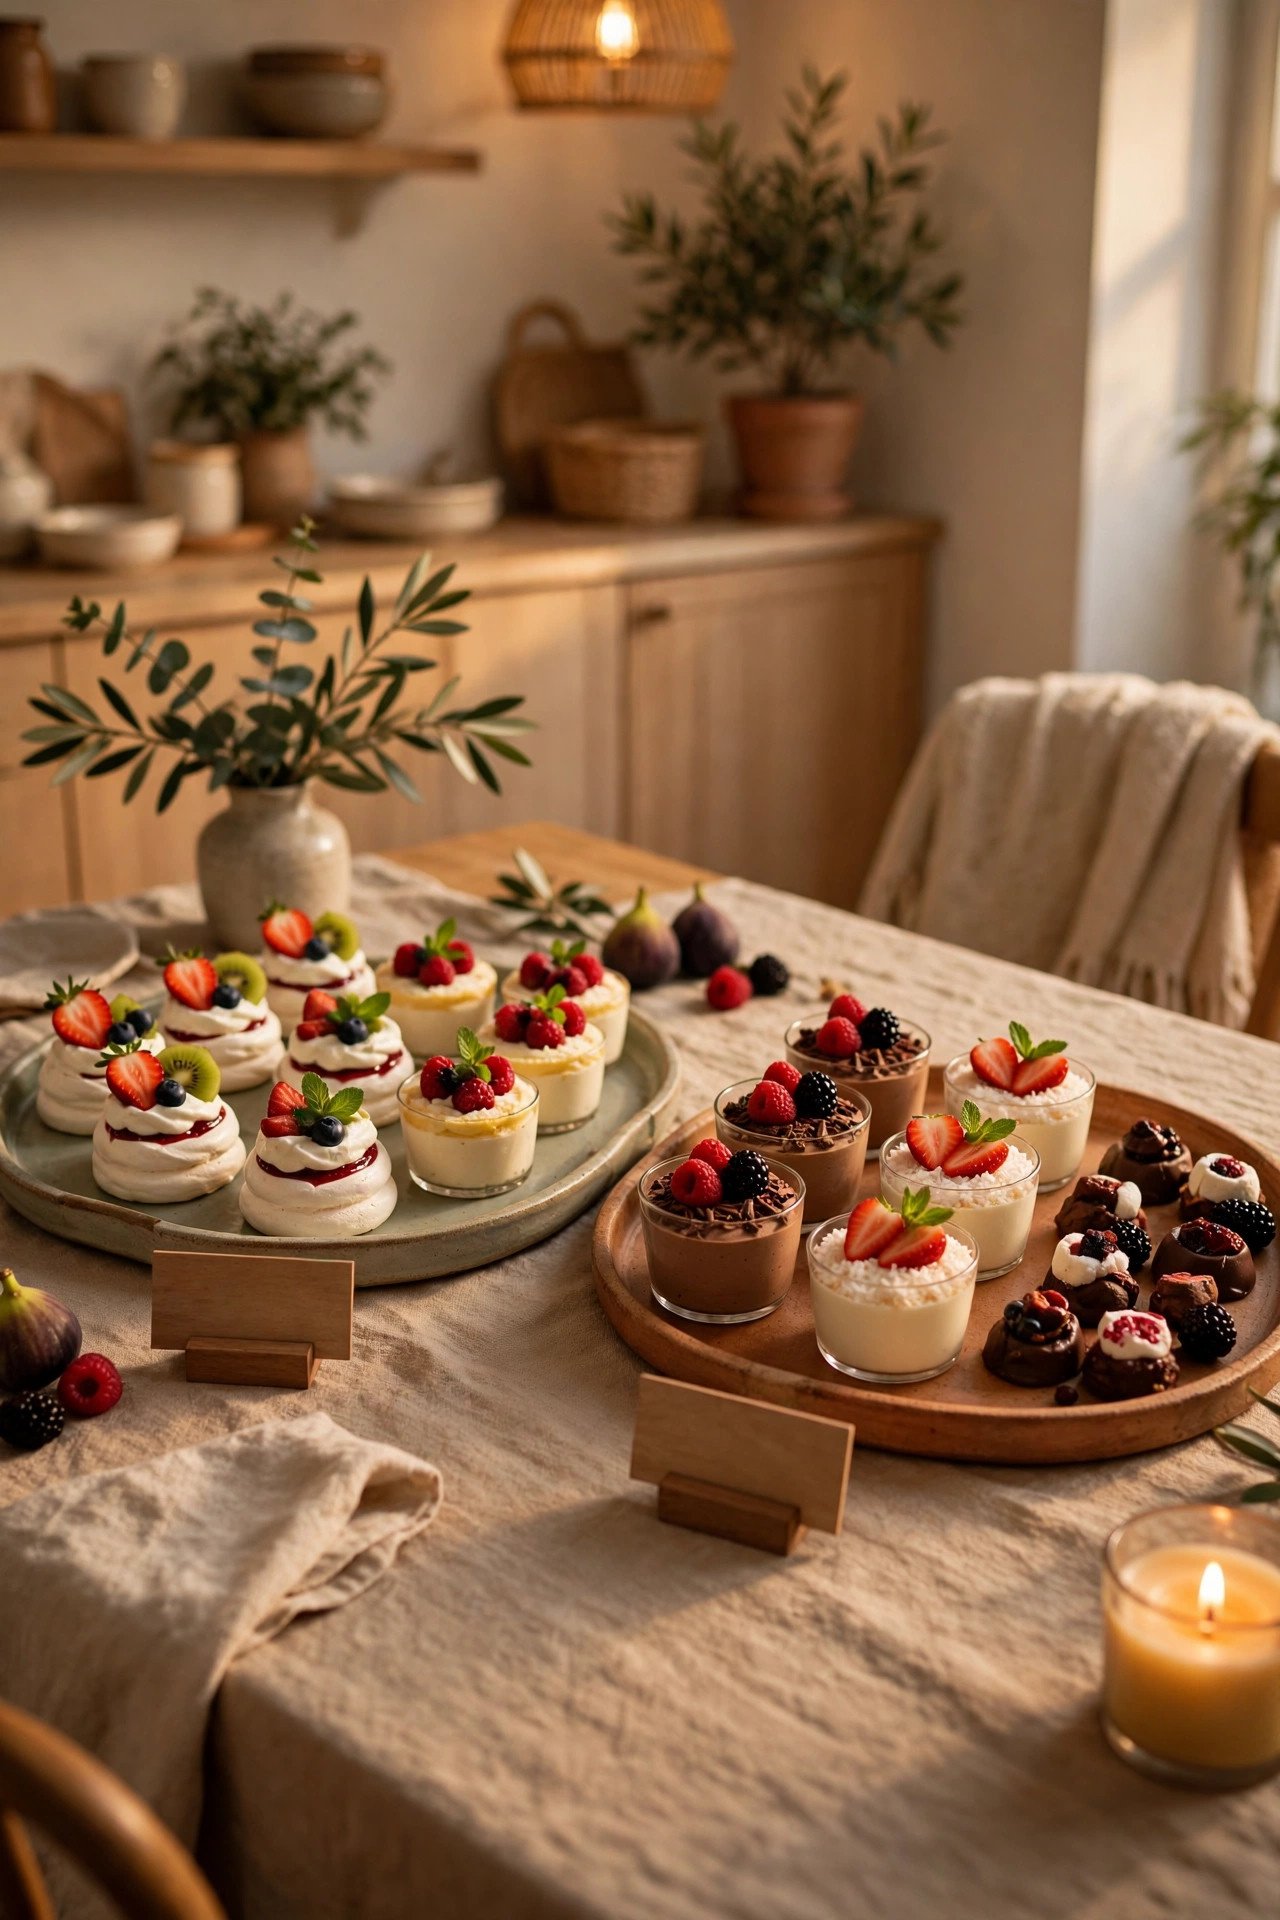
A thoughtful dessert table includes everyone without making anyone feel singled out, so weave gluten-free, dairy-free, and nut-free options into the main display with clear labels rather than banishing them to a separate corner. Keep nut desserts on their own tray with their own server to prevent cross-contact, and place that tray at one end of the table so crumbs do not drift into neighboring dishes. Use color-coded picks or a small symbol on the label, such as a leaf for vegan or a wheat-free mark, and explain the code on one larger card at the front of the table. Fruit-based desserts, such as poached pears or a cranberry crisp made with oat topping, often satisfy several dietary needs at once and look beautiful doing it. Avoid rearranging dishes after guests have started serving, because a moved label can quietly turn a safe choice into a risky one.
11. Mix Metals, Wood, and Glass for a Collected Look

A collected table looks curated rather than matched, so mix one warm metal, one wood tone, and clear glass across your stands and platters instead of buying a full matching set. Brass or gold-toned stands warm up white plates beautifully, walnut boards ground lighter dishes, and glass domes add sparkle while protecting cakes from drafts and curious hands. Limit the mix to three materials so the table still feels intentional, and repeat each material at least twice so no single piece looks accidental. Thrift stores and kitchen cabinets usually supply everything needed, which keeps this idea firmly in budget territory. Avoid mixing more than two metallic finishes, because chrome, brass, and copper together read as clutter rather than charm, and keep glass domes away from the table edge where they are easily knocked.
12. Style a Small-Space Dessert Table on a Bar Cart

A bar cart becomes a surprisingly capable dessert station when floor space is tight, holding a cake on top, minis on the middle shelf, and plates and napkins below. Measure your cart before planning the menu, since most carts offer only 18 by 30 inches per shelf, which suits four to six desserts rather than a full bakery spread. Lock the wheels, drape a small cloth over the top shelf to soften the metal frame, and keep the tallest item on the top so guests do not have to bend to see it. Place the cart against a wall with a 36-inch serving lane in front, and station a small trash bowl on the lower shelf for wrappers and used picks. This layout works beautifully in apartments and pairs well with a cozy Friendsgiving dessert spread when the gathering is casual and guests serve themselves throughout the evening.
13. Use Seasonal Fruit, Foliage, and Candles as Edible-Safe Decor

Garnish the spaces between dishes, never the food itself, with seasonal fruit, foliage, and candles that make the table smell and look like Thanksgiving. Whole pomegranates, small pumpkins, clusters of grapes, and dried orange slices fill gaps elegantly and can be eaten or composted afterward, while eucalyptus or olive branches laid flat along the runner add color without shedding into frosting. Keep candles in sturdy holders at least 6 inches from any dish, napkin, or paper label, and choose unscented or lightly spiced candles so fragrance never competes with the smell of pie. Battery candles tucked inside lanterns give the same glow near children and pets without any fire risk. Avoid fresh pine branches that drop needles, loose glitter, and potpourri near food, because all three migrate onto plates faster than anyone expects.
14. Follow the Two-Hour Rule for Perishable Desserts
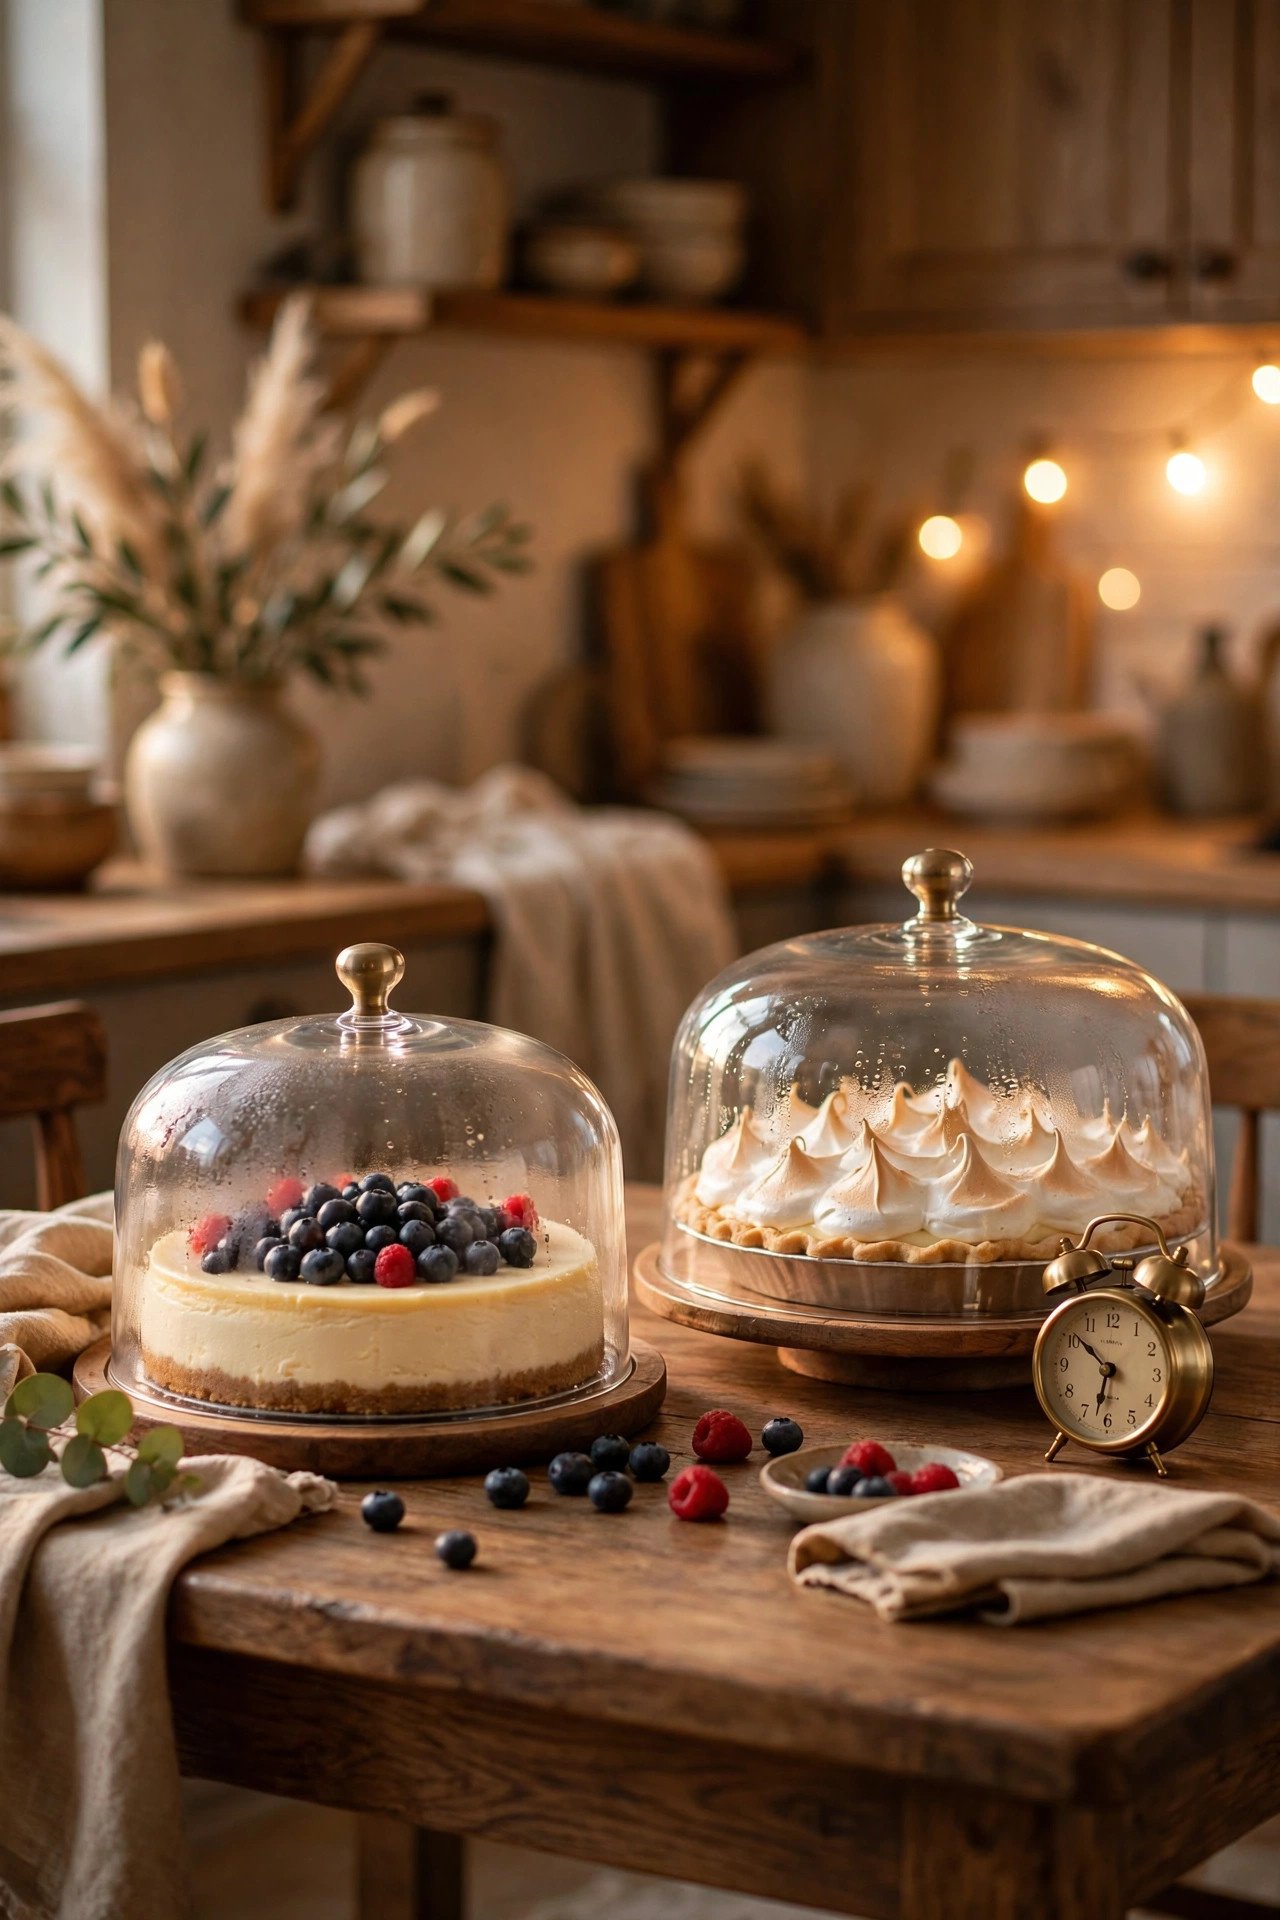
Food safety is the unglamorous secret of a great dessert table, and the two-hour rule is its most important line: perishable desserts such as cream pies, custards, cheesecakes, and whipped-cream cakes should not sit at room temperature for more than two hours, and only one hour if the room is above 90 degrees. Display these items in smaller batches, keeping backups chilled and swapping a fresh plate in halfway through the evening so the table always looks full and the food stays safe. Fruit pies, cookies, and bars made without cream or custard are far more forgiving and can anchor the display from start to finish. Set a quiet phone timer when you put cream desserts out, and do not taste-test your way around the rule by returning a half-eaten slice to the table. When the timer ends, cover and refrigerate leftovers promptly rather than letting them linger for late-night grazing.
15. Keep Hot and Cold Desserts Separated on the Table
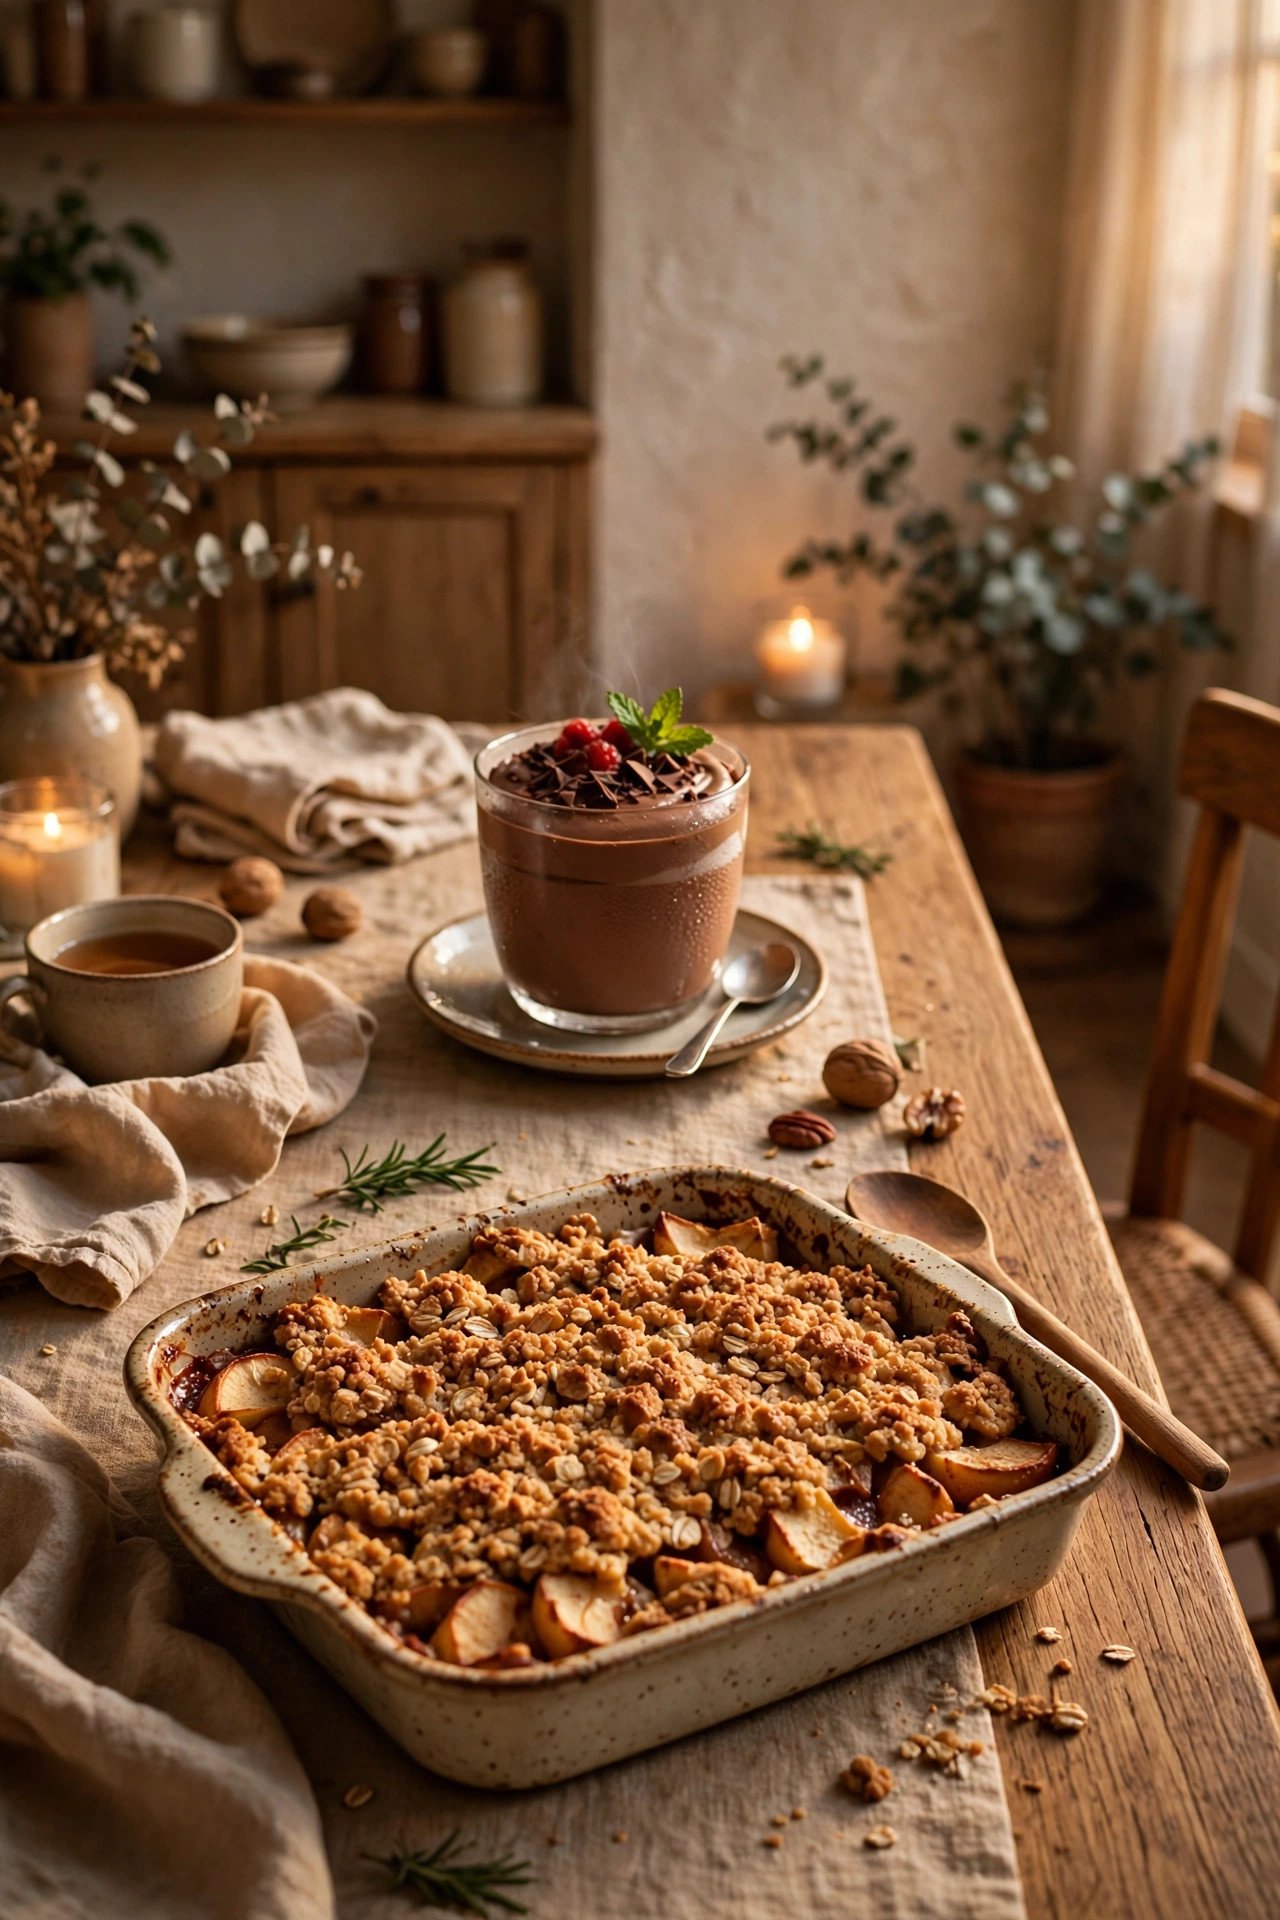
Temperature zones protect both flavor and safety, so place warm desserts such as bread pudding, apple crisp, and cobbler at one end of the table and chilled desserts such as cheesecake and mousse at the other. A gap of at least 12 inches between zones, plus a room-temperature buffer of cookies or bars in the middle, stops steam from softening cold frostings and keeps chilled plates from sweating onto warm dishes. Serve warm desserts from a slow cooker or a covered baking dish set on a trivet, and replenish small portions often instead of leaving a large pan to cool slowly in the open. Cold desserts stay firmer and safer if they sit on a chilled marble board or a tray kept over a shallow pan of ice, hidden under a cloth. Avoid placing any dessert above a heating vent or beside a sunny window, since both create hot spots that age food unevenly across the table.
16. Time Your Display: Cover, Uncover, and Refresh in Stages
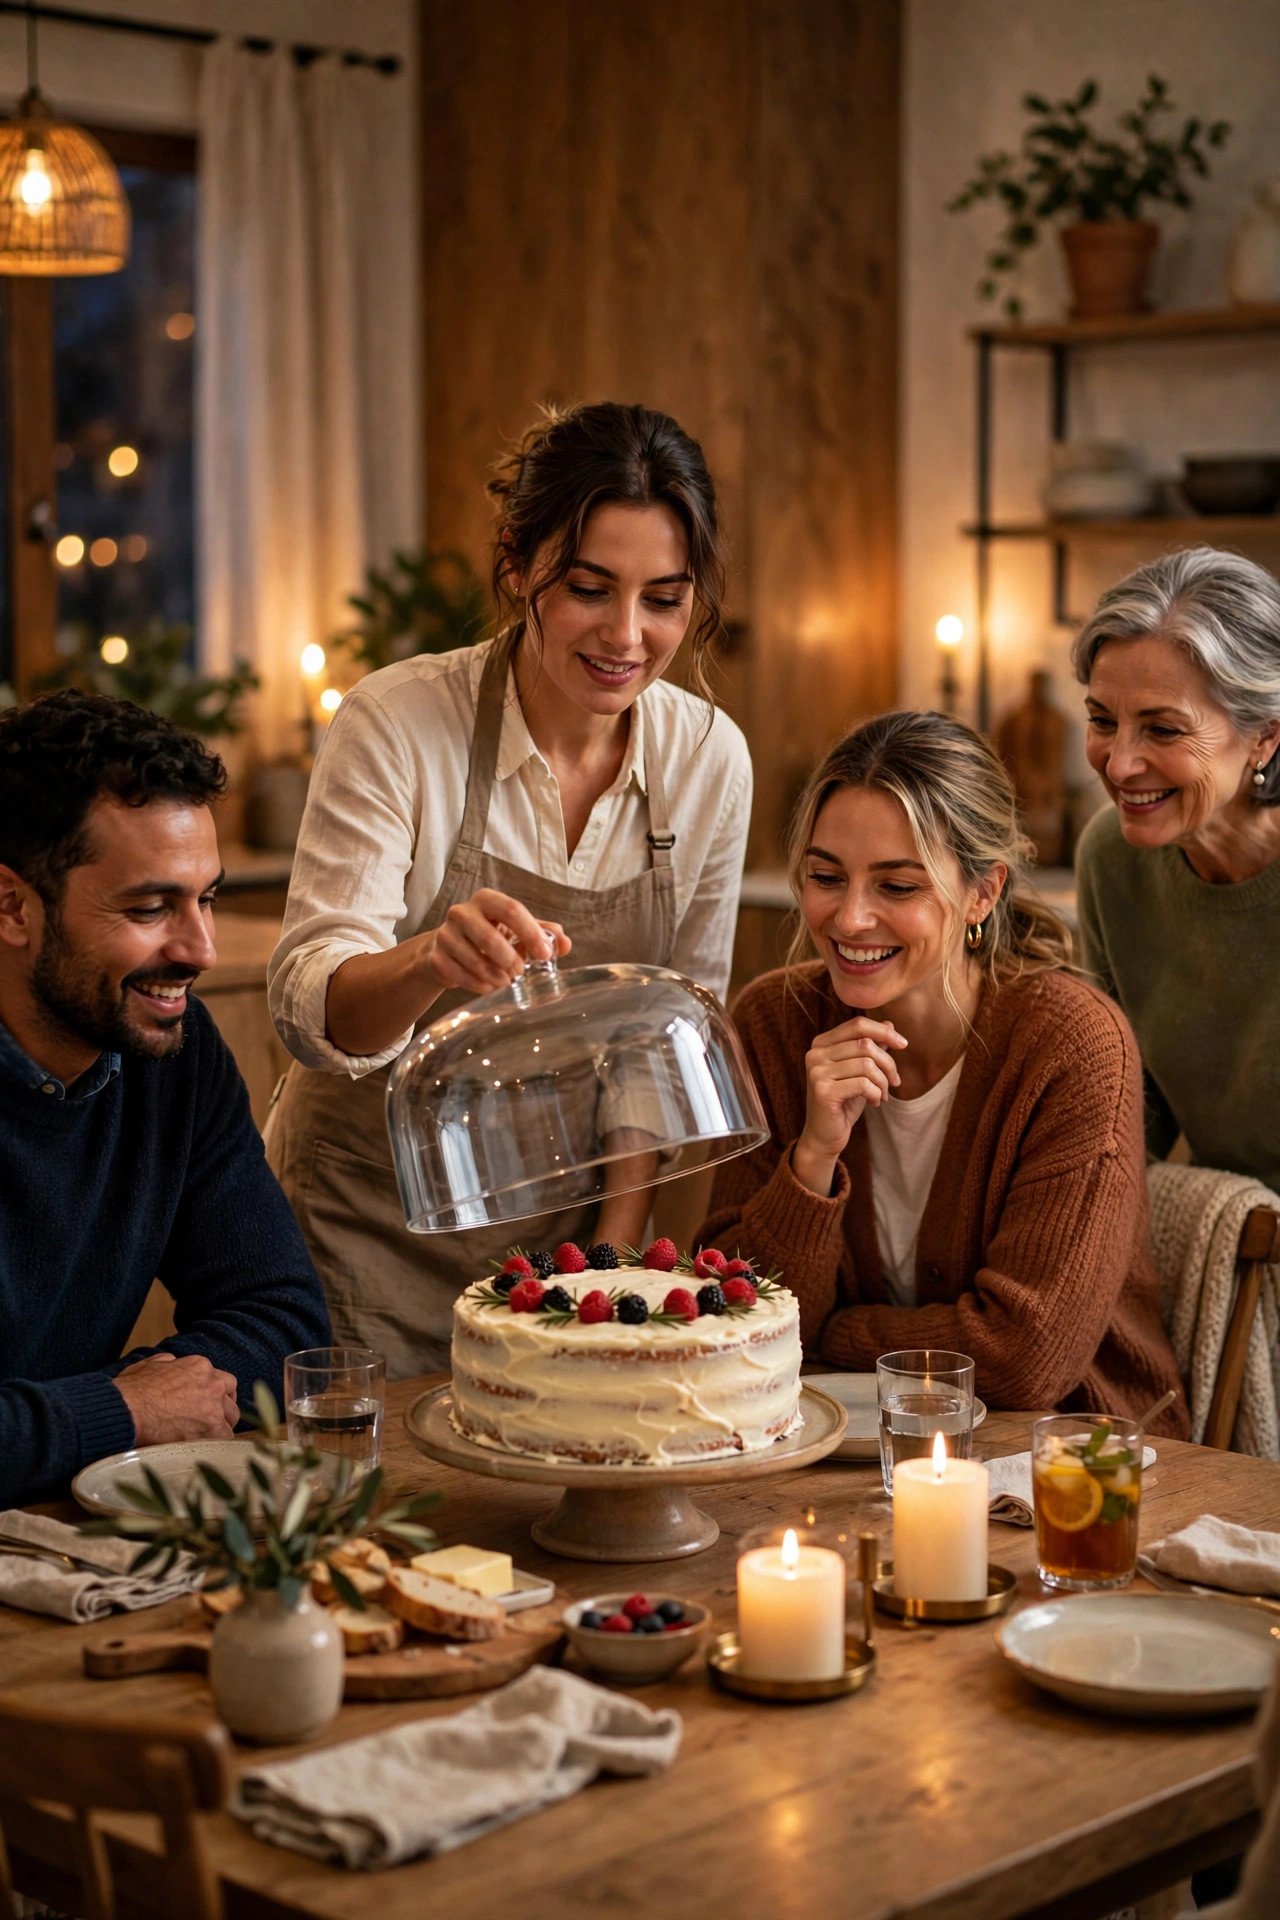
A dessert table should be staged like a performance, not unveiled all at once and left to fade. Cover frosted cakes and cream desserts with glass domes or clean tea towels until guests finish the main course, then uncover them for a proper reveal that feels like a second celebration. Plan three moments: a quiet setup an hour before dinner with shelf-stable items out, the reveal after plates are cleared, and a refresh halfway through dessert service when you swap in chilled backups and tidy crumbs. Keep a small kit nearby with extra labels, a damp cloth, a spare server, and a roll of plastic wrap for covering leftovers quickly. Avoid uncovering everything at the start of the evening, because frosting dries, cookies stale, and cream desserts edge toward the two-hour limit long before anyone is ready for pie.
17. Design a One-Way Serving Flow Guests Can Follow Without Thinking

Serving flow is invisible when it works and chaotic when it does not, so arrange the table so guests naturally move in one direction: plates first, then desserts in order from lightest to richest, then forks, napkins, and drinks last. Place the plate stack at the starting end with a 12-inch clear zone so the first guest does not block the doorway, and keep serving tools with their dishes rather than in a communal pile that gets mixed up. If the table sits against a wall, guests can only serve from the front, so put the most popular desserts within easy reach and the tallest displays toward the back. For a round table, arrange desserts in a circle and let guests move clockwise, which feels natural and avoids collisions. Avoid placing the trash bowl or drink station in the middle of the flow, because guests juggling plates will set things down in the worst possible spot. For a step-by-step place-setting refresher, see how to set a table for Thanksgiving dinner.
18. Make Ahead With a Display Plan, Not Just a Baking Plan

Make-ahead success depends on knowing which desserts hold, which need last-minute assembly, and which should never be displayed early. Bake fruit pies, cookies, and bars one to two days ahead and store them covered at room temperature, chill cheesecakes and custards overnight and slice just before serving, and whip cream or assemble parfaits no more than two hours before the reveal. Write a simple timeline on the fridge: what comes out of the fridge, what gets garnished, and what gets swapped at the halfway mark, with times attached so nothing relies on memory during a busy evening. Store backup batches in labeled containers in the order you will need them, with serving dishes already washed and stacked nearby. Avoid making every dessert the morning of Thanksgiving, because oven space, counter space, and patience all run out at exactly the wrong moment.
19. Add a Kids' Dessert Corner at Their Height

Children enjoy dessert far more when they can actually reach it, so set a small lower table or a cleared section of the main table at their height with mini cupcakes, cookies, and fruit cups. Use unbreakable platters, small tongs or cupcake liners for grabbing, and a low banner or a few balloons to mark the corner as theirs, which also keeps little hands away from the fragile cake stand. Keep sticky or chocolate-heavy items on a wipeable tray, place napkins and a small trash bowl within arm's reach, and skip glass domes and lit candles at this height entirely. Label the kids' options simply, such as "chocolate chip cookies" rather than fancy names, so children can choose confidently. This corner also protects the main display, because once children have their own inviting station, they stop circling the adult table looking for something to touch.
20. Style the Table for Photos Without Blocking the Food
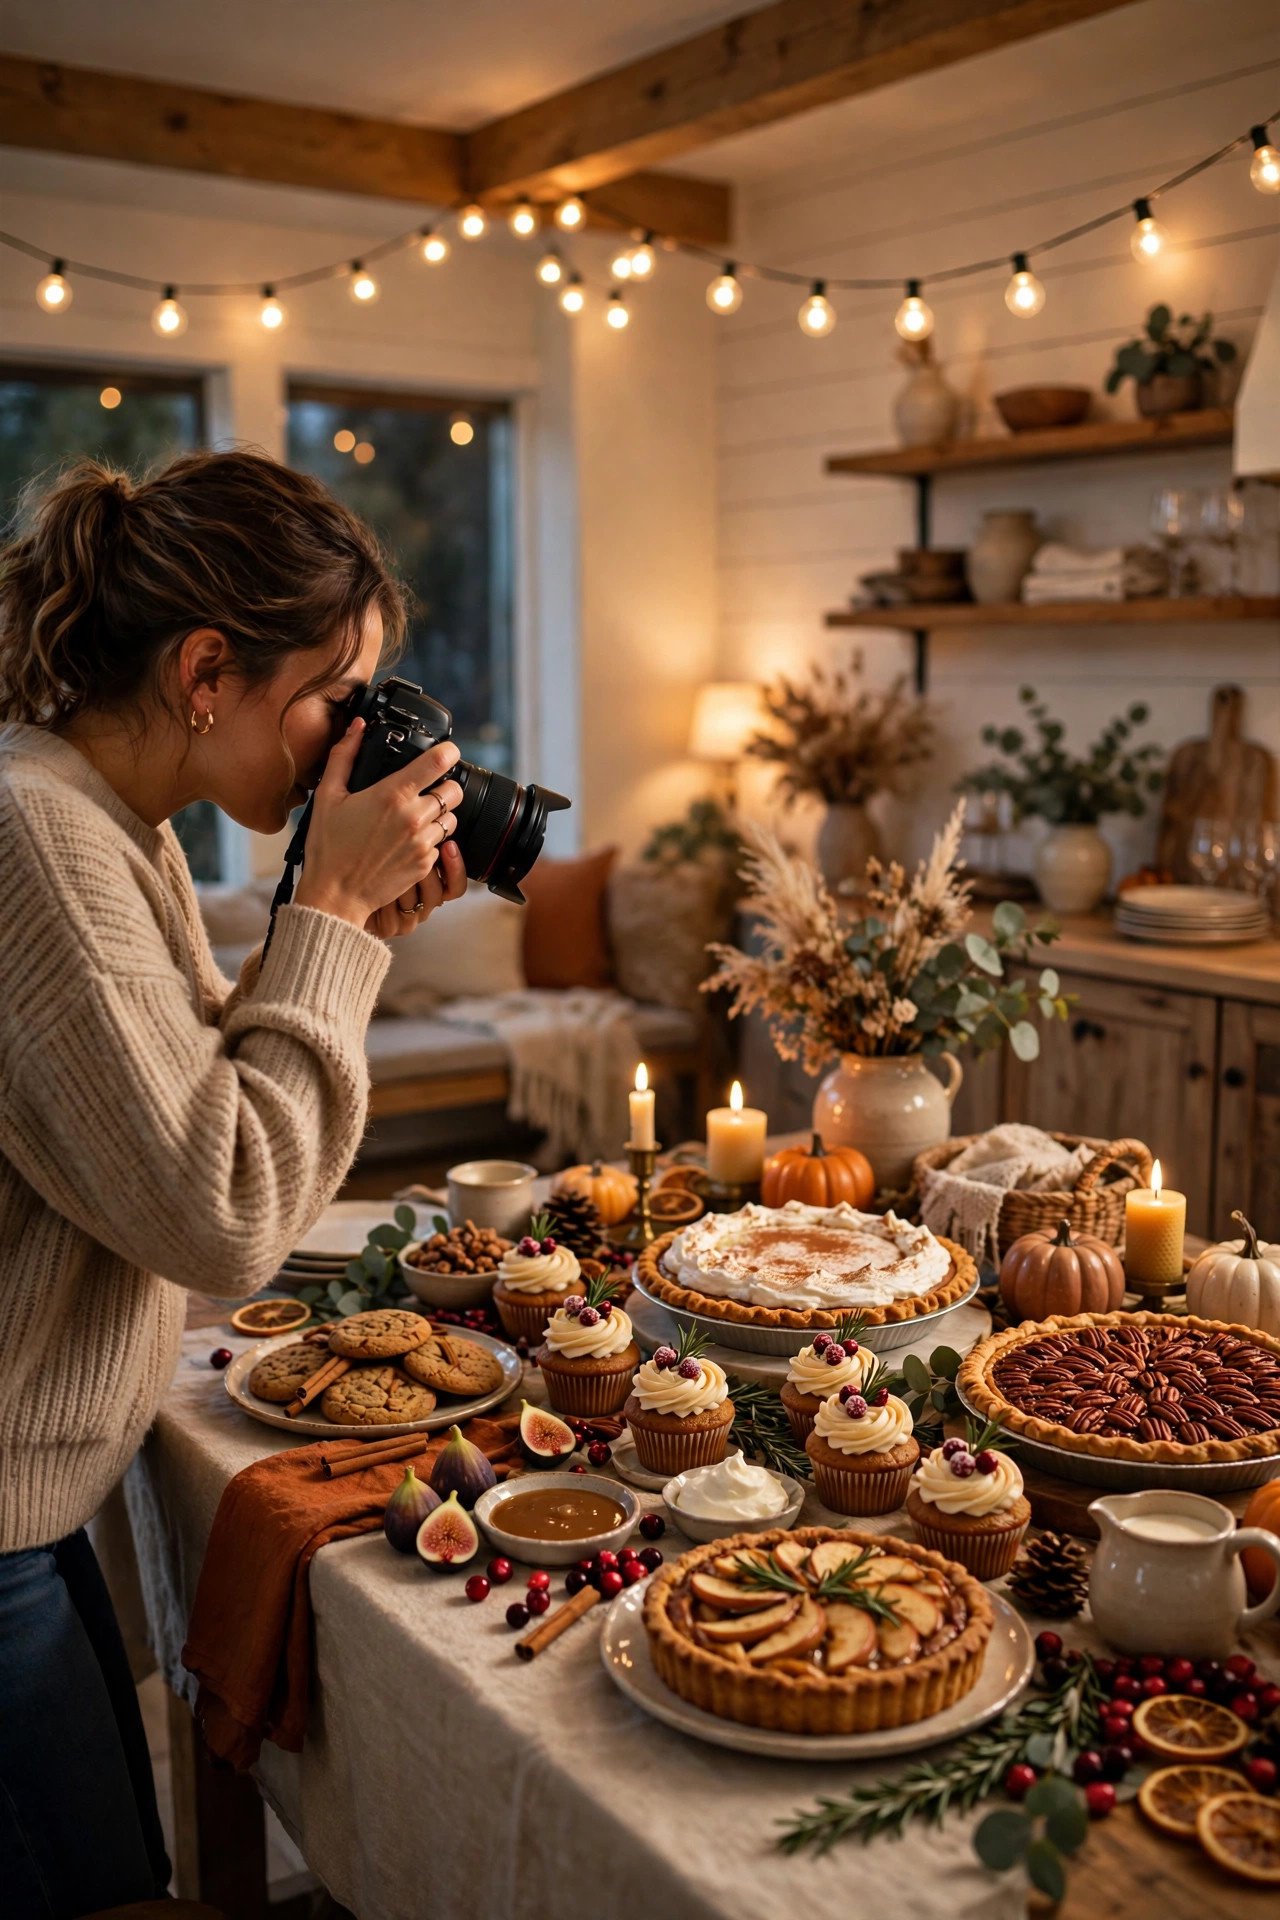
Guests will photograph the dessert table before they eat from it, so style one clear camera angle with the tallest display slightly off-center, the prettiest pie facing forward, and no serving tools crossing the frame. Step back and take a test photo during setup, checking for cluttered backgrounds, harsh overhead light, and labels facing sideways, then adjust in seconds while the table is still empty. Warm string lights or candles behind the table flatter food far better than a bright ceiling light, and a plain wall or curtain behind the display keeps the photo focused. Keep a small step stool nearby if the table is tall, so shorter guests can capture the spread without leaning over dishes. Avoid over-styling for the camera at the expense of serving, because a table that looks perfect but cannot be served from will frustrate guests the moment the photos are done.
21. Use Budget Finds: Thrifted Stands, Jars, and DIY Pedestals

A show-stopping dessert table does not require a shopping spree, because thrifted cake stands, glass jars, and DIY pedestals supply height and charm for a few dollars each. Glue a thrifted plate to a candlestick with food-safe adhesive to make a pedestal, stack a sturdy bowl upside down under a board for a riser, and use mason jars for layered parfaits, candy, or small cookies. Shop your own home first: a punch bowl flipped over becomes a dome, a wooden cutting board becomes a pie stage, and a pretty scarf becomes a runner in a pinch. Spend money only on items you will reuse, such as one good cake stand and a set of small tongs, and borrow the rest from friends. Avoid flimsy dollar-store stands for heavy cakes, because a wobbling pedestal under a three-pound cake is a disaster waiting for a crowded room.
22. Plan the Take-Home Moment With Boxes and Leftover Labels
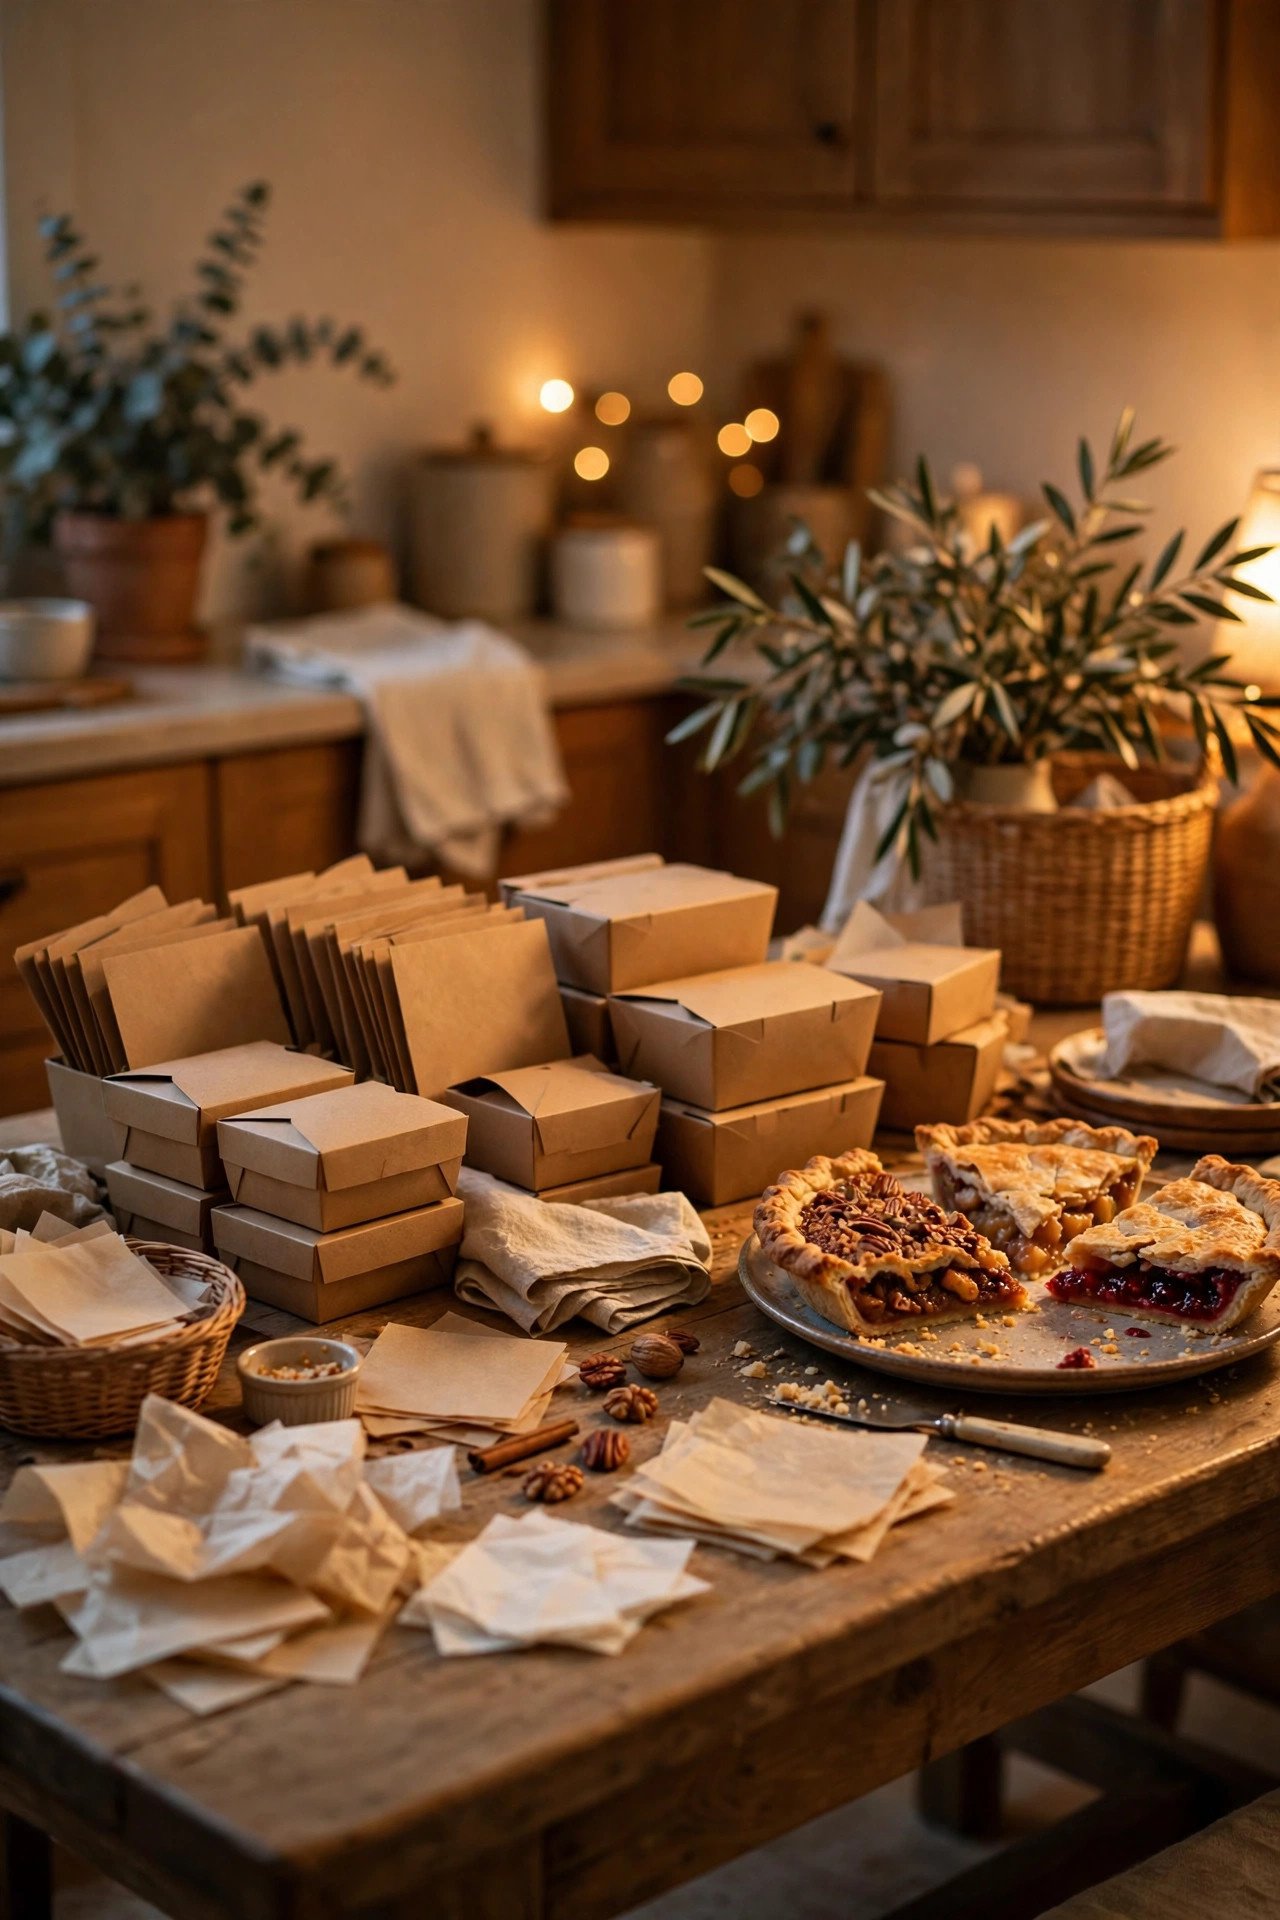
The sweetest ending to a dessert table is a take-home station, so set out small boxes, parchment squares, and a pen near the end of the table for guests to pack a slice for later. Place this station at least 12 inches past the last dessert so packing never blocks serving, and offer one box per guest rather than an open pile that invites overfilling. Label boxes with the dessert name and the date, and remind guests that cream and custard desserts need refrigeration within two hours of leaving the table. Keep a roll of tape and a few extra boxes in reserve, because someone always wants one more slice for a neighbor. This simple station also solves the leftover problem gracefully, turning a crowded table into a tidy ending and sending guests home with a delicious reminder of the evening.
Practical Tips
Set a firm budget before you shop, because dessert tables grow expensive through small extras rather than one big purchase. Decide how many desserts you truly need, roughly one full-size dessert per six to eight guests plus a tray of minis, and let stands, linens, and garnishes come from what you already own.
Treat food safety as part of the decor plan, not a footnote. Keep perishable desserts chilled until the reveal, follow the two-hour rule, use separate servers for each dish, and refrigerate leftovers promptly instead of leaving them out for late-night snacking.
Store and transport desserts in the dishes you will serve from whenever possible, because every transfer risks a cracked crust or smeared frosting. Cover cakes with domes or inverted bowls, keep pies flat in their tins until serving, and carry minis in single layers separated by parchment.
Time your setup backward from dessert service, not from the start of the party. Put shelf-stable items out an hour early, keep cream desserts chilled until plates are cleared, and schedule one mid-service refresh to swap backups, wipe crumbs, and replace wilted garnish.
Final Thoughts
A memorable Thanksgiving dessert table is not about having the most desserts, but about displaying the ones you made with care, height, and thoughtfulness. Plan the layout, label with love, watch the clock on perishable treats, and let guests linger, taste, and take a little sweetness home.
You May Also Like: 22 Thanksgiving Table Decor Ideas for a Warm Gathering 22 Thanksgiving Dining Room Decor Ideas for a Warm, Welcoming Feast 22 Thanksgiving Kitchen Decor Ideas for a Warm, Welcoming Holiday 22 Thanksgiving Living Room Decor Ideas for Cozy Gatherings 22 Friendsgiving Decor Ideas for a Cozy, Laid-Back Feast 22 Thanksgiving Bar Cart Ideas for a Festive Drinks Station
Frequently Asked Questions
How long can Thanksgiving desserts safely sit out on a dessert table?
Perishable desserts such as cream pies, cheesecakes, and whipped-cream cakes should stay out for no more than two hours, or one hour in a warm room. Fruit pies, cookies, and bars without cream last longer, so display those first and bring chilled desserts out at the reveal.
How do I style a Thanksgiving dessert table in a small space?
Use vertical height instead of table length: a tiered stand, a bar cart, or a sideboard holds several desserts in one footprint. Limit the menu to four or five items, keep a clear serving lane in front, and refill from kitchen backups so the small display always looks full.
What desserts can I display ahead of time without ruining them?
Fruit pies, cookies, bars, and unfrosted cakes hold beautifully for a day or two when covered. Keep cream pies, custards, and whipped toppings chilled until dessert time, and assemble parfaits or garnish cakes no more than two hours before guests serve themselves.
How should I label desserts for guests with allergies or dietary needs?
Label each dessert with its name and major allergens such as nuts, dairy, gluten, or eggs, using a tent card behind the dish. Give nut desserts their own tray and server, use a simple symbol code for vegan or gluten-free options, and never guess ingredients for an allergic guest.
How do I keep desserts fresh and attractive all evening?
Cover frosted and cream desserts until the reveal, then refresh the table halfway through service with chilled backups and fresh garnish. Keep hot and cold desserts in separate zones, use domes for cakes, and wipe crumbs and replace wilted decorations promptly.
What is the best serving flow for a Thanksgiving dessert table?
Arrange a one-way flow: plates first, desserts from lightest to richest, then forks, napkins, and drinks last. Keep serving tools with their dishes, leave a clear lane in front of the table, and place the take-home station past the final dessert so packing never blocks serving.