22 Halloween Movie Night Decor Ideas for a Spooky Home Cinema
A Halloween movie night is the easiest kind of party to get right, because the film does half the atmosphere work for you. You do not need a haunted house or a huge budget — you need dim light, a comfortable place to sit, something spooky to snack on, and a few details that make the room feel like a cinema rather than just a living room with the television on. When those pieces come together, even a familiar film feels new again.
Looking for more inspiration? Our Nest Decorz homepage gathers the latest home decor ideas, seasonal decorating guides and room-by-room styling tips in one place — start there and explore.
In this guide you will find 22 practical ideas that cover the whole night, from the screen and the seating to the snacks, the lighting and the photo-worthy entrance. Every idea includes real materials, realistic costs and simple variations, so you can build a full haunted cinema in an evening or pick just three or four touches for a quiet night in with family.
1. Haunted Living Room Cinema Transformation
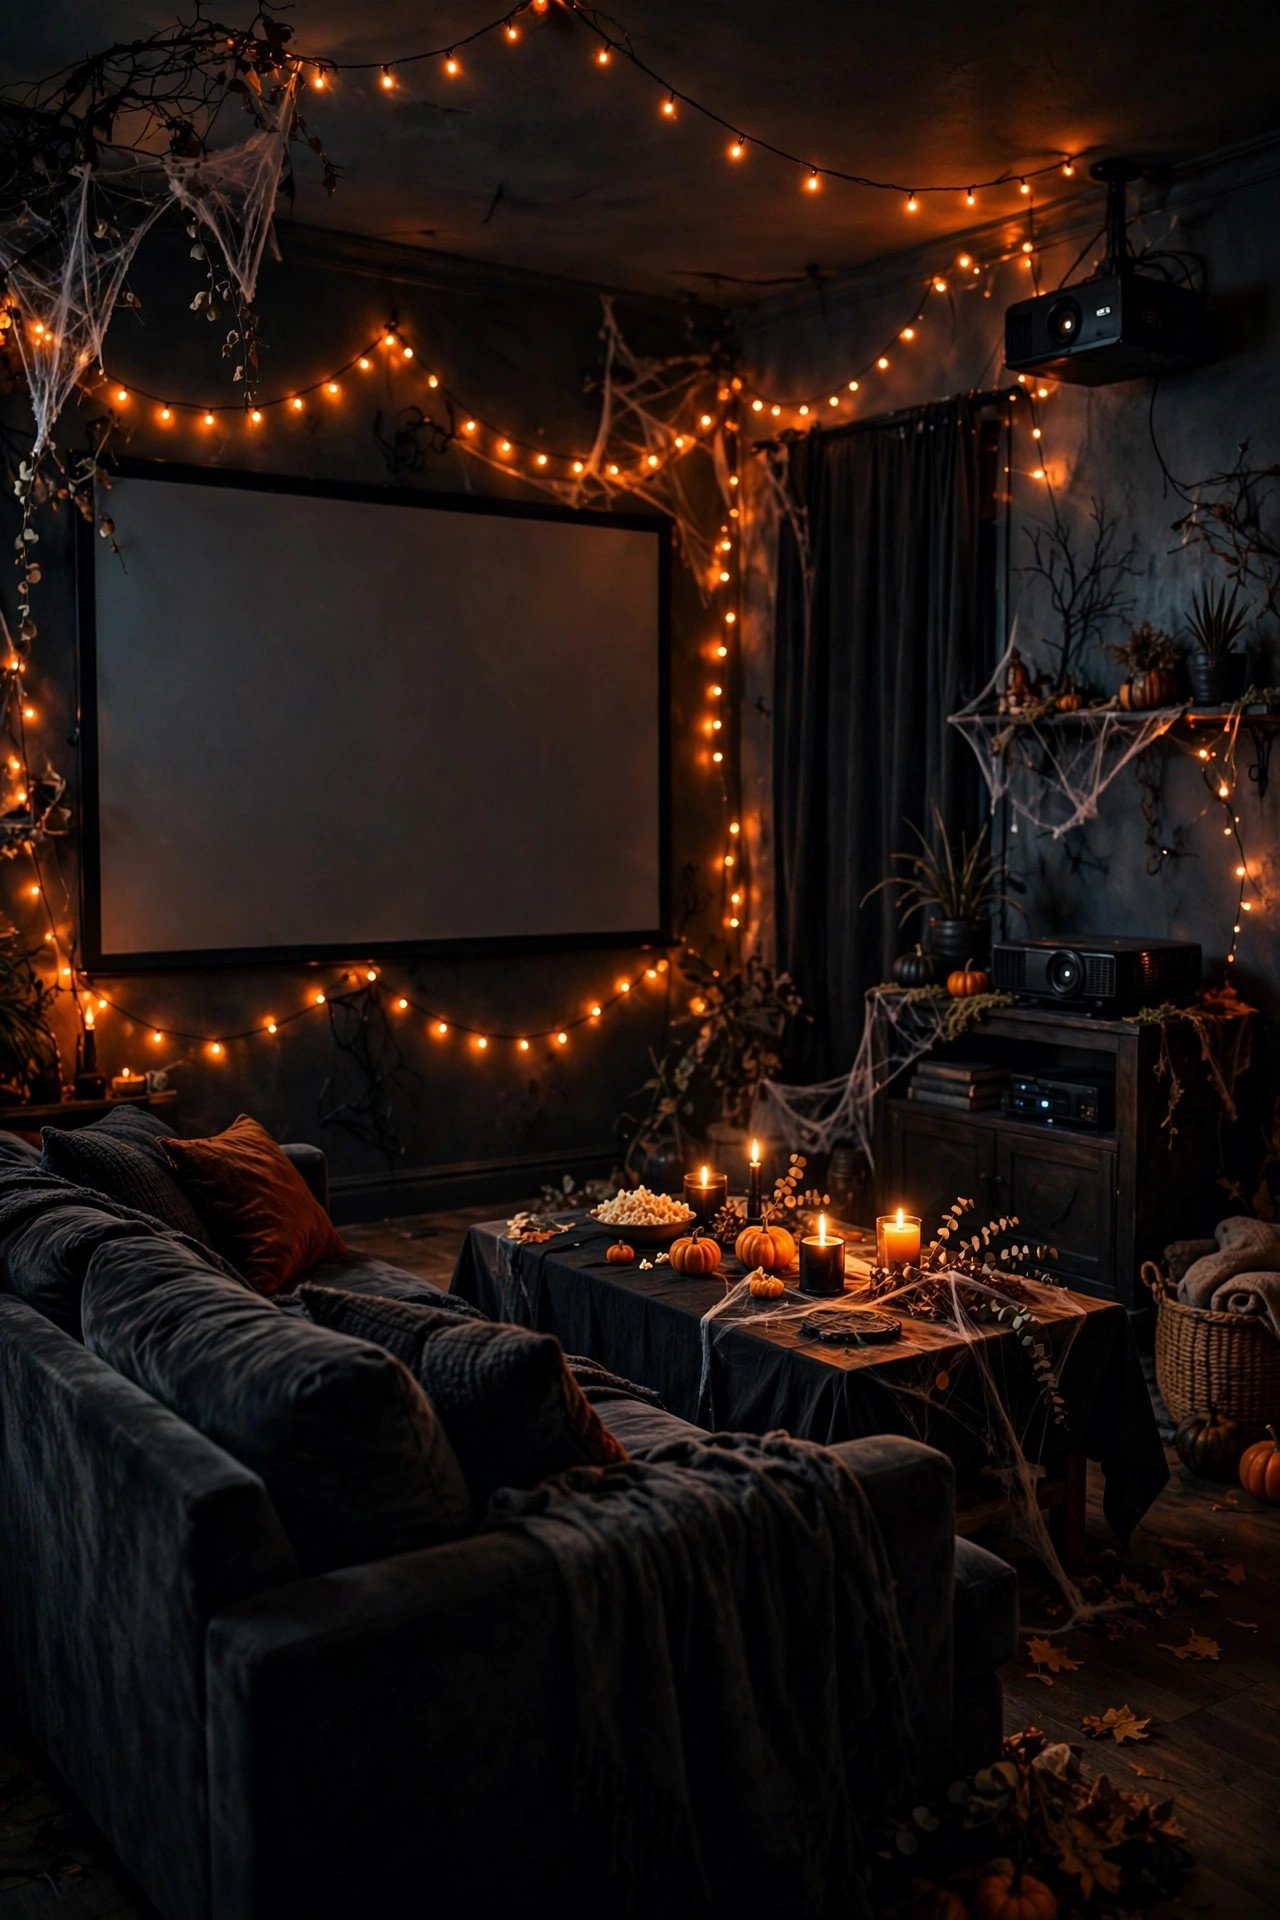
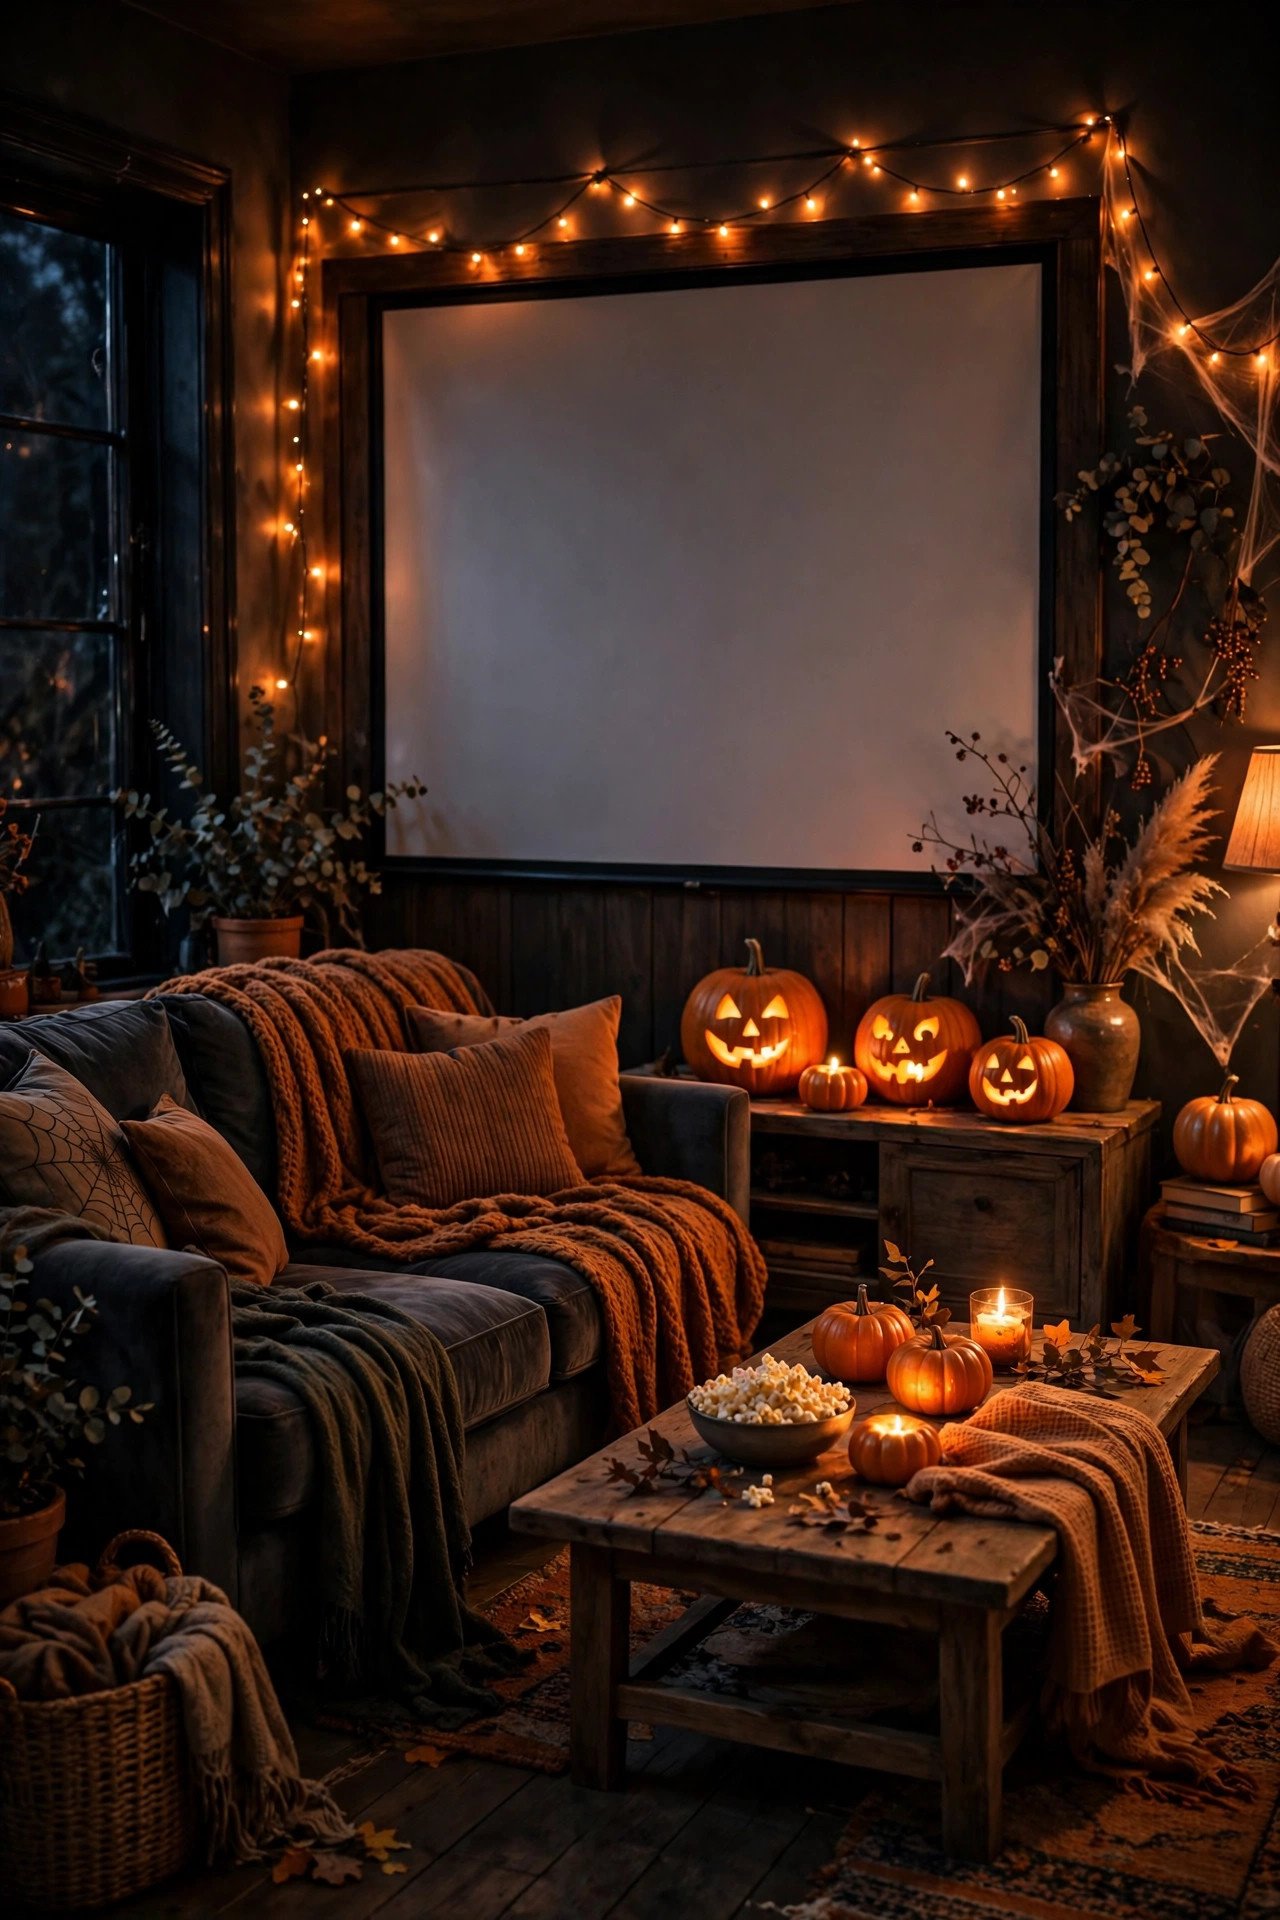
Push your sofa back about eight to ten feet from the television or projector wall to create a proper viewing distance, then darken the room with blackout curtains or dark bedsheets clipped over curtain rods. Hang two strings of orange fairy lights along the ceiling edge and place three battery-operated pillar candles on the mantel or side table for a warm, flickering glow. Add a black tablecloth over the coffee table, a faux spider web in one corner, and a "Now Showing" sign printed at home in a cheap black frame. The whole transformation costs roughly $35 to $60 if you already own curtains and a printer. Avoid real candles near curtains or fabric, keep walkways clear for bathroom trips in the dark, and test your screen brightness before guests arrive so faces are lit by the film, not by an overhead light you forgot to switch off.
2. Backyard Graveyard Drive-In Screen
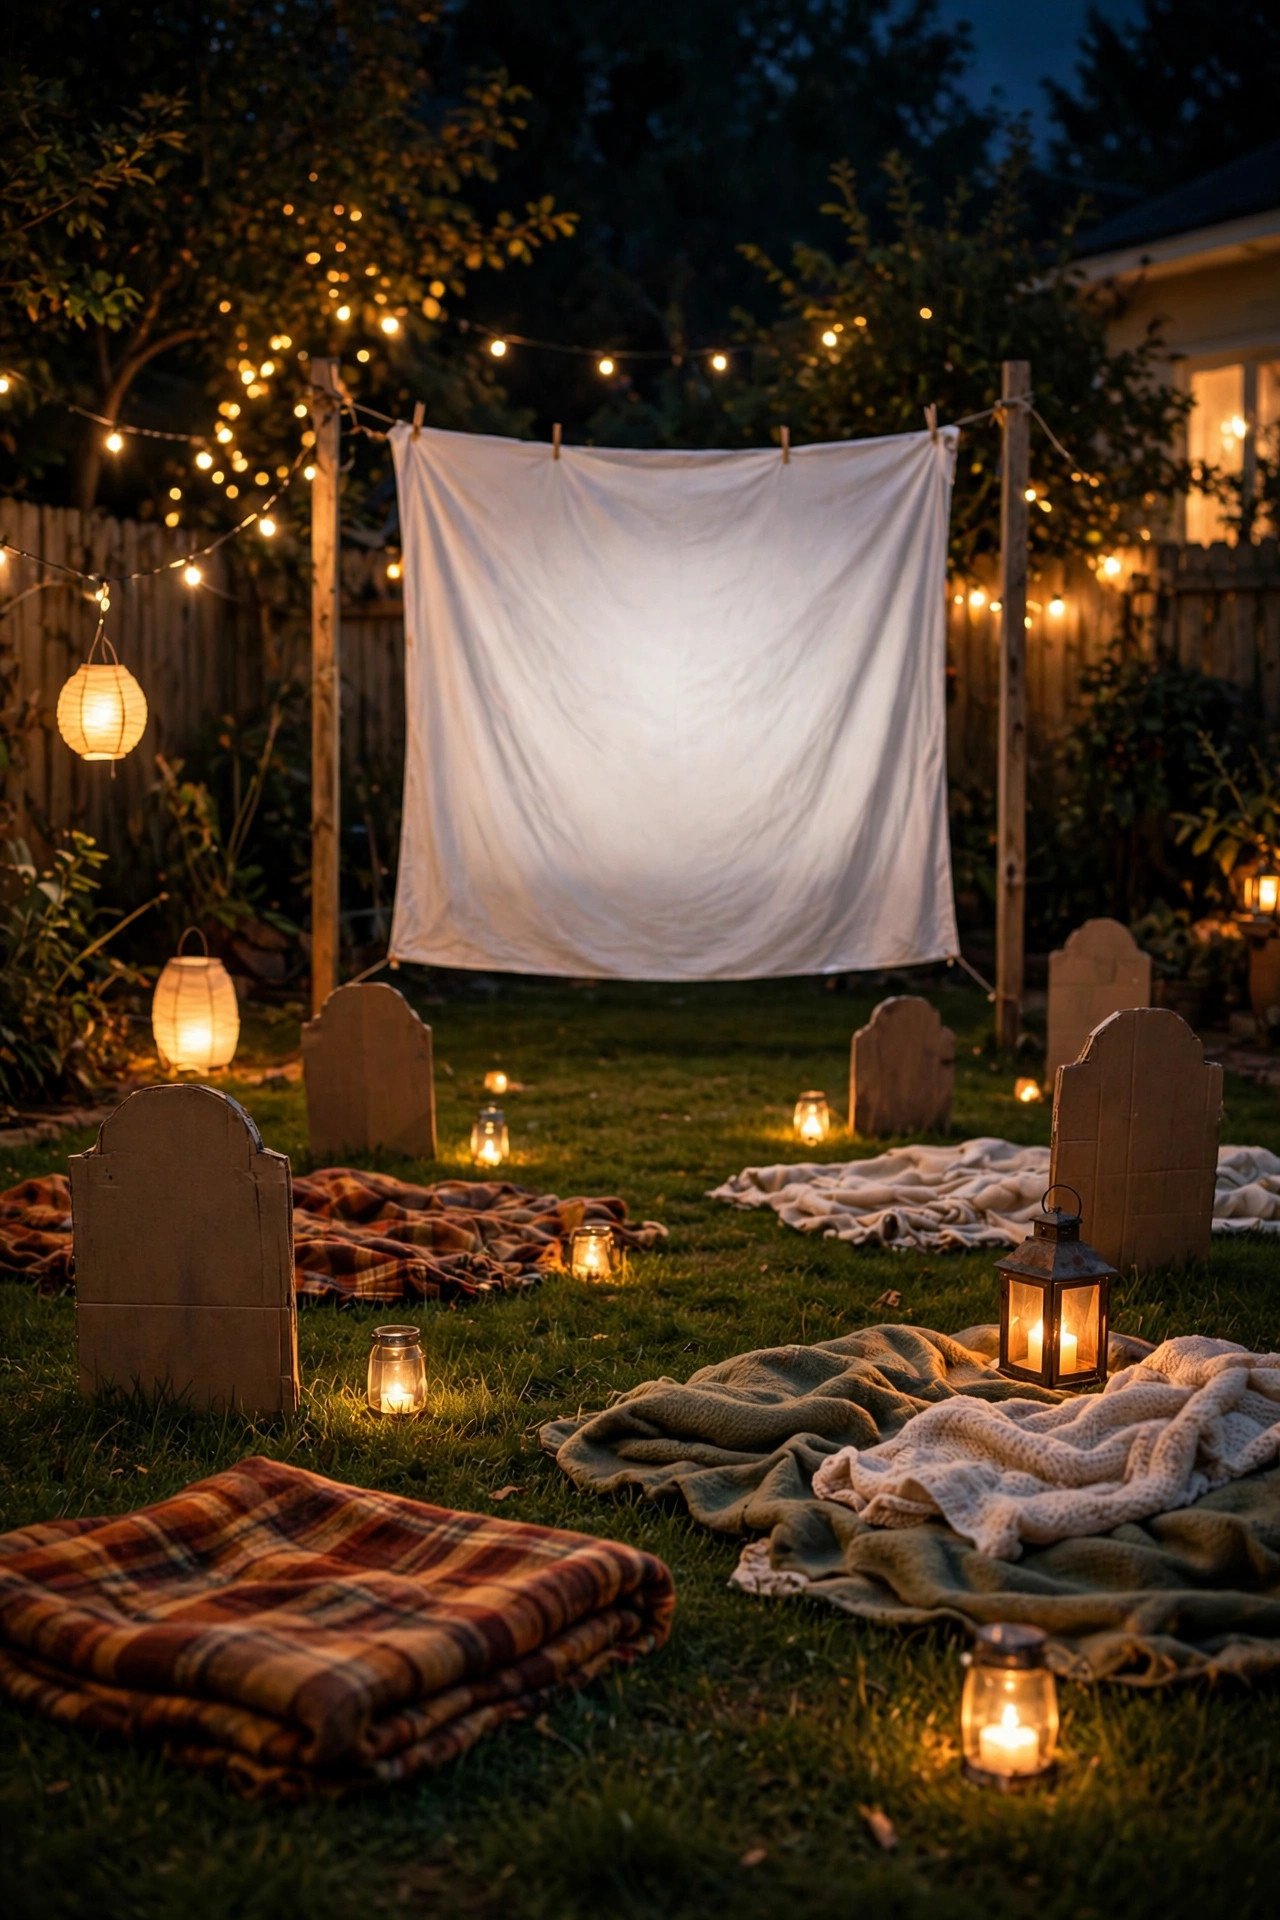
Turn the garden into an open-air cinema by hanging a white king-size bedsheet, about 108 by 90 inches, between two poles, a washing line or a simple PVC frame, and projecting from a small portable projector placed on a sturdy table twelve to fifteen feet back. Line the viewing area with cardboard tombstones, foam or painted, stuck into the lawn with wooden stakes, and place two solar or battery lanterns at the ends of the sheet so the edges glow. Lay outdoor rugs or old blankets on the grass, and keep a basket of extra throws nearby because temperatures drop fast after sunset. A basic projector costs $60 to $100, while the sheet, tombstones and lanterns add about $30. Avoid projecting in wind without securing the sheet, check the weather forecast, and bring all electronics inside if rain threatens.
3. Cozy Floor Nest with Blankets and Pillows
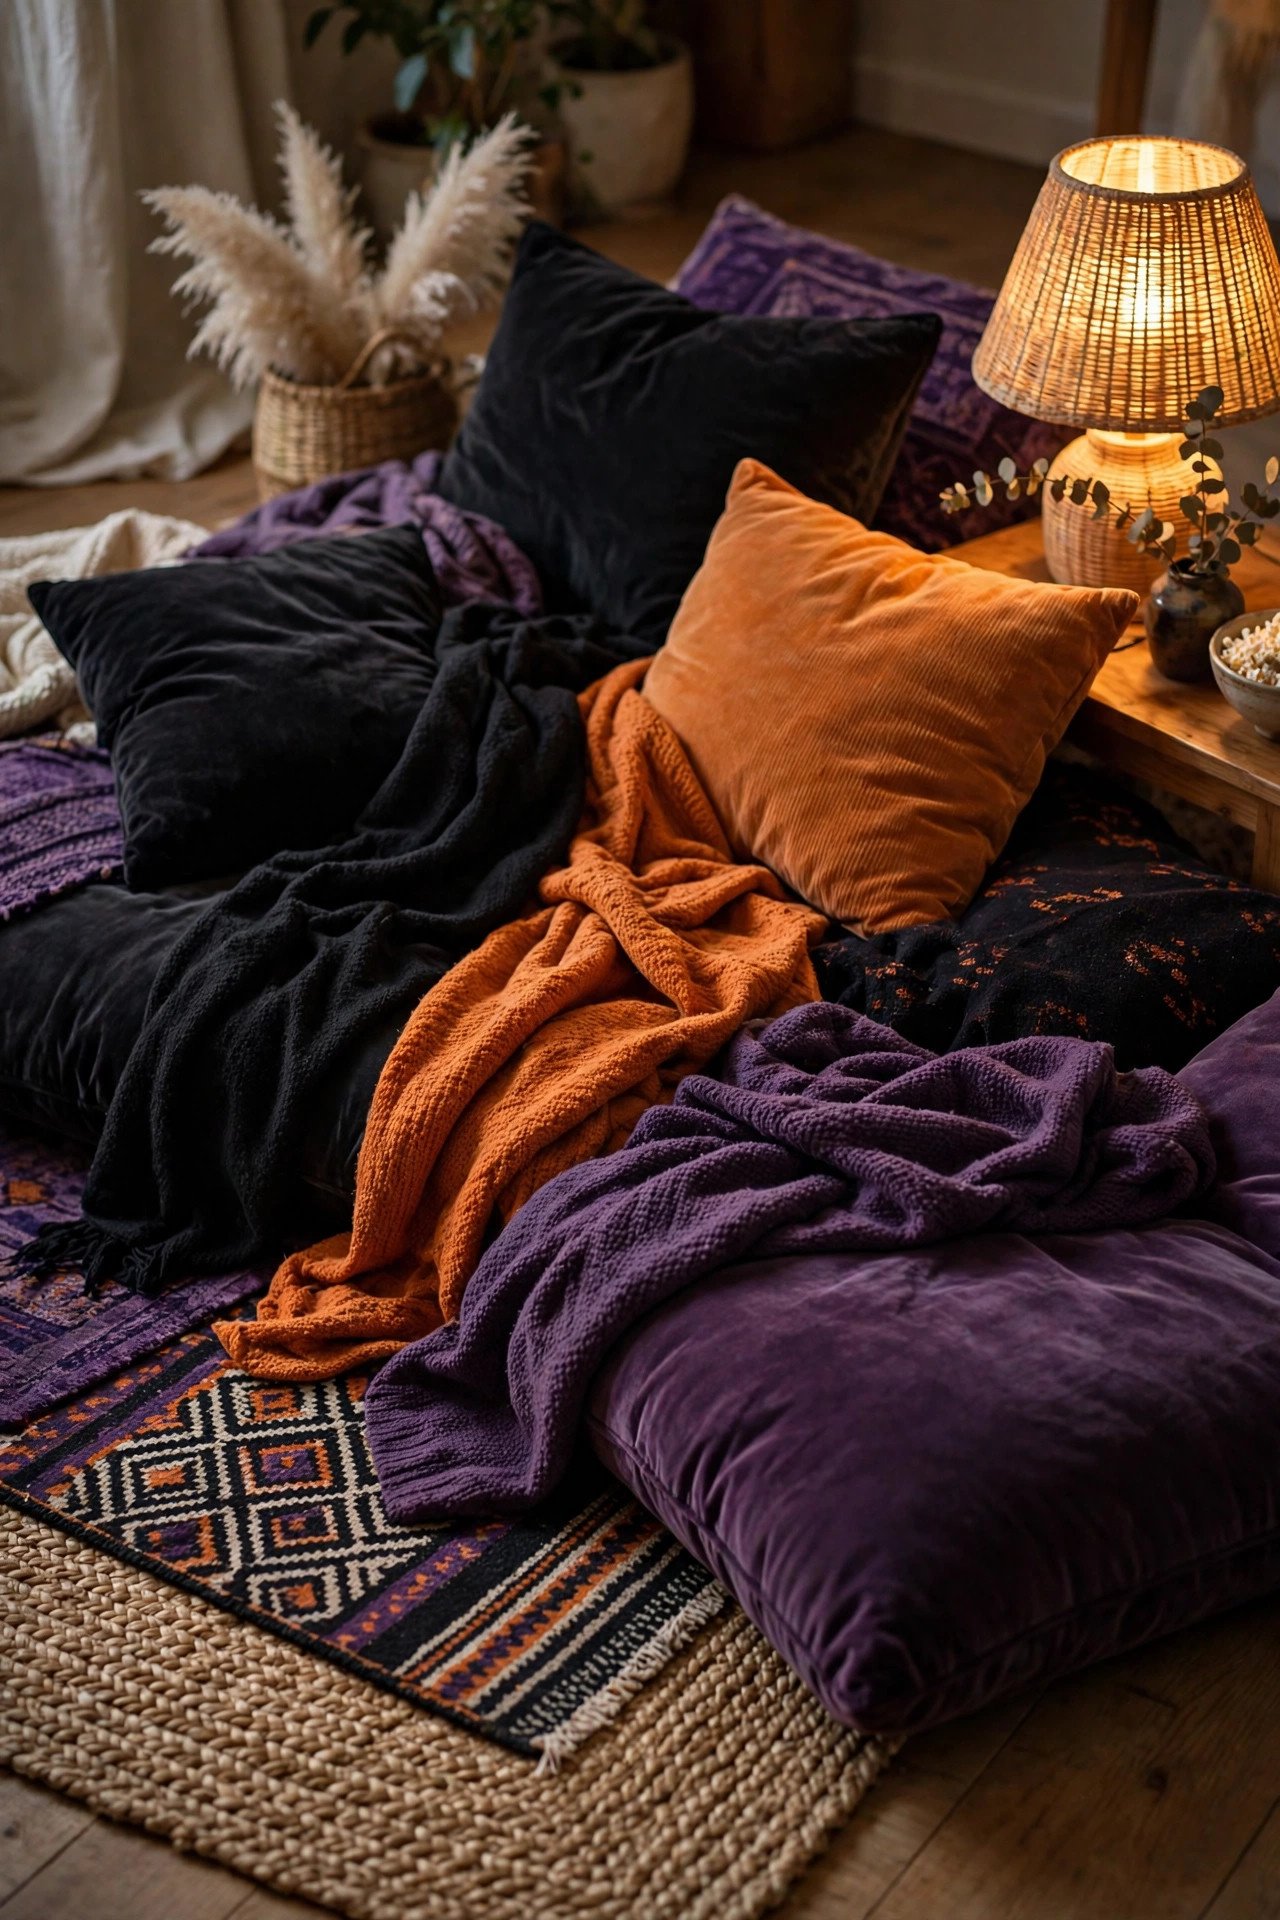
Build a low floor nest in front of the screen using a thick rug or two folded duvets as the base, then layer five to seven large cushions along the back and sides so everyone can lean comfortably for a two-hour film. Add three soft throws in black, orange and deep purple, and a small bolster or rolled blanket for neck support. This works beautifully for families because children can sprawl, adults can stretch out, and nobody is fighting over armrests. Budget about $40 if you buy two new throws and a set of cushion covers, or $0 if you raid the linen cupboard. Avoid thin blankets on hard floors, which get uncomfortable after thirty minutes, and keep one throw per person so nobody ends up cold halfway through the scariest scene. A floor nest also makes the room feel intentionally designed rather than simply messy.
4. Pumpkin String Light Canopy
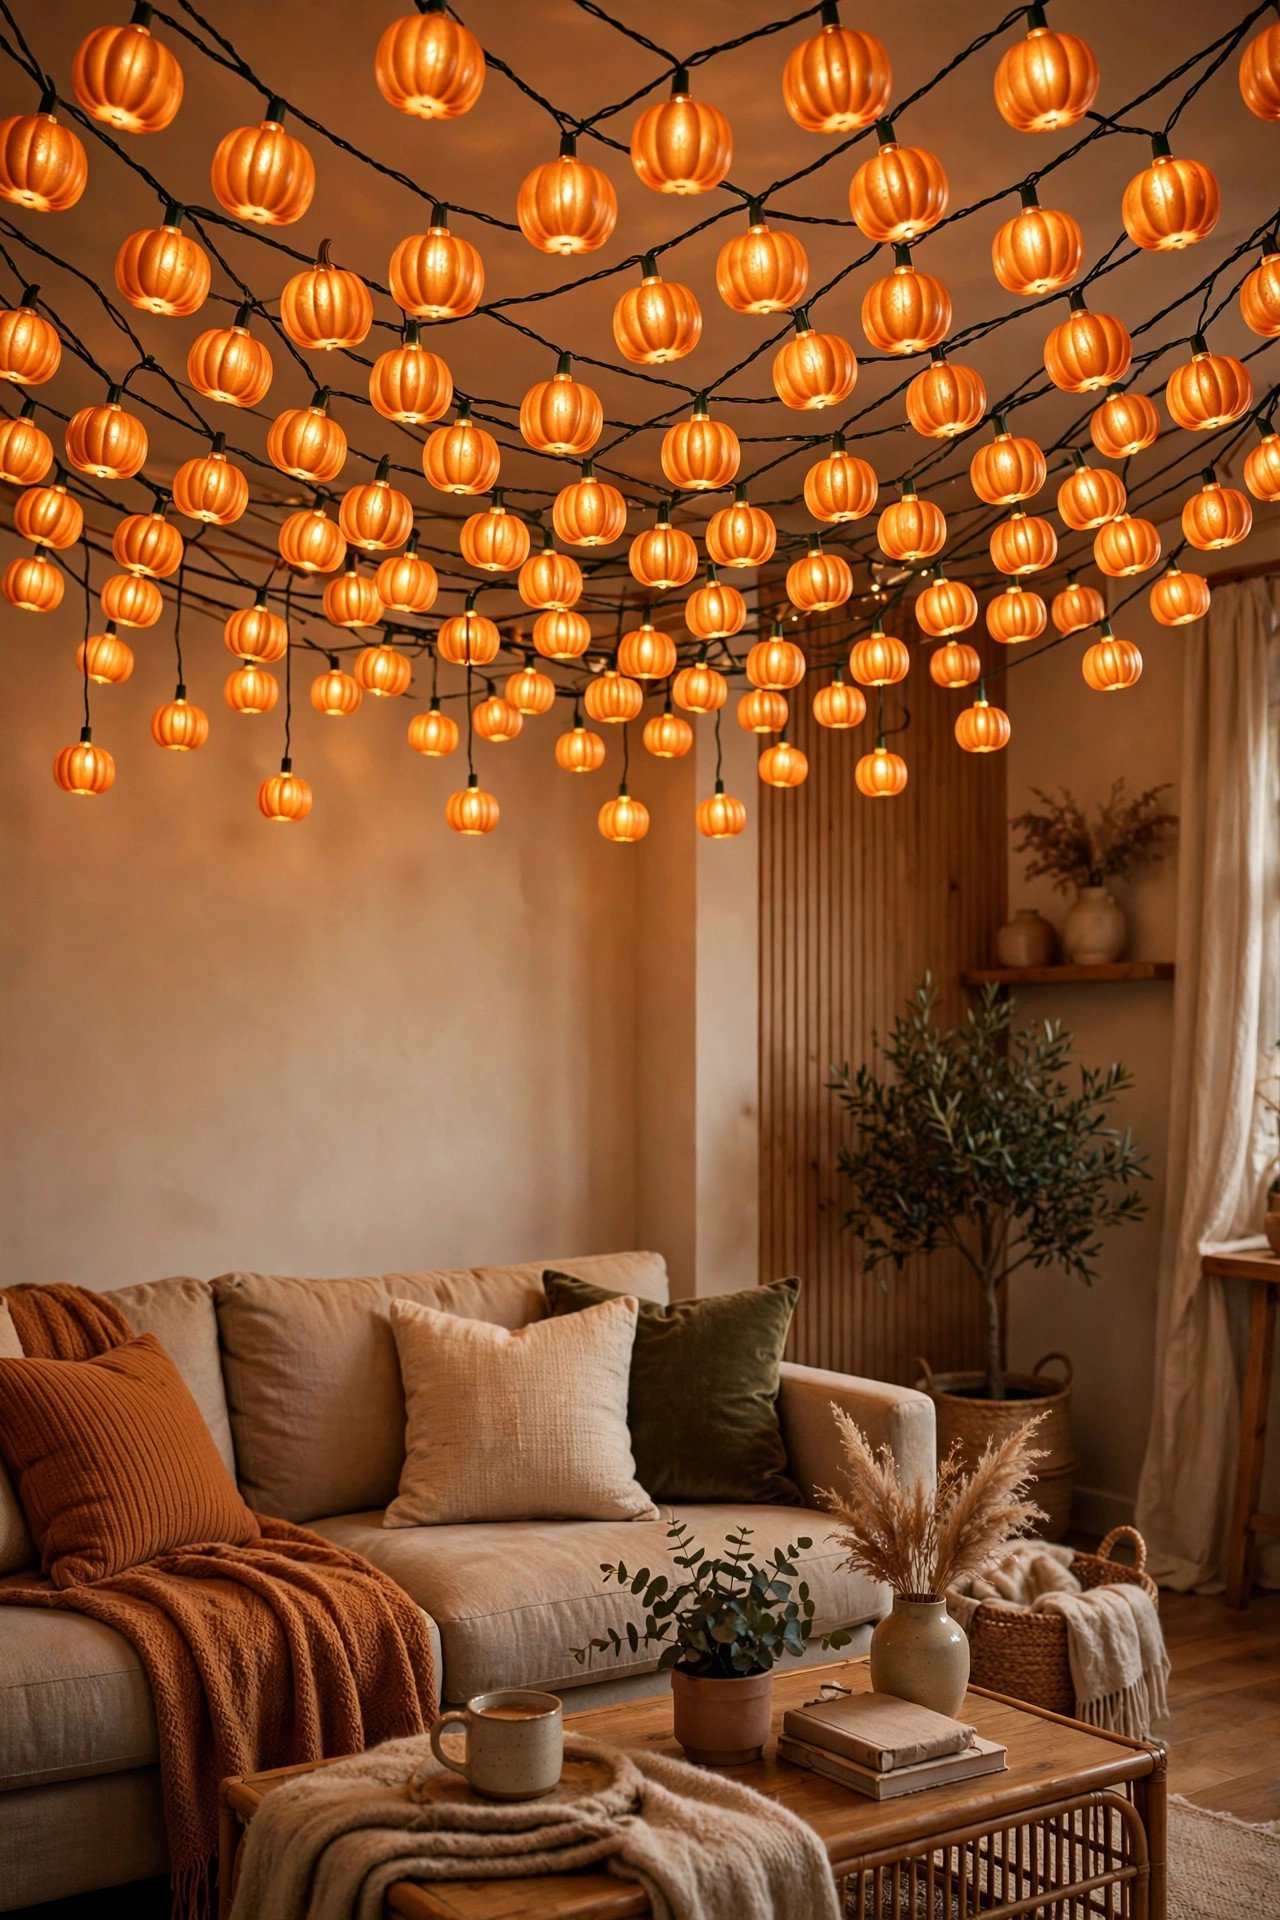
Drape three to four strands of pumpkin-shaped string lights, each about 10 feet long with 20 lights, across the ceiling in a zigzag or canopy pattern above the seating area. The warm orange glow flatters everyone, photographs beautifully, and instantly signals Halloween without any other decoration. Attach the strands with removable adhesive hooks so you do not damage paint, and run the cords along the ceiling edge to a single power strip hidden behind a sofa. Expect to spend $25 to $40 for three strands, or reuse last year's lights for free. Avoid overloading one outlet with lights, a projector and a fog machine together, and keep cords out of walkways. For a softer look, pair the pumpkin lights with one plain warm-white strand so the room never feels too orange or too dark for finding the popcorn bowl.
5. Flickering Candlelight Ambience with LED Candles
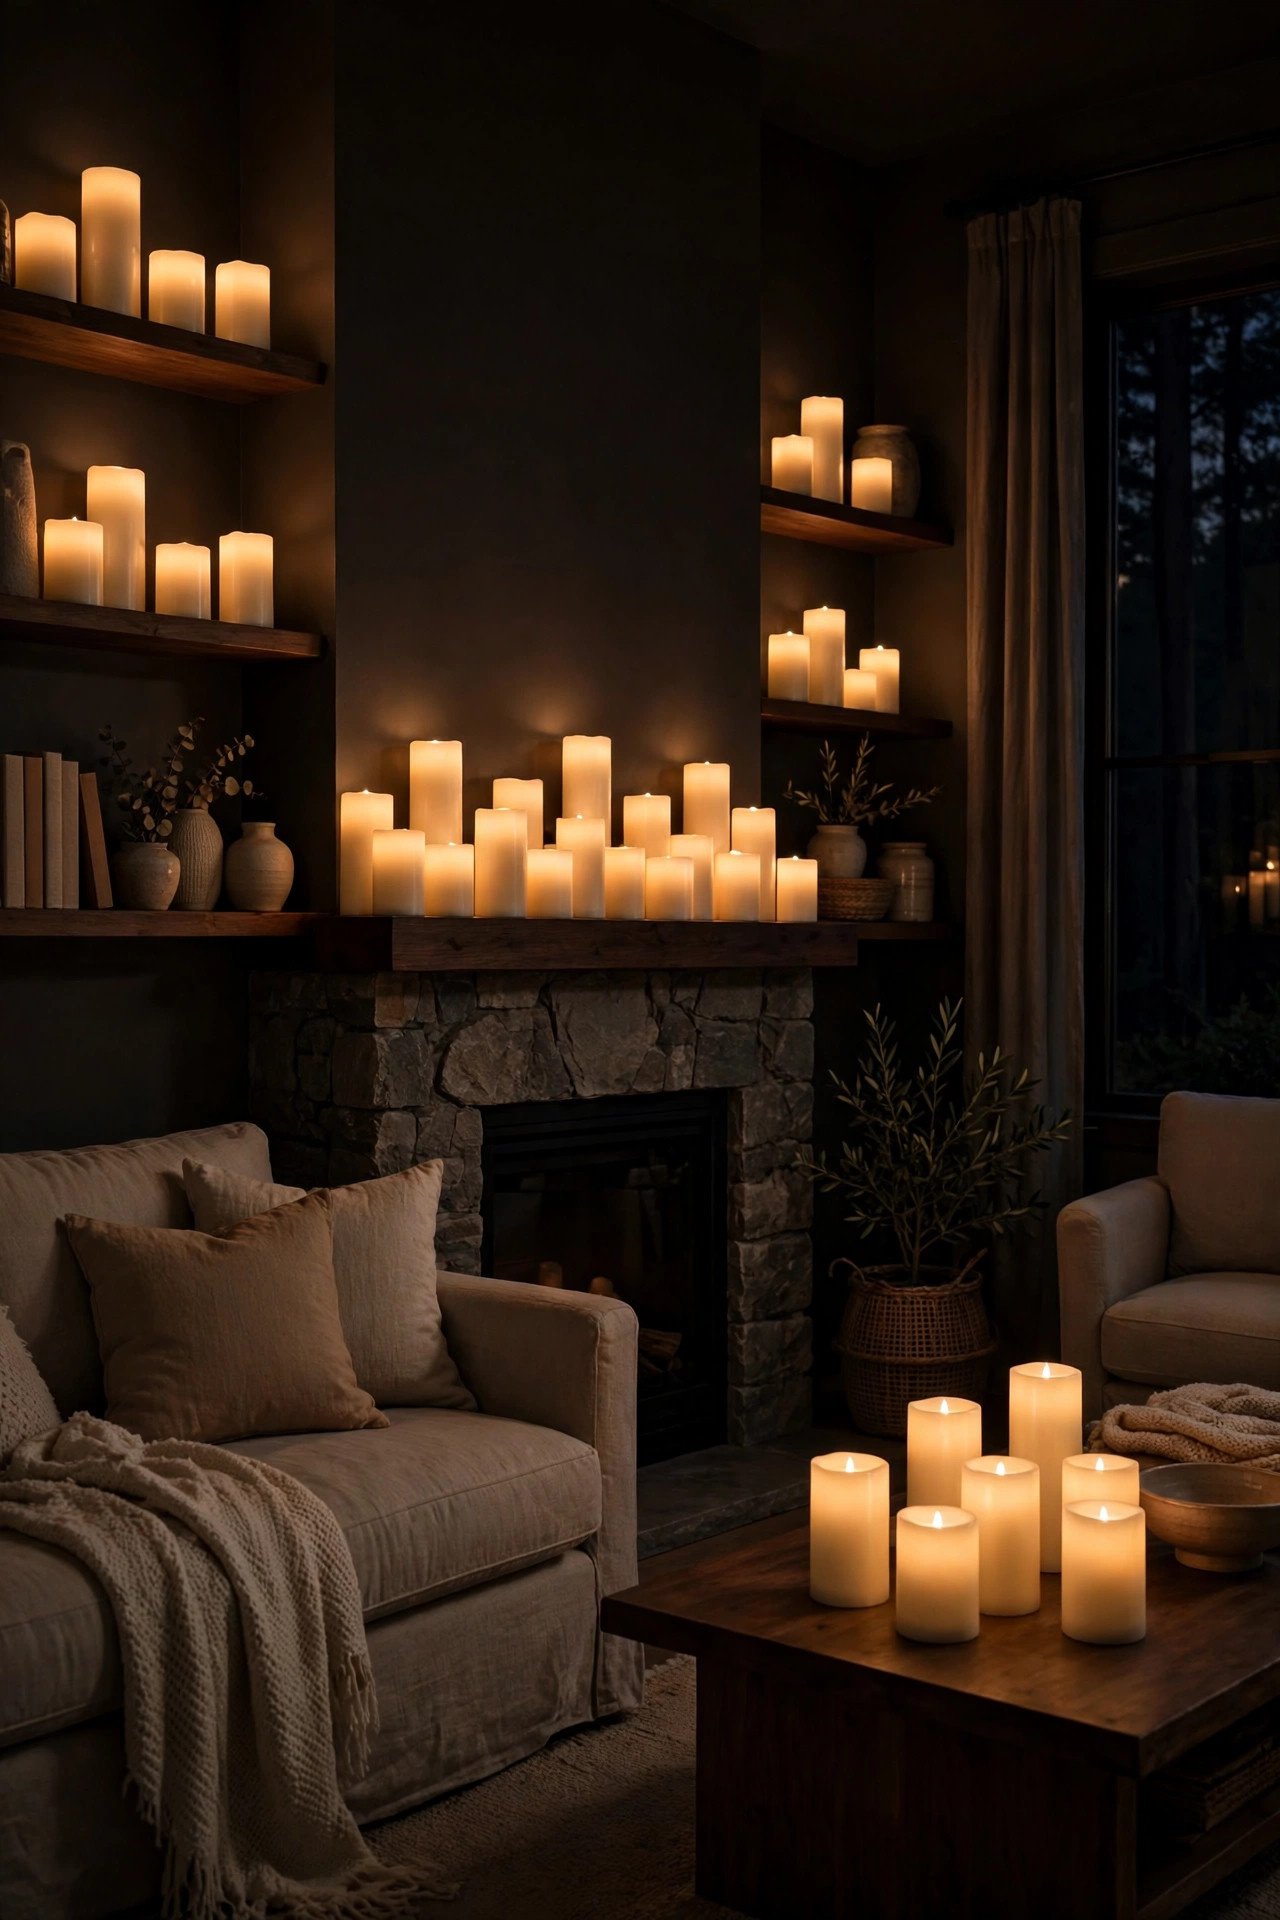
Scatter twelve to fifteen flameless LED pillar candles in mixed heights, from three to eight inches, on the mantel, windowsills, bookshelves and snack table to mimic candlelight without any fire risk. Choose warm-white flickering LEDs rather than steady ones, and group them in odd numbers of three or five for a natural, collected look. Place two inside carved pumpkins or lanterns so the light glows through the cut-outs and throws shadows on the wall. A set of twelve LED candles costs about $18 to $25 and lasts for years on replaceable batteries. Avoid real candles anywhere near curtains, blankets or children, and do not place LED candles directly in front of the screen where their glow competes with the picture. Dim the overhead lights completely and let the candles and the film carry the room.
6. Spooky Snack and Candy Bar Station
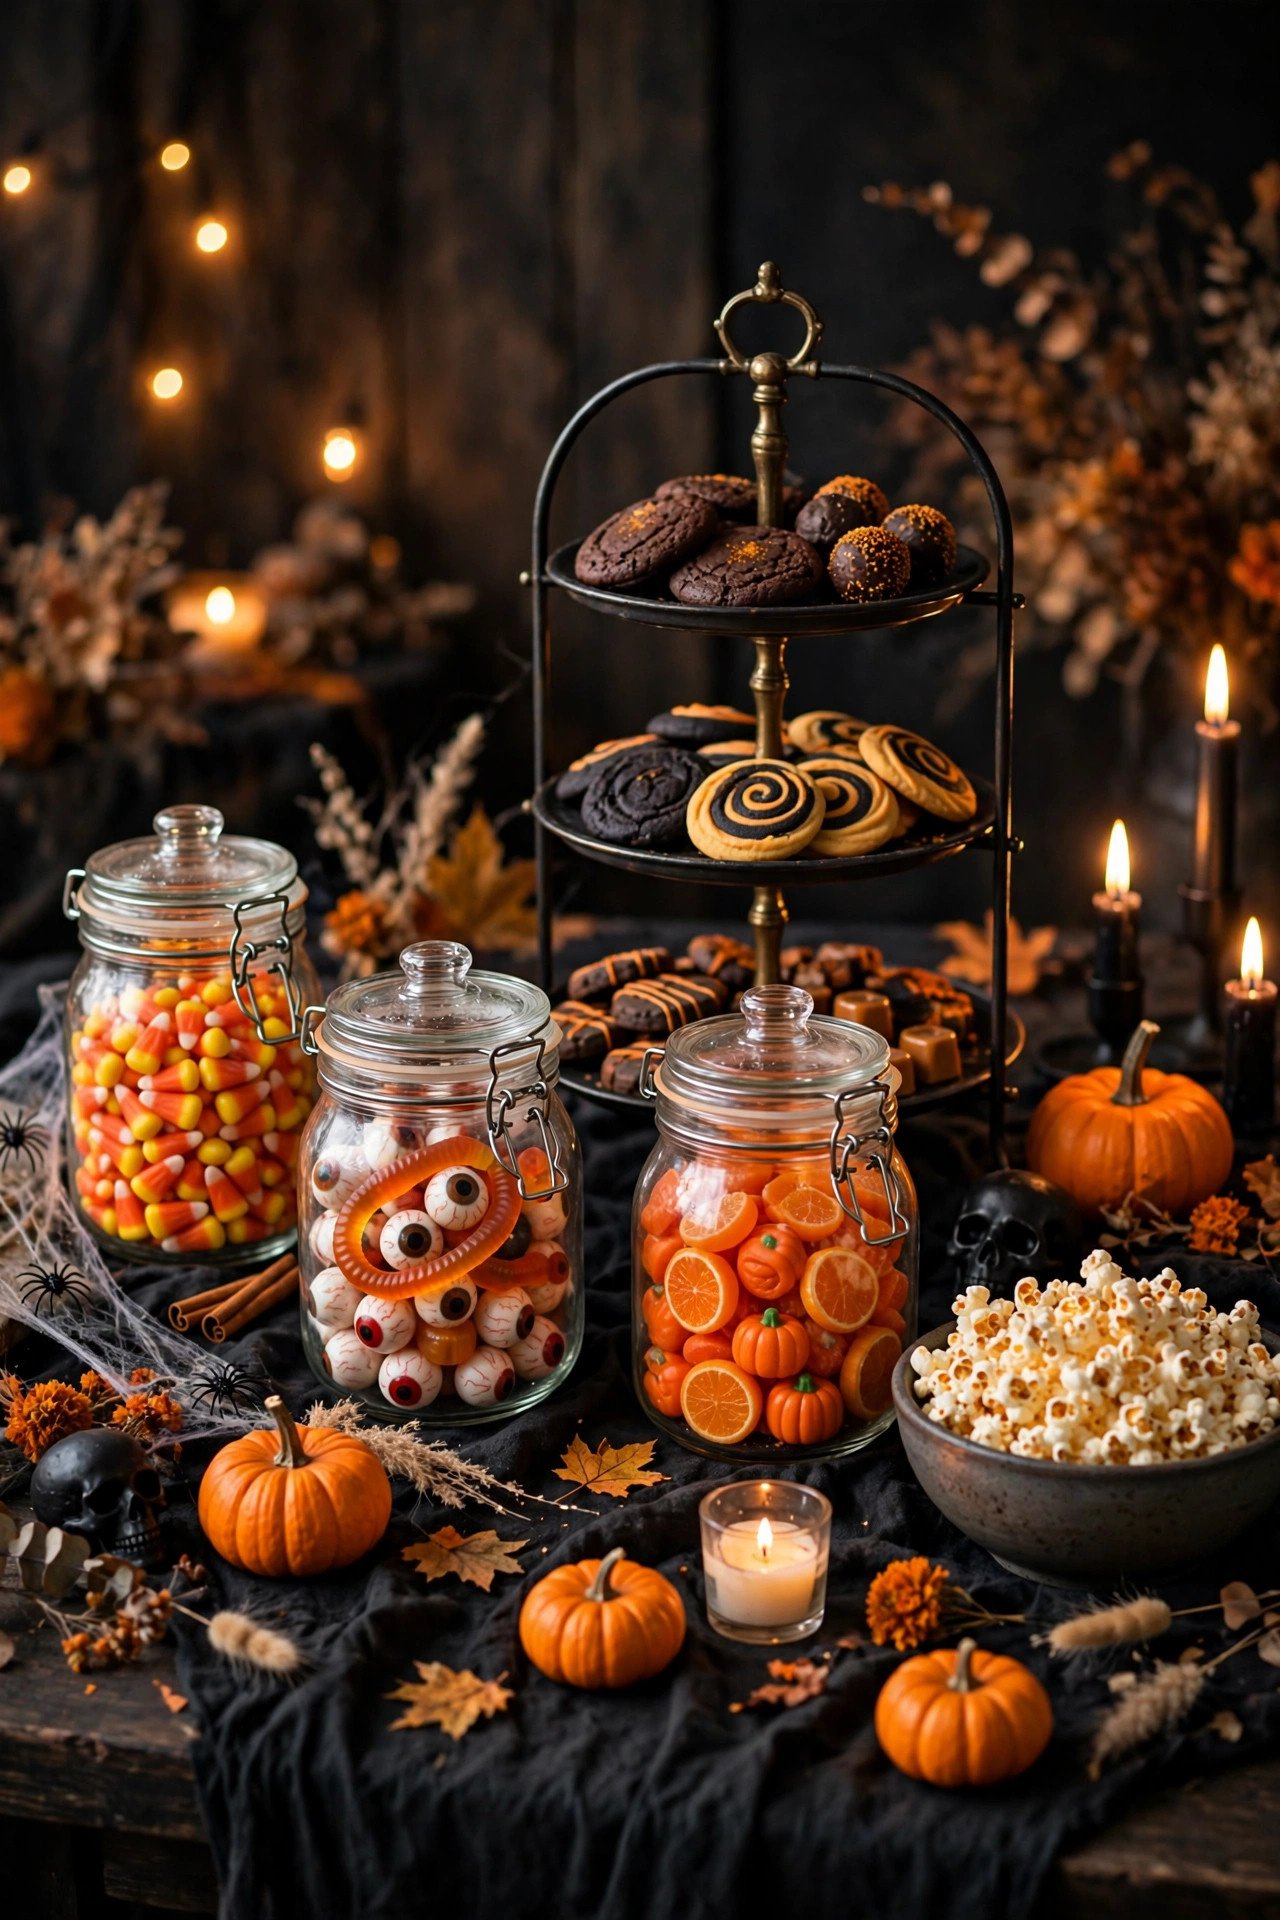
Set up a dedicated snack table away from the seating so guests can refill without blocking the screen, covering it with a black cloth and a tiered stand for candy. Fill glass jars with candy corn, gummy worms, black liquorice and chocolate eyeballs, label each jar with a small handwritten tag such as "Witch Fingers" or "Monster Brains," and add a bowl of popcorn, a plate of cookies and a tray of cupcakes with orange frosting. A tiered stand costs $15 to $20, jars can be reused from the kitchen, and the candy itself runs $20 to $30 for eight to ten guests. For styling ideas, see these Halloween tiered tray decor ideas that work just as well on a snack table. Avoid placing the table in a dark corner where guests cannot see what they are eating, and keep nut products in a separate, clearly labelled bowl for allergy safety. Refill jars before the film starts so nobody misses the opening scene.
7. Witch's Potion Drink Station

Create a drinks corner with a large punch bowl, a ladle, and three labelled bottles: a dark berry punch, a green lime soda, and sparkling water for children. Add dry ice only if you know how to handle it safely, with gloves and adult supervision, or skip it and use frozen grapes and plastic spiders frozen into ice cubes for the same spooky effect. Set out eight to ten mason jars or plastic goblets, a small chalkboard menu, and a cauldron-style bowl for the punch. The station costs about $25 to $35 including drinks and cups, and it keeps guests out of the kitchen during the film. Avoid dry ice in sealed containers, never let children touch it, and keep a jug of plain water nearby. For adults, offer one clearly labelled spiked option in a separate bottle, never mixed into the main bowl.
8. Creepy Movie Ticket Booth Entry
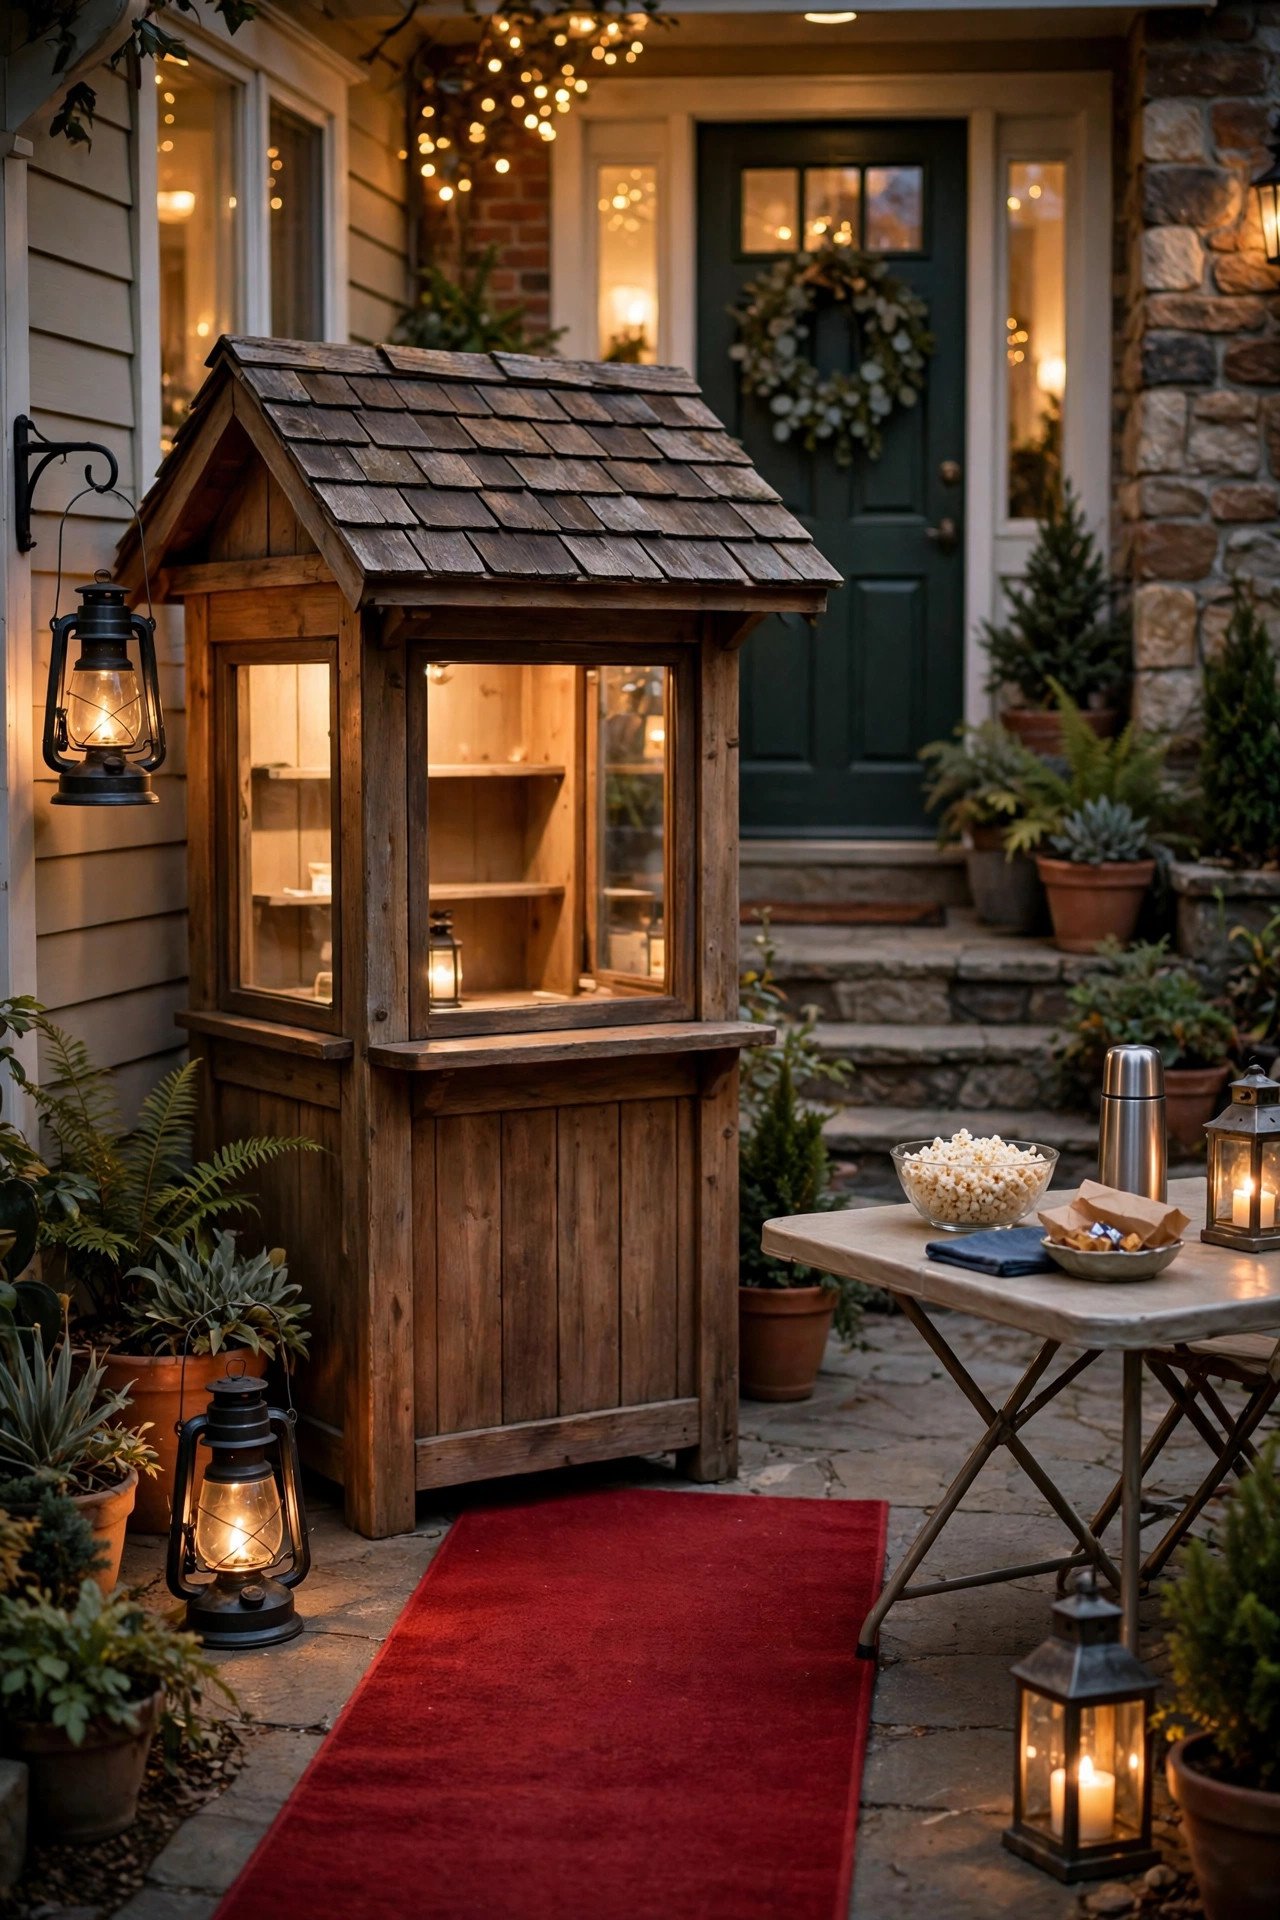
Greet guests at the door or hallway with a small ticket booth made from a folding table, a black cloth, and a hand-painted sign that reads "Admit One — Haunted Cinema." Print simple paper tickets at home, tear one in half for each guest, and keep the stub in a jar as a keepsake. Add a red carpet runner, about two feet wide and six feet long, leading from the door to the viewing area, plus two lanterns flanking the table. The booth costs under $20 if you print at home, and it turns arrival into part of the show, especially for children. Avoid blocking the entrance or fire exit with the table, and keep the hallway lit enough for safe footing. If space is tight, use just the sign and tickets on a small side table instead of a full booth.
9. Ghostly Sheer Curtain Backdrop
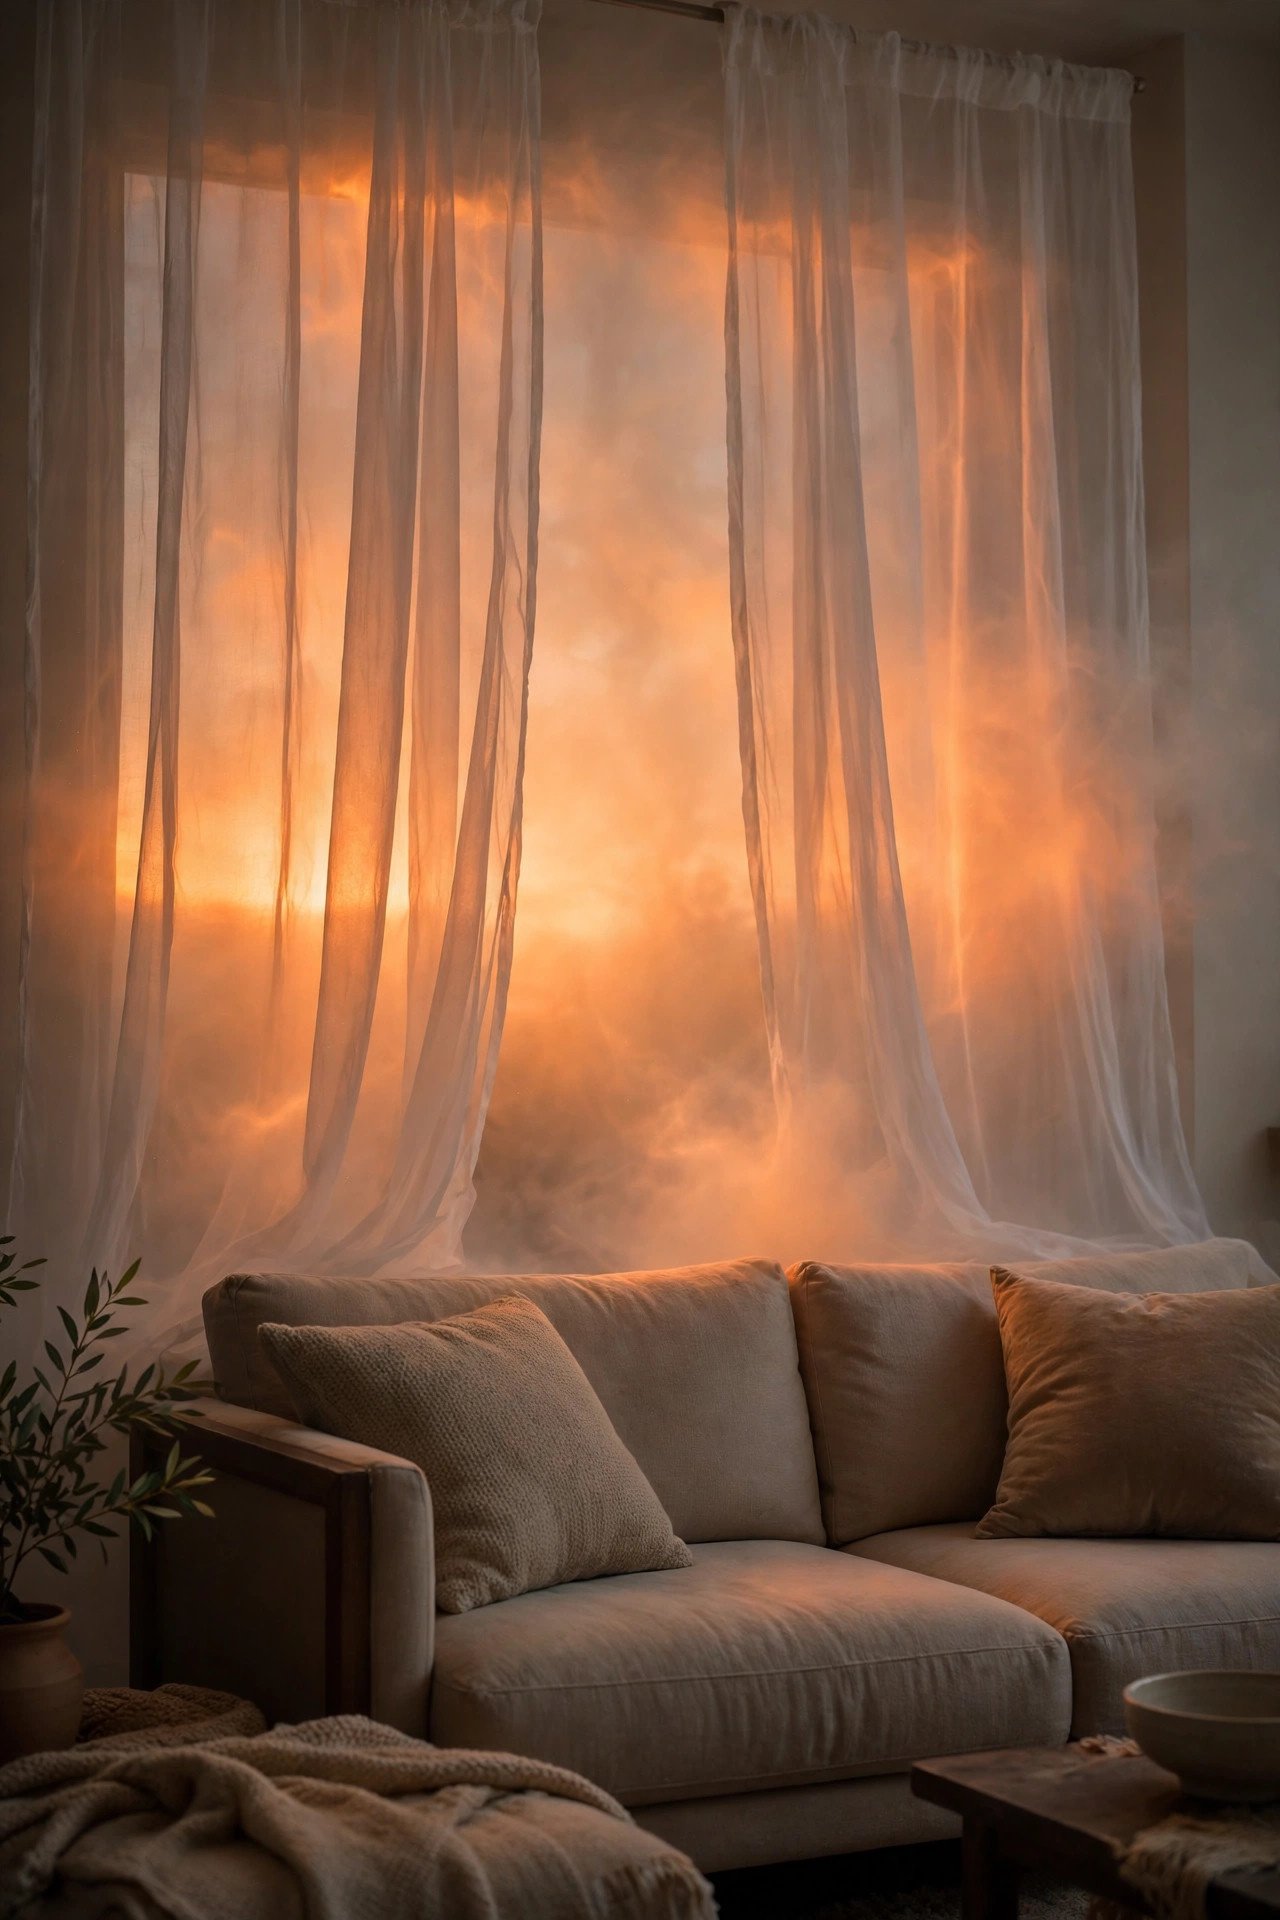
Hang two or three panels of white sheer curtain fabric, each about 84 inches long, behind the screen or sofa to create a floating ghost effect that catches light beautifully. Gather the fabric at the top with a curtain rod or string, let it pool slightly on the floor, and backlight it with one orange or purple LED strip hidden behind the panels. The fabric diffuses the light into a soft, eerie glow that makes photographs look magical and hides a plain wall or cluttered shelf. Sheer panels cost $10 to $15 each, and an LED strip adds about $12. Avoid hanging fabric over radiators, heaters or real candles, and secure the rod firmly so excited children cannot pull it down. This backdrop also works behind an outdoor screen, where a gentle breeze makes the ghosts appear to move.
10. Monster Movie Marquee Sign
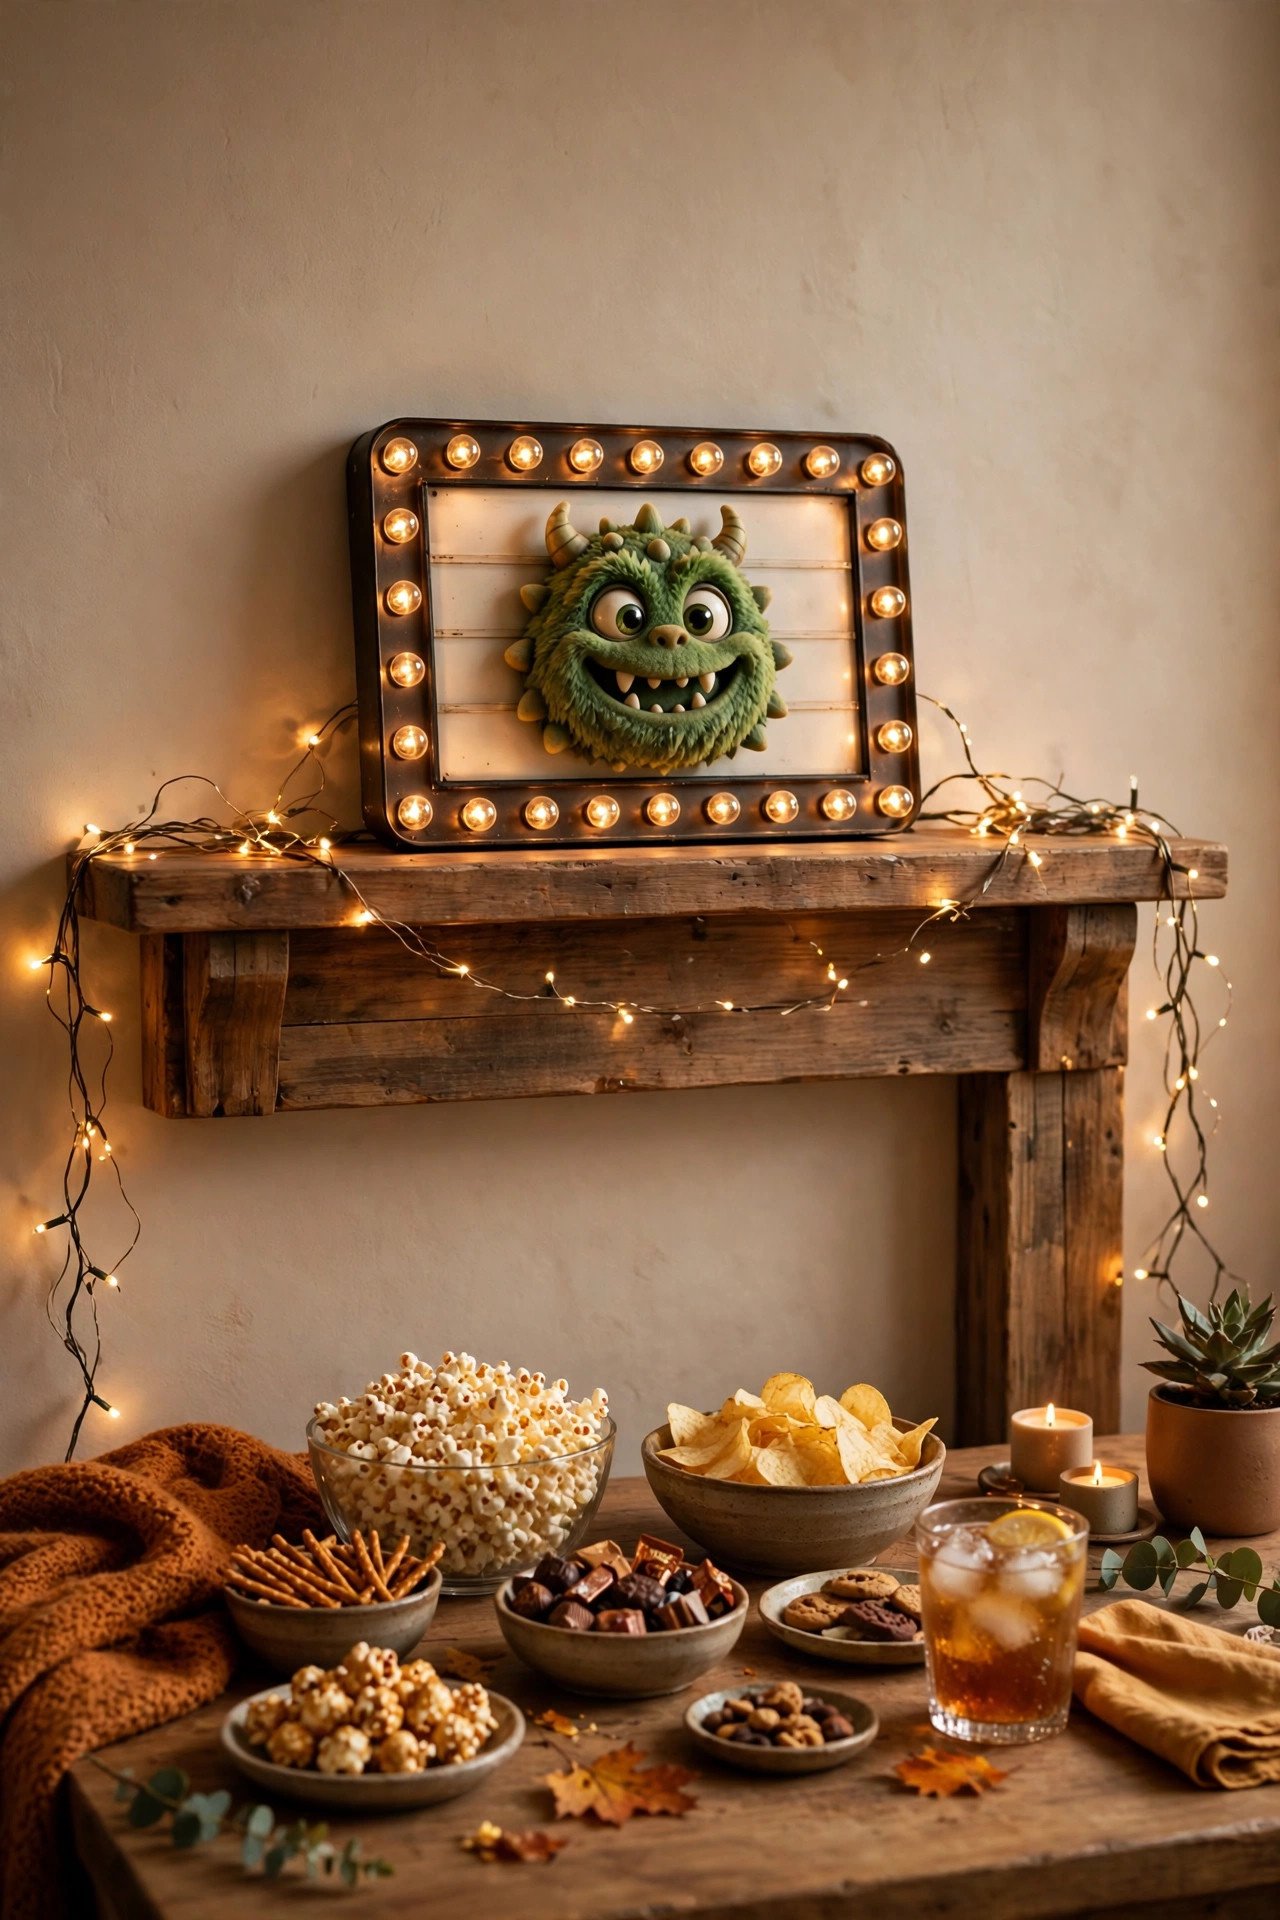
Build a small marquee from a foam board or plywood panel, about 24 by 18 inches, paint it black, and spell out your film title or "Spooky Cinema" with stick-on letters, battery fairy lights around the border, and two small plastic bats at the corners. Lean it on the mantel, hang it above the snack table, or prop it on an easel by the entrance. The sign becomes the natural photo backdrop and tells guests exactly what kind of night they are in for. Materials cost $15 to $25, and the sign can be reused every year by swapping the letters for a new film. Avoid hanging a heavy board above seating without secure fixings, and keep battery packs accessible so you can switch the lights off easily. For a quick version, use a lightbox with changeable letters, which costs about $20 ready-made.
11. Themed Throw Pillows and Blankets
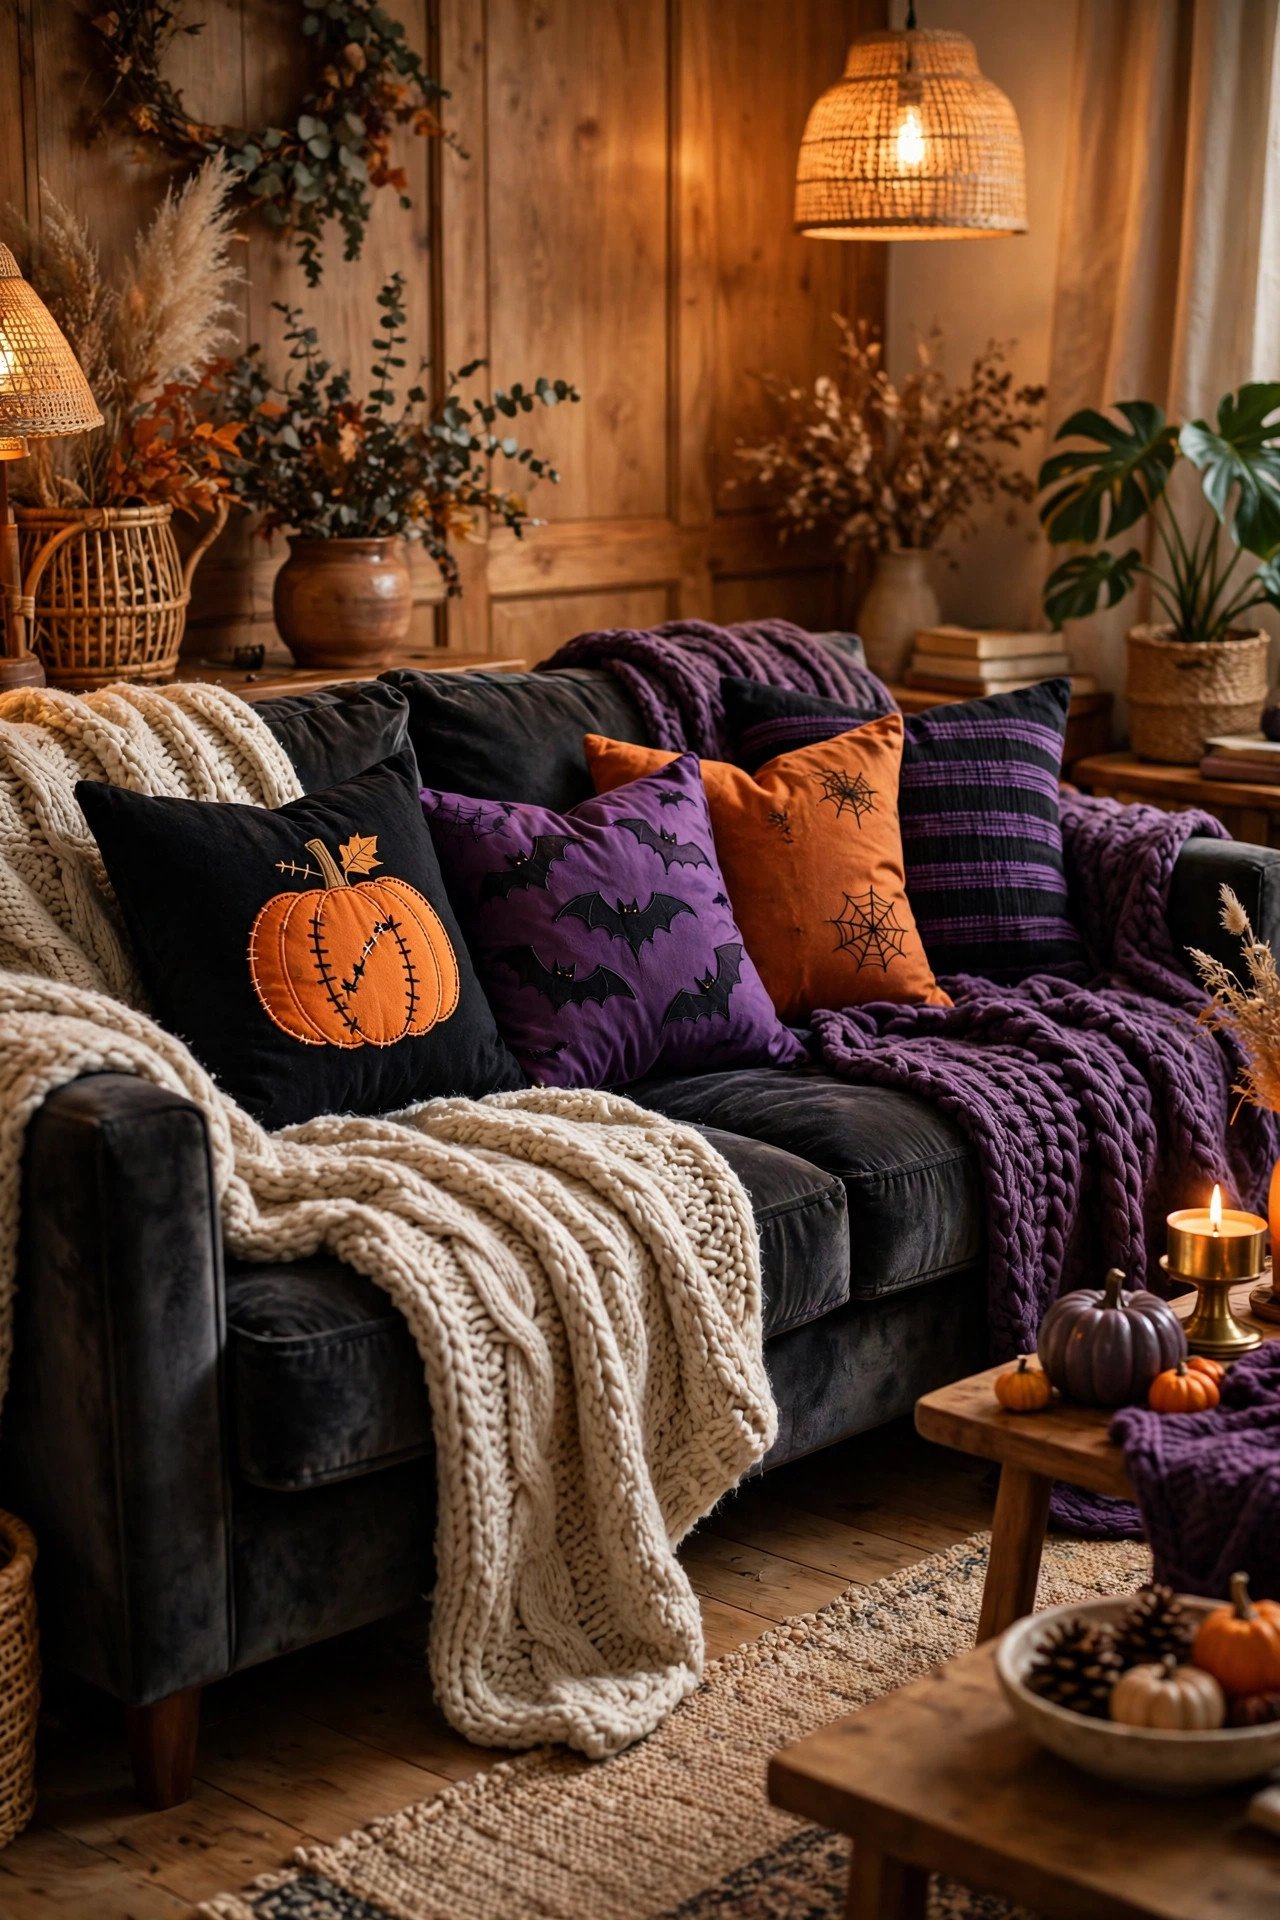
Swap your everyday cushions for Halloween covers in black, burnt orange, deep purple and charcoal grey, choosing four to six covers with simple motifs such as bats, pumpkins, moons or spider webs rather than loud slogans. Pair them with two chunky knit throws draped over sofa arms and one folded at the end of the sofa for easy grabbing. Covers cost $6 to $10 each, so a full swap runs $30 to $50, and they store flat for next year. Avoid covers with scratchy sequins or hard appliqué that irritate skin during a long film, and wash new covers before the night so they smell fresh. This is one of the fastest transformations in the whole list: ten minutes of cushion swapping changes the room before a single light is hung.
12. Fog Machine Entrance Effect
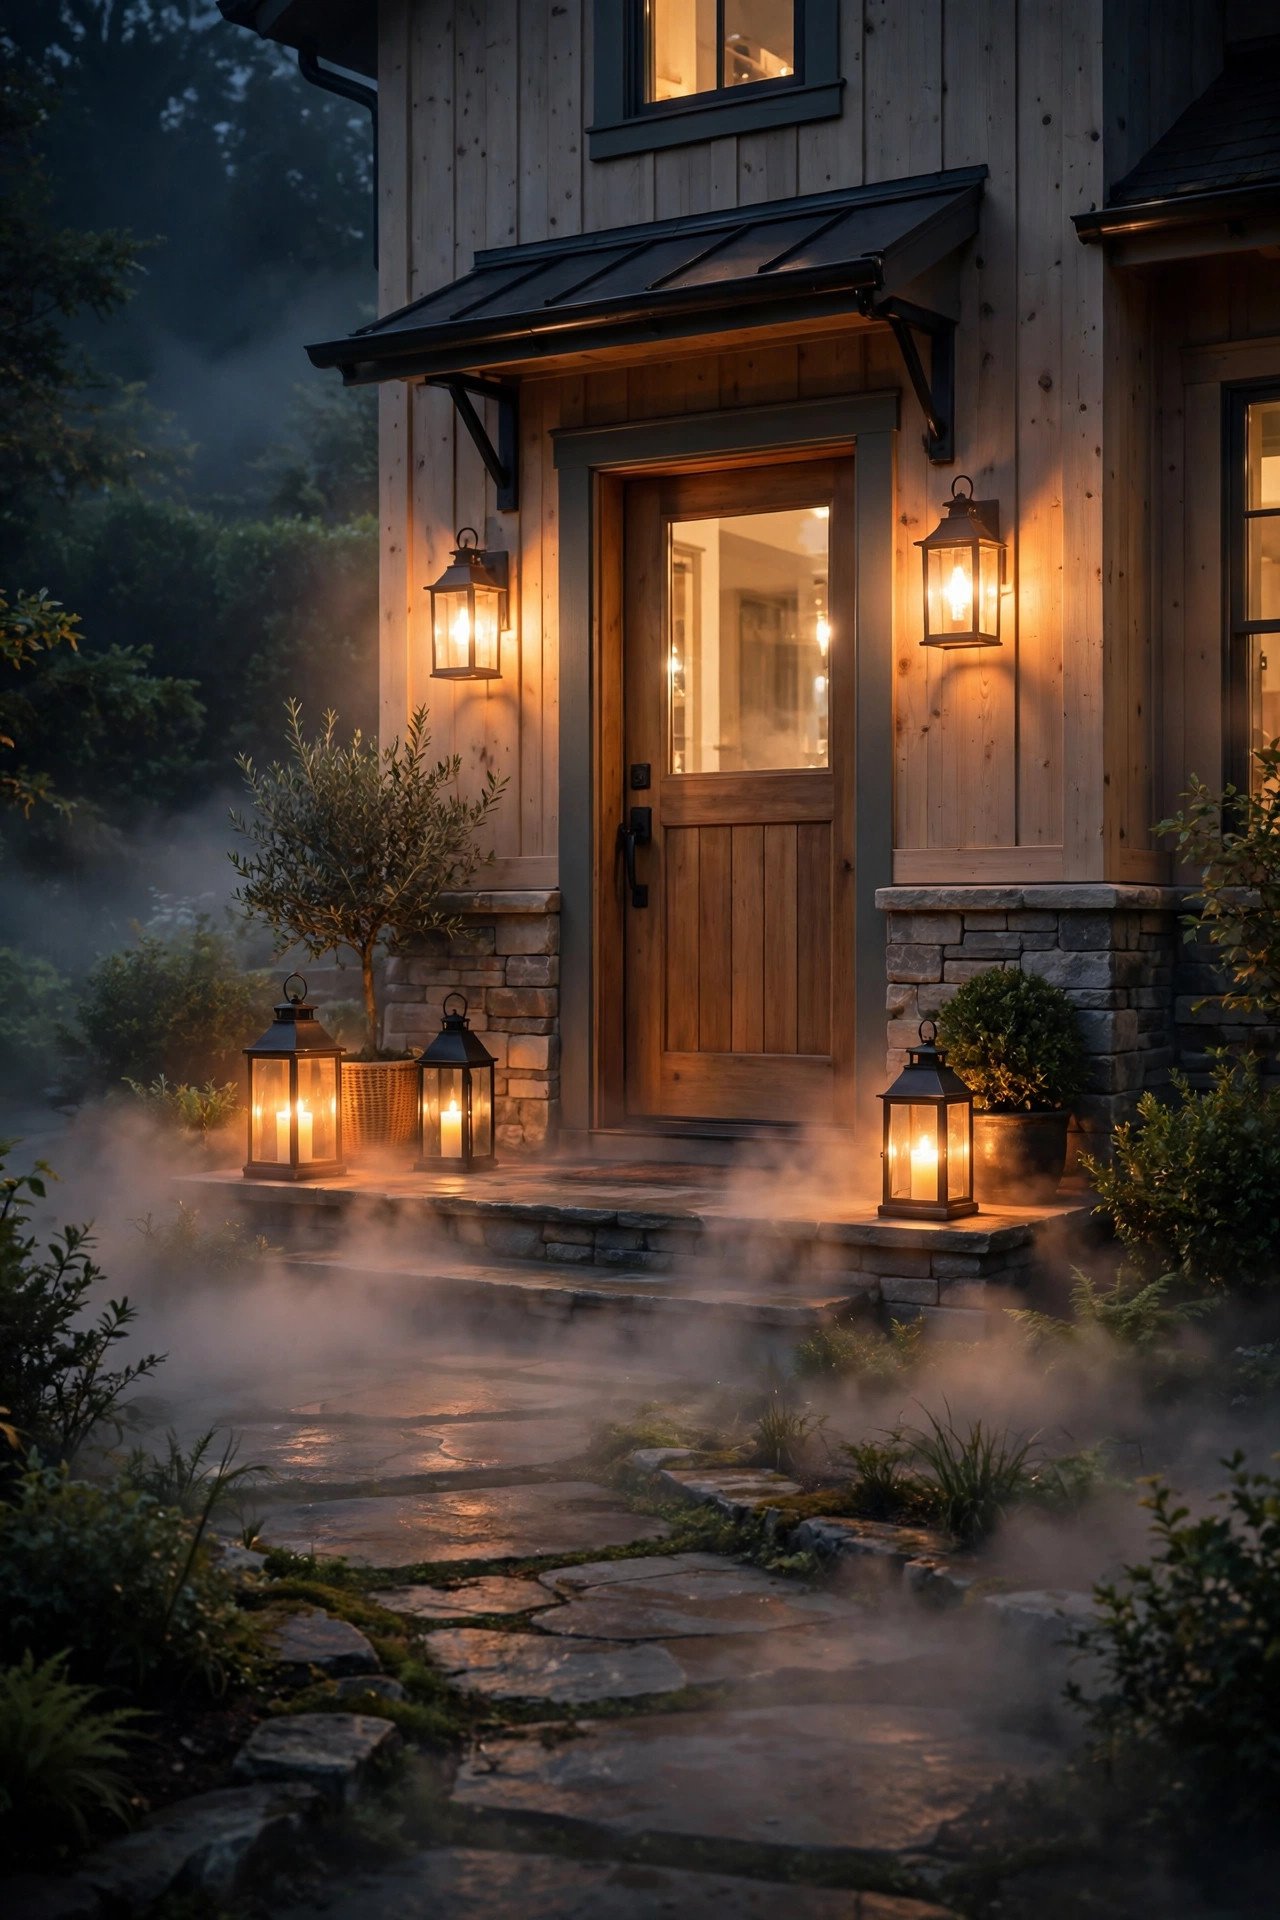
Place a small 400-watt fog machine just outside the viewing room or at the garden gate, and run it in short bursts as guests arrive so they walk through a low, drifting cloud into the cinema. Use a water-based fog fluid, keep the machine on a heatproof surface away from fabric, and point the nozzle along the floor rather than at faces. A machine costs $30 to $45, fluid about $10, and one bottle lasts several nights. Avoid using fog in a small, unventilated room, never run it continuously during the film, and warn guests with asthma or allergies in advance. For a safer indoor alternative, use dry ice in warm water in a cauldron for five minutes at arrival time only. The effect should be a welcome, not a haze that makes the screen hard to see.
13. Skeleton Audience Members
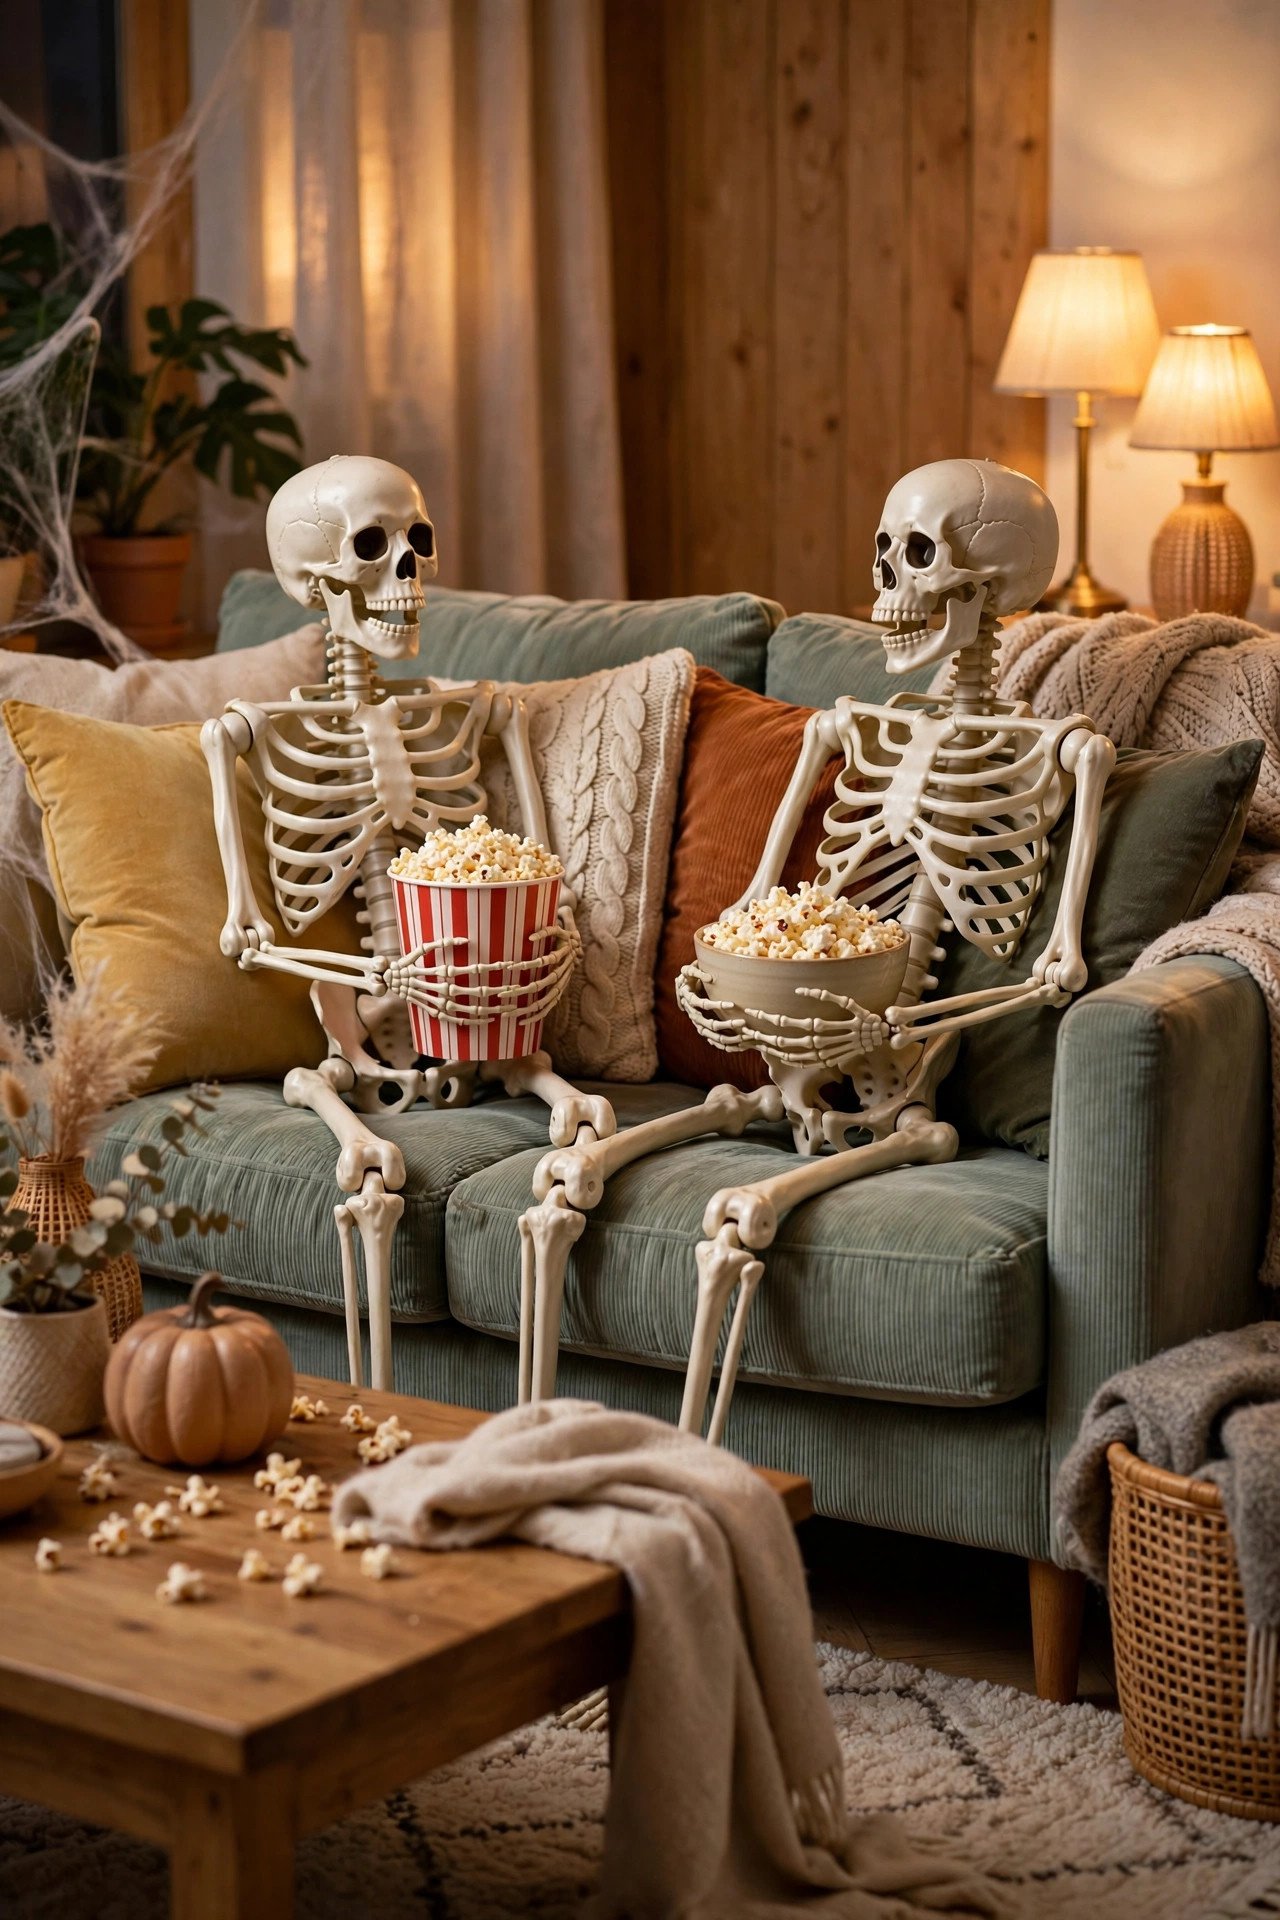
Seat two or three life-size plastic skeletons among your guests, one on the sofa with a popcorn bowl, one in an armchair with 3D glasses, and one by the snack table holding a cup. Dress one in an old hat or scarf so each skeleton has a personality, and pose their arms naturally rather than stiffly upright. Skeletons cost $20 to $35 each, or borrow one from last year's decorations. Children love them, adults photograph them, and they fill empty seats so a small gathering still feels like a full cinema. Avoid placing skeletons where they block anyone's view of the screen, and keep small detachable bones away from toddlers. At the end of the night, the skeletons make excellent photo props for the group picture before everyone leaves.
14. Spider Web Ceiling and Corner Decor
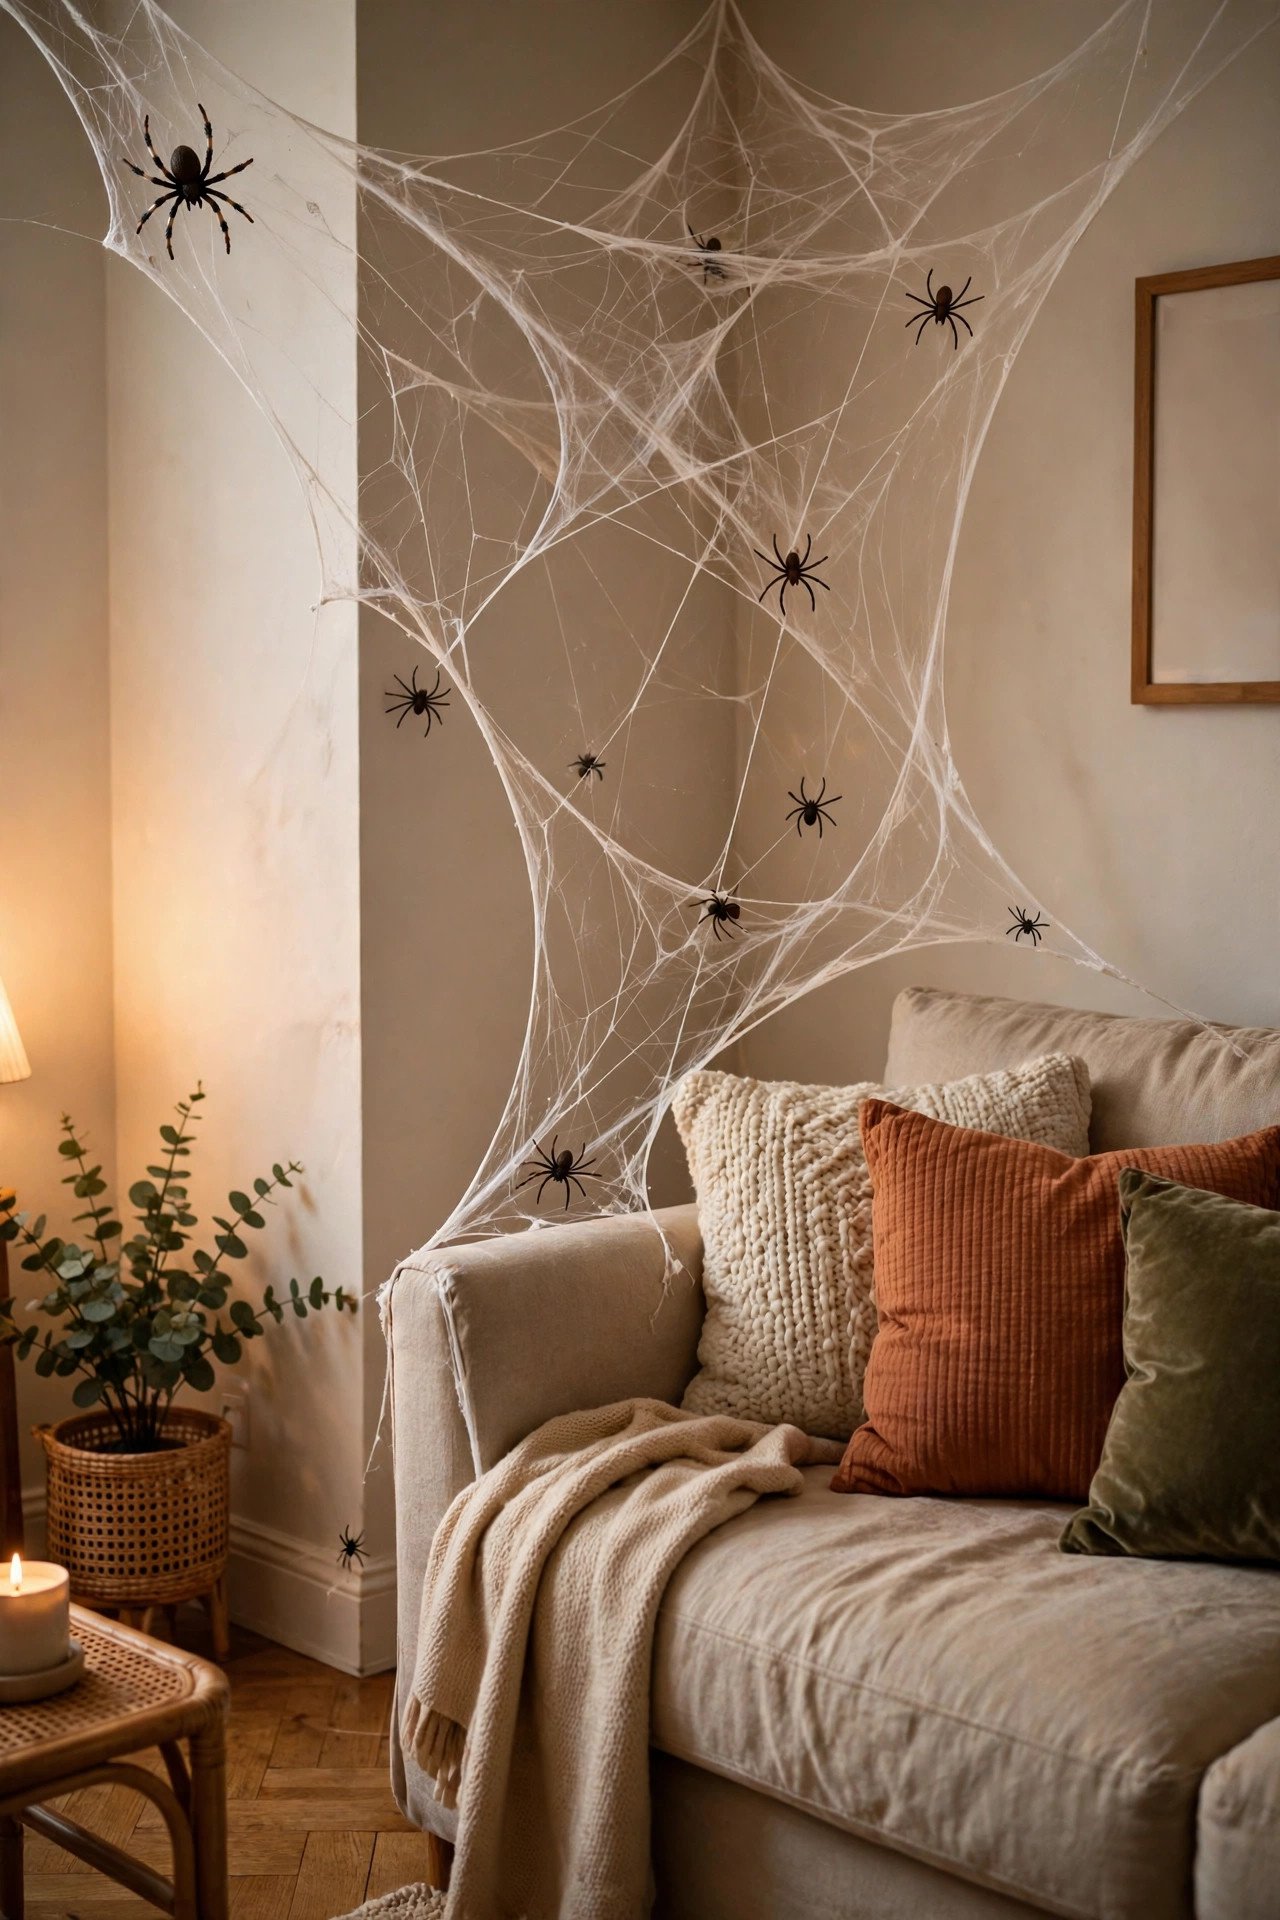
Stretch one large bag of white stretchable spider web material, about 80 grams, across a ceiling corner and one doorway, pulling it thin so it looks like real webbing rather than a solid sheet. Add six to eight plastic spiders in mixed sizes, tucking the largest one near the doorway where guests notice it on arrival, and drape a second smaller web over the snack table edge. The material costs $5 to $8 per bag and covers a surprising area if you stretch it patiently. Avoid covering light fittings, smoke alarms or vents with webbing, and keep it away from LED candles, since the material is flammable near heat. For a cleaner look, pair the webs with one or two black paper bats on the wall rather than covering every surface, which can quickly look messy instead of spooky. These Halloween ceiling decor ideas show how to balance overhead decoration without overwhelming the room.
15. Jack-o'-Lantern Screen Glow
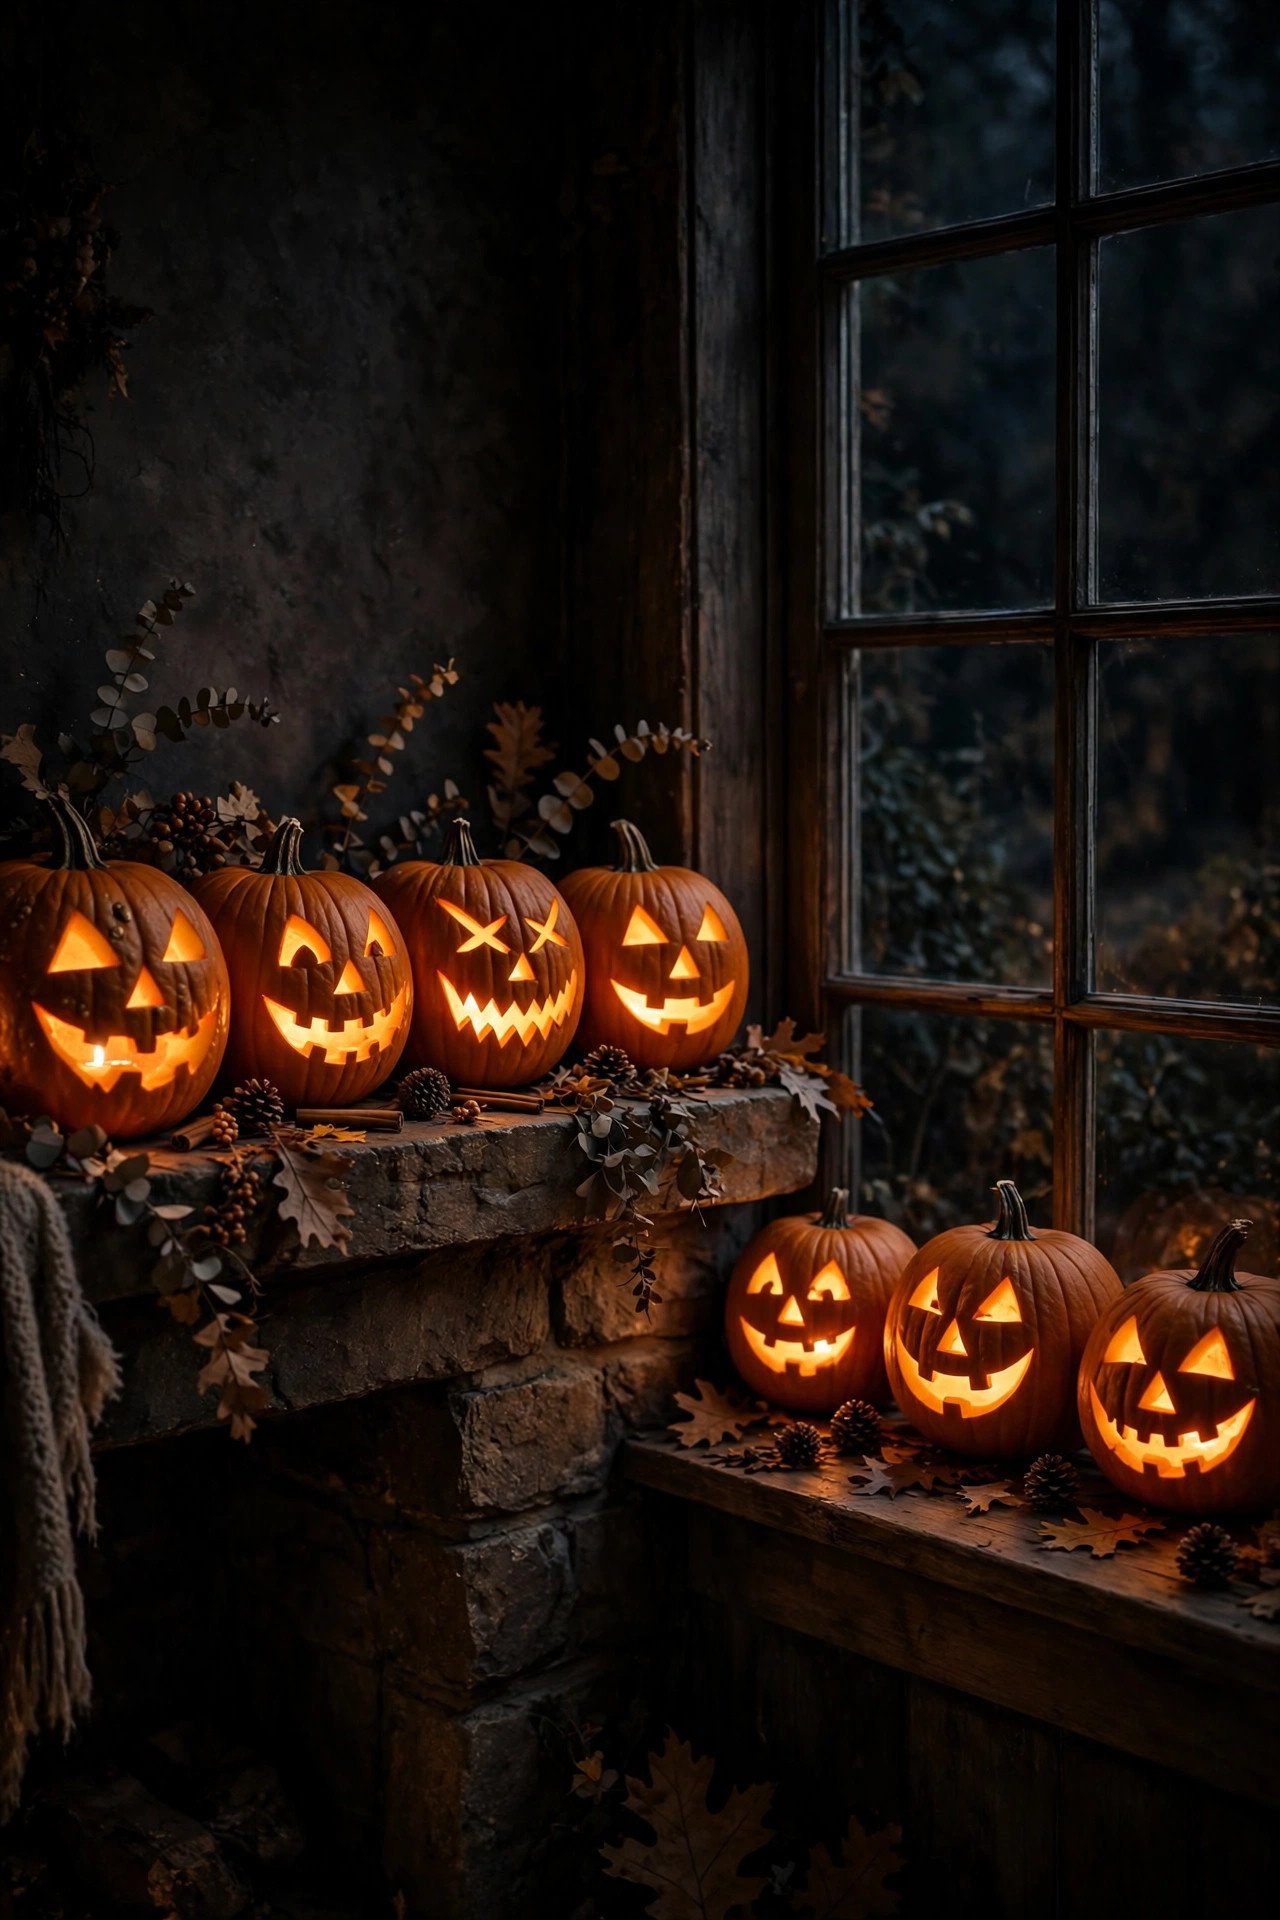
Carve or paint three to five pumpkins with simple cinema-themed faces — a screaming face, a bat, a moon — and place them in a row along the windowsill, mantel or garden path facing the seating area, each lit with a battery LED candle. Real pumpkins cost $3 to $6 each and last about a week once carved, so carve them the day before the night; foam craft pumpkins cost $8 to $12 each but last for years. Avoid carving complicated designs that collapse, keep knives away from children, and never use real candles inside a pumpkin near curtains. Place one pumpkin at each end of the screen wall to frame the picture with warm, flickering light, and scoop the seeds for roasting as a bonus snack that costs nothing extra.
16. Kids-Friendly Not-Too-Scary Corner
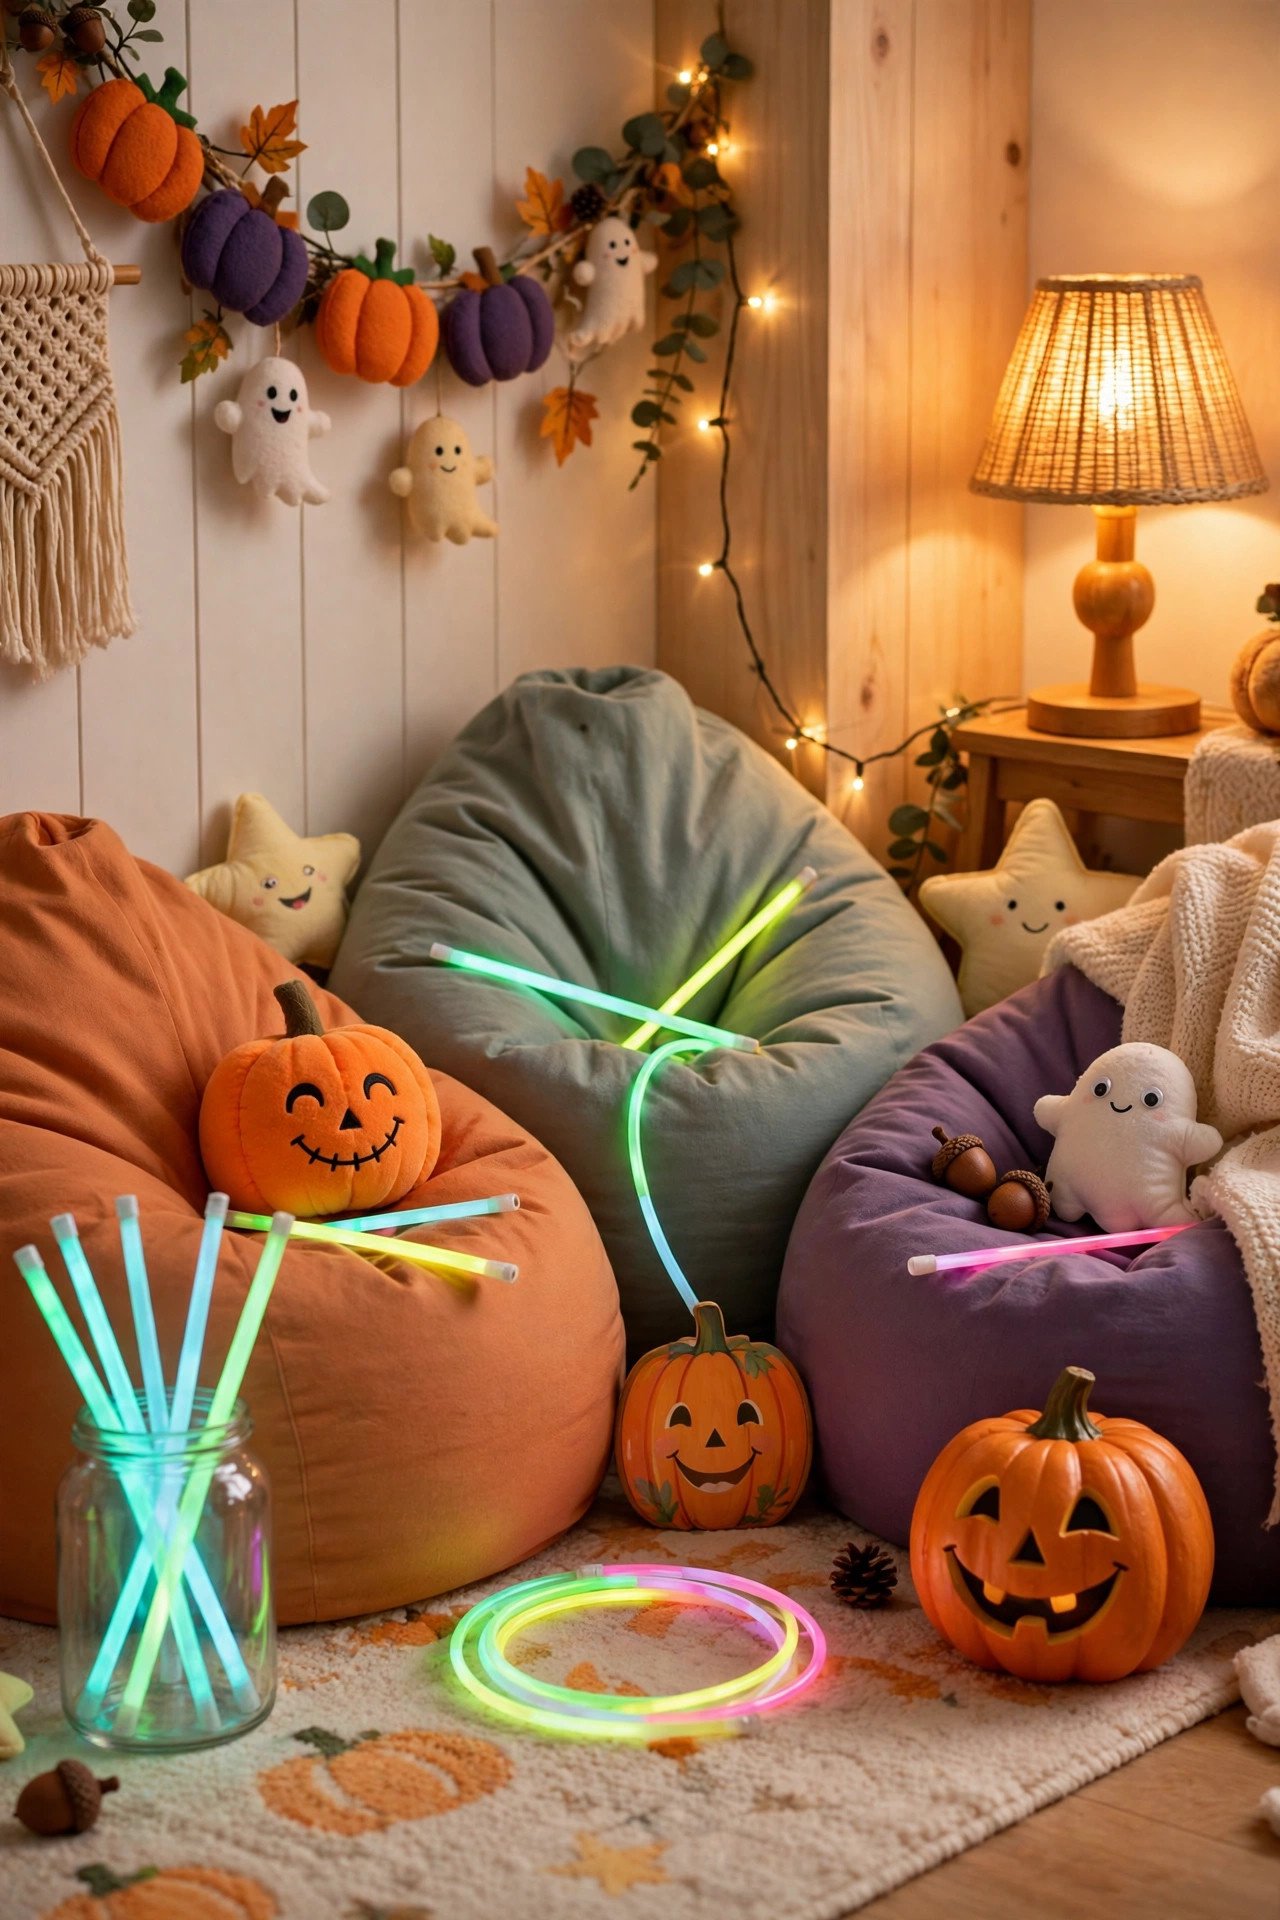
Reserve one corner for younger viewers with a small rug, beanbags, and a basket of soft toys, colouring pages and glow sticks, so children who find the film too scary have a safe, fun retreat without leaving the room. Decorate this corner with friendly ghosts, smiling pumpkins and pastel orange bunting rather than skeletons or horror props, and keep its own small lamp on low so it never feels dark or frightening. A basket of glow sticks costs $5, colouring pages print free at home, and beanbags can be borrowed from bedrooms. Avoid forcing children to sit through a film beyond their age rating, and agree a code word so a child can ask for a break without embarrassment. This corner also gives parents a place to sit with toddlers while older children enjoy the main film.
17. Adults-Only Horror Lounge with Moody Lighting
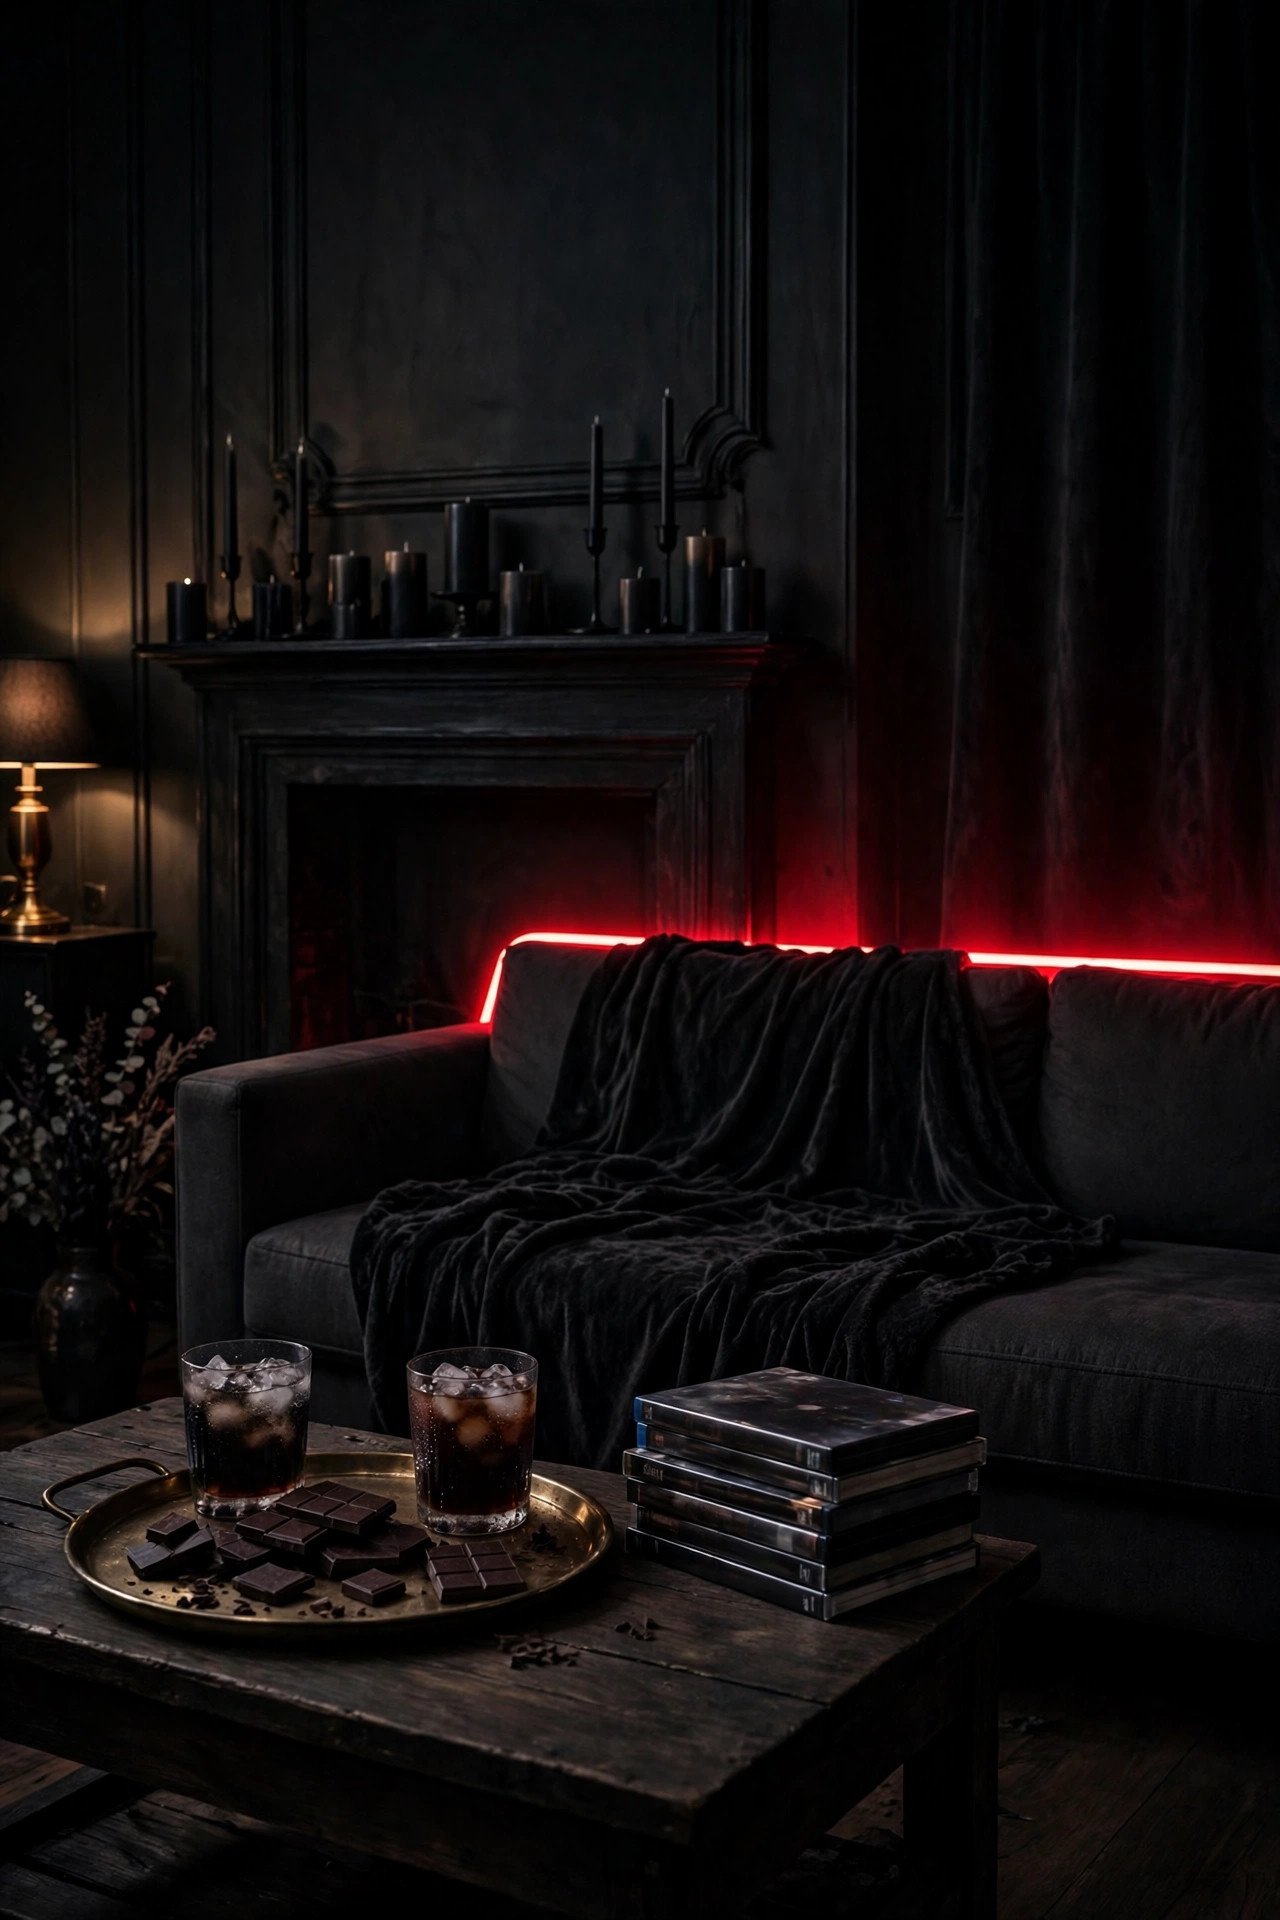
After children are in bed, or for an adults-only night, switch the room to deep, moody lighting: one red or purple LED strip behind the sofa, two black candles on the mantel, and all other lights off. Add a tray of dark chocolate, red wine or a themed cocktail, a black throw over the sofa, and a stack of classic horror films to choose from. Keep the seating to four to six people so conversation stays intimate and the room feels like a private screening rather than a party. The lighting costs $12 to $20, and the rest can come from what you already own. Avoid strobe lighting, which can trigger headaches or seizures, and keep the room warm enough that guests are not shivering in the dark. This is the simplest luxury version of the night: less decoration, better atmosphere.
18. Popcorn Bar with Spooky Toppings
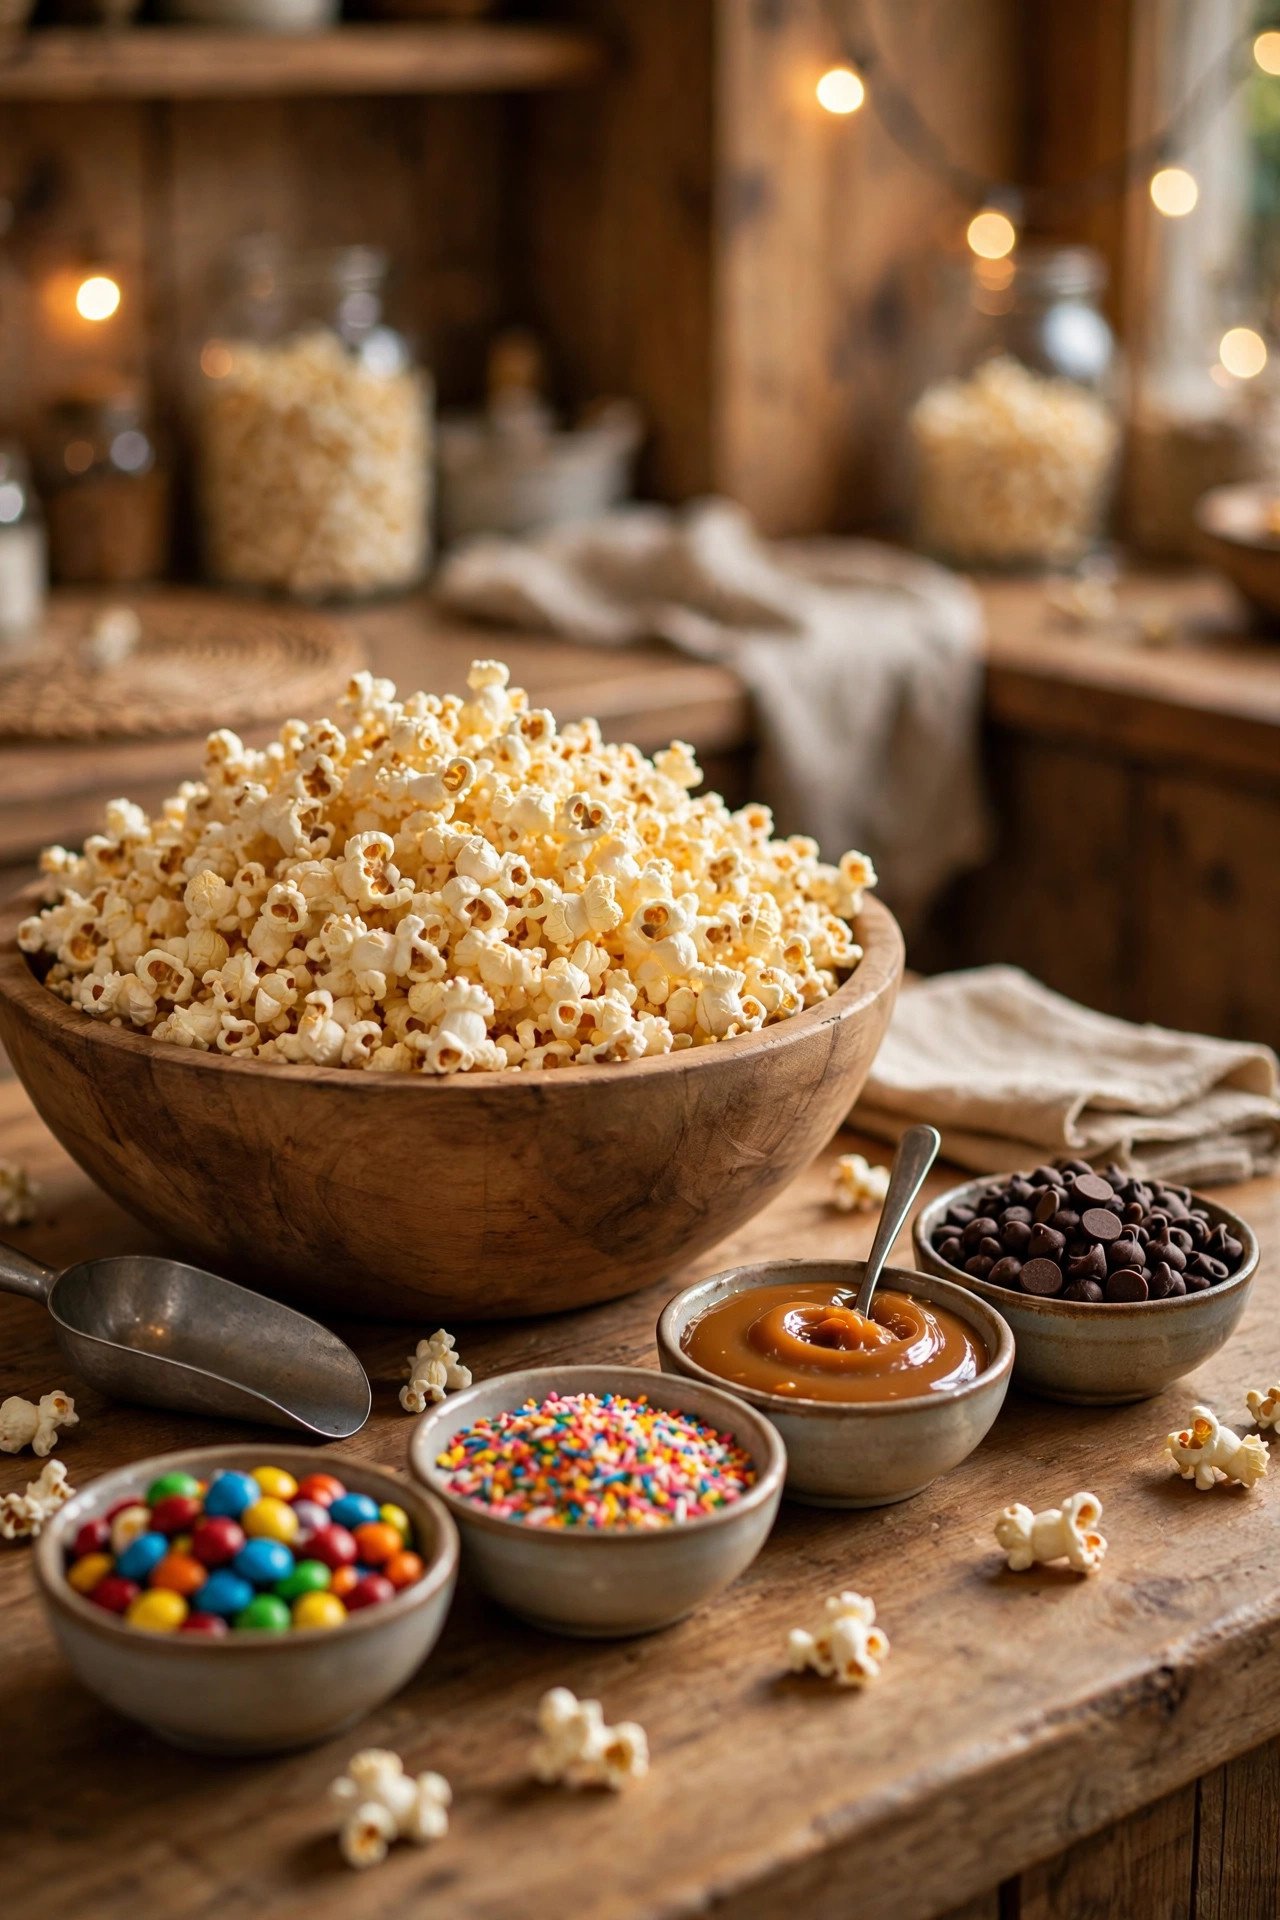
Turn ordinary popcorn into the star snack by setting out a large bowl of freshly popped corn and six small bowls of toppings: melted chocolate drizzle, caramel sauce, crushed cookies, candy eyeballs, orange sprinkles and chilli flakes for adults. Provide small paper cups or cones so each guest can build their own mix, plus napkins and a scoop to keep hands out of the shared bowl. Popcorn kernels cost $3 to $5 for a large batch, toppings about $15, and paper cones $5. Avoid toppings that melt quickly in a warm room, such as ice cream or whipped cream, and label spicy toppings clearly. Pop the corn just before guests arrive so it stays crisp, and keep a second batch ready in the kitchen for the mid-film refill that always happens.
19. Outdoor Blanket Fort Cinema Under the Stars
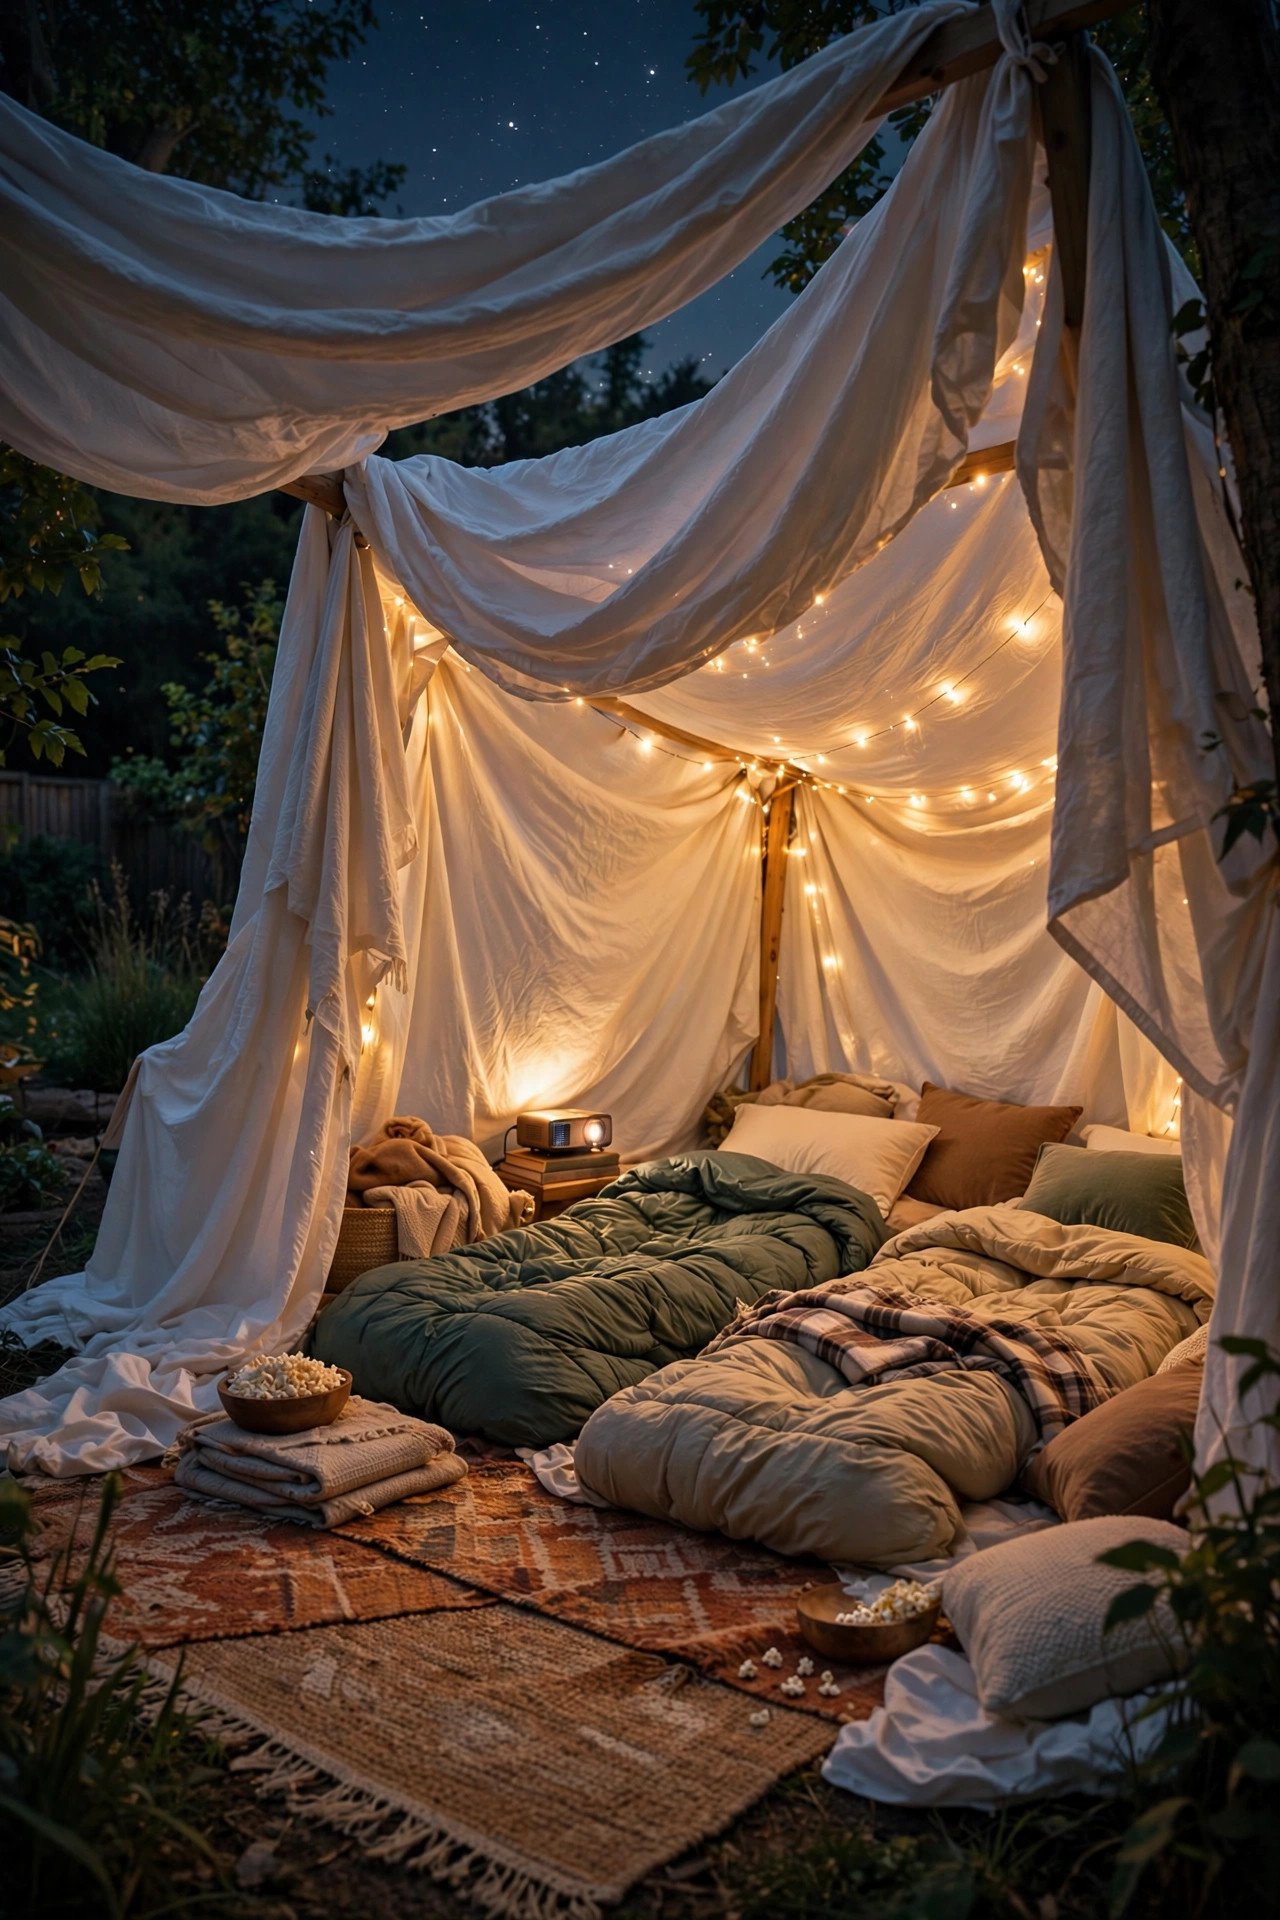
For a garden night, build a simple fort from two washing lines or poles, a large tarp or old sheets overhead, and blankets draped down the sides to block wind and neighbour light. Lay a thick groundsheet, then rugs, then sleeping bags or duvets, so guests lie back and watch the stars between scenes. Hang two strings of fairy lights inside the fort roof for a cosy glow, and place a small lantern at the entrance. The fort costs nothing if you use sheets and poles you own, or about $25 for a tarp and extra fairy lights. Avoid building under trees that drop debris, check for insects before guests lie down, and have an indoor backup ready if the temperature drops below about 50°F. This is the most memorable version of the night for teenagers and couples.
20. Budget Dollar-Store Movie Night Kit
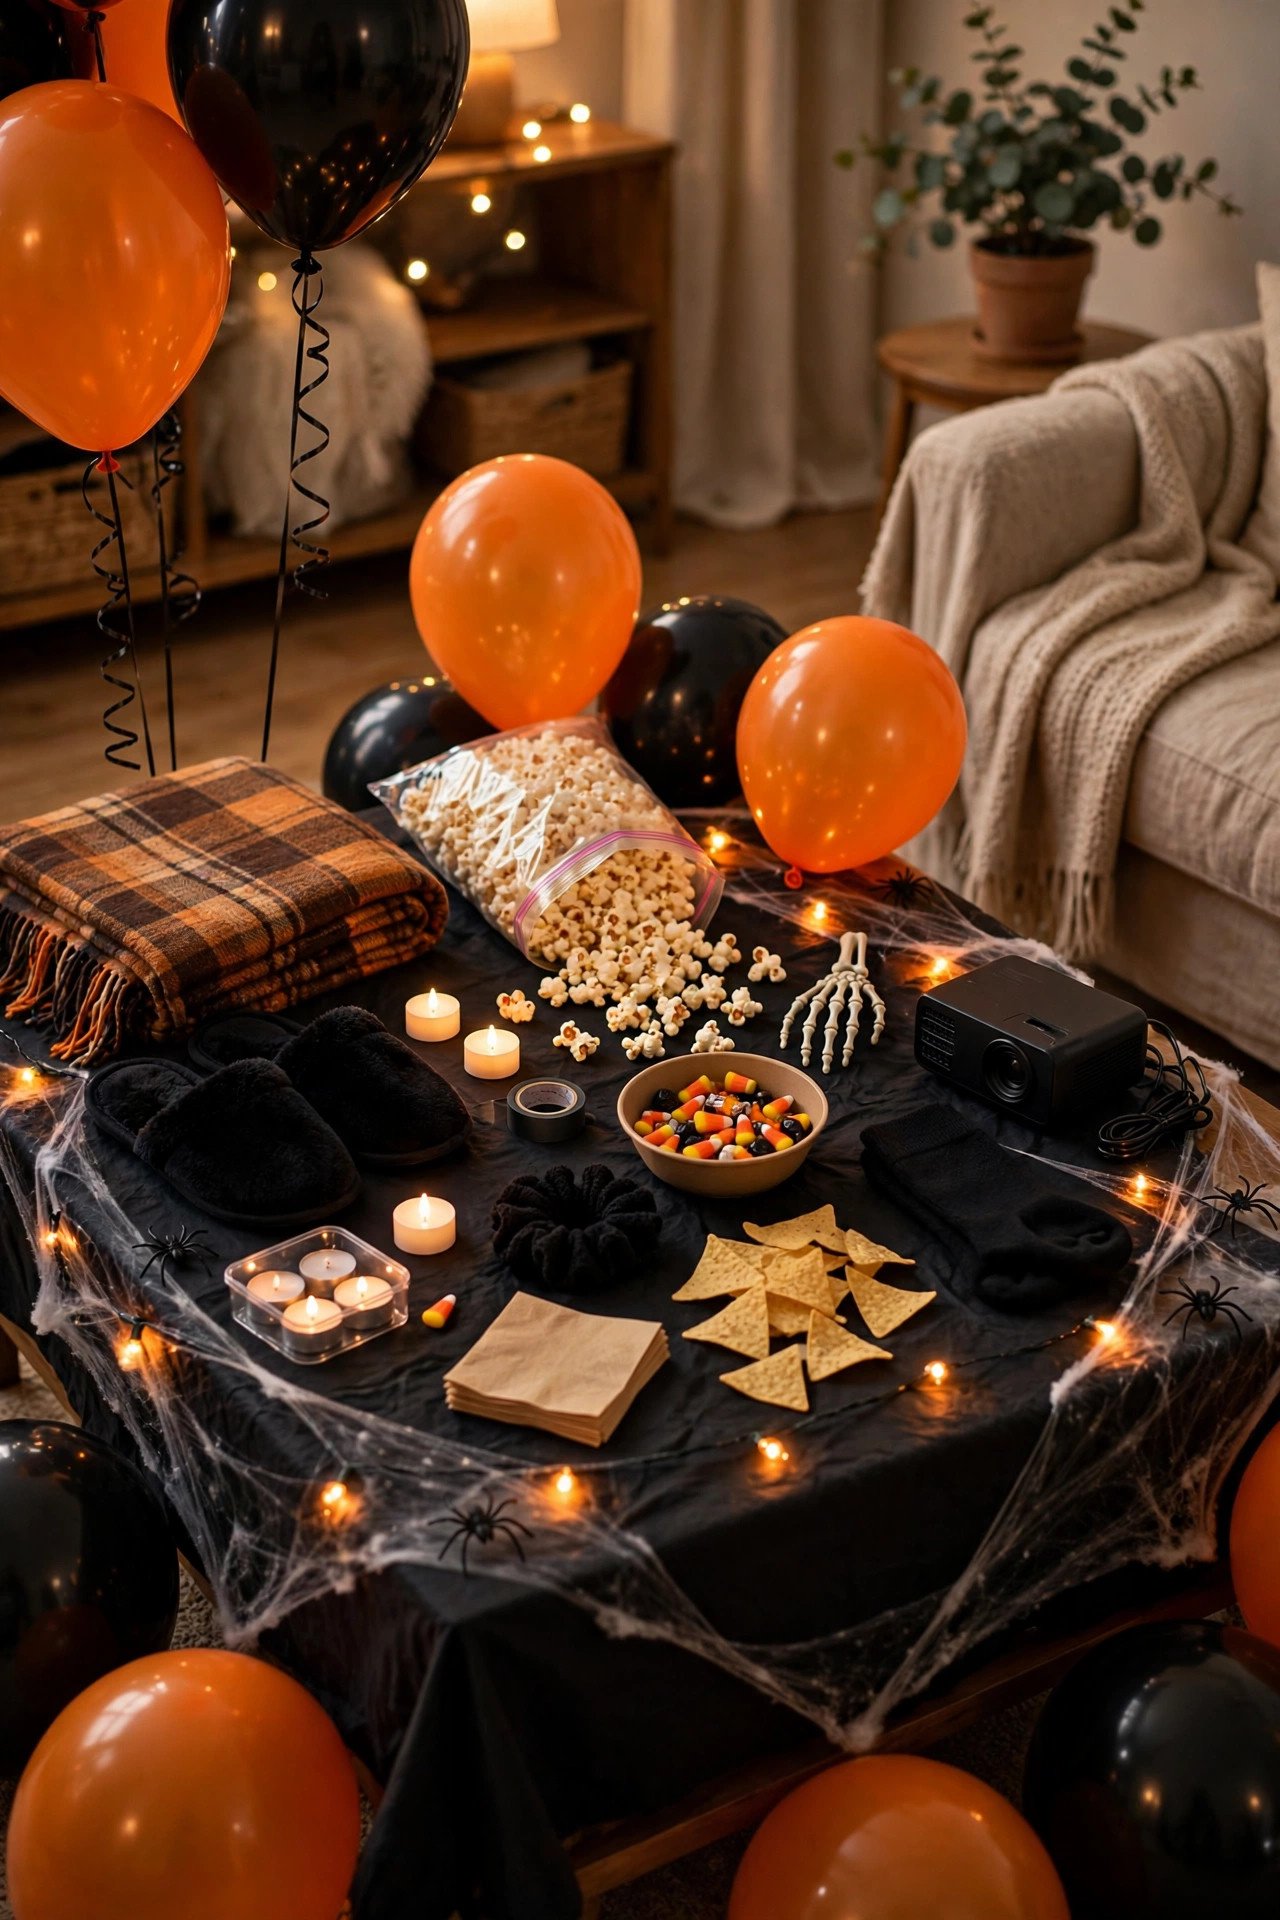
Prove that a great night costs under $25 by shopping one basket: two packs of black and orange balloons, one bag of spider webs, one string of orange fairy lights, a pack of plastic spiders, a black tablecloth, and a pack of paper cups with Halloween prints. Inflate the balloons the afternoon of the night, scatter them around the seating, drape the webs in one corner, hang the lights, and use the tablecloth on the snack table. That single basket transforms a plain room in under thirty minutes. Avoid buying everything in sight — one bag per category keeps the room stylish rather than cluttered — and reuse the lights, tablecloth and cups holder next year. This kit is also the perfect fallback if you decide to host at the last minute, because every item is available in a single store trip. These DIY Halloween decorations on a budget that look expensive offer more low-cost upgrades if you want to stretch the kit further.
21. Haunted Concession Stand Cart
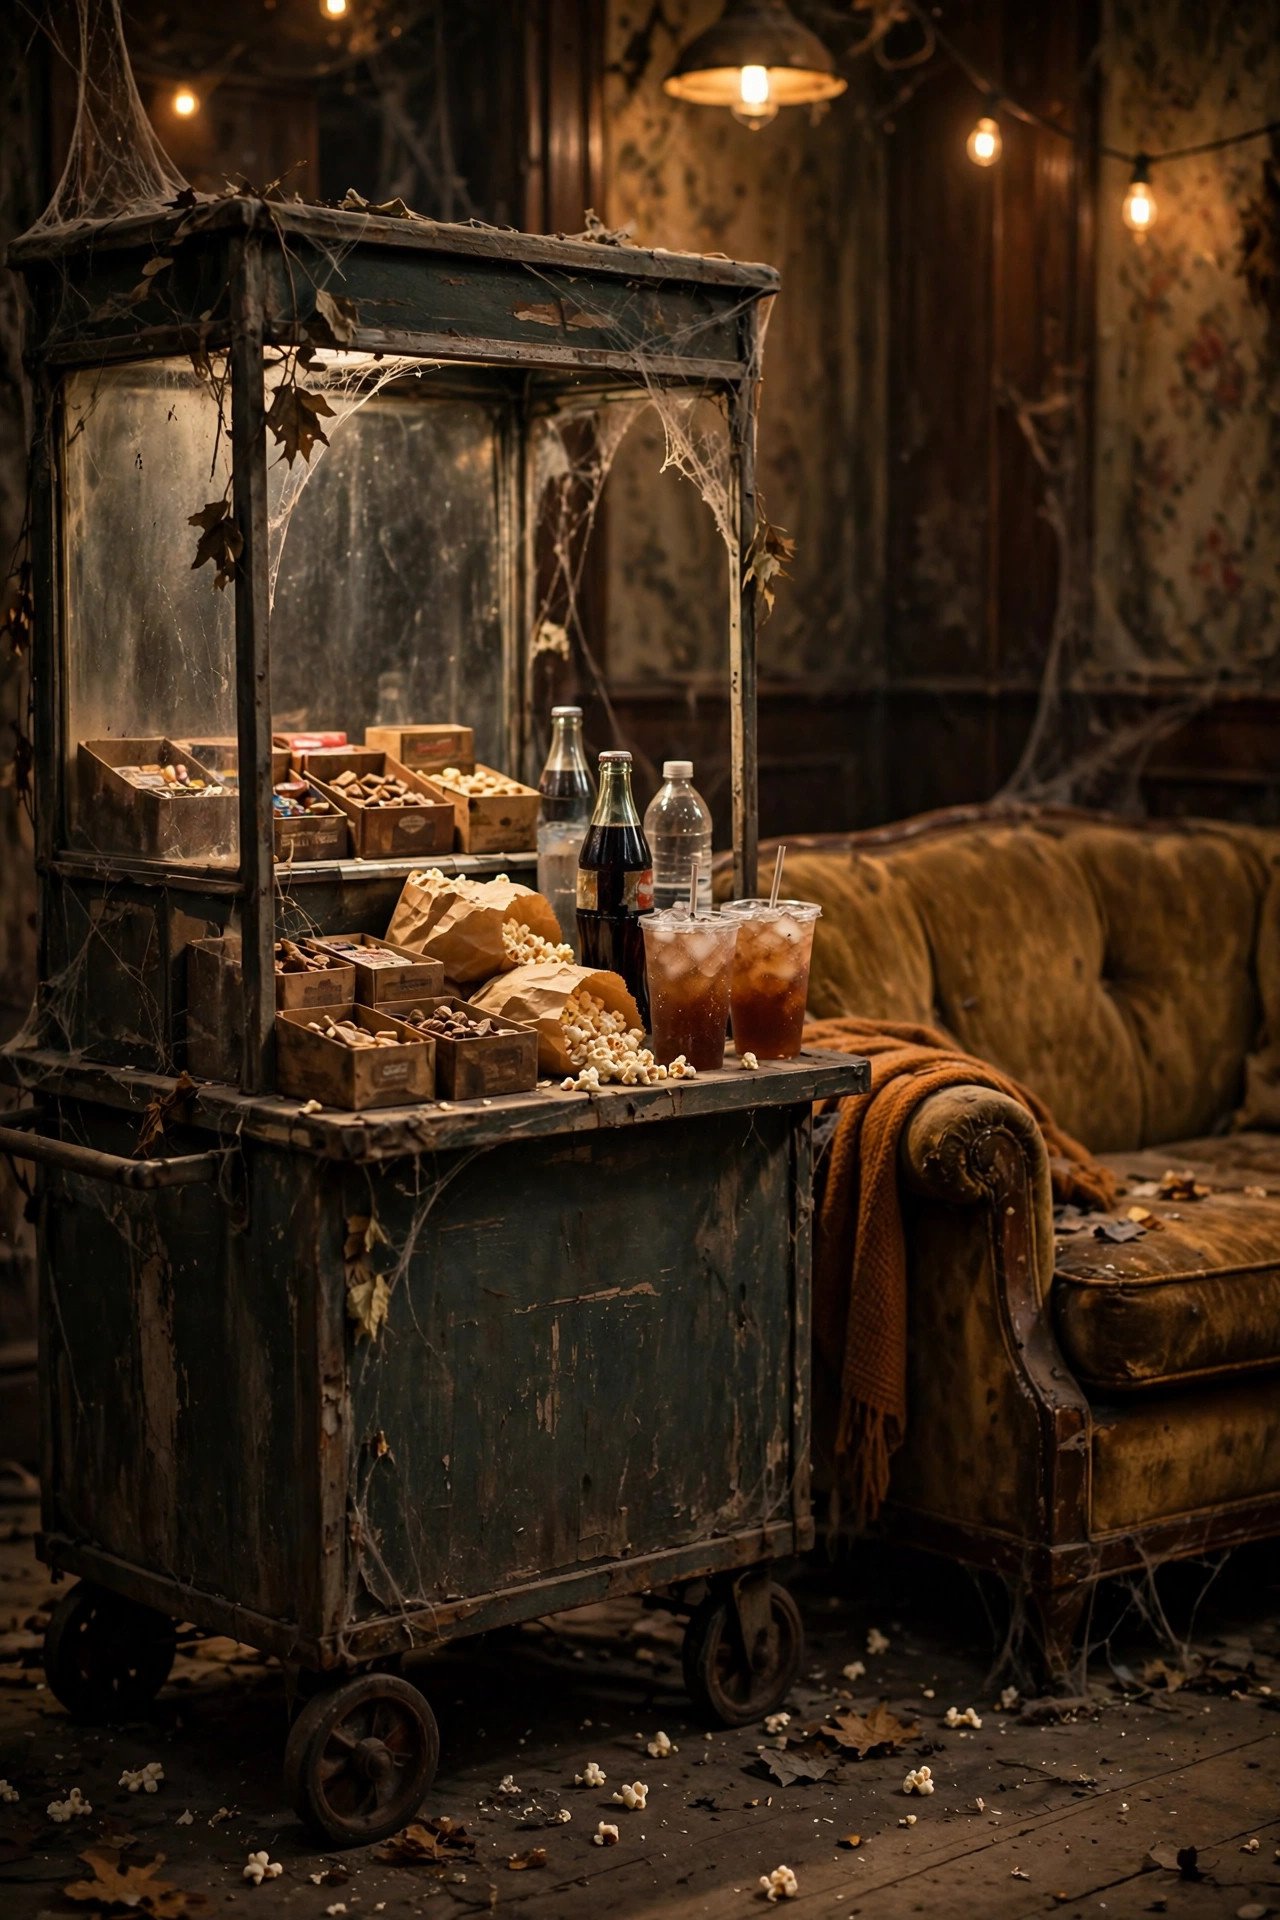
Convert a bar cart, kitchen trolley or small bookshelf into a concession stand with a striped awning made from a red-and-white tea towel, a menu board listing "Popcorn $0, Candy $0, Screams Free," and shelves stocked with candy boxes, popcorn bags and drinks. Wheel the cart beside the seating so guests can help themselves during the film without getting up, and restock it at the interval. A small trolley costs $40 to $60 if you buy one, or $0 if you repurpose a shelf unit. Avoid overloading the top shelf, which can tip, and keep drinks on the bottom shelf to prevent spills onto the snacks. Children especially love serving themselves from a cart, and it photographs as the centrepiece of the whole night.
22. Photo Booth with Movie Props
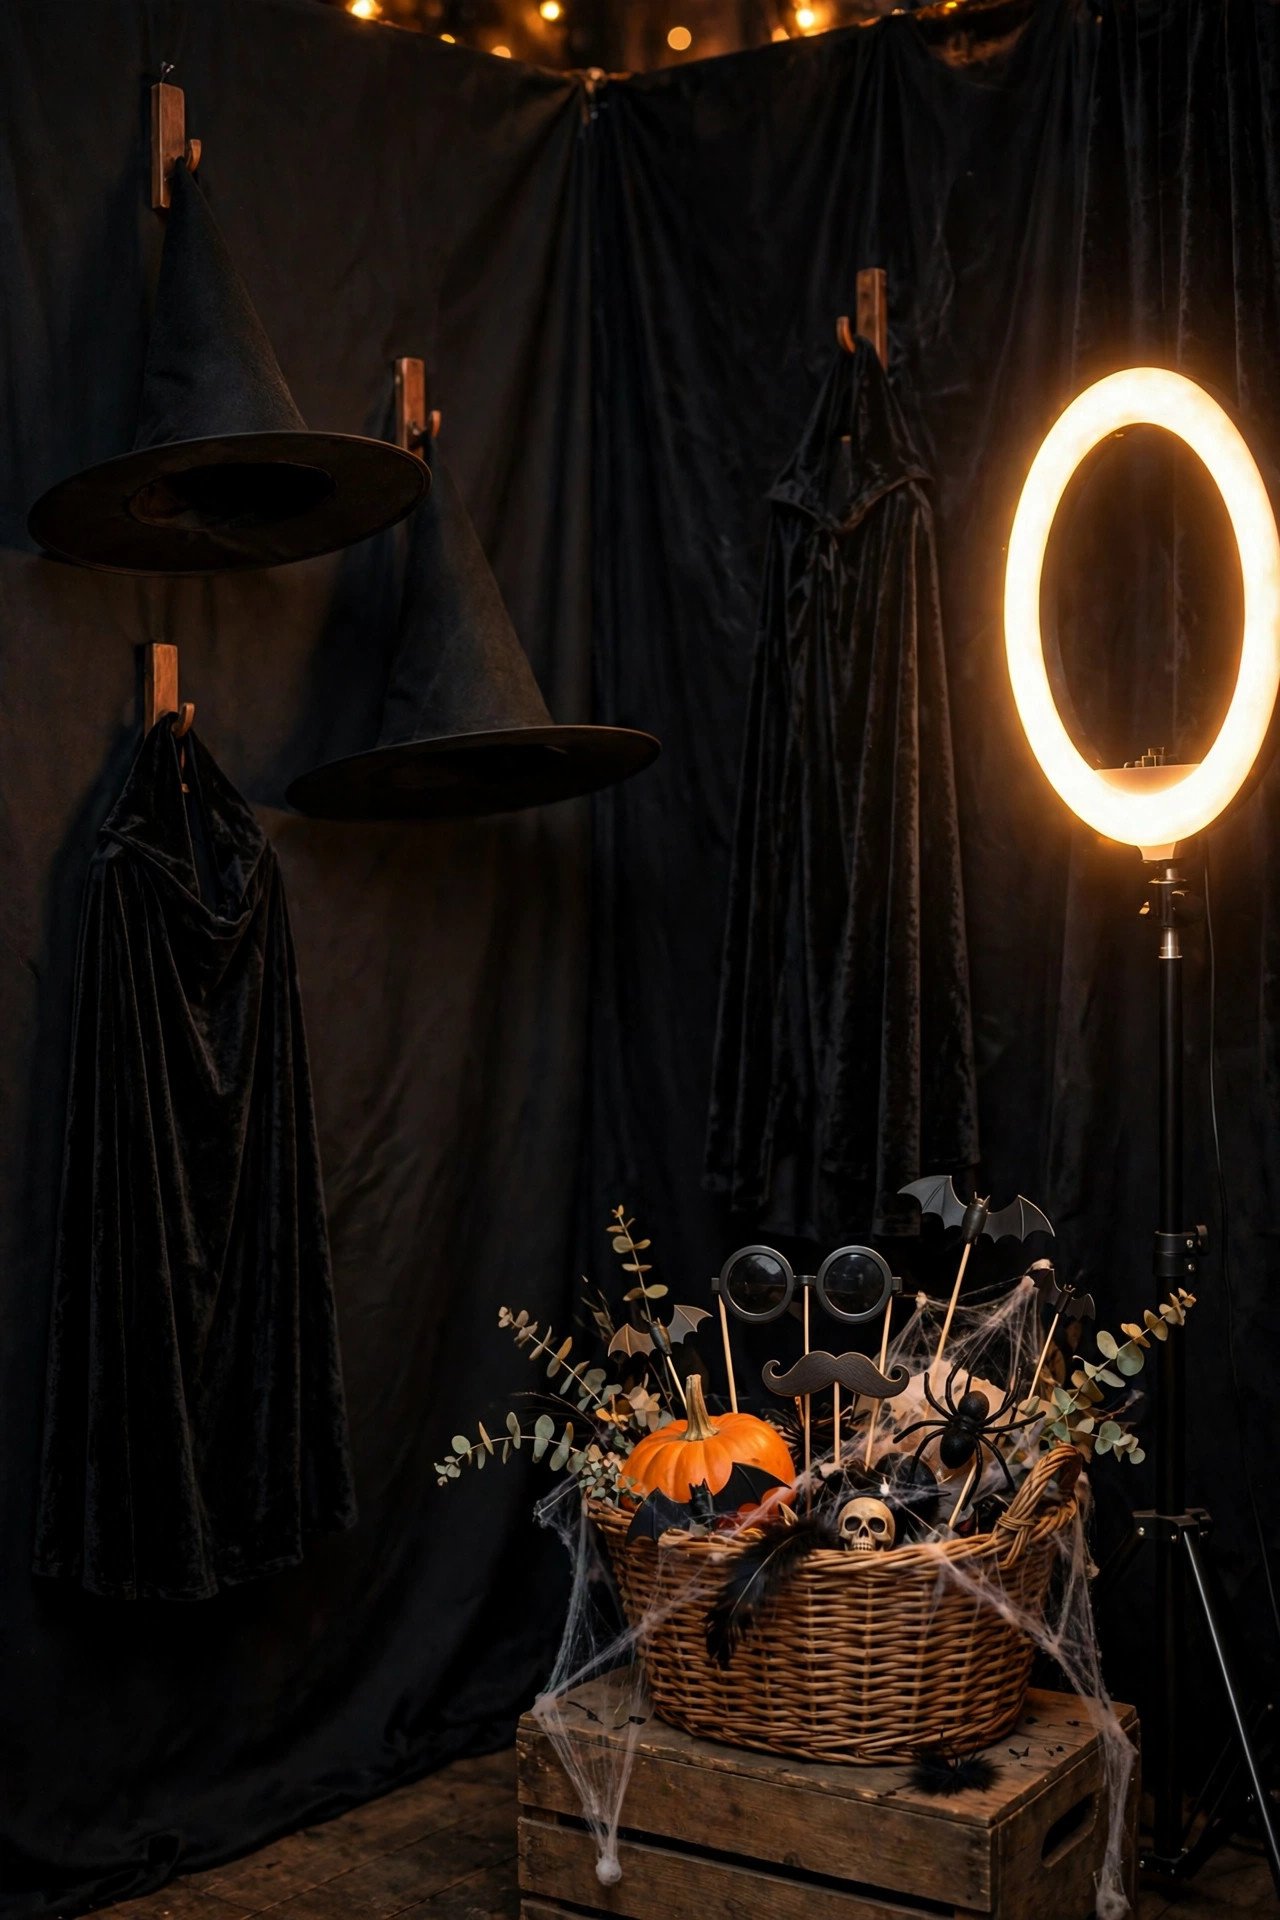
Set up a photo corner beside the marquee sign with a plain black sheet as the backdrop, a basket of props — witch hats, vampire capes, plastic fangs, clapperboards and "Boo!" speech bubbles on sticks — and a small ring light or lamp for flattering light. Guests take their own photos on phones, which costs nothing, or you set up a simple tripod and timer. Props cost $15 to $25 as a set, or make speech bubbles from card at home for free. Avoid props with sharp edges for young children, and keep the booth away from the screen so flash photography does not disturb viewers. At the end of the night, share the photos in a group chat so everyone leaves with a memory, not just a sugar rush.
Practical Tips
Set your budget before you shop, not after. A $25 dollar-store kit can look just as intentional as a $200 setup if you stick to two or three colours — black, orange and one accent such as purple — and repeat them in the lights, the tablecloth and the cushions. Buy the projector, lights and reusable props first, then spend what is left on consumables such as candy and popcorn, which guests notice far less than a dark room and comfortable seating. For broader seasonal styling inspiration, browse The Spruce and Better Homes & Gardens for Halloween decorating guides.
Treat lighting safety as seriously as atmosphere. Use LED candles and battery lights everywhere fabric, paper or webbing is nearby, keep every cord taped or tucked along a wall, and leave one low lamp on near the door so guests can find the bathroom without tripping. Test the whole setup the night before if you can: sit in every seat, check that nobody's head blocks the screen, and watch five minutes of a film in the dark to catch glare, buzzing speakers or a flickering bulb.
Comfort decides whether guests stay for the whole film, so prioritise seating over extra decoration. Provide one throw per person, a cushion for lower-back support, and a small side table or tray within reach of every seat for drinks. Start the film no later than 30 minutes after guests arrive, so the snacks, photos and ticket-booth fun happen first and nobody is still arriving during the opening scene. Finally, keep a simple tidy-up box by the door for props and rubbish, so the morning after takes ten minutes instead of an hour.
Final Thoughts
A Halloween movie night works best when it feels like a cinema you built together, not a shop window you copied. Pick the screen setup, the seating and one snack station as your core, add lighting and one photo-worthy detail, and let the film do the rest. Your guests will remember the cosy blankets, the glowing pumpkins and the shared scares long after the decorations come down.
You May Also Like: – 22 Halloween Living Room Decor Ideas Spooky Yet Stylish – 22 Halloween Party Decor Ideas for a Spooktacular Celebration – 22 DIY Halloween Decorations on a Budget That Look Expensive
Frequently Asked Questions
What is the cheapest way to decorate for a Halloween movie night?
Use a $25 dollar-store kit with balloons, spider webs, orange fairy lights and a black tablecloth, plus blankets and cushions you already own. Darkness, comfortable seating and one snack station matter more than expensive props, so spend on lights and food first and reuse everything next year.
How do I set up a projector for an outdoor Halloween movie night?
Hang a white king-size sheet twelve to fifteen feet from a small portable projector on a sturdy table, and test the picture after sunset when it is fully dark. Secure the sheet against wind, keep electronics off wet grass, and bring a backup plan indoors in case of rain or cold weather.
What snacks work best for a Halloween movie night?
Popcorn with spooky toppings, candy in labelled jars, cupcakes with orange frosting and a punch bowl cover almost every taste and budget. Offer one savoury option, one sweet option and plain water, keep nut products separate for allergies, and refill everything before the film starts.
How can I make a Halloween movie night kid-friendly?
Choose an age-appropriate film, add a friendly corner with beanbags, glow sticks and colouring pages, and use smiling pumpkins and pastel bunting instead of horror props. Agree a code word so a child can ask for a break, and keep one lamp on low so the room never feels frightening.
What lighting is safest for a Halloween movie night?
Battery LED candles, fairy lights and LED strips give a warm, flickering glow with no fire risk near curtains, blankets or spider webs. Avoid real candles near fabric, tape down cords, keep one low light near the door for safe footing, and never use strobe lighting during the film.
How early should I start decorating for a Halloween movie night?
Start the afternoon of the night for a simple indoor setup, or the day before for an outdoor screen, carved pumpkins and a ticket booth. Hang lights and backdrops first, set out seating and snacks last, and test the projector, sound and lighting for five minutes before guests arrive.