22 Halloween Dessert Table Ideas for a Spooky Sweet Spread
A Halloween dessert table is not just a place to put sweets, it is the centrepiece of the whole party, the spot guests photograph first, gather around longest and remember best. Done well, it looks abundant without being chaotic, spooky without being gory, and generous without costing a fortune, because the magic comes from height, colour, light and labelling rather than from dozens of complicated bakes. Think of the table as a display first and a buffet second: build it upwards, group treats by colour and height, leave clear space for serving, and let one hero piece draw the eye while smaller treats fill the gaps around it.
Looking for more inspiration? Our Nest Decorz homepage gathers the latest home decor ideas, seasonal decorating guides and room-by-room styling tips in one place — start there and explore.
In this guide you will find 22 practical dessert table ideas that cover the layout, the stands, the centrepiece, the backdrop, the lighting and the finishing touches, from a tiered cake stand and apothecary jars of candy to a donut wall, a chocolate fountain and rolling dry ice fog. Every idea includes real sizes, quantities, costs and variations, plus the one mistake to avoid, so you can build a show-stopping spread for twelve guests or thirty, in a kitchen, a dining room or a hired hall, with shop-bought treats, home bakes or a mix of both.
1. A Tiered Cake Stand as the Table's Tall Anchor

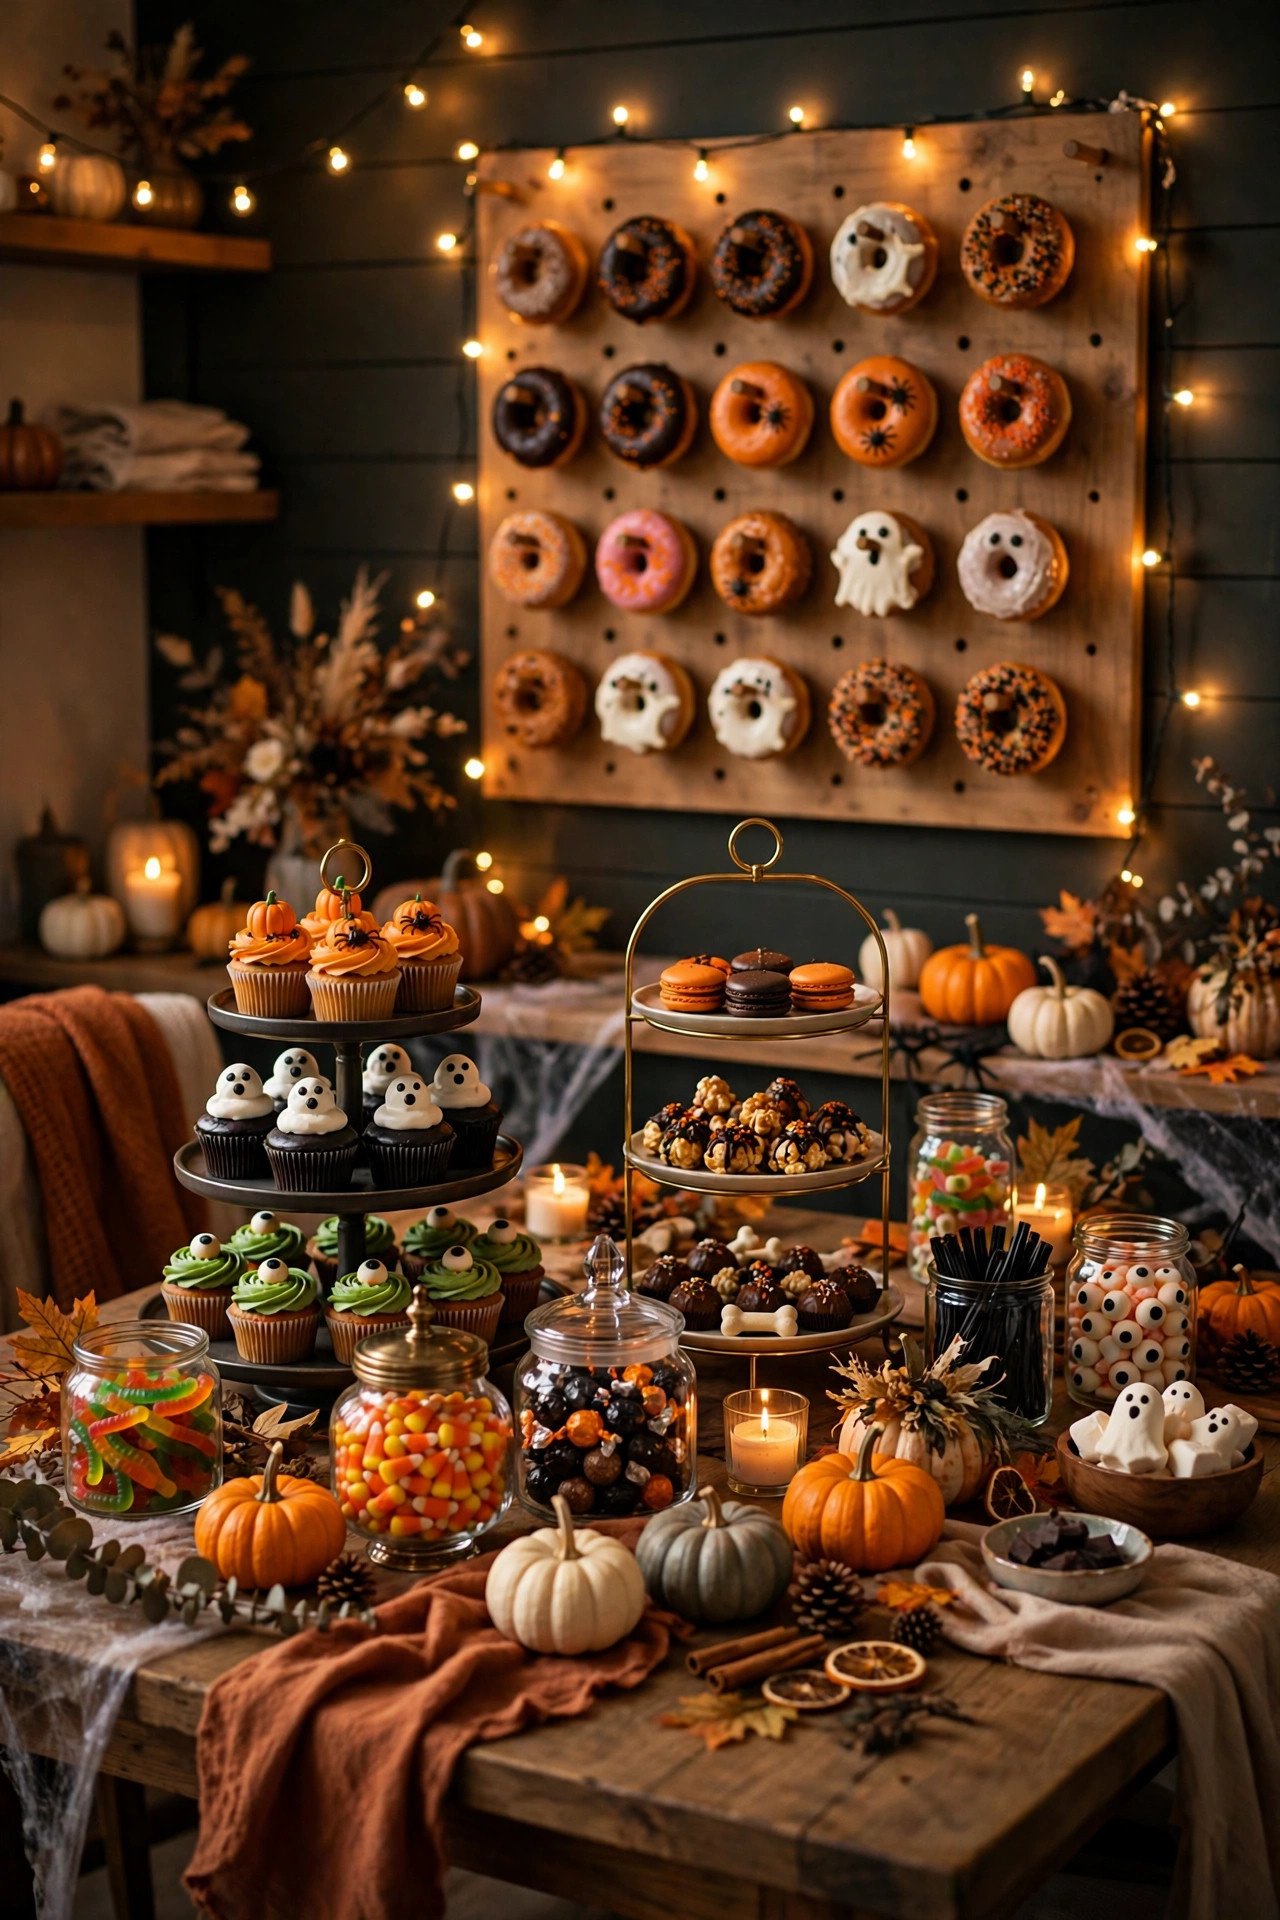
Place a three-tier cake stand, about 35 to 45 centimetres tall, slightly off-centre on the table and build everything else around it. Put the largest item, a small cake, a stack of brownies or a bowl of wrapped sweets, on the top tier, cupcakes or mini tarts on the middle tier, and wrapped candy or macarons on the bottom tier, keeping each tier to a single colour family so the stand reads as one sculptural piece rather than clutter. A sturdy metal or ceramic stand costs £18 to £30 and can be reused for birthdays and Christmas, while a cardboard stand costs £6 to £10 but should only hold light items. The mistake to avoid is overloading the top tier with a heavy cake on a flimsy stand, which can lean, wobble or collapse mid-party, so test the stand with full plates the day before and keep the heaviest items low.
2. A Black Tablecloth with a Gauze Runner Down the Centre

Start with a plain black tablecloth that reaches almost to the floor on a 180-centimetre folding table, then lay a torn cheesecloth or gauze runner, about 30 centimetres wide and 3 metres long, loosely down the centre so its frayed edges spill over both ends. The black cloth hides table legs, stains and extension joins, while the pale gauze softens the darkness, catches the light and gives every stand and jar a textured base to sit on. A polyester tablecloth costs £10 to £15, gauze costs £5 to £8 per length, and both can be washed and reused. Unlike a seated dinner setting, where place settings and plates fill the surface, a dessert table needs that long central runner to guide the eye along the spread, as these Halloween tablescape ideas show. The mistake to avoid is using a shiny satin cloth, which shows every fingerprint and crumb and glares in photographs, so choose matte fabric every time.
3. Apothecary Jars Filled with Layered Candy

Group three to five glass apothecary jars of mixed heights, from 25 to 35 centimetres tall, at one end of the table and fill each with a single candy layered by colour, such as orange candy corn at the base, white marshmallows in the middle and black liquorice twists on top. Glass matters here, because guests need to see the layers, and a mix of tall, squat and lidded jars creates a varied, collected silhouette. Allow about 500 grams of candy per large jar and 250 grams per small jar, provide a scoop or tongs for each jar, and keep lids on until guests arrive Jars cost £6 to £12 each, or nothing if you reuse large jam jars and vases, and the candy itself runs £12 to £20 for a full display. The mistake to avoid is mixing different candies in one jar, which looks muddy, makes allergen labelling impossible and leaves guests picking through sweets they do not want.
4. A Spooky Centrepiece of Pumpkins, Skulls and Candles

Build the centrepiece as a low, wide cluster in the middle of the table, using two small real or foam pumpkins, one decorative skull, and three LED pillar candles in heights from 10 to 20 centimetres, grouped in odd numbers with the tallest item at the back. Keep the cluster no higher than 30 centimetres so guests can still see and talk across the table. Place the candles on small gold or black saucers so wax-coloured LED bases do not sit directly on the cloth. A foam pumpkin costs £4 to £8, a resin skull £6 to £12, and a set of three LED candles £10 to £15, making this a £20 to £35 centrepiece that can be reused for years. The mistake to avoid is placing real candles beside gauze, cobwebs or paper labels, which is a fire risk, so use flameless candles throughout and keep every flame-free glow behind glass or on a stable, heat-safe base.
5. Handwritten Potion Labels for Every Treat

Label every single dish with a small handwritten tag, such as "Witches' Brew Brownies", "Ghost Marshmallows" or "Zombie Brain Gummies", written in black ink on kraft card or cream luggage tags and tied with twine or clipped to a mini wooden stand. Labels do two jobs at once: they turn ordinary shop-bought treats into part of the story, and they tell guests what they are eating, including the main allergens in small print underneath the fun name. Make the tags 6 by 9 centimetres so they can be read from a metre away, write the treat name in larger letters and the allergens in smaller, clear print below, and prepare them the day before. Tags, twine and stands cost £5 to £8 for a full table. The mistake to avoid is clever but illegible handwriting in fancy script, which leaves guests guessing, so print in neat capitals and test each label at arm's length before the party.
6. A Backdrop of Bats, Gauze and Fairy Lights

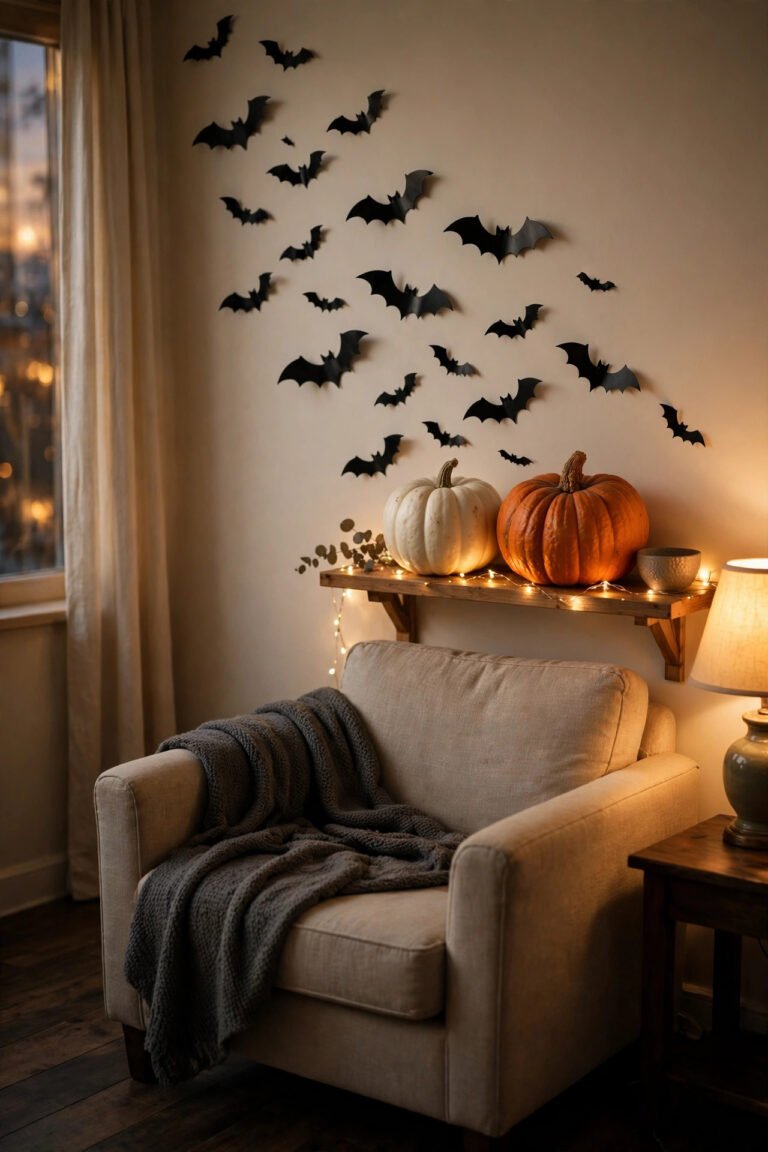
Hang a backdrop behind the table, about 2 metres wide and 1.5 metres tall, made from a black fabric or paper backdrop, a draped length of white gauze, twenty to thirty paper or card bats cut in three sizes, and two strings of warm-white fairy lights with 100 lights each. Fix the backdrop to the wall with removable adhesive hooks, drape the gauze in loose swags scatter the largest bats at the top and the smallest bats lower down and run the fairy lights behind the gauze so the glow is diffused rather than harsh. This backdrop frames every photograph, hides a plain wall, and ties the table to the rest of the room, as in these Halloween party decor ideas. Materials cost £15 to £25 in total. The mistake to avoid is hanging the backdrop so low that it blocks the table or so high that it floats disconnected above it, so align its bottom edge just behind the tallest stand.
7. Cupcakes Topped with Ghosts, Eyes and Spiders

Bake or buy 24 cupcakes in two flavours, chocolate and vanilla, frost them with white, orange or black buttercream, and finish each one with a single bold topper, a white chocolate ghost, a candy eyeball, or a plastic spider ring, rather than piling three decorations onto every cake. One topper per cupcake keeps the display readable, lets guests choose the design they like, and stops toppers sliding off soft frosting. Shop-bought cupcakes cost £12 to £18 for 24, home-baked cupcakes cost £6 to £9 for ingredients plus £5 to £8 for toppers, and a mix of bought cakes with home-added toppers is the fastest reliable route. The mistake to avoid is adding toppers the night before, because candy eyes bleed colour, chocolate ghosts soften and plastic spiders pick up frosting, so decorate within two hours of serving and keep finished cupcakes cool, covered and out of direct heat until the table is ready.
8. A Graveyard Cake with Cookie Tombstones

Turn a 20-centimetre round chocolate cake into a graveyard by covering it with chocolate buttercream, sprinkling crushed chocolate biscuits over the top to look like freshly dug soil, and pushing five or six rectangular ginger or shortbread cookies into the frosting as tombstones, each piped with a simple "RIP" in white icing. Add a few gummy worms half-buried in the biscuit crumbs, a small fence of pretzel sticks around one edge, keeping the decoration to the top and one side so a clean slice can still be cut from the other side. A home-baked cake costs £8 to £12 for ingredients, a shop-bought plain chocolate cake plus cookies and sweets costs £15 to £20, and the whole assembly takes about 30 minutes The mistake to avoid is decorating a warm cake, because buttercream melts, biscuit crumbs slide and tombstones lean, so cool the cake completely, chill it for 30 minutes, and only then add the graveyard details.
9. A Candy Corn Colour Palette in Glass and Gold

Build the colour story around candy corn, orange, yellow and white, repeated in glass bowls, gold trays, white plates and black stands, so the table looks intentional even when the treats themselves are a mix of shop-bought and homemade. Use orange napkins, yellow paper straws and white cupcake cases, place gold-rimmed trays under glass jars and repeat the three colours at least three times across the table, so no single colour appears only once and looks accidental. Glass bowls cost £3 to £6 each, gold trays £5 to £10, and the palette itself costs nothing beyond choosing treats in those colours. For broader seasonal colour inspiration, browse the palettes at House Beautiful and adapt the warm autumn tones to Halloween. The mistake to avoid is adding a fourth strong colour, such as bright green or purple, everywhere, because it competes with the candy corn palette, so if you use green or purple, keep it to one accent, such as the punch or a single garland.
10. A Haunted House Gingerbread as the Showpiece

Place a haunted house gingerbread, about 30 centimetres tall and 25 centimetres wide, on a sturdy wooden board at one end of the table and treat it as the showpiece guests walk over to see, rather than as just another cake to slice. Build it from a gingerbread house kit, assemble it with royal icing a day ahead so the walls set firm, then decorate with black icing roofs, orange icing windows, candy pumpkins, liquorice fences and a path of crushed biscuits leading to the door. A kit costs £12 to £20, extra sweets and icing add £5 to £8, and the finished house doubles as the table's photograph backdrop. If you have never assembled gingerbread before, read the step-by-step assembly guidance at The Spruce The mistake to avoid is assembling the house on the day of the party in a warm, humid kitchen, because soft icing slips and walls collapse, so build it 24 hours ahead in a cool room and transport it on its board, never by its roof.
11. Mini Desserts in Individual Cups for Easy Grabbing

Serve mini desserts in individual 60 to 90 millilitre clear plastic or glass cups, such as chocolate mousse topped with crushed biscuit soil, orange jelly with a gummy worm, or vanilla panna cotta with a candy eyeball, arranged in neat rows of six on trays or tiered stands. Individual cups solve the two biggest dessert table problems at once: guests can take one serving without cutlery or a serving spoon. Plan three to four cups per guest, so 20 guests need 60 to 80 cups, cups cost £4 to £7 for 50, and fillings cost £12 to £20 depending on whether you use shop-bought mousse, jelly and cream or make them from scratch. The mistake to avoid is filling cups to the brim, which spills when guests pick them up and leaves no room for a topping, so fill each cup two-thirds full, add the topping just before serving, and keep a tray of spare cups underneath for refills.
12. A Chocolate Fountain with Spooky Dippers

Hire or buy a three-tier chocolate fountain, about 40 centimetres tall, place it on a stable, level section of the table away from the edge, and surround it with small bowls of dippers, strawberries, marshmallows, pretzel sticks, biscuit fingers and cubes of brownie, each with its own cocktail stick or skewer. You will need about 900 grams of melted chocolate for a standard home fountain serving 20 guests, and the chocolate must be fountain chocolate or chocolate thinned with a little vegetable oil. A home fountain costs £30 to £45 to buy or £25 to £40 to hire for a weekend, chocolate costs £8 to £12, and dippers cost £10 to £15The mistake to avoid is placing the fountain where children can reach into the flowing chocolate or where a bumped table can send it sliding, so keep it at least 30 centimetres from the table edge, supervise it throughout, and switch it off and cover it once dipping is finished.
13. A Popcorn Bar with Caramel, Cheese and "Worm" Gummies
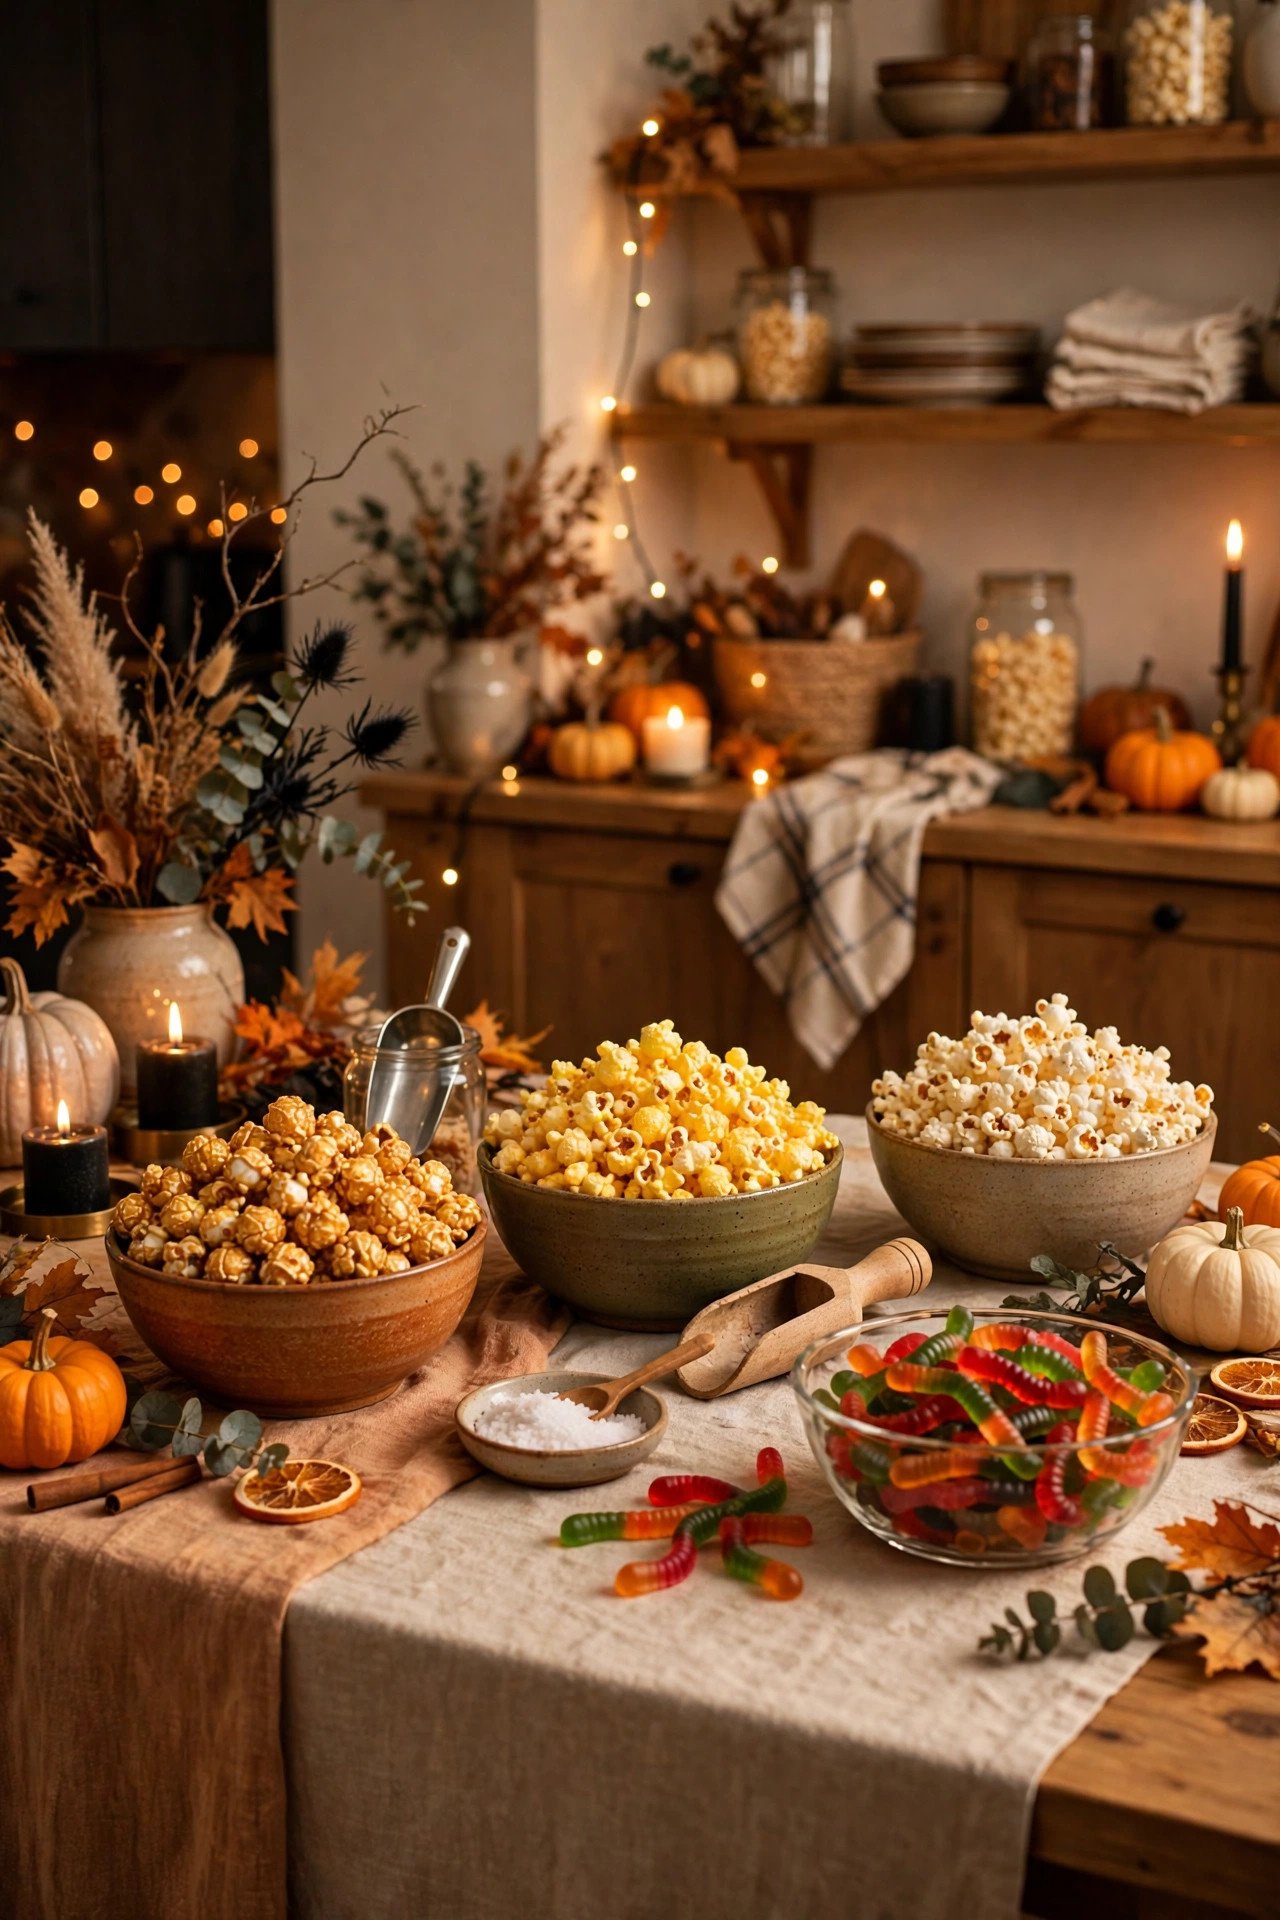
Set up a popcorn bar as the savoury-sweet filler that keeps the table looking abundant, using three large bowls, one each of caramel popcorn, cheese popcorn and plain salted popcorn, plus a smaller bowl of gummy worms labelled "worms" for guests to sprinkle over their own serving. Popcorn is cheap, light and voluminous, and offering three flavours lets guests mix and match without needing three separate desserts. Allow about 30 grams of popcorn per guest, so 20 guests need 600 grams in total, pre-popped bags cost £6 to £10, gummy worms cost £3 to £5, and bowls can be reused from the kitchen. The mistake to avoid is popping or opening the popcorn hours ahead, because it goes stale and soft in a warm room, so open bags and fill bowls no more than one hour before guests arrive, keep spare bags sealed for refills, and cover bowls with a clean cloth if the table sits empty for a while.
14. A Drinks Corner with Witches' Brew Punch

Carve out a drinks corner at one end of the dessert table, or on a small side table beside it, with a 4-litre punch bowl of dark berry or blackcurrant punch, a ladle and clear cups, plus a jug of water and a jug of plain juice for children. Keeping drinks with the desserts stops guests queueing in the kitchen, and a single large bowl is easier to refill and label than ten individual bottles. Punch ingredients cost £8 to £12 for 20 servings, and dry ice, if used, must be handled with gloves by an adult and never placed in individual cups, so use frozen grapes and plastic spiders in ice cubes instead. Adapt these Halloween bar cart ideas to a tabletop punch corner with the same grouping and labelling. The mistake to avoid is mixing an alcoholic punch into the main bowl without a clear label, so keep any adult drink in a separate, clearly marked jug and never assume guests will ask.
15. A "Trick or Treat" Sign in a Vintage Frame

Prop a "Trick or Treat" sign in a vintage-style gold or black frame, A4 or A3 size, at the front edge of the table or on a small easel behind the jars, so guests know at a glance that this is a help-yourself sweet table and not a display they should not touch. The frame elevates a simple printed sign into decor, and the wording gives shy guests, especially children, permission to take a treat. Print the sign at home on thick card, use a bold, readable font with orange or black lettering on a cream background. A second-hand frame costs £3 to £8, printing costs under £1, and the sign can be stored flat and reused every year. The mistake to avoid is placing the sign flat on the table or behind a tall stand where nobody can read it, so keep it upright, at the front, and at eye level for a child standing at the table.
16. A Skeleton Hand Serving Tray for Sweets
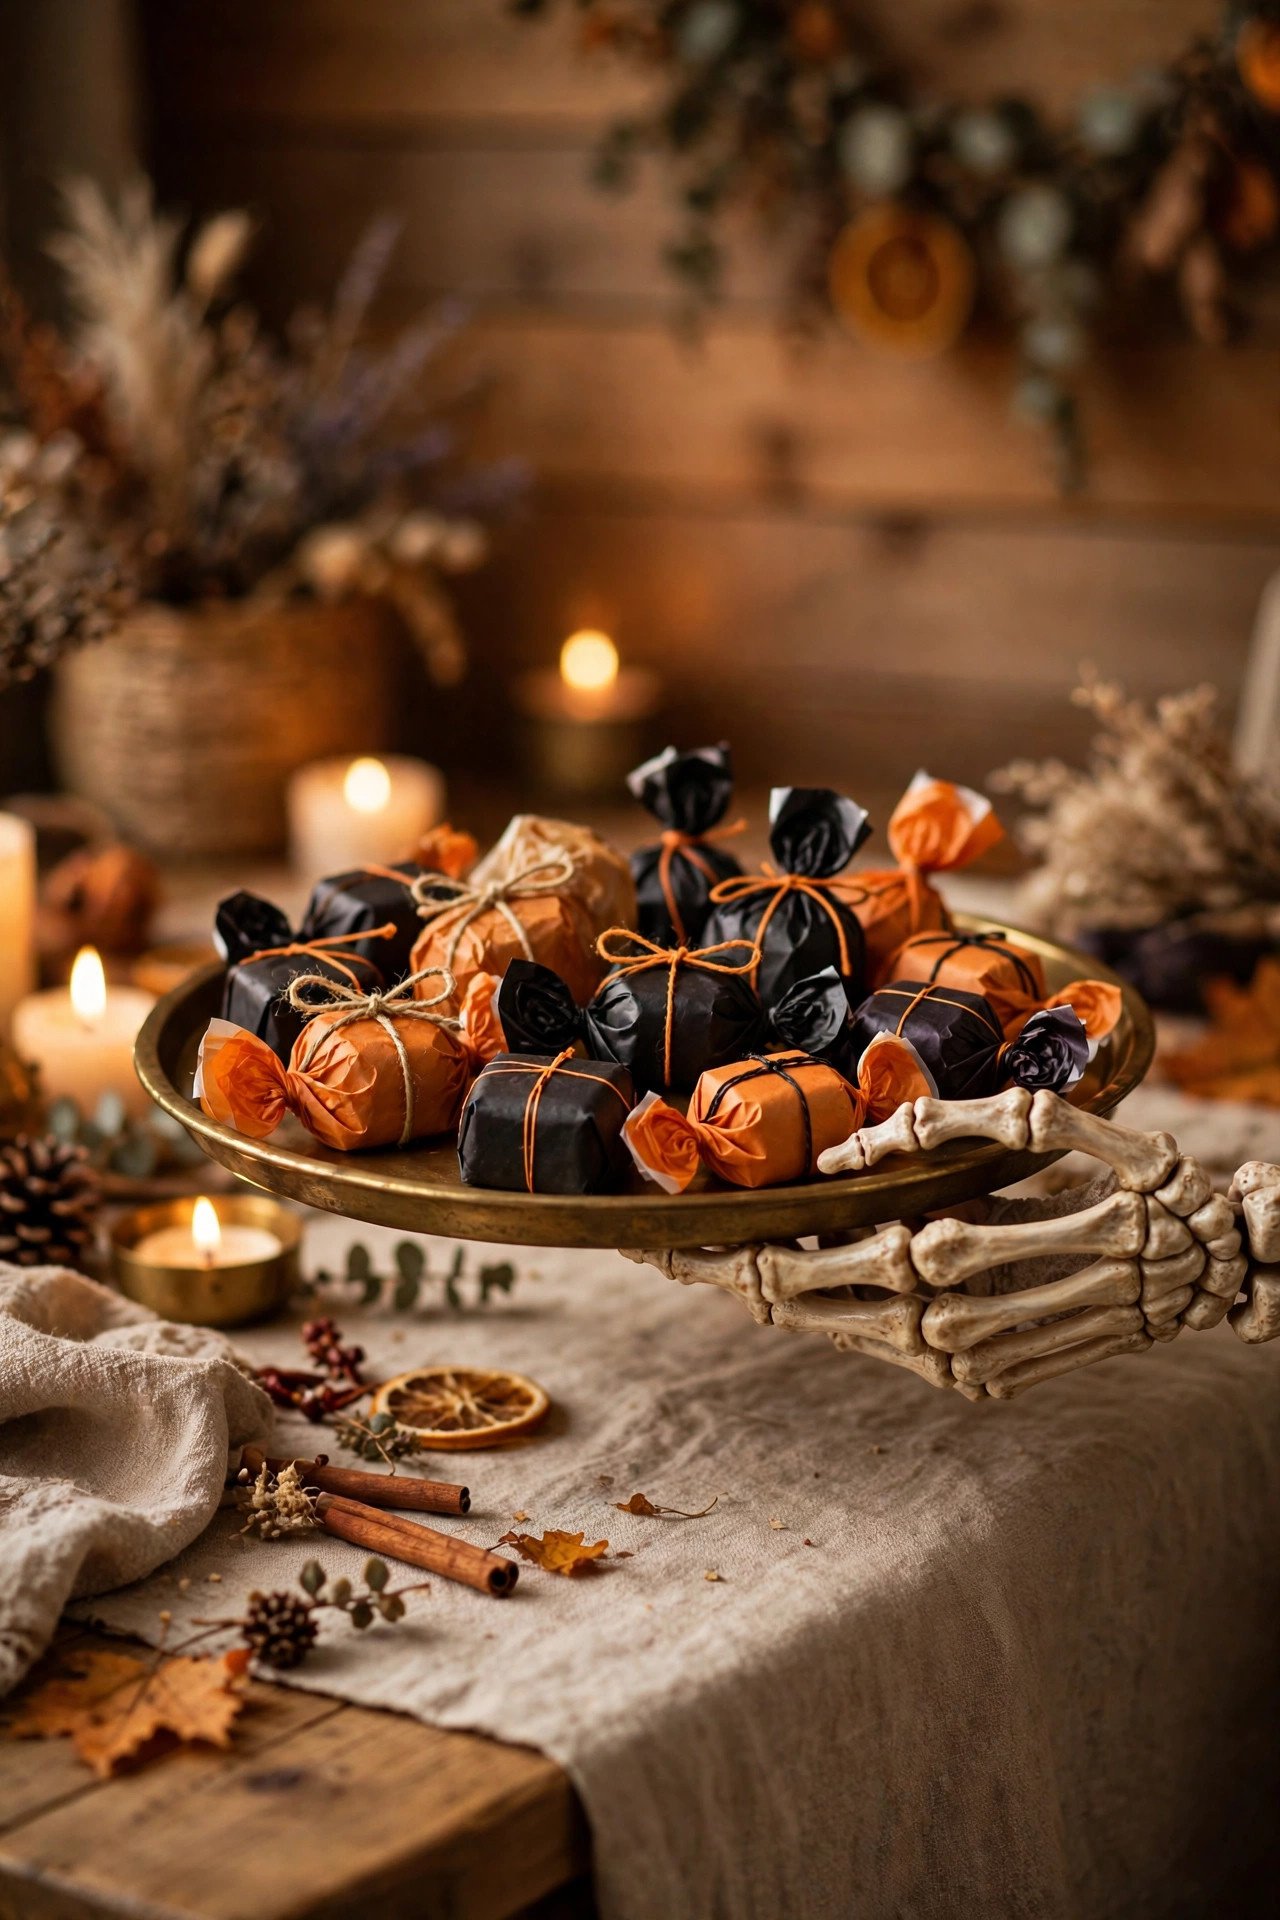
Serve wrapped sweets and small treats from a skeleton hand serving tray, a flat black or white tray shaped like an outstretched hand, placed at the front of the table where guests can reach it easily without stretching across the cake. The tray works because it is both a talking point and a practical serving piece, and it is best used for dry, wrapped items such as individually wrapped toffees, mini chocolate bars and candy bracelets. A resin or plastic skeleton hand tray costs £10 to £16, measures about 35 centimetres long, and can hold 20 to 30 wrapped sweets, making it ideal as a small, refillable feature rather than the main serving surface. The mistake to avoid is loading the tray with a heavy bowl or a full cake, which makes it unstable and hard to carry, so keep it light, keep it at the front, and refill it in small batches throughout the party.
17. A Mummy-Wrapped Cake with Candy Eyes

Wrap a 20-centimetre vanilla or lemon cake in strips of white buttercream or white fondant to look like a mummy, leaving narrow gaps of cake showing through like shadow, then add two large candy eyes near the top so the cake appears to be peeking out from its wrappings. Pipe the strips with a flat nozzle or lay thin fondant strips across the cake in overlapping, uneven rows. A home-baked cake costs £7 to £11 for ingredients, fondant and candy eyes add £4 to £6, and a shop-bought plain cake can be wrapped the same way for £12 to £16 in total. The mistake to avoid is wrapping the cake while it is still warm or freshly frosted, because strips slide and eyes sink, so chill the frosted cake for 30 minutes, apply the strips on a cool, stable surface, and add the eyes last, just before the cake goes on the table.
18. A Table Edge Draped with Faux Cobwebs and Spiders
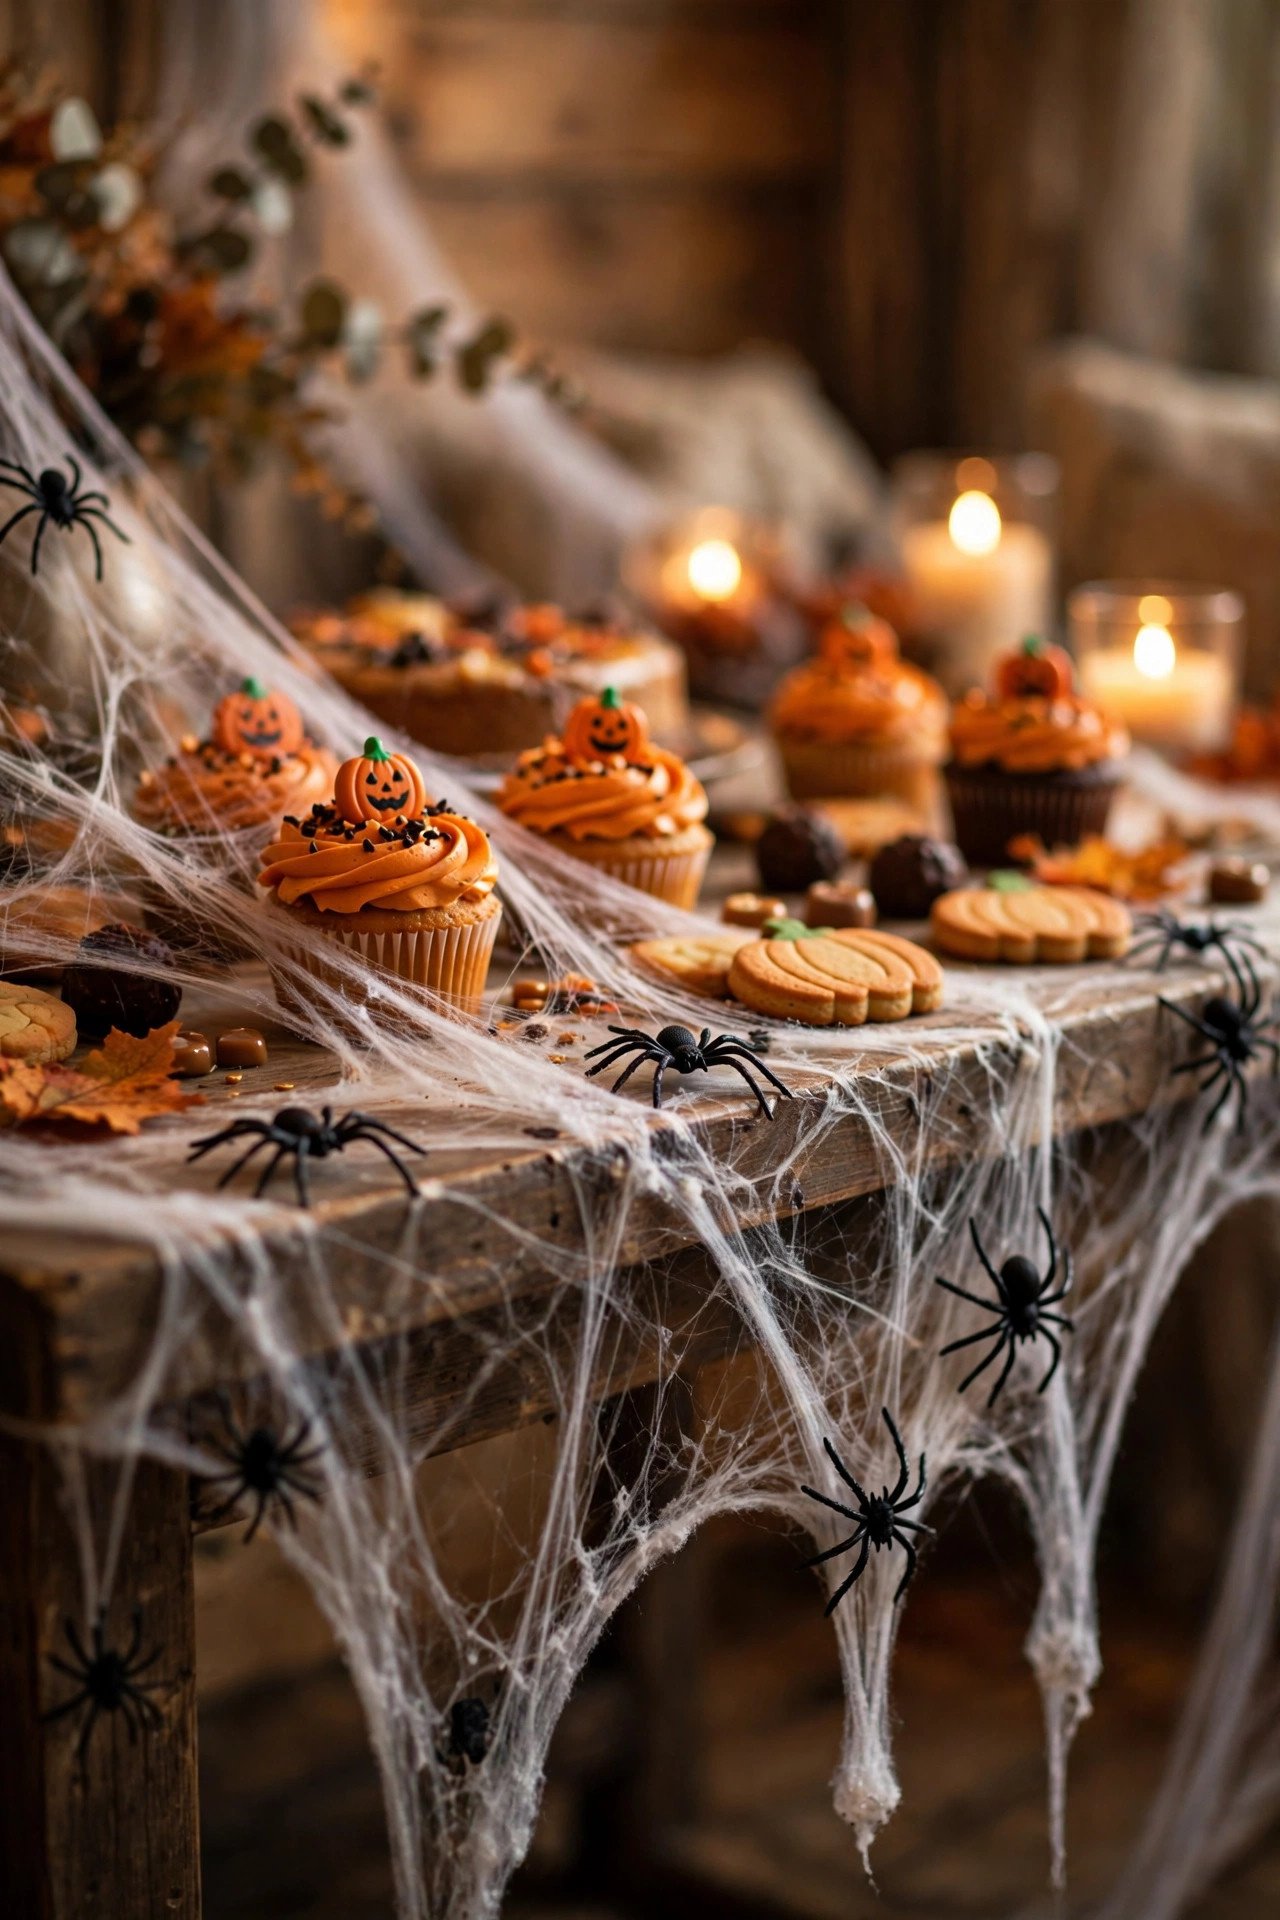
Drape stretched faux cobweb fabric along the front edge of the table, pulling it into thin, uneven strands that hang 20 to 30 centimetres below the tabletop, and add five or six plastic spiders in different sizes, two large ones near the corners and smaller ones scattered across the web. The key is stretching, because cobweb straight from the packet looks like a solid white sheet, while cobweb pulled thin and torn in places looks like a real, dusty web A bag of cobweb costs £3 to £5 and covers a 180-centimetre table plastic spiders cost £2 to £4 for a pack of ten, and the whole effect takes about 15 minutes to arrange. The mistake to avoid is covering the entire front of the table so guests cannot see the cloth, the labels or their own feet, so keep the web to the top edge and trim any strands that hang below knee height.
19. A Kids' Corner at Low Height with Friendly Treats
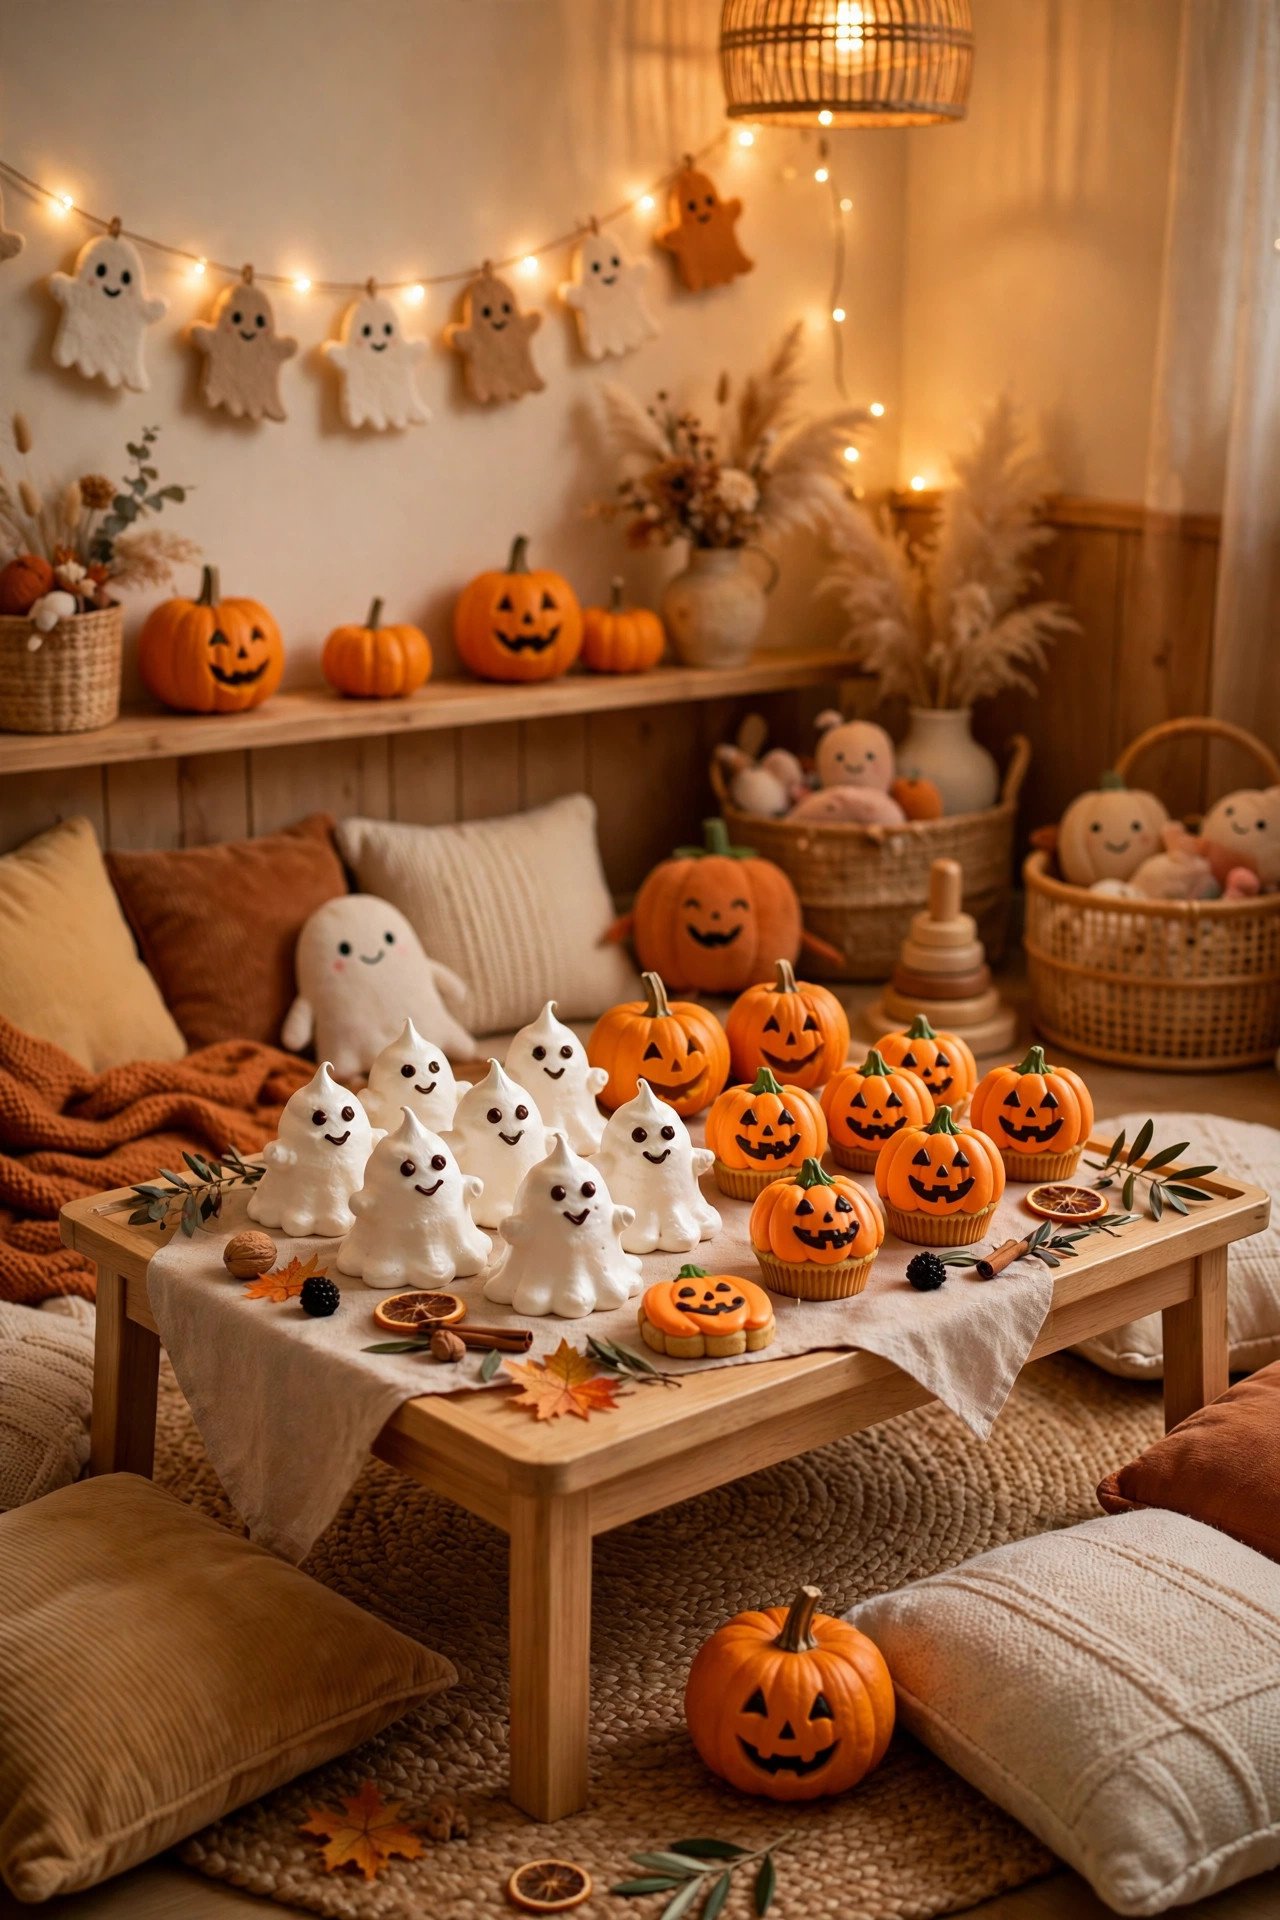
Create a dedicated kids' corner at one end of the table, on a low side table or a sturdy box 60 to 75 centimetres high, stocked with friendly treats such as ghost marshmallows, pumpkin biscuits, mini cupcakes and fruit, and decorated with smiling pumpkins and cartoon ghosts rather than skulls, blood or realistic spiders. Children serve themselves more confidently when treats are at their own height, in reach and clearly meant for them. Stock the corner with 20 to 30 small items, use unbreakable plastic plates and cups, and keep the treats nut-free where possible, with a clear label on the corner itself. This low, friendly zone uses the same clear zoning as these Halloween trick-or-treat station ideas, adapted from a doorway station to a tabletop corner. The mistake to avoid is placing the kids' corner beside the dry ice, the fountain or the candle cluster, because children will cluster there, so keep it at the opposite end and give it its own small sign.
20. A Donut Wall Hung Behind the Dessert Table

Hang a donut wall behind the dessert table, using a pegboard or foam board about 60 centimetres wide and 80 centimetres tall, painted black or orange, fitted with 12 to 18 short wooden pegs, each holding one ring donut with orange, black or white icing and a sprinkle topping. The wall adds a second vertical layer behind the table, fills the space between the tabletop and the backdrop, and gives guests a fun, self-serve feature that photographs brilliantly. A pegboard costs £8 to £14, pegs cost £3 to £5, and 18 donuts cost £12 to £18 from a supermarket bakery, making this a £25 to £35 feature that can be assembled in 30 minutes. The mistake to avoid is hanging donuts hours ahead in a warm room, because icing softens, donuts slide off pegs and the wall looks tired by party time, so hang them no more than one hour before guests arrive and keep spare donuts boxed for refills.
21. LED Candles and Amber Lights Glowing Under the Stands

Place battery-operated LED pillar candles and a string of amber fairy lights underneath and behind the tiered stands, jars and cake boards, so light glows out from below the display and every glass jar and gold tray catches a warm reflection. Under-lighting is what separates a flat, daytime-looking table from a spooky evening display. Use three to five LED candles in heights from 8 to 20 centimetres, one 3-metre string of 60 amber lights tucked behind the back row, and spare batteries on hand, at a total cost of £15 to £25, and switch everything on 30 minutes before guests arrive to check for dark spots. The mistake to avoid is running cables across the front of the table or across a walkway, which looks messy and trips guests, so tape cables to the back of the table, hide battery packs behind jars, and use only battery lights where no socket is safely within reach.
22. A Final Flourish: Dry Ice Fog Rolling Across the Table

Finish the table with dry ice fog rolling low across the surface, by placing 500 grams to 1 kilogram of dry ice in two or three wide, shallow bowls of warm water tucked behind the centrepiece and the cake stand. The effect lasts 20 to 30 minutes per batch of water, so prepare a second batch in a cool box and refresh the bowls once during the party for a second dramatic moment when guests are taking photographs, and keep the bowls stable, out of reach of children, and away from the edge. Dry ice costs £8 to £15 per kilogram bowls and warm water cost nothing extra, and gloves and tongs are essential, because dry ice burns skin on contact. Read the dry ice safety guidance on Wikipedia and follow the supplier's instructions exactly. The mistake to avoid is placing dry ice directly on the tablecloth, in a drink, or in a sealed jar so always use open bowls, warm water and adult supervision.
Practical Tips
Plan the guest flow before you plan the treats, because a beautiful table that guests cannot move around will frustrate everyone. Leave at least 90 centimetres of clear space in front of the table, arrange treats in a one-way line from plates and napkins at one end to cups and drinks at the other, and place the most popular items, the cake and the cupcakes, in the middle so the queue does not bunch at one end. Provide small plates, napkins and a bin or tray for wrappers within arm's reach, refill in small batches rather than piling everything out at once. For 20 guests, plan three to four small servings each, 60 to 80 servings in total, and for 30 guests, scale to 90 to 120 servings, always rounding up on mini portions and drinks rather than on large cakes that go stale.
Food safety decides whether a dessert table is a success or a worry, so treat the two-hour rule as non-negotiable for perishable treats. Keep mousse, cheesecake, cream cakes and cut fruit chilled until 30 minutes before guests arrive, set cold bowls over trays of ice, return leftovers to the fridge after two hours at room temperature, and keep the table away from radiators, sunny windows and the oven. Label every dish with its main allergens, nuts, dairy, eggs, gluten and gelatine, keep nut items on a separate stand with their own tongs, offer at least two nut-free and two dairy-free options, and never use the same tongs for different dishes. Cover the table with a clean cloth if it sits empty before the party, throw away any treat that has been touched, dropped or left uncovered for a long period rather than putting it back on display.
Budget the table in three parts, height, lighting and one hero piece, and spend there first, because those three elements create the impression of abundance. Reuse stands, jars, trays and LED candles from previous years, buy supermarket treats and add homemade labels, toppers and a backdrop for the personal touch, and expect £60 to £120 for 20 guests on this route. Set out all non-perishable decor the day before, test every light that evening, and assemble the table two to three hours before the party, adding cold desserts, dry ice and final garnishes in the last 30 minutes. At the end of the night, pack leftovers into labelled boxes, wash and dry jars and stands before storing, keep the labels and sign flat in an envelope so next Halloween starts with a head start.
Final Thoughts
A show-stopping Halloween dessert table does not need a professional baker, a huge budget or a hall full of props, it needs a clear layout, a tall anchor, a restrained colour palette, honest labelling and light that glows from below and behind. Start with the black cloth and gauze runner, add the tiered stand and the centrepiece, fill the gaps with jars, cupcakes and mini desserts, then finish with the backdrop, the donut wall and a final roll of dry ice fog. Keep the children's treats low and friendly, keep the cold treats cold, and keep one hero piece, the graveyard cake, the gingerbread house or the mummy cake, as the photograph guests will share. Build it once, photograph it in the warm evening light, and you will have a spread that feels generous, spooky and welcoming all at the same time.
You May Also Like:
– Halloween tablescape ideas – Halloween party decor ideas – Halloween bar cart ideas – Halloween kitchen decor ideas – Thanksgiving dessert table decor ideas
Frequently Asked Questions
How much dessert do I need per guest at a Halloween dessert table?
Plan three to four small servings per guest, for example one cupcake, a handful of candy and one mini dessert, plus one drink. For twenty guests, that means about sixty to eighty servings in total. Offer more mini portions rather than fewer large cakes, so guests can taste widely and nothing runs out early.
How do I keep cold desserts safe on a Halloween dessert table?
Keep cold items chilled until thirty minutes before guests arrive, then return desserts to the fridge after two hours at room temperature. Set bowls of mousse, cheesecake or cream treats over trays of ice, keep the table away from heat, and label dairy, eggs and gelatine. When in doubt, serve a smaller batch and refill from the fridge.
What table size works best for a Halloween dessert table?
A six-foot folding table, about 180 centimetres long and 75 centimetres deep, holds a dessert spread for twenty to twenty-five guests when you build upwards with stands. For fewer than twelve guests, a four-foot table or sideboard works well. Leave at least 90 centimetres of space in front so guests can queue and serve themselves without crowding.
How far in advance can I set up a Halloween dessert table?
Set out non-perishable decor, cloth, backdrop, stands, labels, jars and lights, the day before, and test the lights. Bake or buy treats one to two days ahead, then add cupcakes, cut fruit and desserts on the day. Assemble the table two to three hours before the party, adding dry ice and garnishes in the last thirty minutes.
How do I make a Halloween dessert table safe for children and allergy sufferers?
Place children's treats at 60 to 75 centimetres high, away from candles, dry ice and the chocolate fountain, and choose ghosts and pumpkins over gory props. Label every dish with allergens, nuts, dairy, eggs, gluten and gelatine, keep nut items on a separate stand with their own tongs, and offer at least two nut-free and dairy-free options.
How much should a Halloween dessert table cost?
A table for twenty guests can cost £60 to £120 if you reuse stands and jars, buy treats and make labels and the backdrop yourself. Hiring a cake or showpiece, a chocolate fountain and flowers can push the total to £200 or more. Spend on height, lighting and one centrepiece, then fill the space with candy and popcorn.